We have created Kubernetes configuration files with the jhipster kubernetes command. The next step is to build the artifacts and deploy them into Google Cloud.
Kubernetes will use the image from the Docker Registry. We configured the Docker username when we generated the application, so the first step will be to tag those images and then push them to our Docker repository.
To do so, we will do the following:
We will open the terminal and go to the Kubernetes folder that we have generated:
> docker image tag gateway sendilkumarn/gateway
And we will push this image into the Docker repository:
> docker push sendilkumarn/gateway
Similarly, push the invoice application to the Docker repository:
> docker image tag invoice sendilkumarn/invoice
> docker push sendilkumarn/invoice
Do the same for notification:
> docker image tag notification sendilkumarn/notification
> docker push sendilkumarn/notification
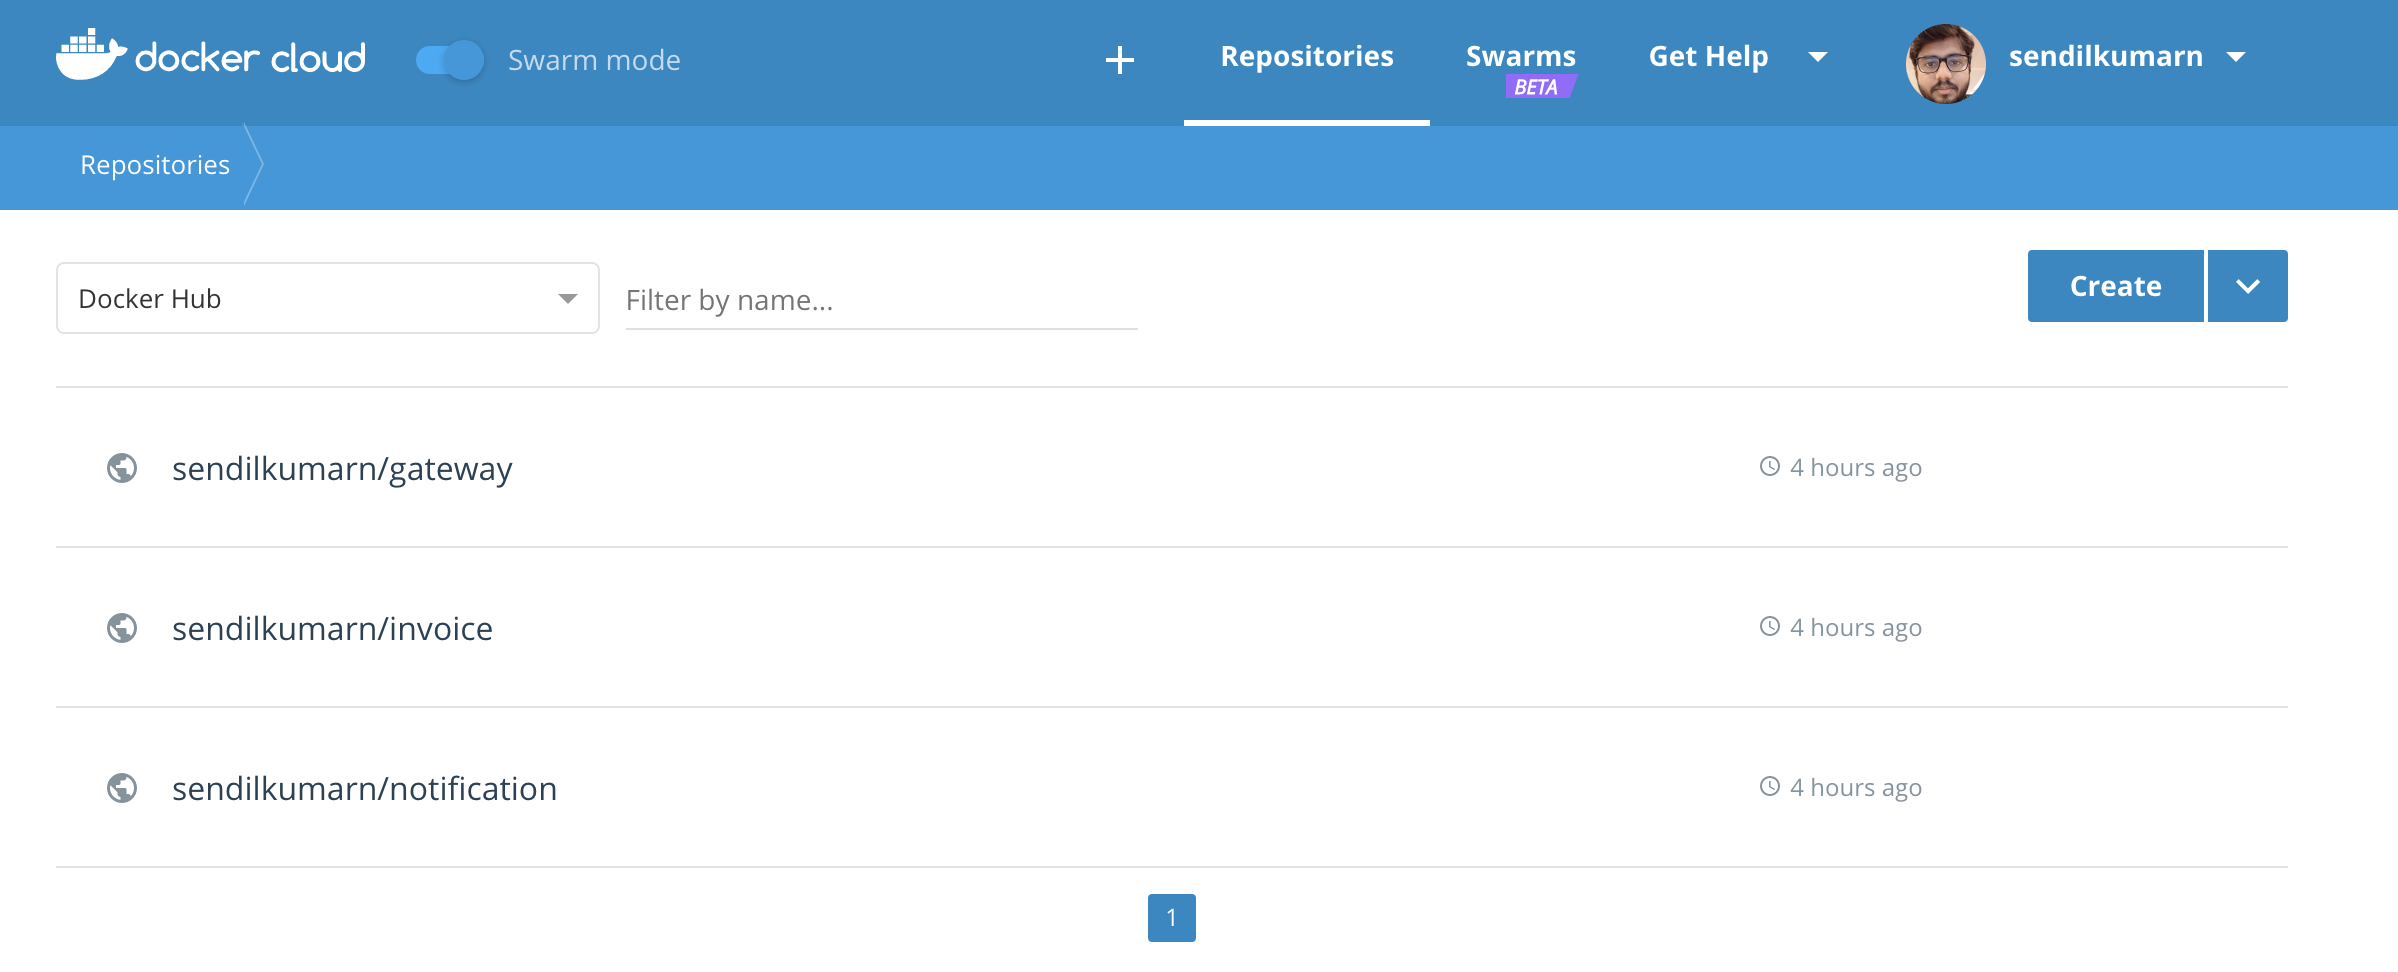
This will push gateway, invoice, and notification to the Docker repository. We can check this in the Docker console:
Now, we can connect to gcloud and deploy our containers with Kubernetes.
First, we will log in to the gcloud via the Terminal. In order to do that, open your Terminal:
> gcloud init // if this is the first time you are using gcloud (Ignore this step if you logged in already)
Then, gcloud will ask you to log in to your google account. Once validated, this will list the projects that you might already have.
Here, we can choose [31] Create a new project by entering the number before creating a new project. Then, press enter. It will ask you to enter the project information and then configure a few Google services for that project. Then, gcloud will list all the available regions and you can choose a region that suits you.
If you have already logged in to the console and used it for other projects, then you can switch projects using the following command:
> gcloud config set project <project-name>
This will set the project, region, and the setting chosen as the default.
Then, you have to enable Kubernetes in our application. We can do this by logging in to our Google Cloud console via the browser. Then, select the project that we have just created and go to https://console.cloud.google.com/kubernetes/list.
This will create a cluster for your project. Instead, you can create a cluster using the gcloud command:
> gcloud container clusters create online-store
The following is the output of the preceding command:

Thus, the cluster is created with 3 nodes.
Then, we can go to our Kubernetes folder and start deploying the services using kubectl:
> kubectl apply -f <project-name>
The output will be as follows:

This will create all the applications in the Google Cloud environment, under your project.
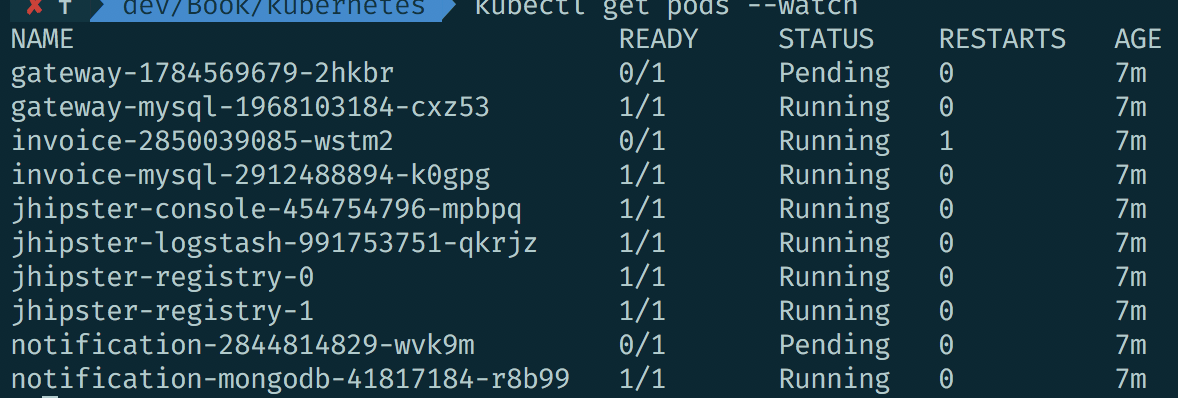
You can check the pods deployment process using the following command:
> kubectl get pods --watch
This will list down the pods that are spinning up and shutting down:
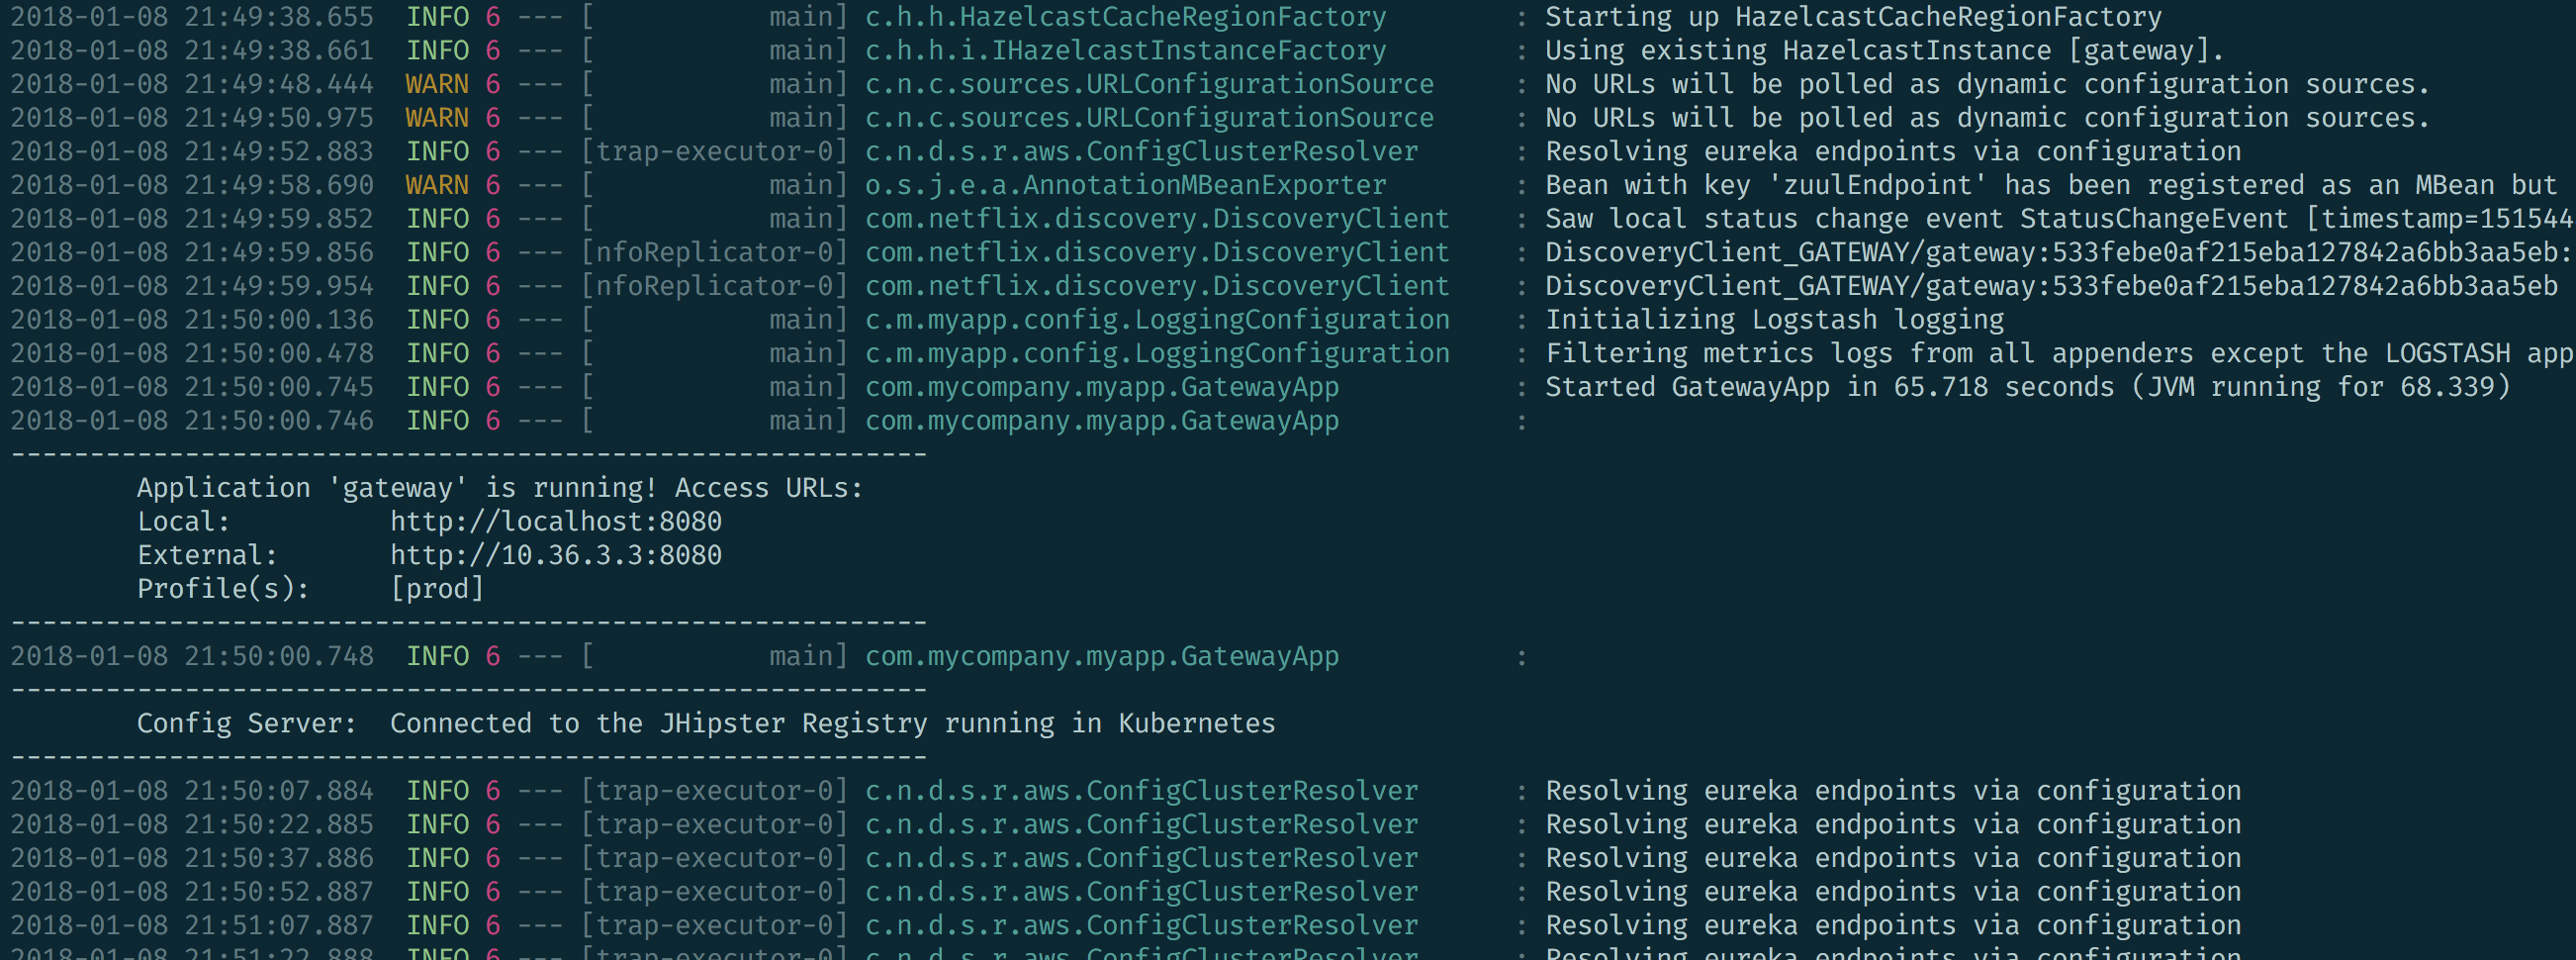
You can also get the logs of the application using the following command:
> kubectl logs <name as shown above>
The following is the output:
You can get the application's external IP using this piece of code:
> kubectl get svc gateway
This will list the application's name, type, IP address, external address, ports, and uptime:
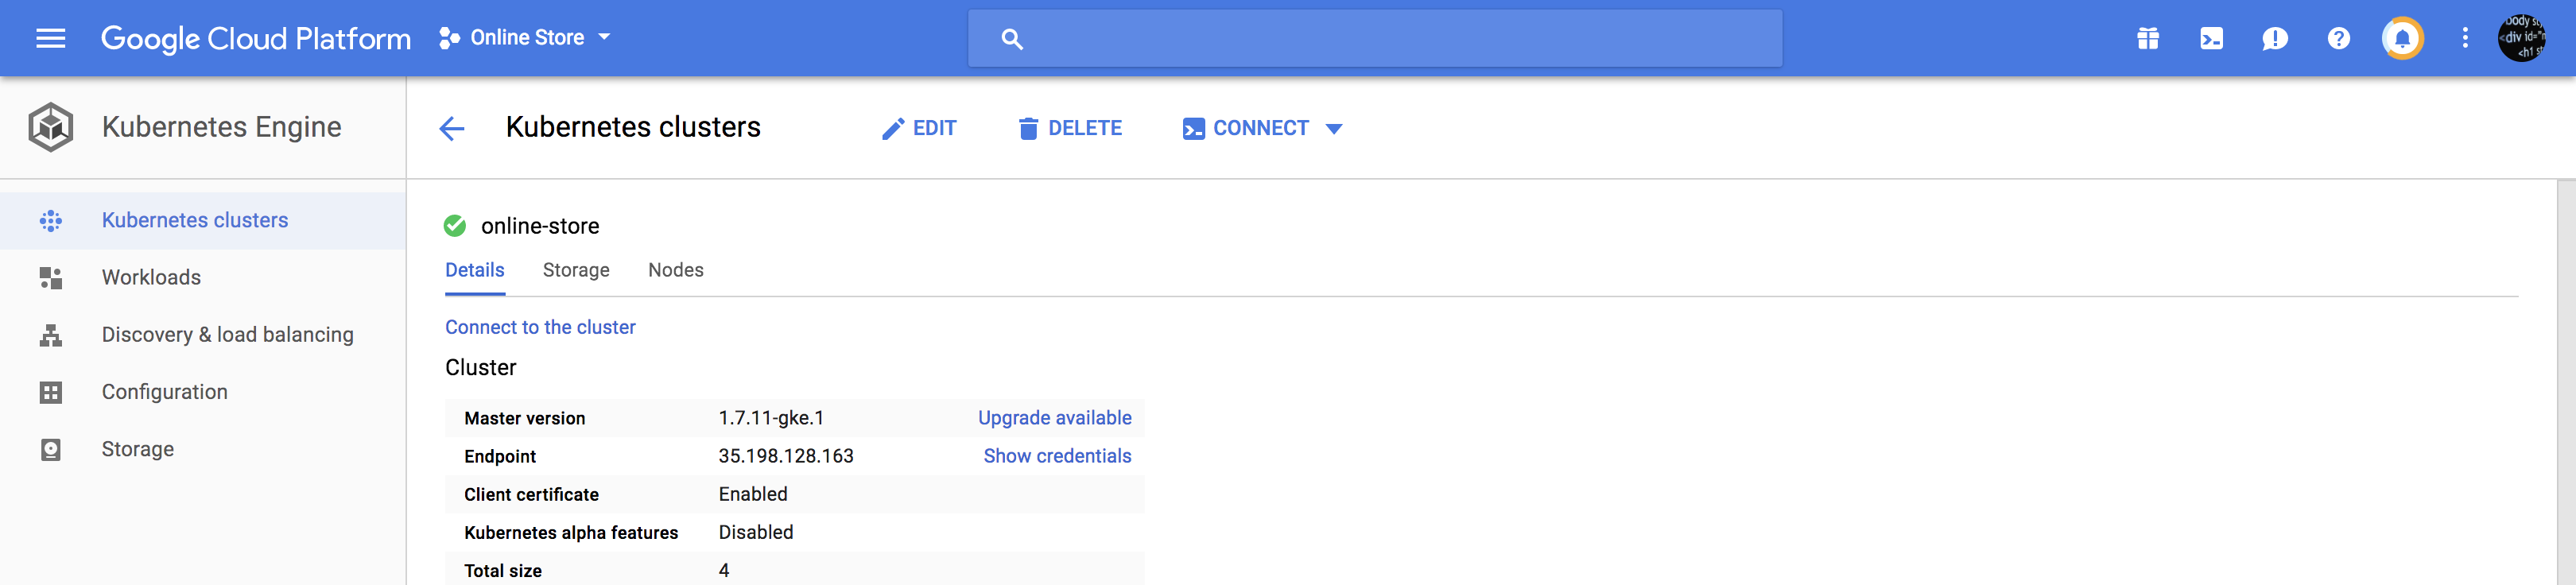
We can find the same information on the Google Cloud console:
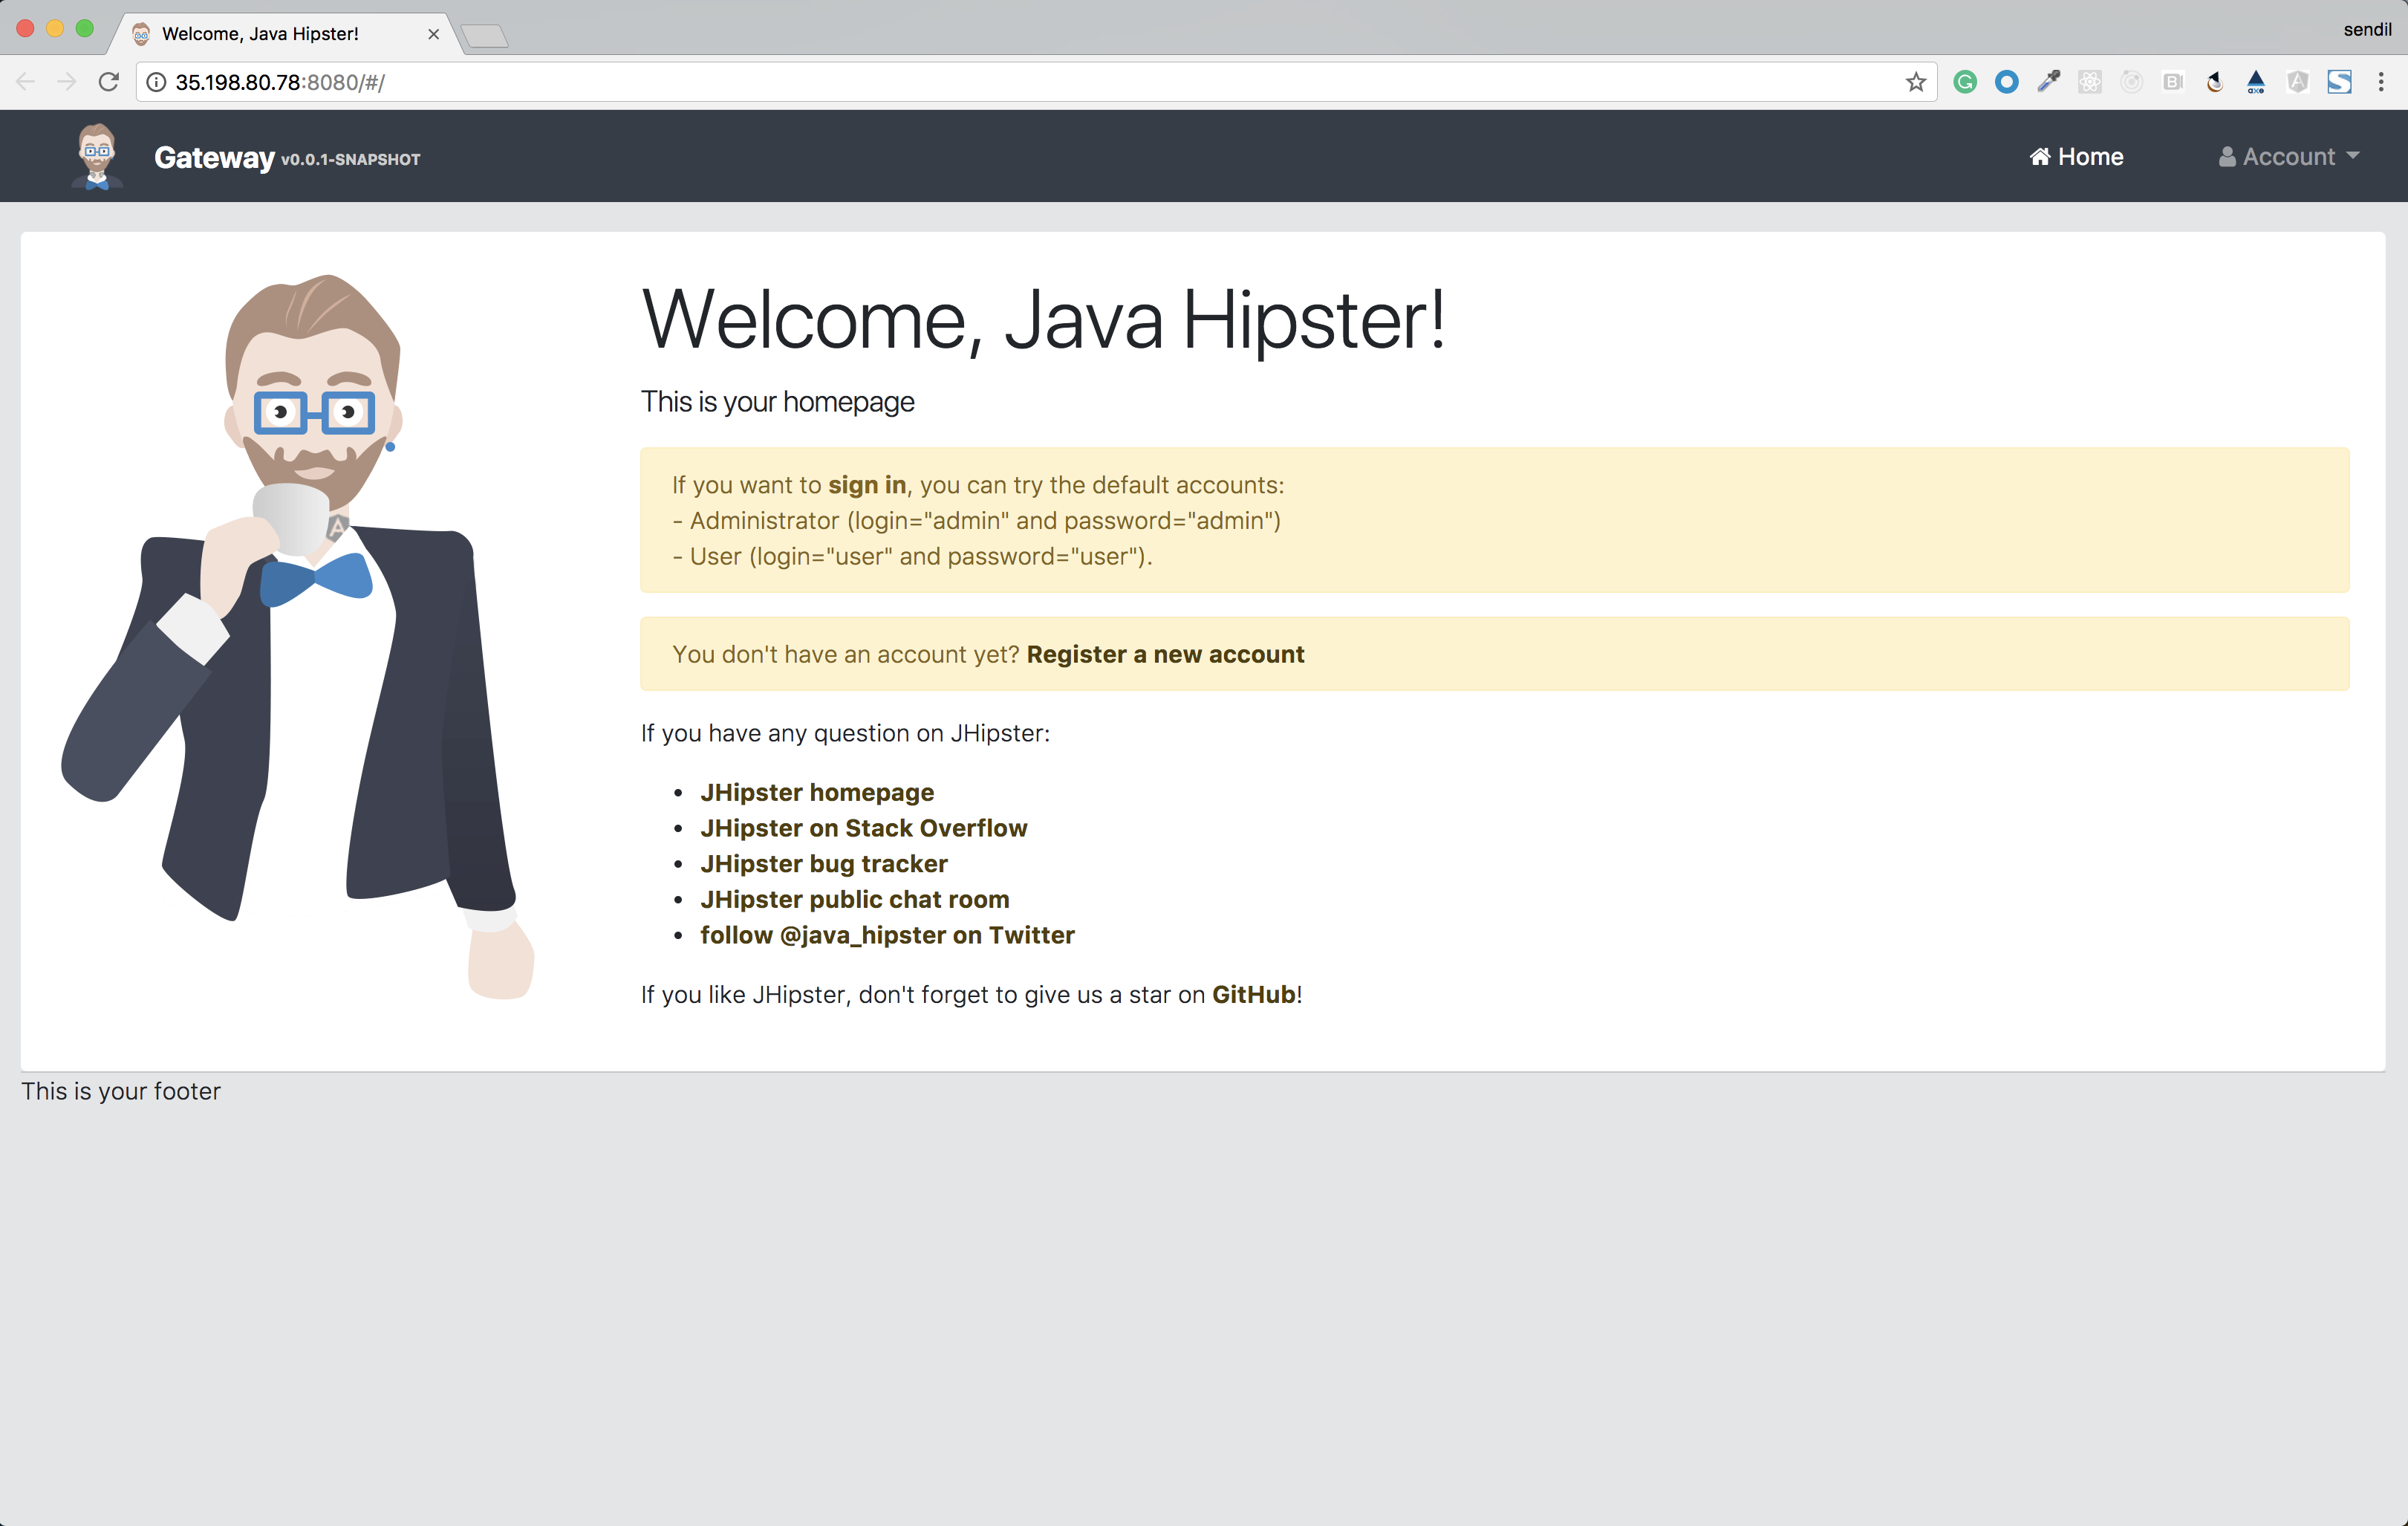
The application can be accessed at the preceding External-IP:
You can also scale the application by using the following command:
> kubectl scale deployment <app-name> --replicas <number-of-replicas>