Knowing the components of Kubernetes and how it works is beyond the scope of this book. However, we will look at how JHipster simplifies microservices deployment with Kubernetes. Let's go ahead and generate the Kubernetes configuration file.
Similar to the docker-compose sub-generator, JHipster also comes bundled with a Kubernetes sub-generator. In order to use it, just like with docker-compose, we will create a new folder and name it Kubernetes. Then, we will go inside the folder to create the configuration files.
We can create Kubernetes configuration files with the following command and then answer the questions that the sub-generator asks us:
> mkdir kubernetes && cd kubernetes
To install kubectl, please follow the instructions at Kubernetes' website (https://kubernetes.io/docs/tasks/tools/install-kubectl/).
We can also install Cloud SDK from Google Cloud, which will also install kubectl. To set up gcloud:
- Download the binary (based on your operating system) from https://cloud.google.com/sdk/.
- Then, install the application by following the steps given on the website (make sure that you have python installed).
- Once installed, set up Google Cloud. In order to set up Google Cloud, run gcloud init.
- This will then ask you to log in to your Google account:
> jhipster kubernetes
The first question the sub-generator asks is which type of application we'd like to deploy. It provides two options, which are monolithic and microservices. We will choose the microservices option:

Then, it asks us to enter the root directory. We will select the default option since our directories are present as the siblings of the Kubernetes folder:
![]()
Then, the sub-generator will list all the folders with our JHipster generated application. Here, it will list all three applications that we need—gateway, invoice, and notification. Select all three applications and hit enter:

Then, it will ask us to provide the password for the registry service. In our case, it is JHipster Registry. We will select the default one for now, but it is generally advisable to use a strong password here:

Afterward, it will ask us for the namespace that we need to use in Kubernetes. So, what is a namespace?
We can consider namespaces as a group within which resources should be named uniquely. When the cluster is shared between different users or teams, namespaces can provide resource quotas for them. Ideally, namespaces should be used only for a larger team. For smaller teams, it is better to go with default options. Kubernetes, by default, provides three namespaces, which are as follows:
- Default: When you start a container or pod without providing any namespaces, they will end up in the default namespace
- Kube-system: This namespace contains Kubernetes system-based objects
- Kube-admin: This is a public namespace, which will be shown to all the users publically without any authentication
We will select the default namespace here:

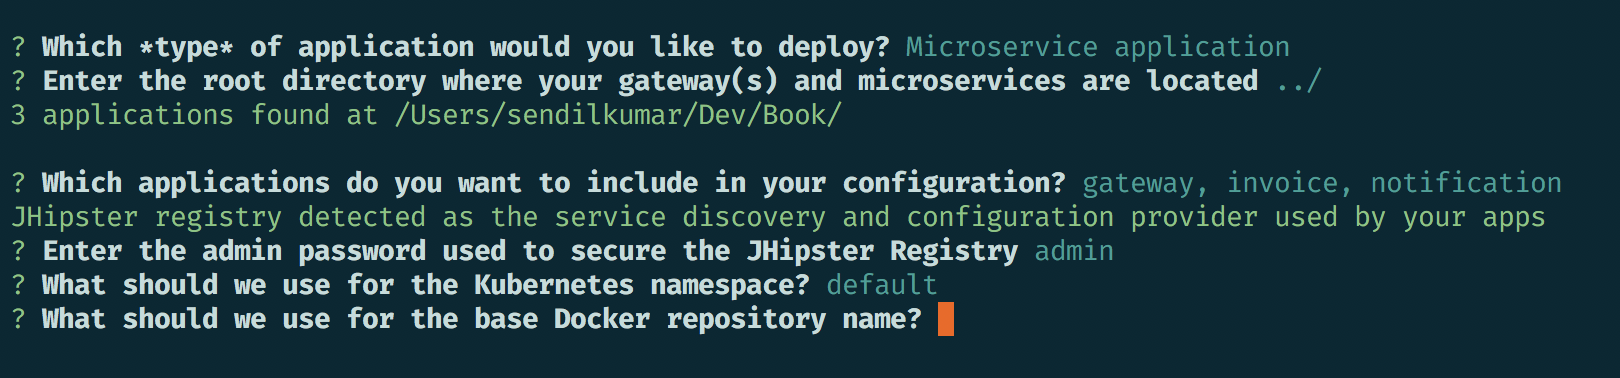
Then, the sub-generator will ask for our Docker repository name so that Kubernetes can use this Docker repository to pull the images (the login username of the Docker repository):
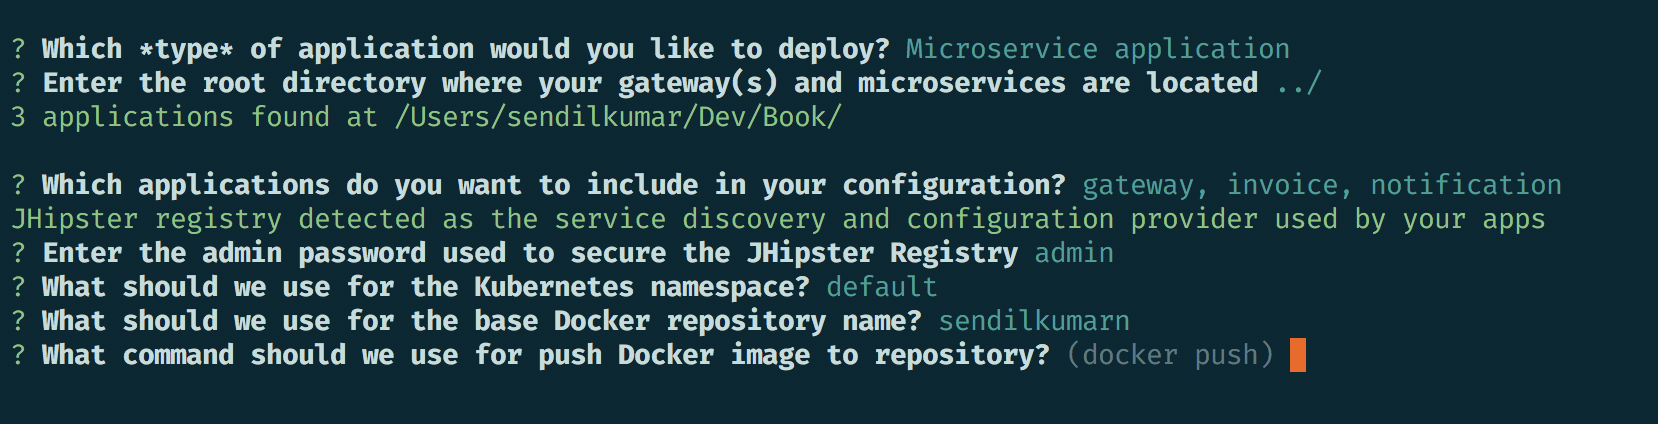
Then, the sub-generator will ask for our command so that we can push the image to the Docker repository. We will select the default command here:
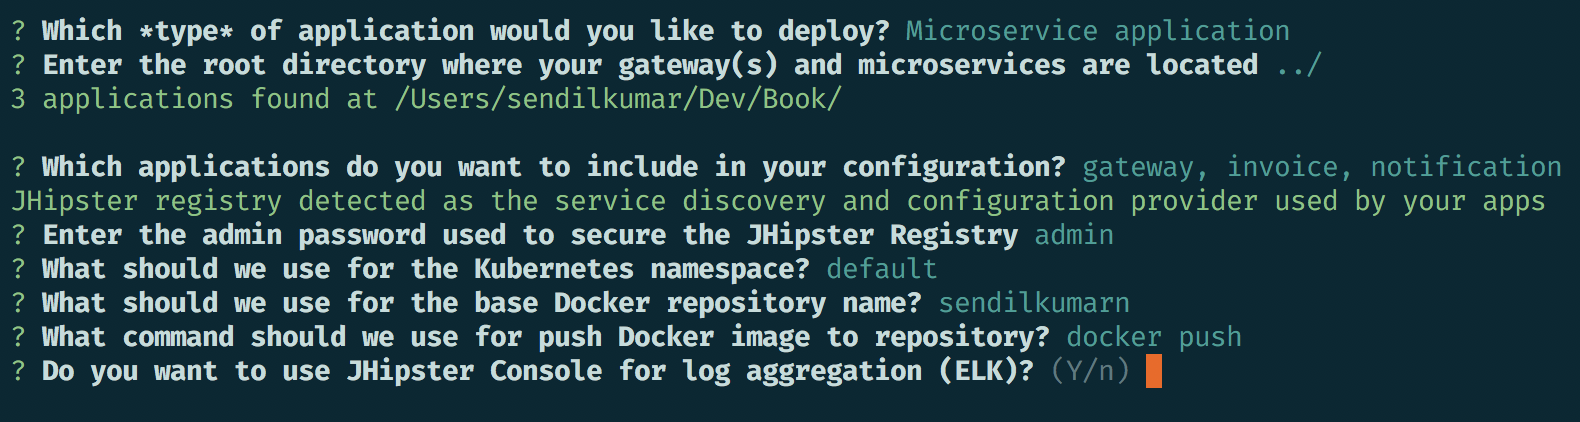
Then, it will ask whether we need the JHipster-console for log aggregation, and we will select Yes:
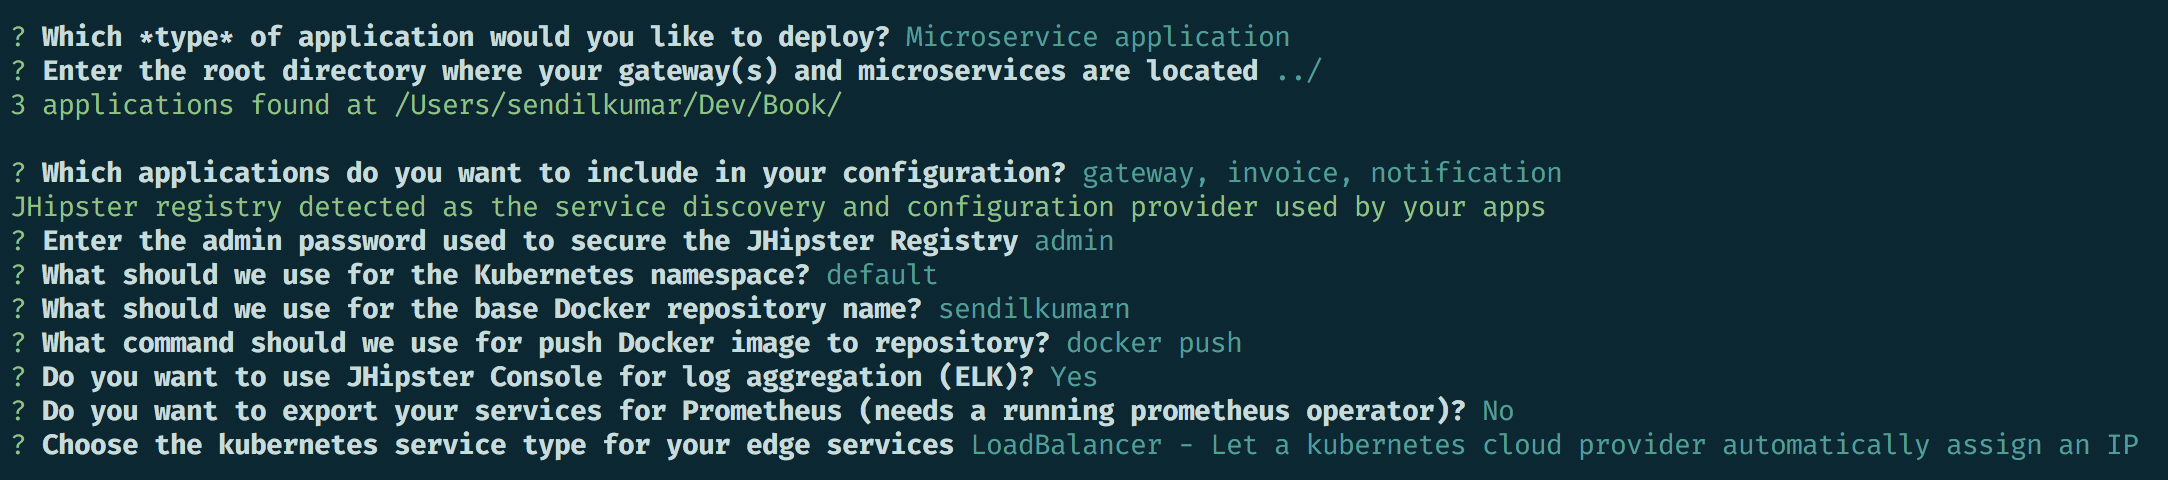
JHipster also comes with Prometheus integration, so the next question will be whether we would like to export our services to Prometheus. It needs a Prometheus operator in general to work. We will select No for this:

Then, the generator will ask us to choose the Kubernetes service type. So, what is the service type?
In Kubernetes, everything that we deploy is a pod. These pods are managed by replication controllers, which can create and destroy any pods. Each pod needs an identifier, so they are tagged with an IP address. This dynamic nature of pods will lead to a lot of problems for other pods that depend on them. To come up with a solution for this problem, Kubernetes introduced services. Services are nothing but a logical grouping of unique pods which have policies attached to them. These policies are applicable for all the pods inside the services, but we need to publish these services to the external world to access them.
Kubernetes gives us four different service types, as follows:
- Cluster IP: This is the default type. This will assign the cluster's internal IP and make it visible within the cluster itself.
- NodePort: This will expose the service to a static port in the Node's IP. The port will be random and will be chosen between 30000-32767.
- LoadBalancer: This will expose the service externally. Kubernetes will assign an IP automatically. This will create a route to the NodePort and Cluster IP internally.
- Ingress: An Ingress is a special option that Kubernetes provides. This will provide load-balancing, SSL termination, and name-based virtual hosting to the services.
We will select the LoadBalancer option:
That's it. This will generate the necessary configuration files for us to deploy the application with Kubernetes. Next up, we will check the files that have been generated.