The microservice architecture relies heavily on API calls between gateway and services, services and registry, and gateway and registries. So it is essential for developers and users to get to know the API endpoints that they can access, as well as the information required to access those endpoints.
This can be a lot of work. Fortunately, libraries such as Swagger come to the rescue. We just have to add the standard comments to the methods, and then the Swagger API will do the necessary work to extract information from them and convert them into a beautiful user interface:
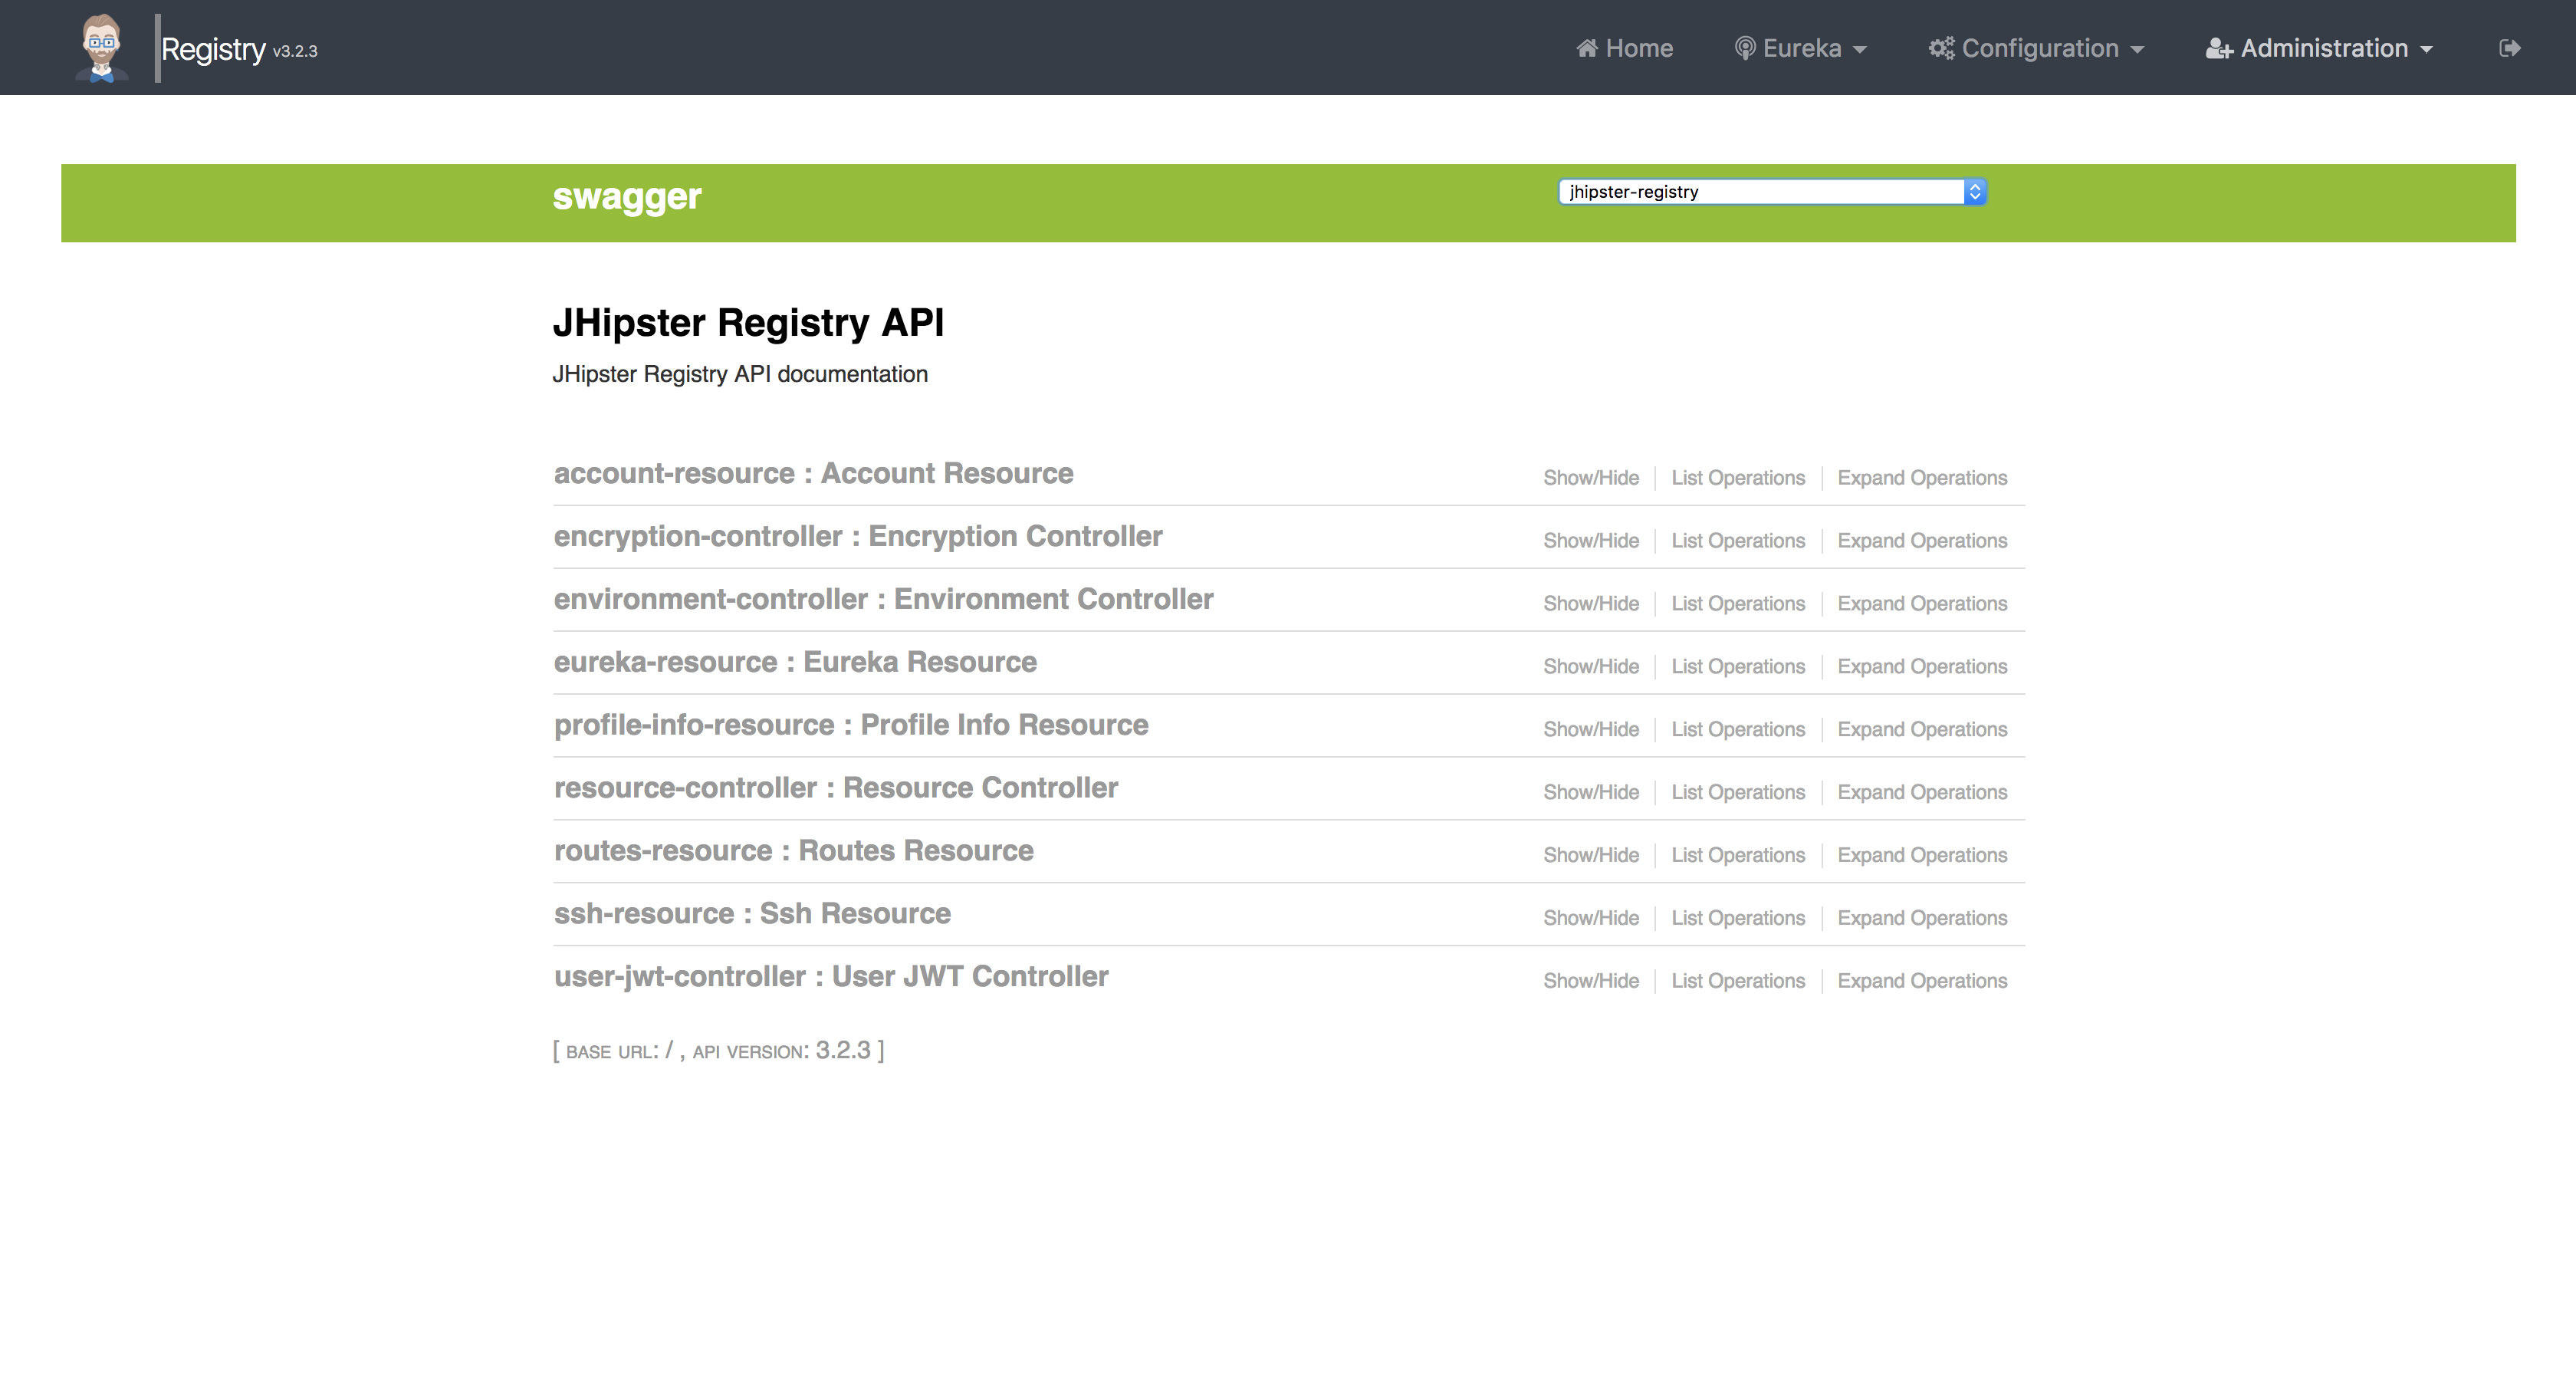
The preceding image shows the default generated Swagger UI page. It lists all the endpoints available, and then provides the list of operations that it provides. It shows the playground where we can frame requests and test them for output.
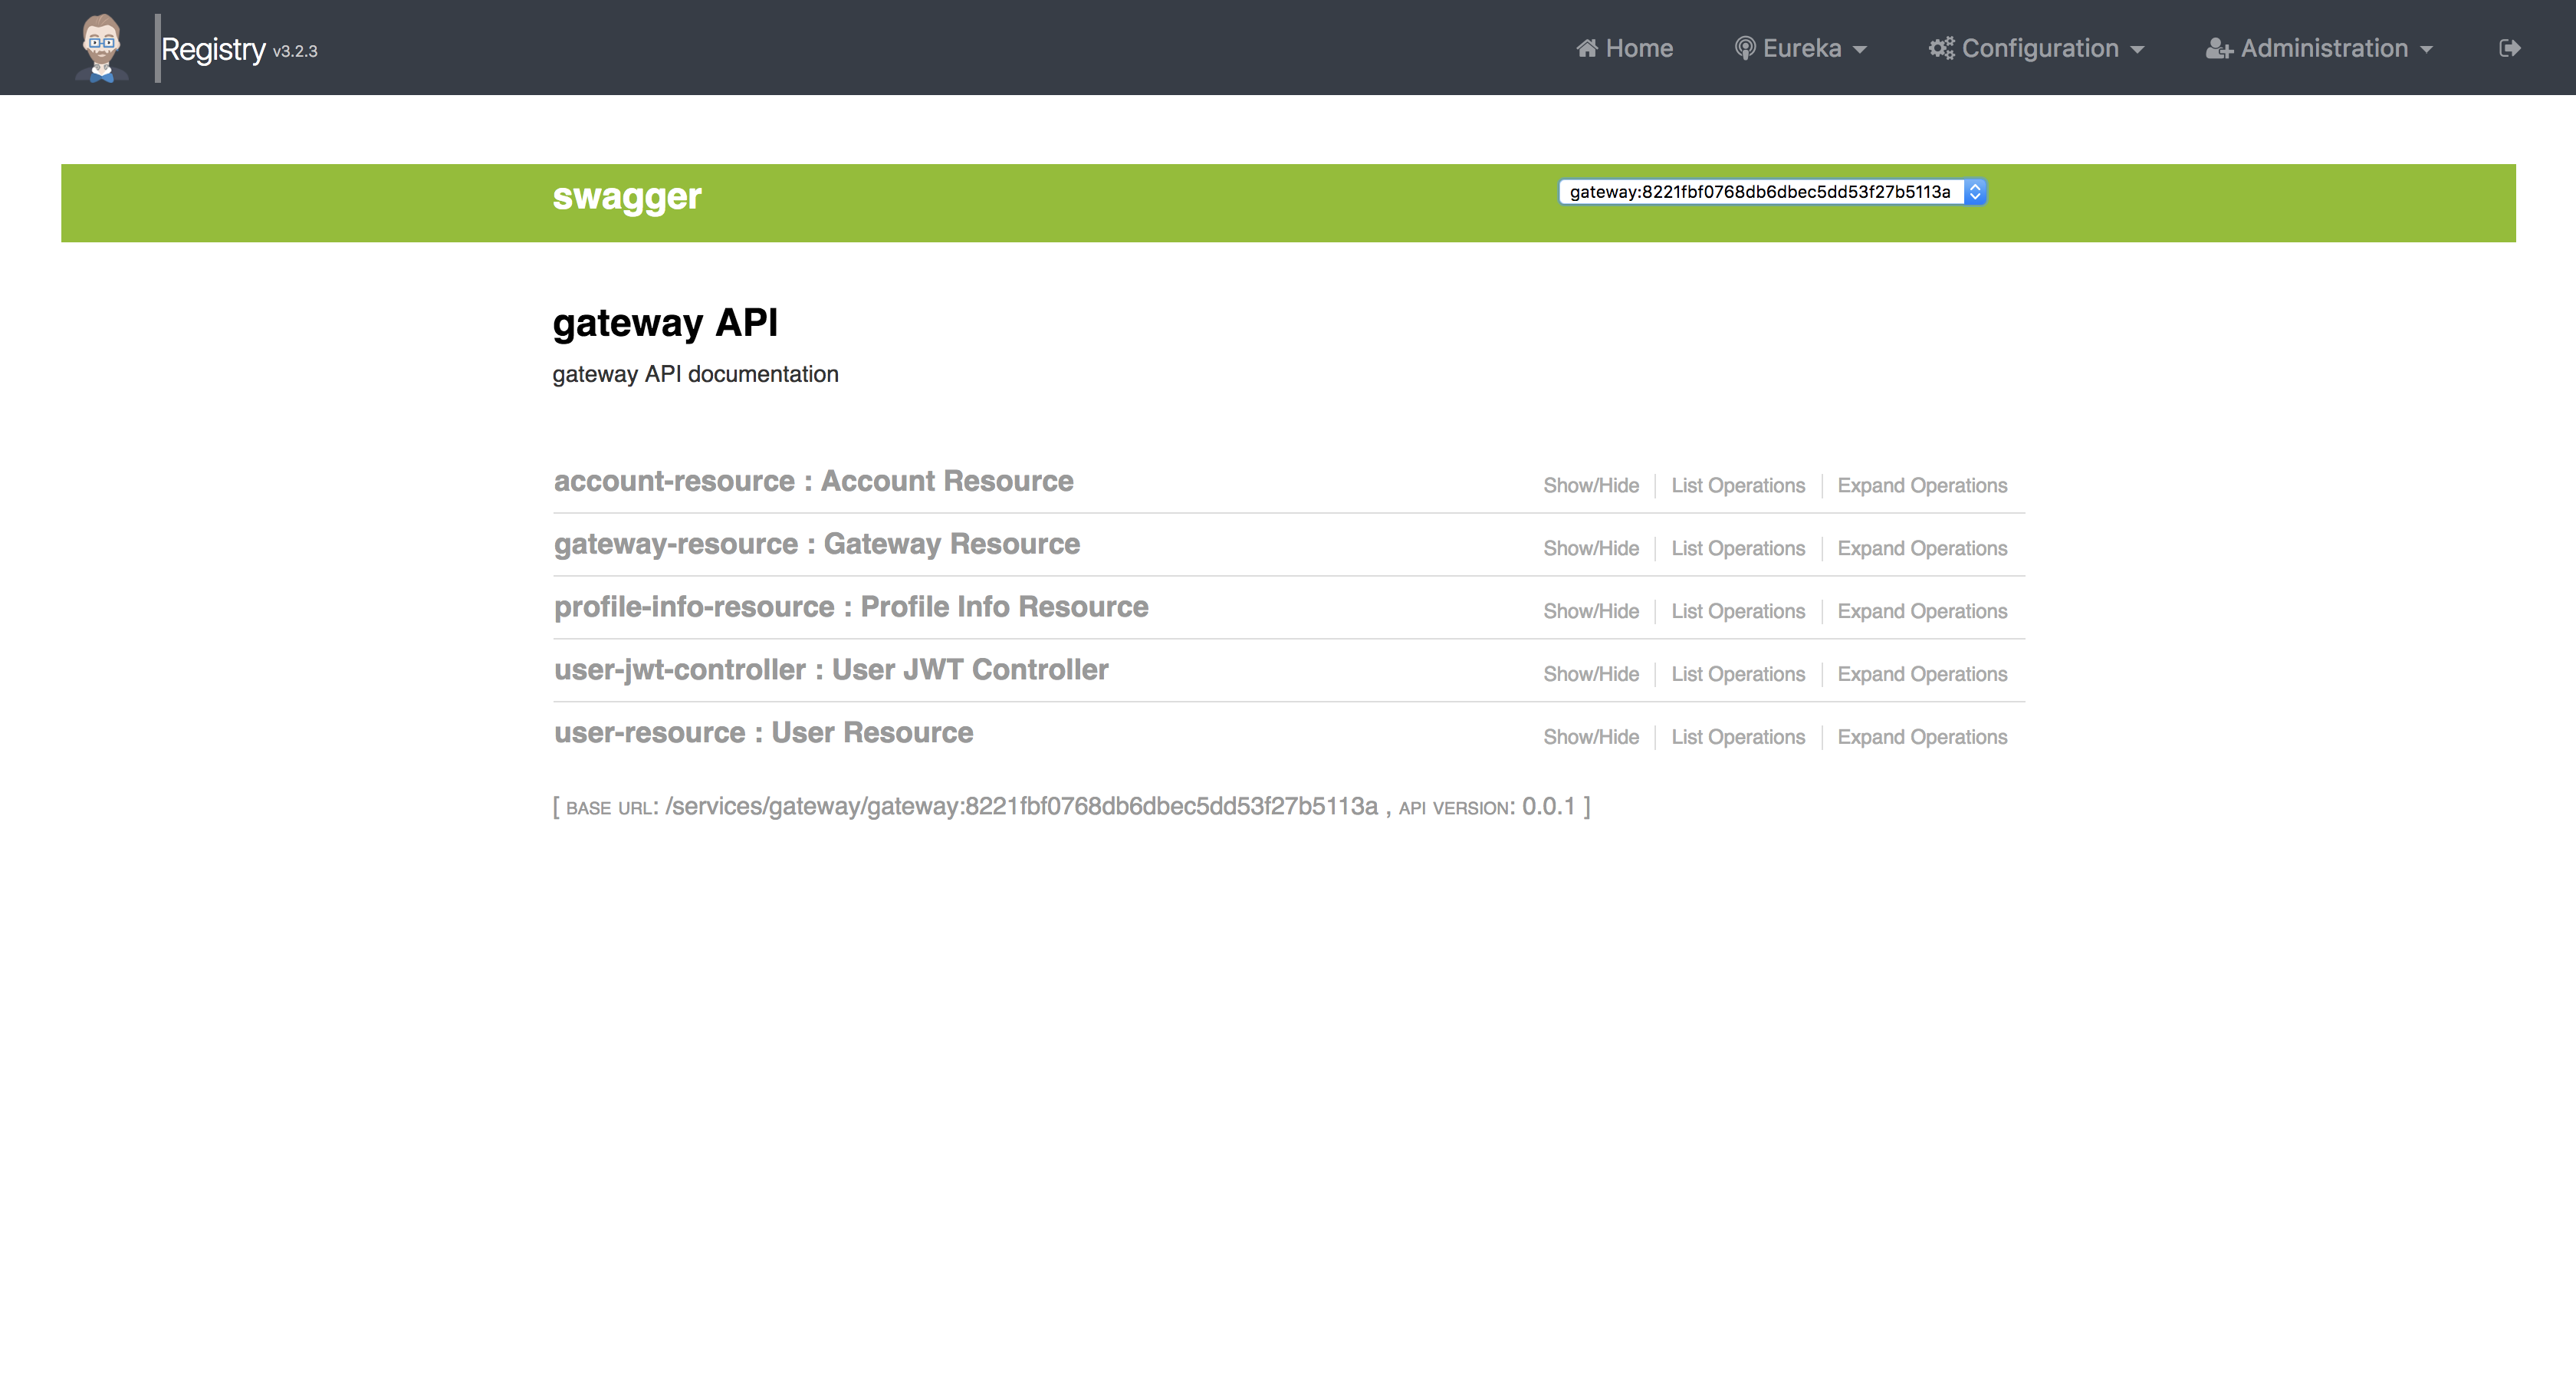
Similar to the other pages, this also lists the various instances that are connected to this registry service and we can select them from the drop-down menu (upper-right corner) to see what APIs are provided by various applications:
The listed operations in the gateway API will provide the following information:
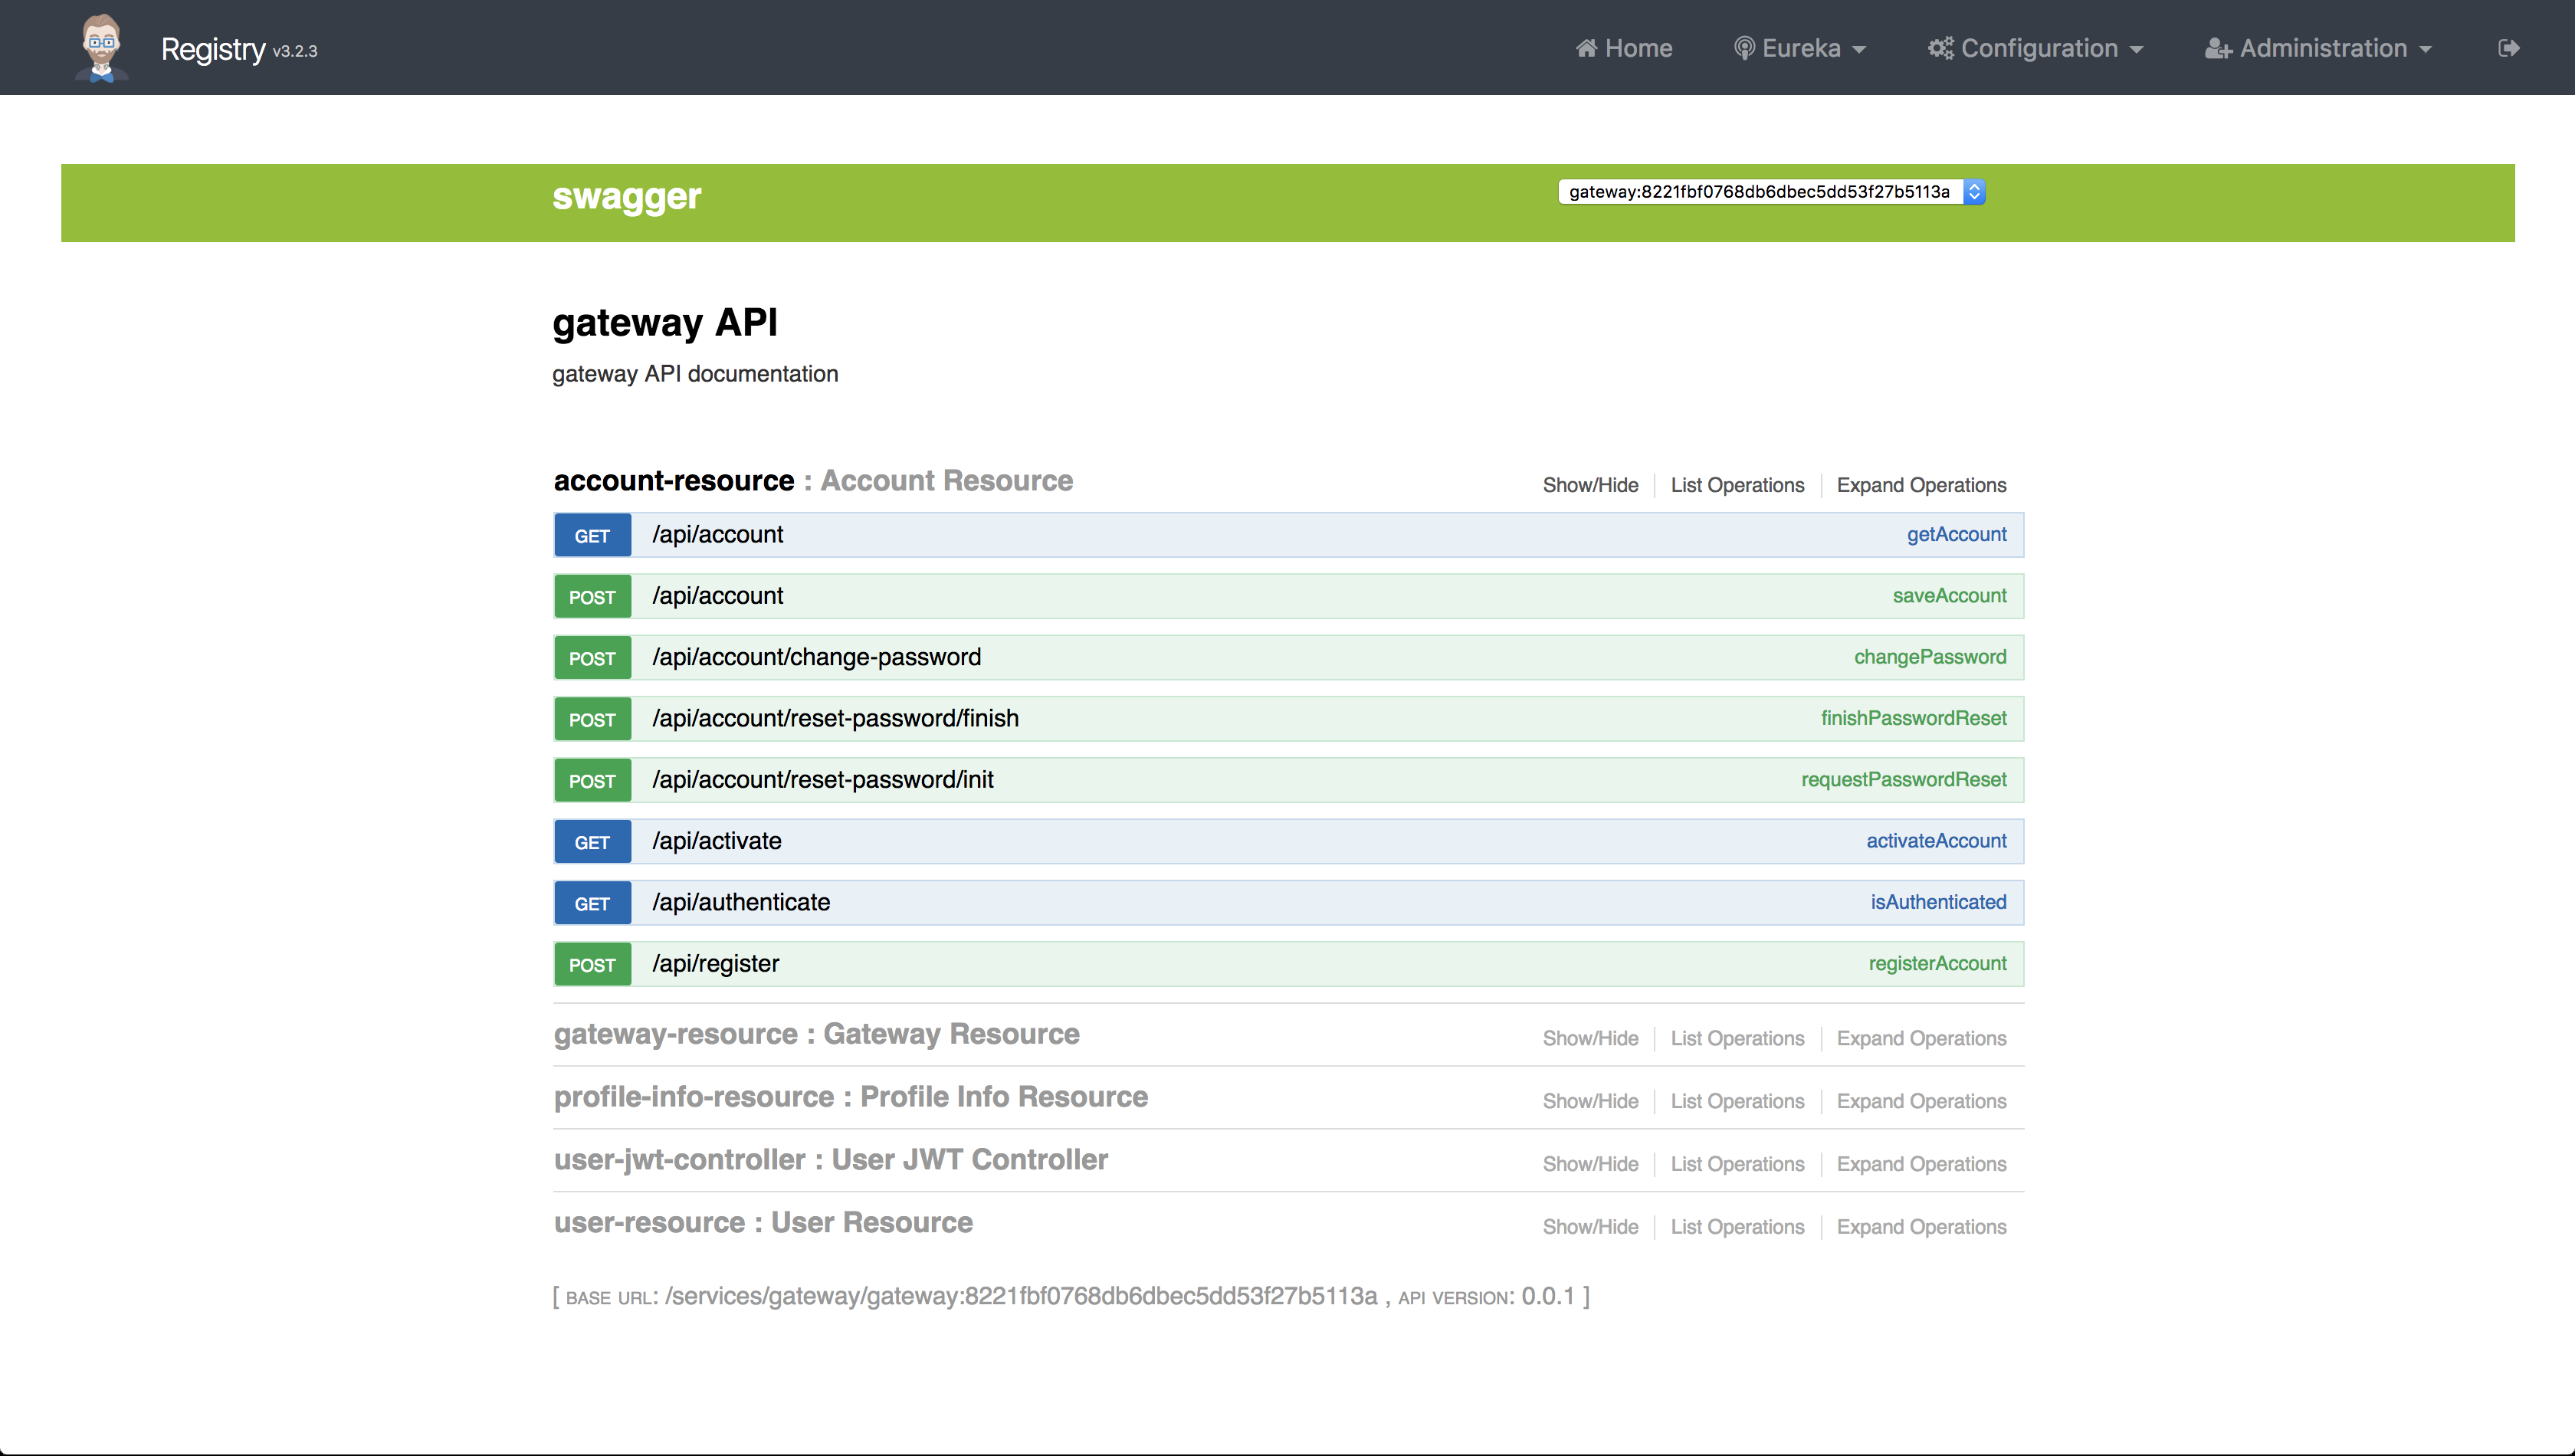
It lists all the operations that are available in the AccountResource file. It shows the method type (GET / POST / PUT / DELETE), and then the endpoint and the method name that is present in the AccountResource file:
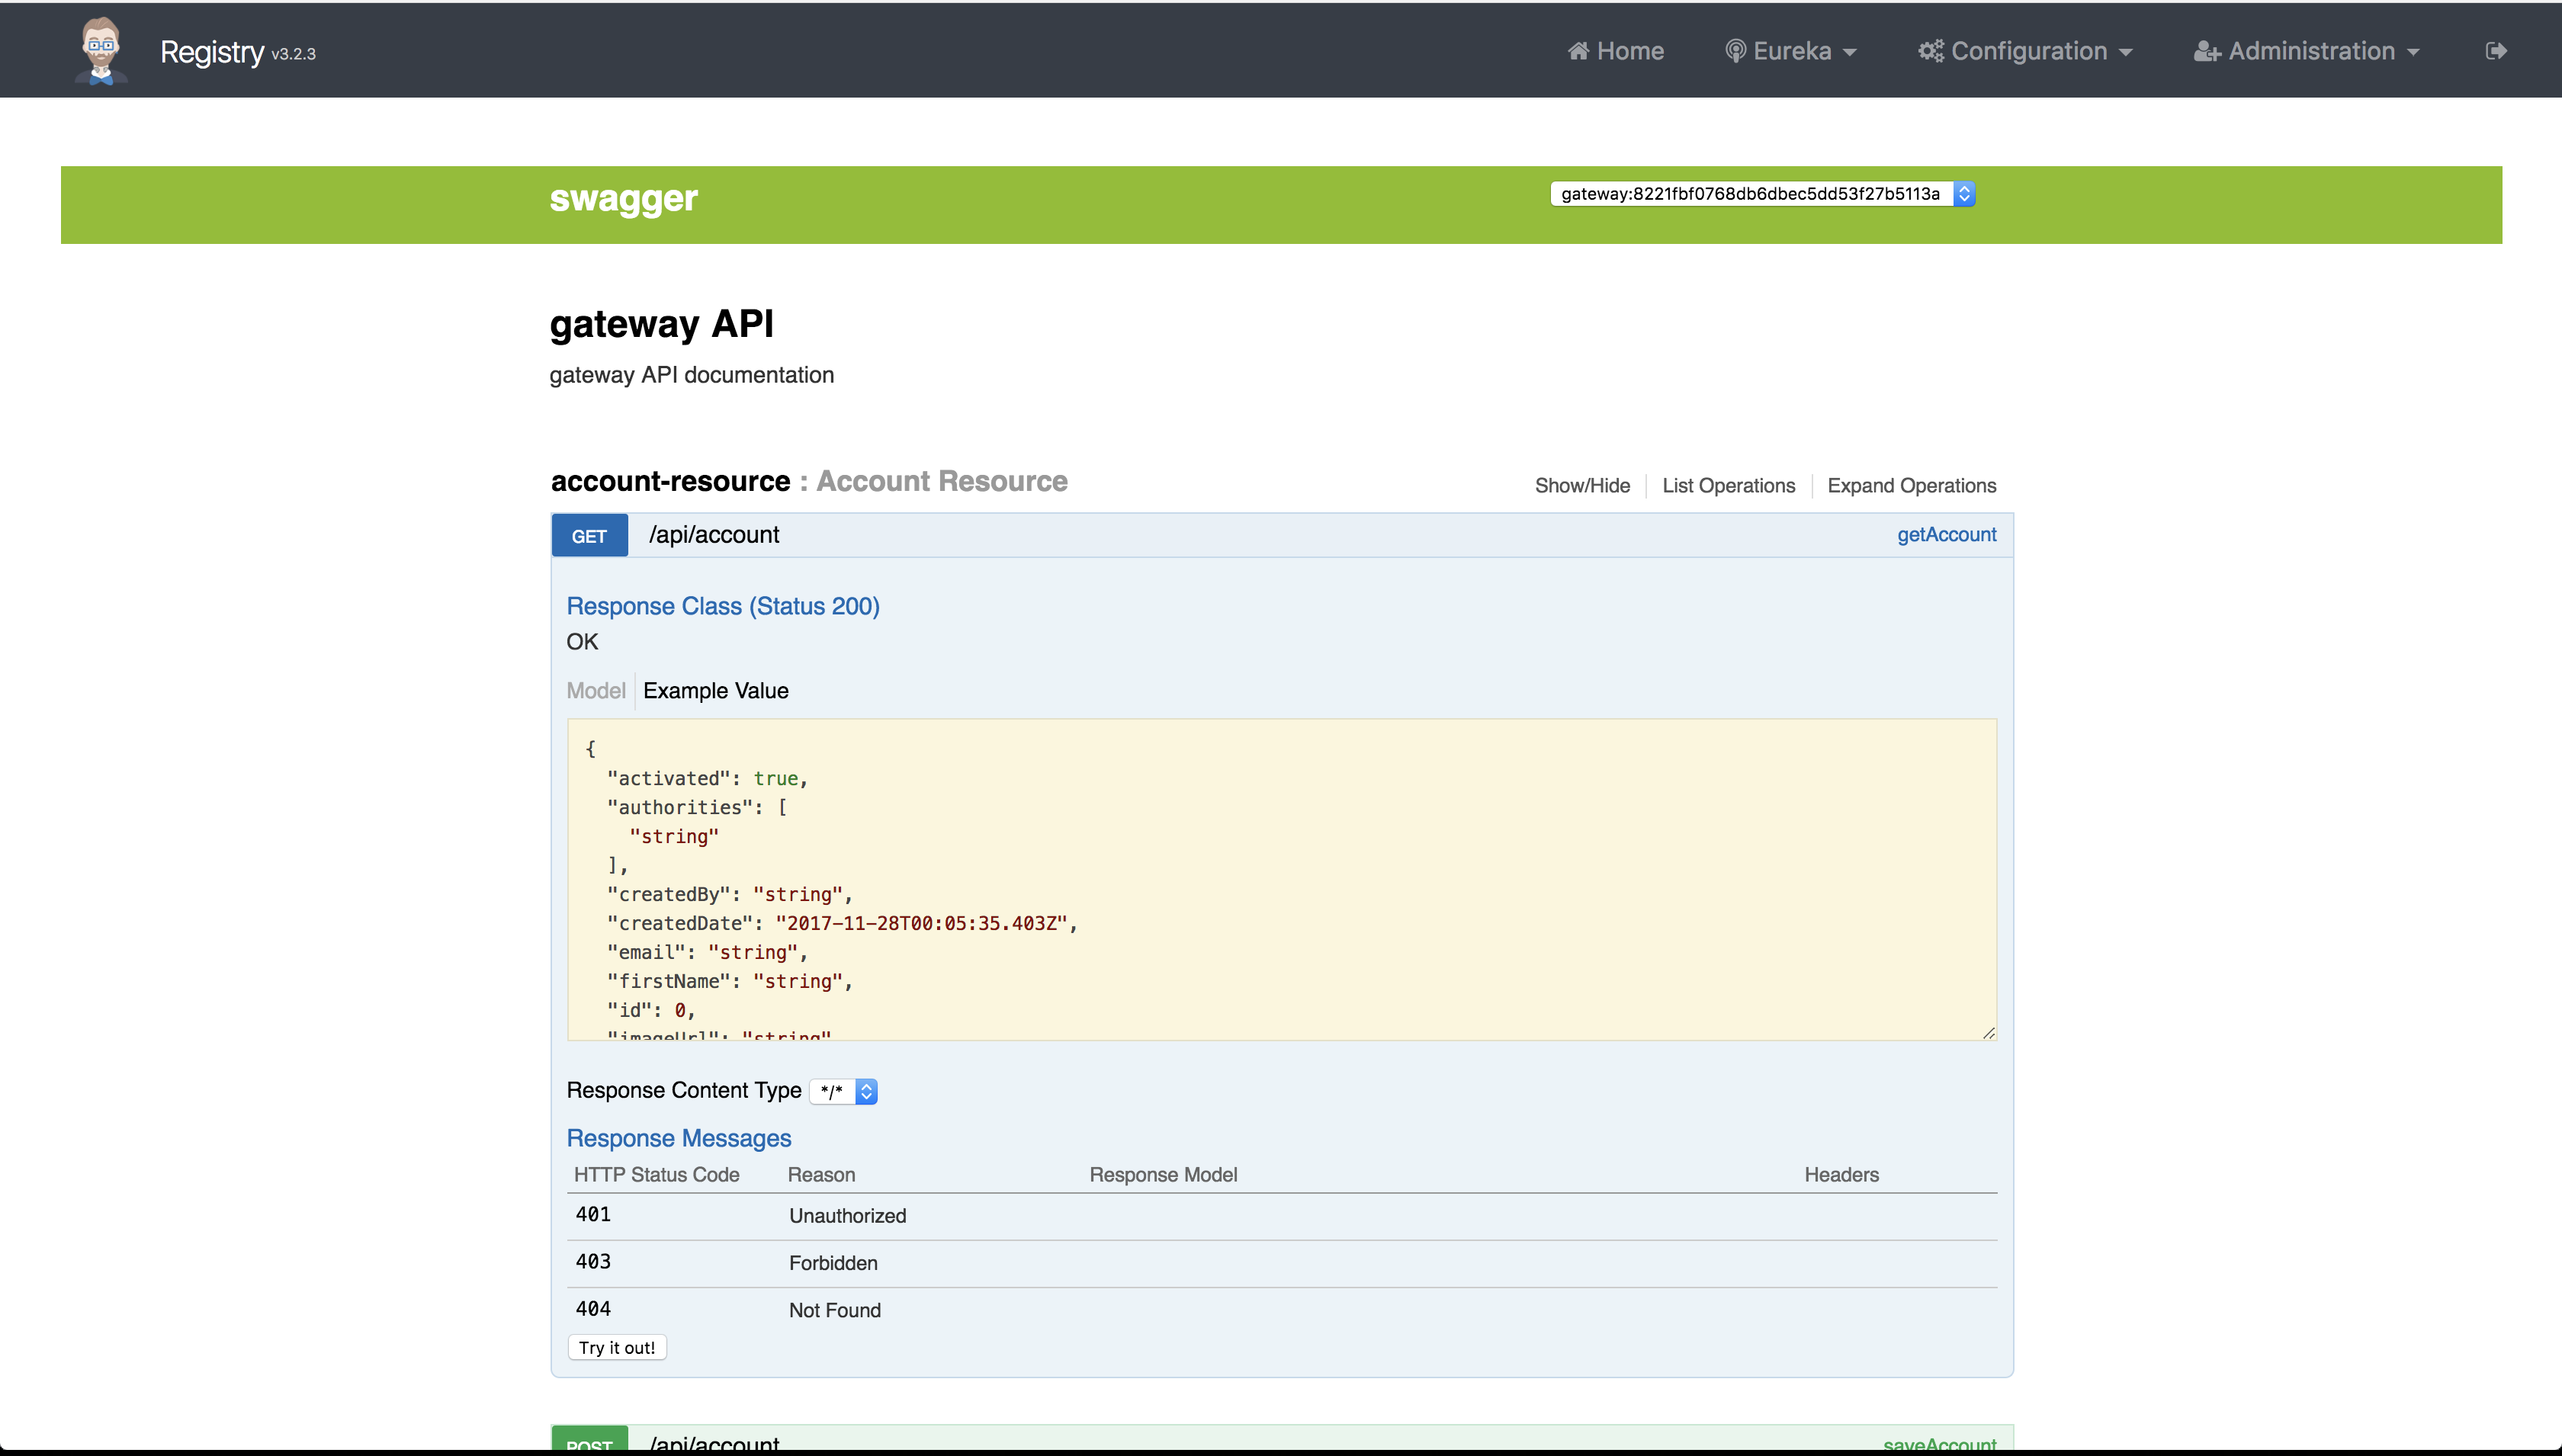
Upon clicking any one of the endpoints, it shows detailed information about the response classes, response errors, response content type, and also how the response object is structured. In addition to this, it also shows how the model object is constructed. These are particularly helpful for end users who want to access these APIs:
UserDTO {
    activated (boolean, optional),
    authorities (Array[string], optional),
    createdBy (string, optional),
    createdDate (string, optional),
    email (string, optional),
    firstName (string, optional),
    id (integer, optional),
    imageUrl (string, optional),
    langKey (string, optional),
    lastModifiedDate (string, optional),
    lastModifiedBy (string optional),
    lastName (string, optional),
    login (string)
}
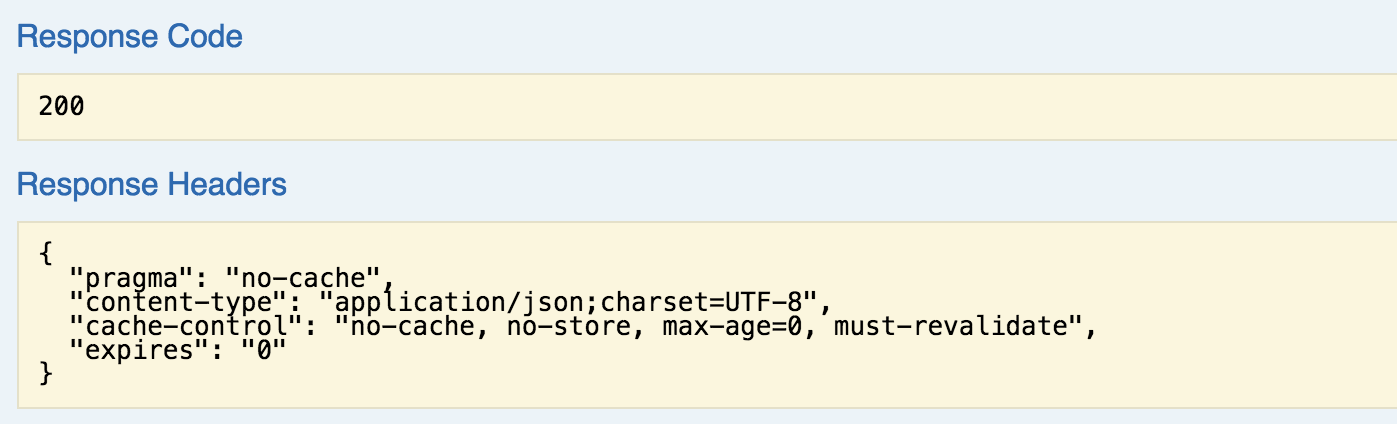
Next, there is an option to try out the endpoint upon clicking the button:
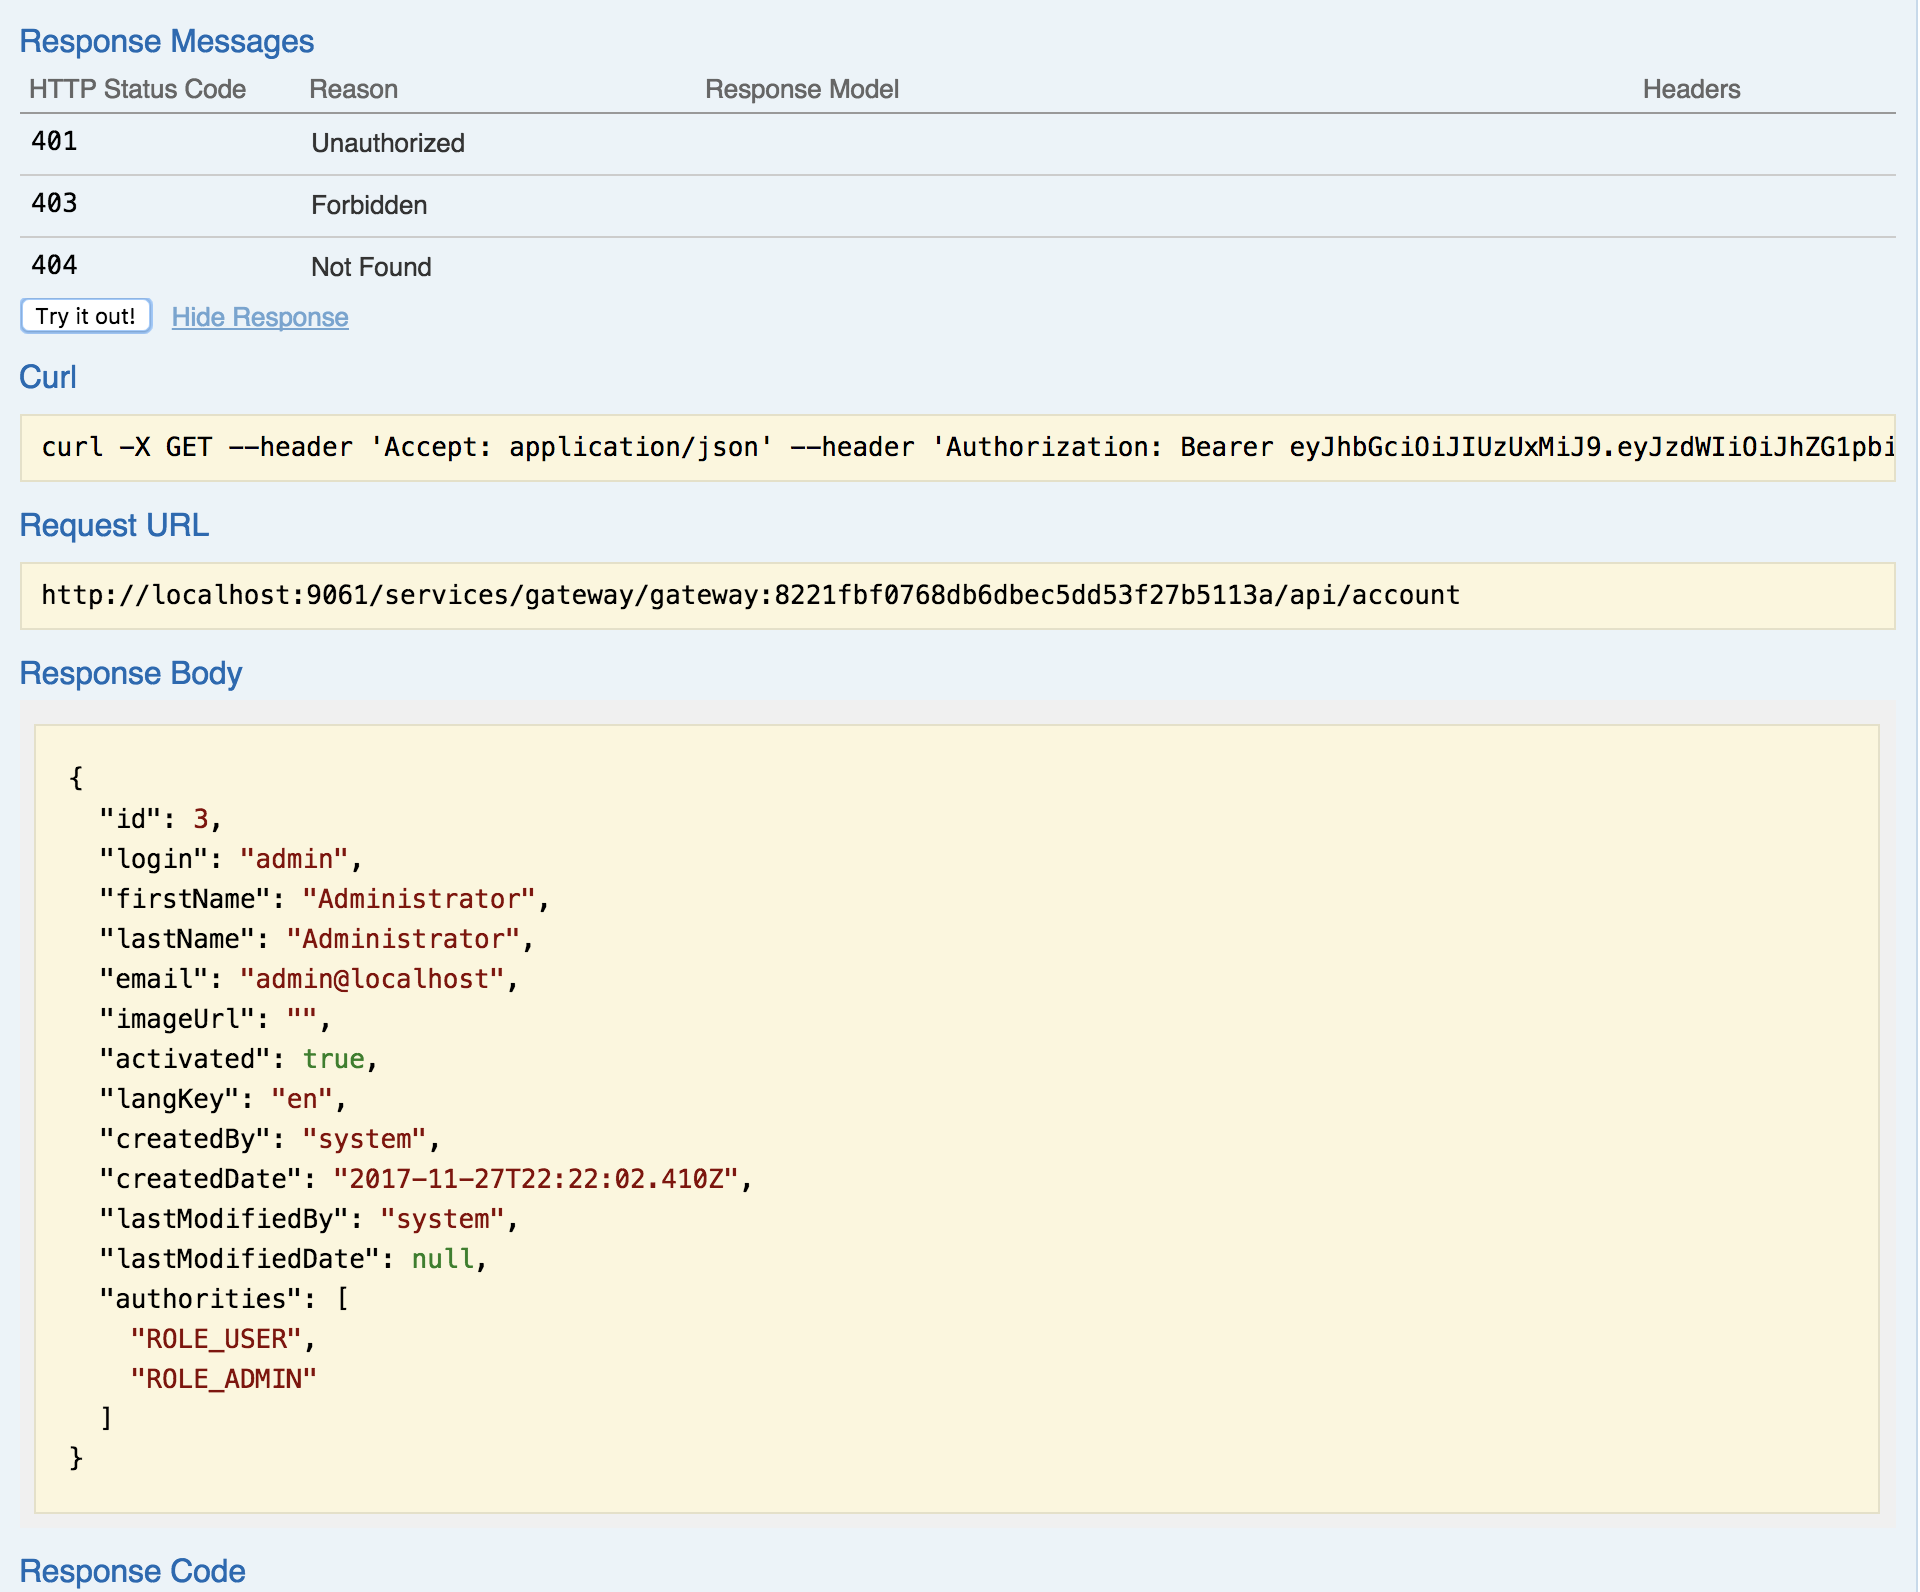
It shows the request and its response. It also shows how to frame the request, along with the authentication token. It provides the response code and the response header information that is returned by the server, which is also extremely useful for API programmers: