Now, it's time to generate the domain model with our JDL. We will use the import-jdl command from JHipster for this.
Open your favorite Terminal application and navigate to the online-store folder where we created the application earlier. Then, execute the import-jdl command:
> cd online-store
> jhipster import-jdl online-store.jh
This will trigger the entity creation process and you will be asked to confirm the overwriting of existing files with changes. Take a look at the following screenshot:
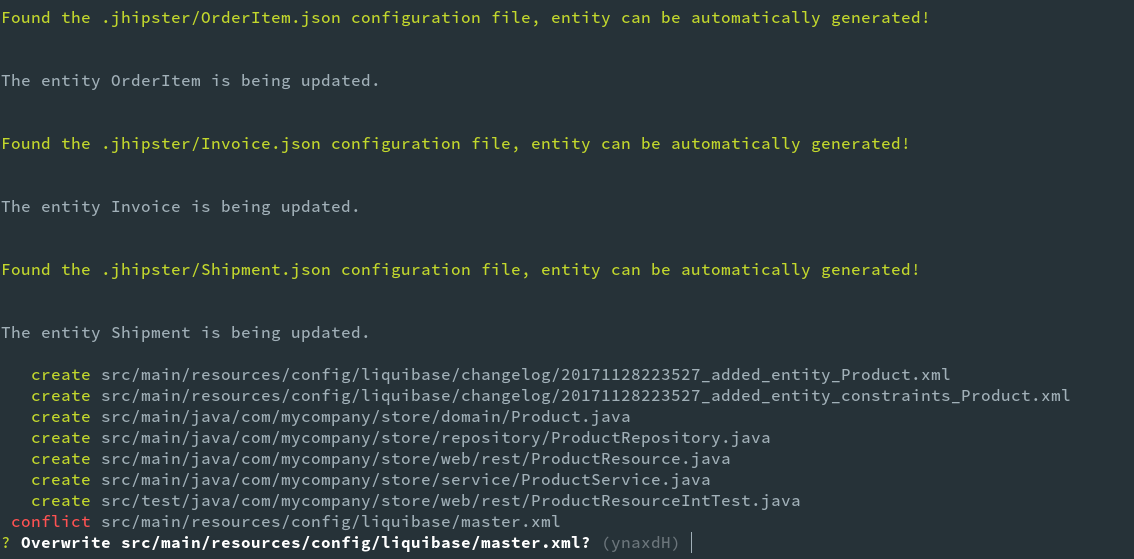
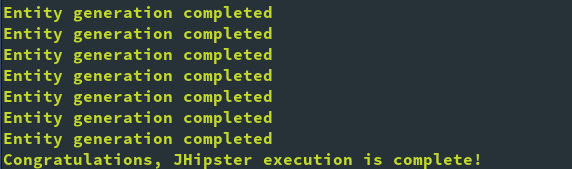
Enter a to confirm the overwrite of all files with changes. Once the files are generated, JHipster will trigger a yarn webpack:build step to rebuild the client side code. Once done you will see a success message like the following:
Running git status on the Terminal shows us that five files were modified and a lot of new files added. Let's commit the changes to Git. Execute the commands shown here:
> git add --all
> git commit -am "generated online store entity model"