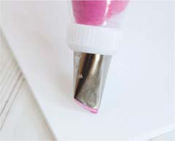
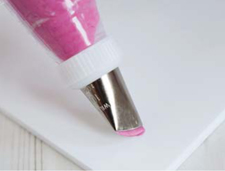
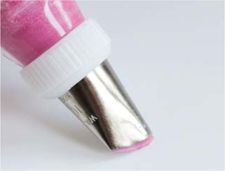
1. Position the nozzle at a 20 to 30 degree angle with the wide end of the nozzle touching the surface and the narrow end pointing outwards. The narrow end of the nozzle should be in a 12 o’clock position.
Some good news! All the flowers in this book can be created with just ten basic piping strokes. Master them by following the step-by-step instructions below, and refer back here as often as you need.
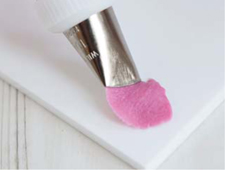
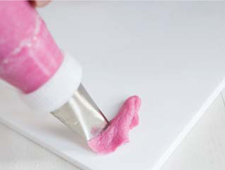
1. Position the nozzle at a 20 to 30 degree angle with the wide end of the nozzle touching the surface and the narrow end pointing outwards. The narrow end of the nozzle should be in a 12 o’clock position.

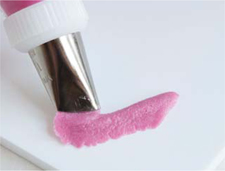
2. Give the piping bag a good squeeze without moving or turning your hands or your piping bag. The wide end of nozzle should remain in the same position.
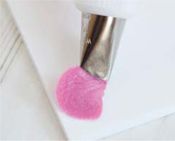
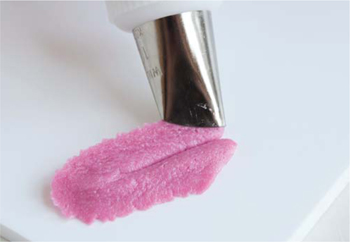
3. Release the pressure when the buttercream creates a simple petal shape.
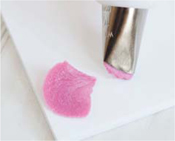
4. Gently pull the piping bag down or towards you so that the petal has a clean edge.
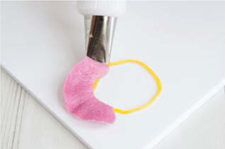
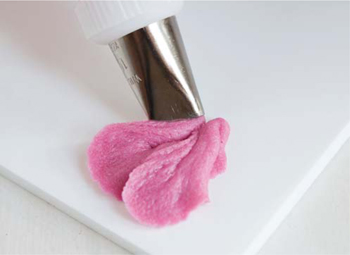
1. Position the nozzle at a 20 to 30 degree angle with the wide end of nozzle touching the surface and the narrow end pointing outwards. The narrow end of the nozzle should start in a 10 o’clock position (2 o’clock for left-handers).
2. Squeeze the piping bag with constant, even pressure while slowly turning the nozzle to the right (or left for left-handers), to create the beginning of a small arch.

3. You will create a fan-shape, as the narrow end of nozzle points to around the 2 o’clock position, at this point release the pressure.
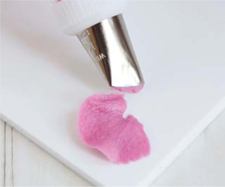
4. Gently pull the piping bag down or towards you so that the petal has a clean edge.
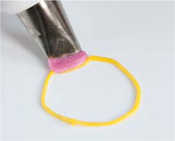
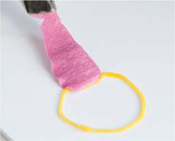
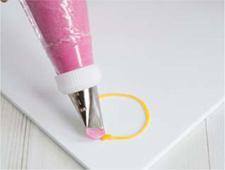
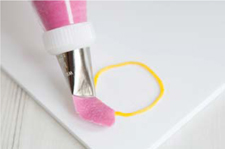
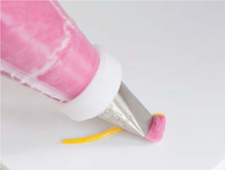
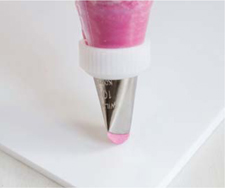
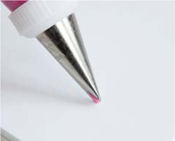
1. For flowers that have pulled petals it is always helpful to pipe a guide circle. You can start anywhere and position the nozzle flat on the surface with the wide end touching your guide circle, or towards the centre of the flower.
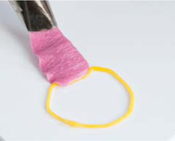
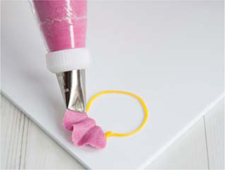
2. Squeeze the piping bag with constant, even pressure while pulling away.
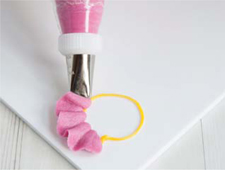
3. When you reach the length you want, release the pressure then abruptly pull away.

4. It is common for this type of petal to have a jagged tip when you have piped it. Just wait for the buttercream to crust a little bit and use a cocktail stick to smooth the edges.
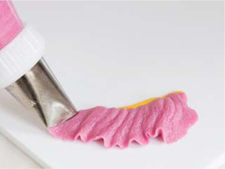
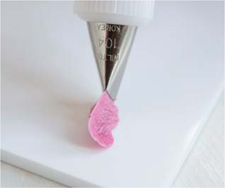
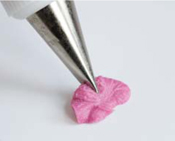
1. Position the nozzle at a 20 to 30 degree angle with the wide end of the nozzle touching the surface and narrow end pointing outwards.
2. Squeeze the piping bag with constant, even pressure as you move your hand in a slight up and down motion while gradually moving clockwise (counter-clockwise for left-handers).
3. Continue to pipe until you reach the desired length of petal. You may stop at any point and just join the petals again should you need to make it longer.
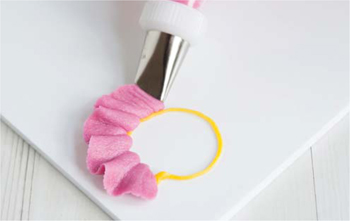
4. Gently pull the piping bag down or towards you so the petal has a clean edge.

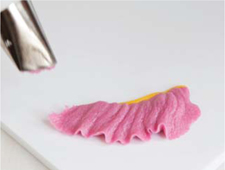
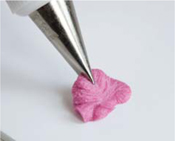
1. Position the nozzle at a 20 to 30 degree angle with the wide end of the nozzle touching the surface and the narrow end pointing outwards.
2. Squeeze the piping bag with constant, even pressure as you move your hand in a long curved motion, clockwise (counter clockwise for left-handers).
3. Continue to pipe until you reach the desired length of petal.
4. Gently pull the piping bag down or towards you so the petal has clean edge.
1. Start piping one side of the petal by positioning your nozzle facing left, and positioned flat on the surface.
2. Squeeze the piping bag with constant, even pressure in a jiggling up and down motion until you reach the tip of your petal.
3. To create a pointed petal, pull the piping bag away when you reach the tip. To create a rounded tip go to step 5.
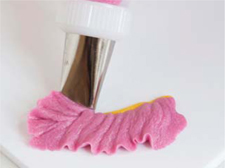
4. Turn the nozzle to the right while keeping the wide end to the centre of the petal making sure that there is no gap. Then continue with a jiggling up and down motion going back down to the base to create the other half of the petal.

5. To create a rounded tip, turn the piping bag straight after piping the first side of the petal, then continue piping the other side of the petal.
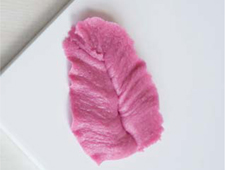
6. You can use this technique to create a smooth petal by simply omitting the jiggling motion as you pipe.

1. Position the nozzle flat with the wide end touching the surface and the narrow end pointing outwards. The narrow end of the nozzle should start in a 10 o’clock position (2 o’clock for left-handers).
2. Squeeze the piping bag with light even and constant pressure then gradually pull up to the length you require. Carefully turn halfway to the right, release the pressure, and pull the nozzle down.

3. Pipe the other half of the petal by positioning your nozzle where the first stroke ended. Then squeeze the piping bag making a slight curve, the same height as the first.
4. Pull the nozzle down to the base.
1. Hold the piping bag at a 90 degree angle with the opening of the nozzle facing downwards towards the surface.
2. Give the piping bag a good squeeze until you get an upright looking petal. You can drag the nozzle downwards to create a longer petal. You can also slightly wiggle the nozzle to create a wavy petal.
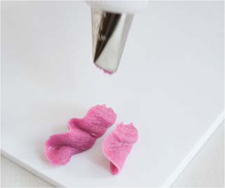
3. Finish off the petal by pulling the nozzle down.
1. Hold the piping bag at a 20 to 30 degree angle with one of the pointed ends of the nozzle touching the surface.
2. Squeeze the piping bag with constant even pressure until it creates a wide base.
3. Gradually pull the piping bag while continuously squeezing but gradually releasing pressure as you reach the desired length of your petal.

4. Once you reach the desired length, stop squeezing the bag and pull the nozzle abruptly.
1. Hold the nozzle completely flat against the surface.

2. Squeeze evenly and move the piping bag to the desired petal length.
3. Make a tight turn to create a rounded tip, but do not make an arch.
4. With the same pressure, pull the piping bag back to the base of the petal.