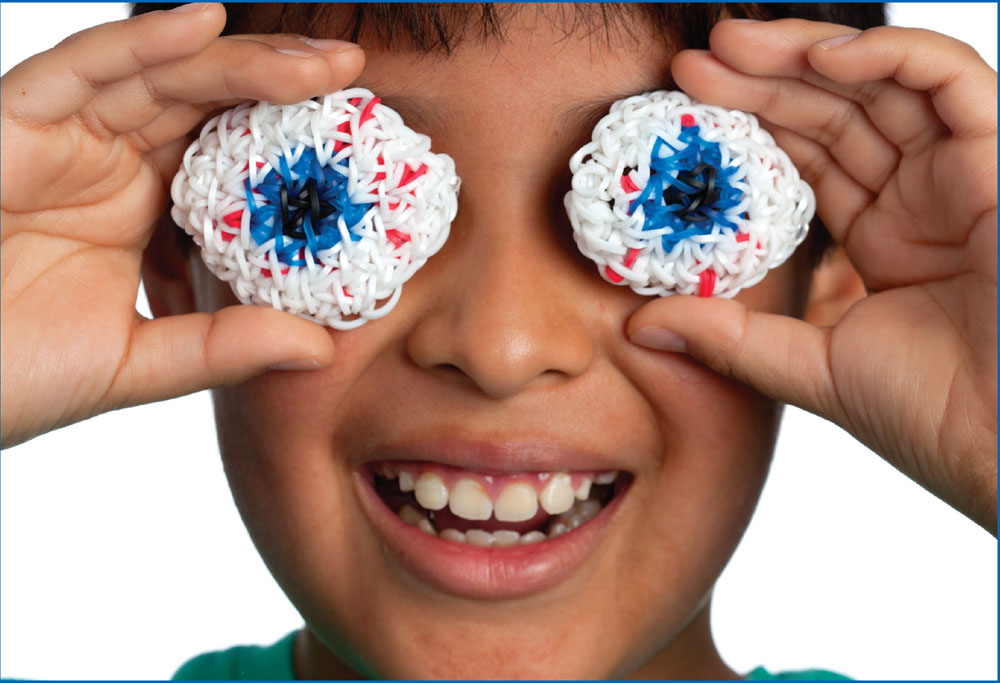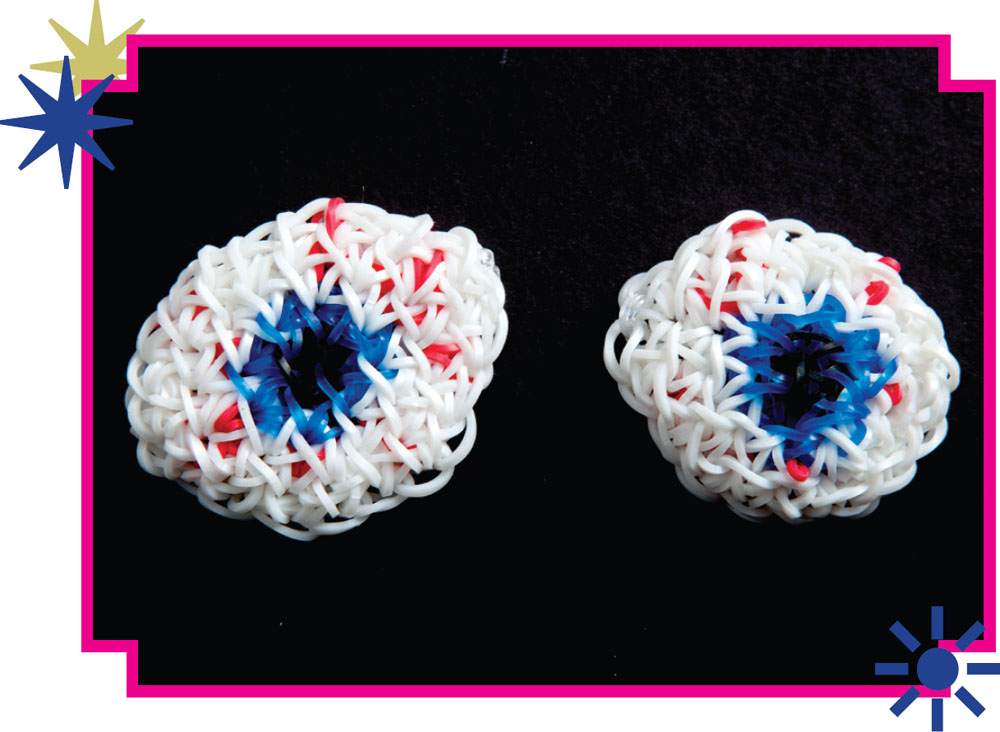

This eyeball project is creepy and has extra ick-factor! Whether you use them to gross out all your friends or to wear them over your own eyes, these baby blues are double the fun! Try them out with your own eye color or even invent a new one, like orange or rainbow. While these eyes probably won’t do much good for your vision, they will be an awesome addition to your rubber band project collection!
Difficulty level: Medium
You need:
3 looms • hook • 2 c-clips • about 89 white glow-in-the-dark bands • 11 red bands • 16 blue bands (or other eye color) • 4 black bands
1. Set up three looms side by side with the pegs square and the arrow pointing away from you.

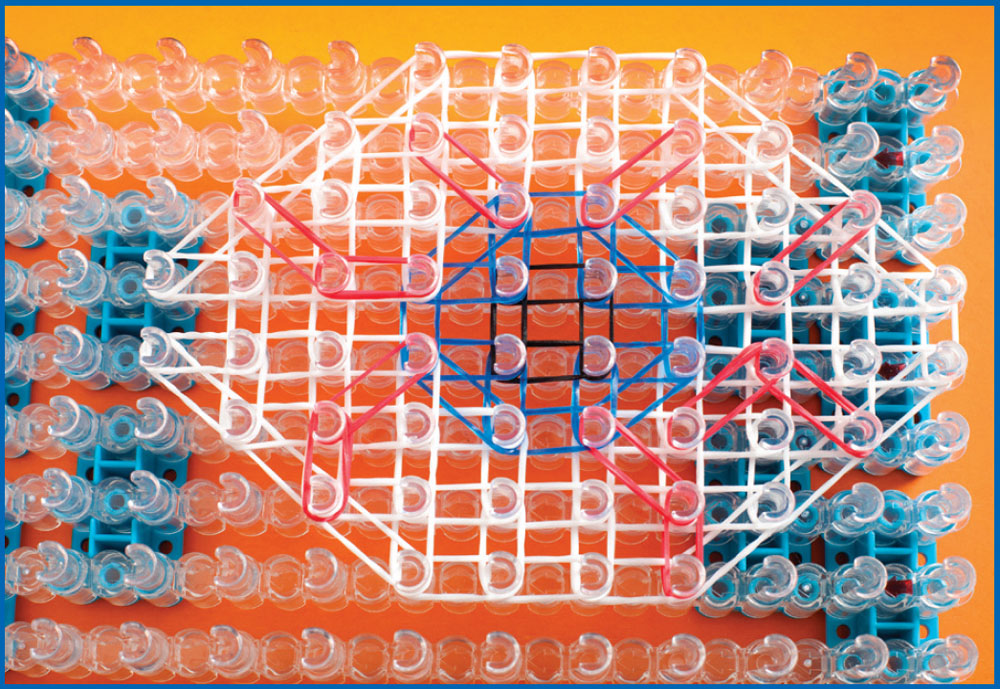
2. Lay out a trapezoid shape on your loom to start the eyeball. Attach a white band to the center peg in the first row, and connect it to the peg to the right. Attach another band to each of these pegs, and connect them to the next peg up and away from the center. Attach another band to each, and connect it to the next peg above. Lay out a line of three horizontal bands across the second row, starting on the peg on the left where you ended your diagonal band and moving from left to right.
3. Continue to expand your eyeball shape in the same way you laid out your trapezoid. Attach bands to the outside pegs in the line you laid out in the second row, and connect them to the next pegs up and away from the center. Lay out diagonal bands to connect the four pegs in the second row to the next pegs above. To add the red bloodshot bands, attach additional diagonal bands on top of your white vertical bands before laying your horizontal line across the next row. You can either follow the example or lay your red bands at random.
4. When you reach the fourth row, use a blue band (or another eye color) for the middle horizontal band as you lay them out from left to right. When you lay out the vertical bands from the fourth to the fifth row, lay out the white bands on the three outside pegs on either side, then use blue bands for the center vertical bands. Attach an additional blue band to each of the center pegs, and connect them to the next peg up and away from the center.

5. Lay out a horizontal line across the fifth row, moving from left to right. Use blue bands for the iris and a black band for the pupil, as shown. Add additional red bands next to the blue iris bands.
6. Finish laying out the iris and pupil of your eye, following the same pattern as before, laying out vertical bands then laying out a horizontal line across the row from left to right. When you lay out the vertical bands from row six to seven, lay out the white bands on the three outside pegs on either side, then lay out the blue diagonal bands moving up and toward the middle. Lay the two vertical blue bands last. Lay out your horizontal line across the seventh row, changing colors when necessary. Add additional red bands near the iris.

7. Continue laying out your eye shape, laying out diagonal bands then a line of horizontal bands. Use diagonal bands on the outside pegs of the shape to make the rows shorter as you move toward the top of the loom in the same way you increased them in the first half of the project until you reach the tenth row.

8. Double-loop a cap band around the two middle pegs in the tenth row.

9. Loop the bands in your project back to the pegs where they started, starting with the bands on the pegs where you placed your cap band. Move from left to right then move down to the next row until you reach the end of the loom.

10. Secure the loose loops remaining on the loom with a c-clip, and remove your eyeball from the loom.
11. Repeat these steps to make more eyeballs.
