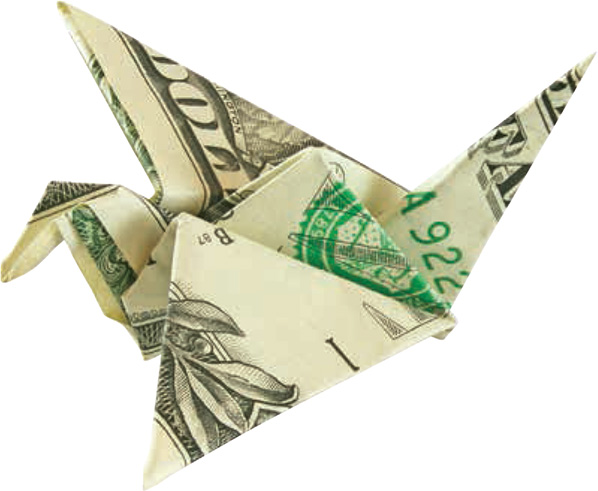
Flapping Bird
Turning your dollar into a square shape will allow you to easily fold some of the more traditional origami pieces. Many of these early origami works require square paper, and the traditional Flapping Bird is no exception. This model works exceptionally well with this square form, as the interior edges align neatly with the folding pattern.

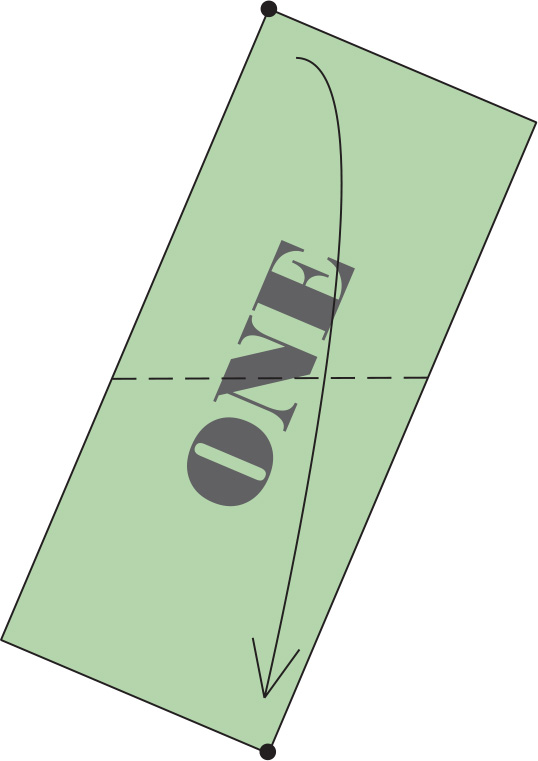
1 Valley fold the opposite corners together.
2 Valley fold and mountain fold the side edges toward the raw edges.
3 Unfold along the center.
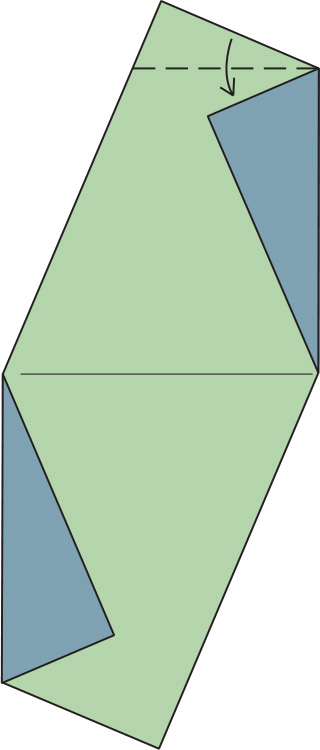
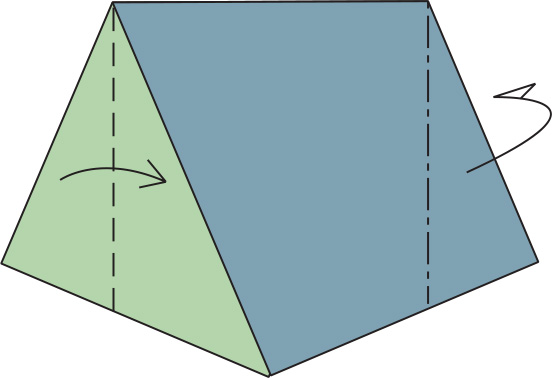
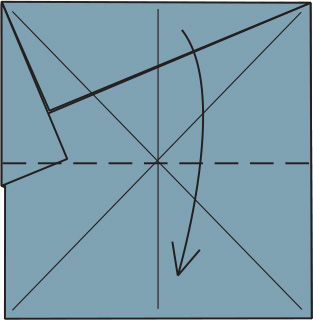
4 Valley fold the top edge to meet the raw edge.
5 Valley fold along the existing crease.

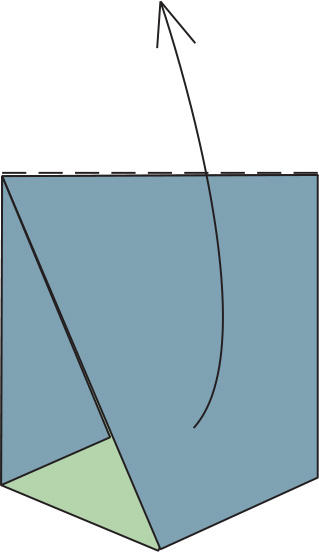
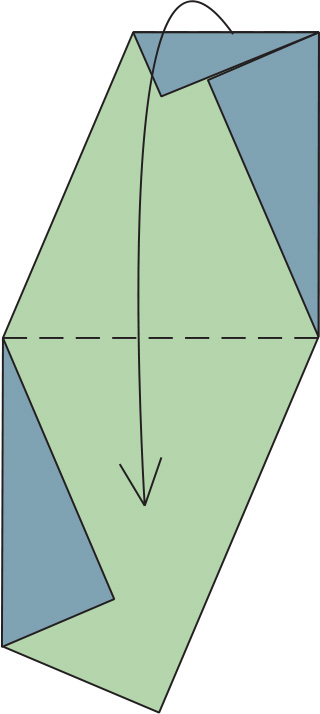
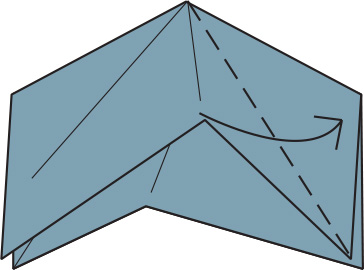
6 Valley fold the protruding flap around all of the layers.
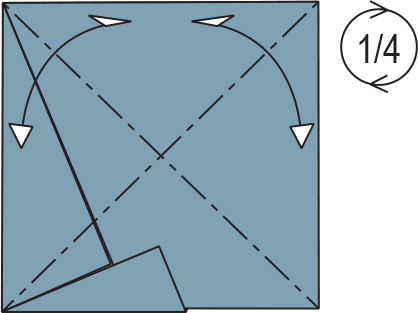
7 Precrease with mountain folds. Rotate the model 1/4 turn.
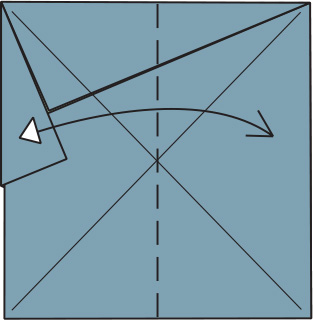
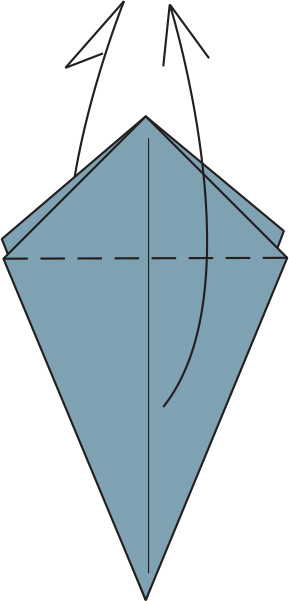
8 Precrease in half.
9 Valley fold in half.

10 Pull the sides down, allowing the four corners to come closer together.
11 In progress. Allow the top edges to meet at each side and flatten.

12 Reverse fold the four sides along the angle bisectors.
13 Valley fold the front and back flaps up.
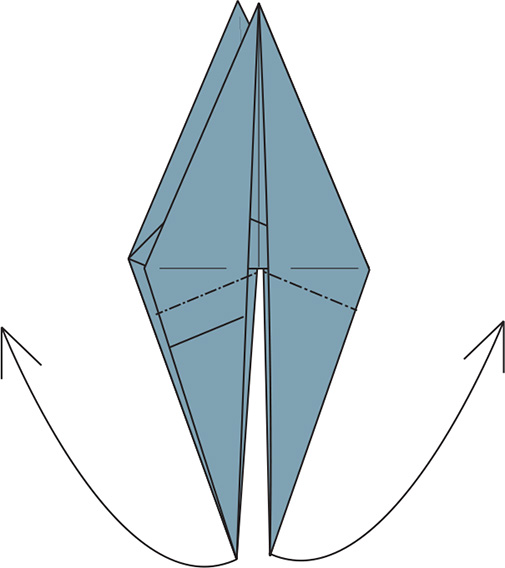
14 Reverse fold the side flaps outward.

15 Reverse fold one of the flaps down. This should be the side that has a loose flap.
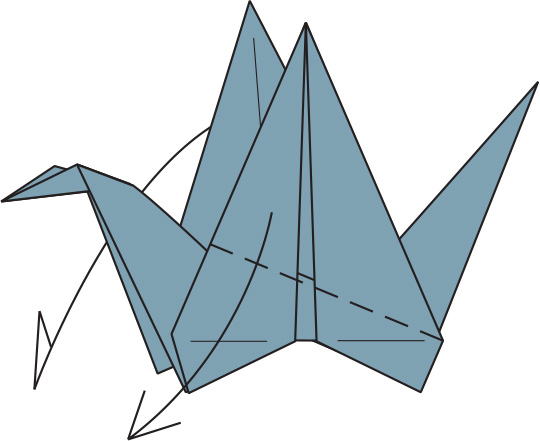
16 Valley fold the side flaps over.
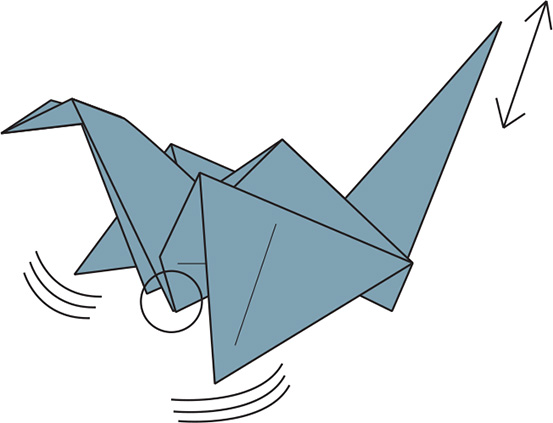
17 The completed Flapping Bird. Hold the bottom front and pull the tail in and out to make the wings flap!