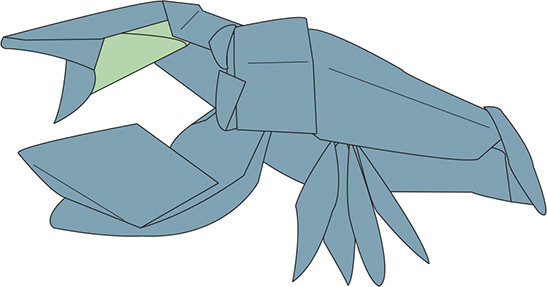
Lobster
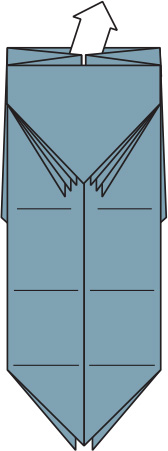
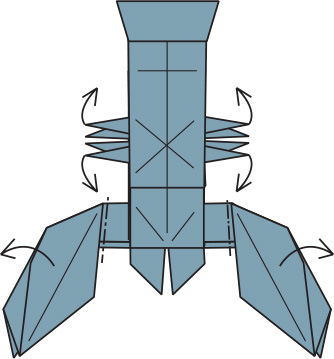
Origami master Neil Elias pioneered box-pleating, a style of folding where pleated sections are coaxed into forming appendages and projections. This lobster makes extensive use of that style. To get extra pleats to work with, the length of the model lies along the shorter edge. This model has fifteen appendages, so those extra folds along the side really come in handy.


1 Precrease in half.

2 Precrease each side in half.

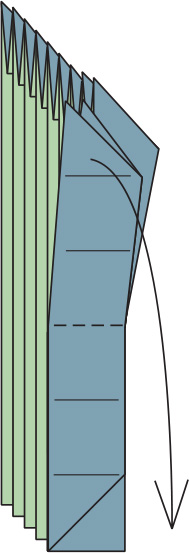
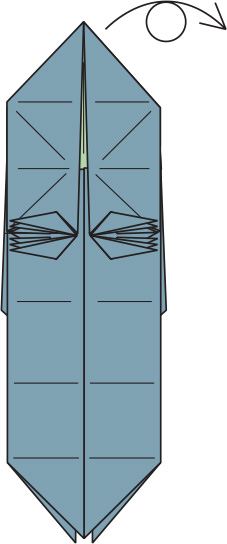
3 Precrease each section in half. Turn over.

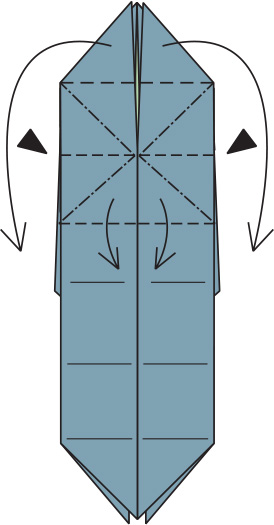
4 Form pleats across the entire length by installing valley folds between each section.
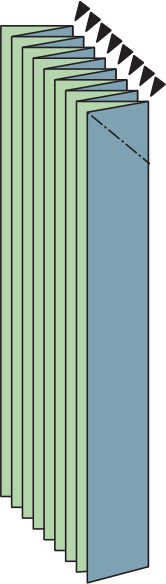
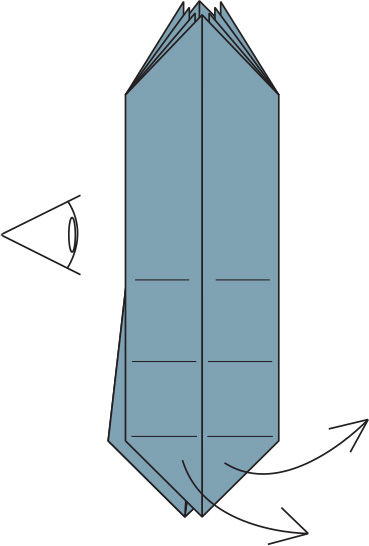
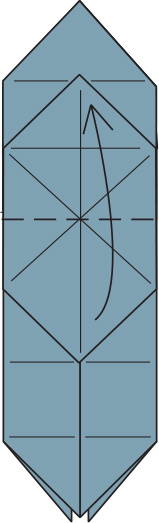
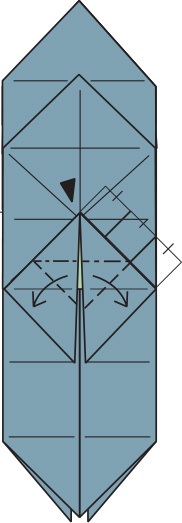
5 Reverse fold the eight top corners.
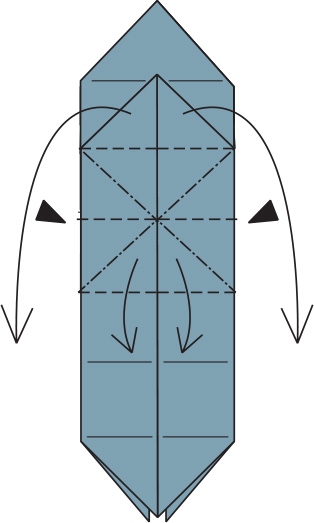
6 Reverse fold the lower corner.
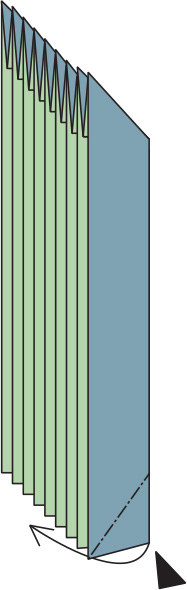
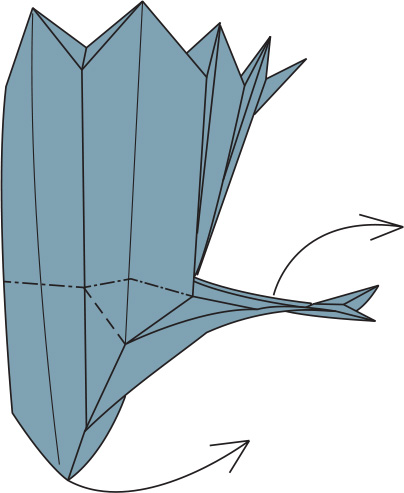
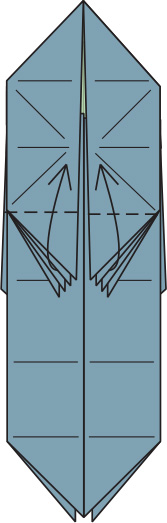
7 Open out three pleats, leaving the lower reverse fold intact.
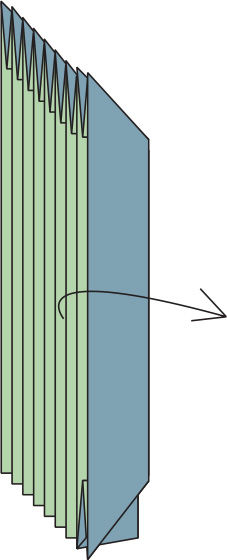
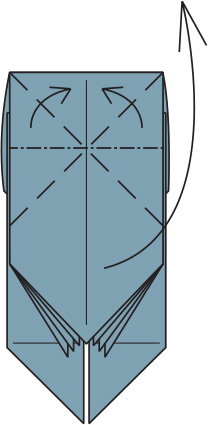
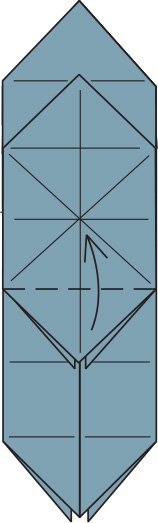
8 Pull the corner up while pleating inward.
9 Swing the flap down.

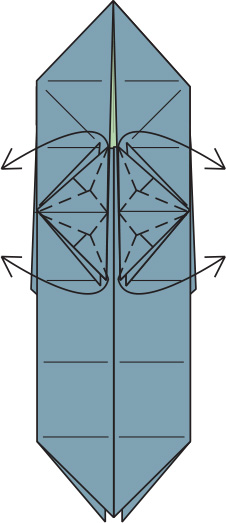
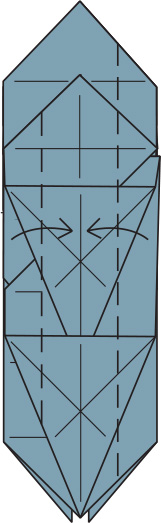
10 Repeat steps 6–9 behind.

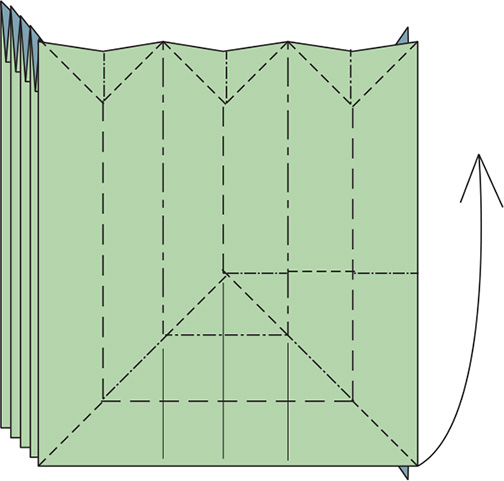
11 Open out along the center.

12 Precrease through all layers at the hinge point.
13 Pull the front flaps, spreading apart the side layers.
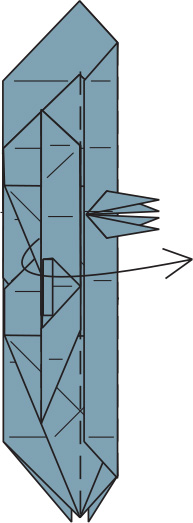
14 View from previous step. Continue pulling the flaps.

15 Form a rabbit ear at each side, allowing the model to flatten.
16 Raise the top cluster of flaps up, while incorporating reverse folds.

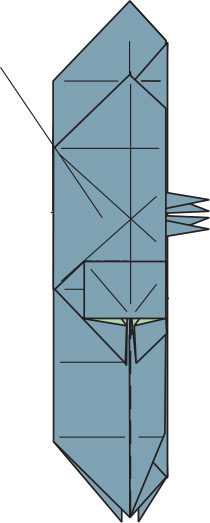
17 Valley fold down.
18 Unsink the corner.

19 Pull the top corner up, allowing the top set of points to stretch flat.

20 Swing the top flaps up.
21 Swing the flaps back down while collapsing the top layer to create another set of points.
22 Spread apart the flaps evenly.
23 Rabbit ear the sets of flaps outward.
24 Turn over.
25 Swing the top flap up.
26 Swing the flap back down while collapsing the top layer to create another set of points.
27 Valley fold the top flap up.
28 Spread squash the flap down.

29 Swing the top section over while spread squashing the bottom corner. The middle section will not lie flat.

30 Spread squash the center flap to flatten.
31 Valley fold the sides toward the center.
32 Valley fold in half.
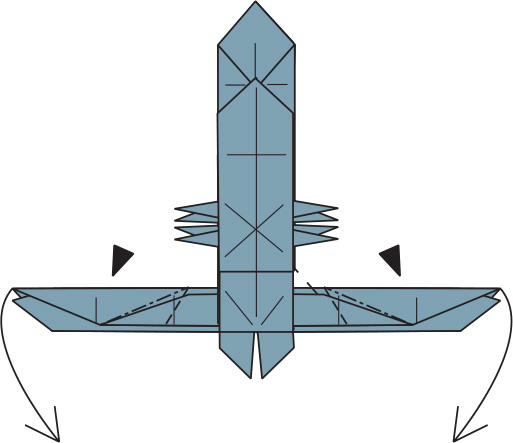
33 Repeat steps 29–32 in mirror image.

34 Reverse fold the bottom flaps outward.
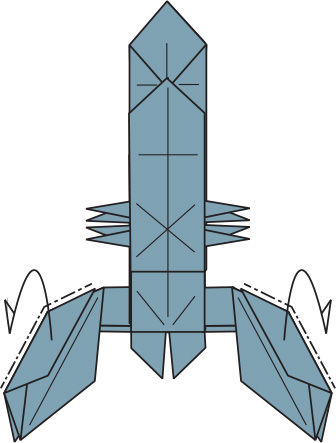
35 Squash the flaps down.
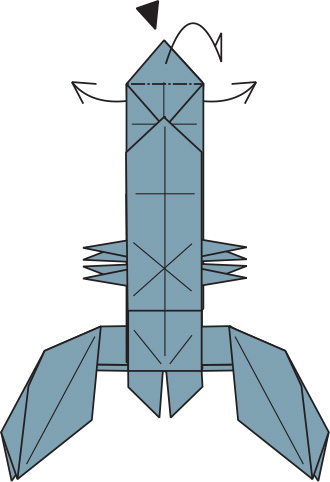
36 Wrap a single layer around each side.
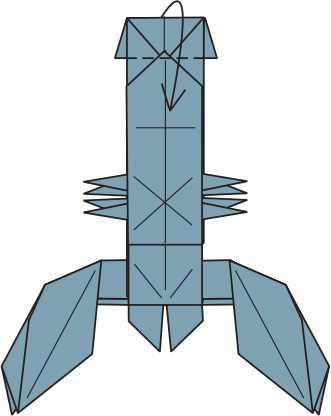
37 Mountain fold the top point while sliding paper outward at each side.
38 Valley fold the tail section forward.
39 Spread apart the legs, round out the claws, body and eyes.
40 The completed Lobster.