All of the targets that are stored in the Metasploit DB can be passed on to Nessus using the nessus_db_scan <policy ID> <scan name> <scan description> command. In our case, we have the target 192.168.2.1 IP stored in our Metasploit DB; upon executing this command, Nessus will start the scan (NOT only creating the task, but launching it as well) on the target IP, which is stored in the Metasploit DB:

Follow these steps:
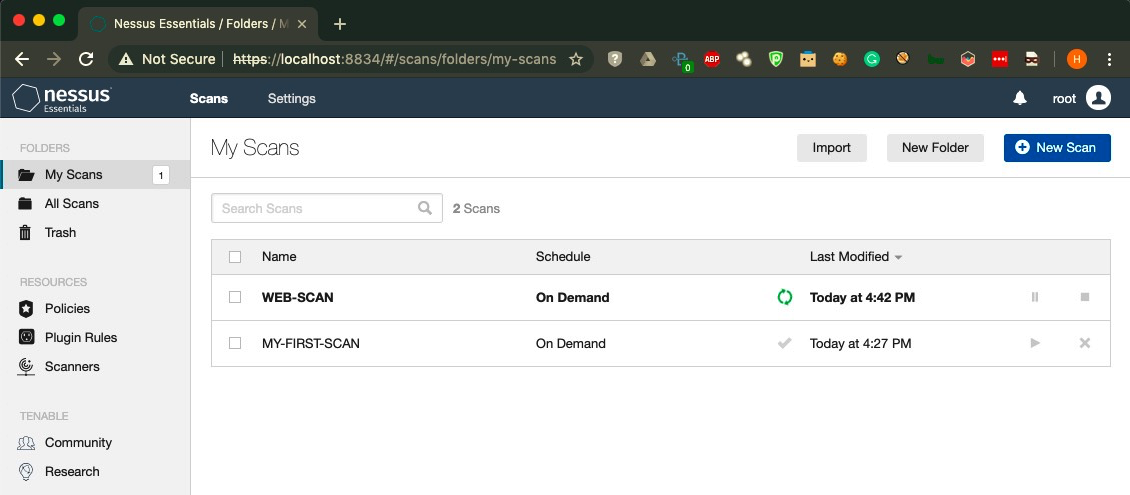
- Let's confirm the preceding execution from the Nessus web interface:

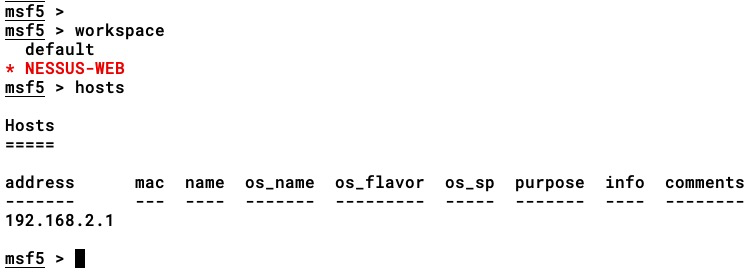
- As we can see in the preceding screenshot, the scan is up and running. In cases where we are managing a Metasploit workspace, we can use the nessus_db_scan_workspace command. In the following screenshot, we have a target IP stored in the NESSUS-WEB workspace:

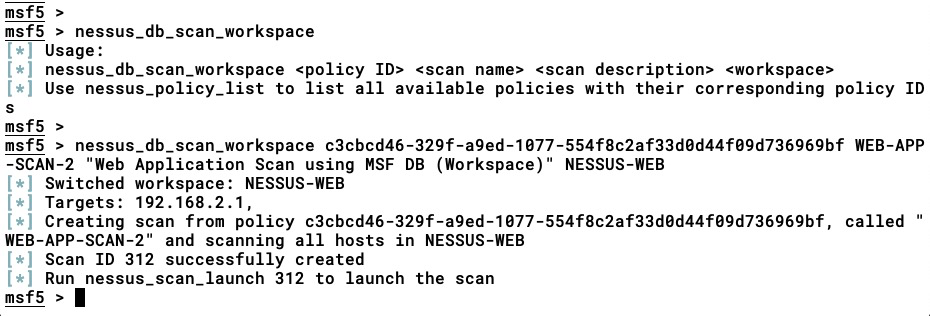
- Let's execute the nessus_db_scan_workspace <policy ID> <scan name> <scan description> <workspace> command to run the scan on 192.168.2.1 , which is stored in the NESSUS-WEB workspace:

As we can see in the preceding screenshot, we have successfully created a scanning task that will scan all the hosts stored in the NESSUS-WEB workspace.
- Let's launch the scan using the nessus_scan_launch <scan ID> command. Upon successful launch of the scanning task, we'll use the nessus_scan_details command again to get the scanning status:

As we can see from the preceding screenshot, the scan is complete.
The scanning result is not saved in the workspace; rather, we can either import the result manually or by using the nessus_db_import command. Keep in mind that some of the features are only accessible if we're using Nessus Manager.
Now that we have mentioned how to use the Metasploit DB for performing a Nessus scan, let's move on to the next section and cover how to import the Nessus scan results into the Metasploit DB.