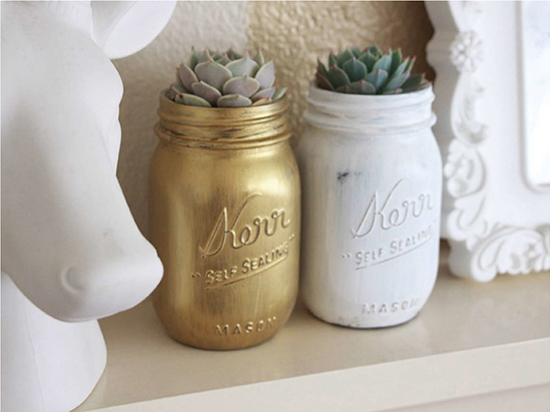
SUCCULENTS IN PAINTED MASON JARS
Mason jars are being used more than ever in crafting and decor because they are so easy to customize. If you don’t have any jars on hand, it’s easy to find them at grocery or home stores nowadays. Whether you are repurposing an old jar or using a brand-new one, Mason jars lend a vintage, upcycled feel to your home.
WHAT YOU NEED
- Mason Jar
- Paint
- Foam Paintbrush
- Sandpaper or Nail File
- Pebbles
- Soil
- Succulents
WHAT TO DO
- Hold your Mason jar upside down—place your hand inside the jar if you can. With your other hand, paint the jar in your desired color using vertical strokes. You may need to apply a couple of coats depending on how thick your paint is. Allow your paint to dry completely between coats.
- If you want your jars to have a distressed look to them, use your sandpaper or nail file to gently remove some of the paint where the jar would most likely get worn over time.
- Prepare your jar for planting. Start by adding an inch or two of pebbles followed by your soil. Make sure to leave enough room for the roots of your plant to fit into the jar.
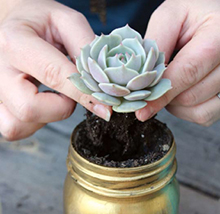
- Plant your succulents. Create a little hole in the soil for your plant to fit into. Place your plant in the jar and cover the roots with soil.

CARE INSTRUCTIONS
Since Mason jars do not have proper drainage, take care not to overwater the succulents in them. Stick a finger down into the soil to be sure the soil is completely dry before each watering.
TIP!
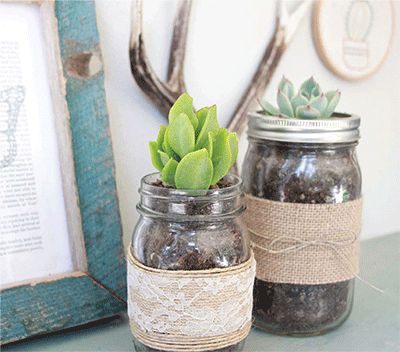
Try wrapping your jars with jute twine for a natural, earthy feel or get fancy by using burlap and lace! Screw on the jar’s open lid for an extra touch if desired.


