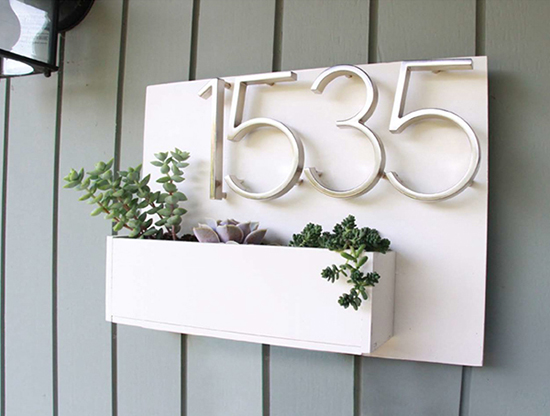
SUCCULENT ADDRESS PLAQUE
First impressions are lasting, so what better way to welcome guests into your home than with a beautiful succulent address plaque? Your visitors will know they’re in the right place when they see your house number, and they will immediately be greeted by a stunning arrangement of fresh, eye-catching succulents. They won’t believe you when they find out you “did it yourself”!
WHAT YOU NEED
- 14" × 11" Pine Wood Plaque
- Two pieces of 0.25" × 3" × 9.5" Pine Craft Wood
- Two pieces of 0.25" × 3.25" × 3" Pine Craft Wood
- Staple Gun and 1⁄2" (12mm) Heavy-Duty Staples
- Drill (Optional)
- Tape Measure
- Pencil
- Hammer
- Finishing Nails
- Wood Glue
- Cloth or Towel
- Outdoor Spray Paint or Stain
- Frame Hangers
- Address Numbers
- Plastic Wrap
- Soil
- Succulents
WHAT TO DO
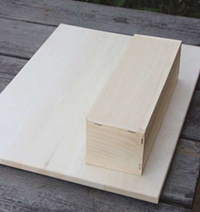
- You can make the planting box whatever dimensions you want, depending on how much room you want the succulent box to take up on the plaque. For these instructions, I’ll show you how to make what’s shown in the photo.
- Staple your 3.25" × 3" wood pieces to the ends of your 3" × 9.5" rectangular wood pieces to create the sides of your succulent box. (Since you’re using craft wood, the staples from a staple gun will go right through it.) The plaque itself will be the back side of the box.
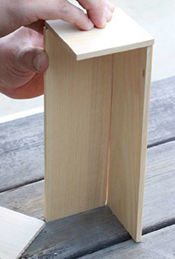
- If you want your succulent box to have drainage holes, drill them now. (If, for some reason, you don’t want water draining under your plaque, don’t drill the holes.)
- Flip your 14" × 11" wood plaque over so that the back is facing up. We are going to trace the outline of the succulent box on the back of the plaque so we can hammer in the nails where the box will go.
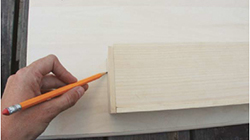
- Position your succulent box and measure it to be sure it is aligned with the edges of the plaque. Holding the box in place, trace around the outside, and then around the inside, of the box with a pencil and then remove the box. Measure again to be sure the lines are aligned with the edges of the plaque.
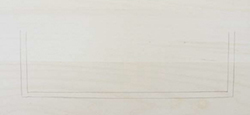
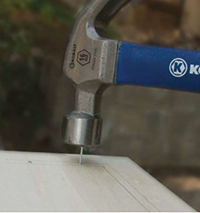
- Hammer your finishing nails through the plaque between the inner and the outer lines that you traced. Two nails on the sides, and three across the bottom will suffice.
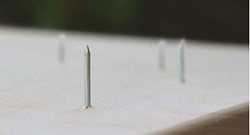
- Flip your plaque over so that the front is facing up. You should now have the pointed ends of your finishing nails sticking through in the shape of your succulents box.
- Apply wood glue to the back edges of your box and press the edges of the box onto the nails.
- Cover the front of your box with a cloth or towel and lightly hammer the box into the nails until the box sits flush with the plaque.
- If you’d like, you can now spray-paint your address plaque and planting box with outdoor paint. You can also stain your plaque or paint it with a brush, but I found spray-painting it to be the easiest.
- Once your paint dries, attach your frame hangers to the back of the plaque. Estimate how much your plaque will weigh with the soil and plants in it and be sure to purchase a hanger that can handle that weight. (Follow the directions that came with your hangers for this.)
- Now attach your house numbers to the plaque. House numbers come in many different fonts, sizes, colors, and materials. I liked these “floating” numbers with a modern feel, but you can choose anything that matches your style.
- Line your succulent box with plastic wrap to protect the wood. You can glue it into place if it’s slipping around too much. If you drilled drainage holes, pop holes in the plastic with a pencil or another pointy tool.
- Fill your succulent box with well-draining succulent soil and plant your succulents. Be sure not to cover your numbers with tall plants.
CARE INSTRUCTIONS
Place your address plaque in bright, indirect sunlight and water when the soil is dry. If your plants grow vertically, by sure to keep them trimmed so they don’t block your house numbers.


