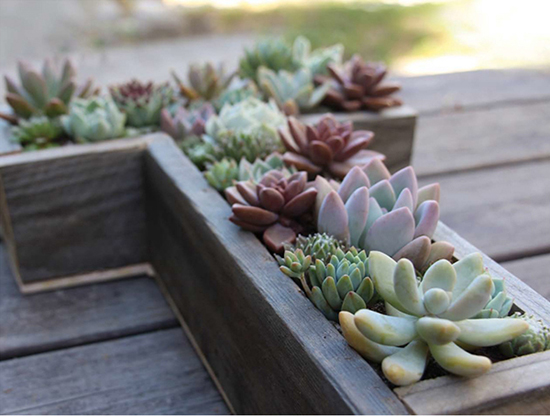
LETTER SUCCULENT GARDEN
Get personal by creating a custom, letter-shaped succulent garden. Kept horizontally, it will make a lovely centerpiece, or hang it vertically for stunning wall art. First or last name initials are popular choices, or maybe you’d like to create multiple succulent letter gardens to spell out a word, such as “LOVE.” We will be using old pallet wood for this project. Many hardware stores will sell you their old pallets for a few dollars. Old fence wood can also be used.
WHAT YOU NEED
- Pallet Wood
- Thin Plywood
- Tape Measure
- Saw
- Staple Gun and Staples
- Drill
- 1⁄4" Drill Bit
- Sandpaper
- Mesh Wire (Optional)
- Sphagnum Moss
- Soil
- Succulents
WHAT TO DO
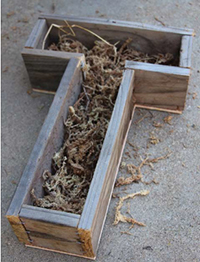
- Choose a letter that you would like to turn into a succulent planter. It can be any letter, but remember that curvy letters will take more skill to create out of wood then straight-sided letters. For frame of reference, my letter here is about 1 foot wide and just over a foot long.
- If your pallet isn’t already dismantled, you will need to do that at this time. Taking a pallet apart by removing the nails holding it together is no easy task, so you may want to do what I did and just saw the wood directly off the pallet. My pallet had been out in the weather for quite some time and was really brittle. Rather then destroy the wood by prying it apart with a hammer or crowbar, I decided it would be easier to saw off the wood pieces I needed to create the letter while the pallet was still intact.
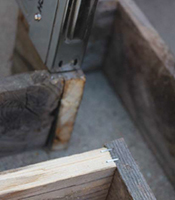
- Measure, cut, and staple together the wood pieces that you removed from your pallet to create your letter. These pieces will be the sides of your planter. I stapled my pieces together on the back and sides of the letter so that no staples would be visible from the front.
- Trace your letter onto the thin plywood. This will serve as the backing for your letter.
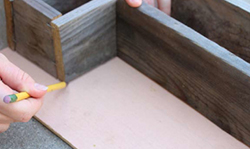
- Cut out your letter with a saw and drill some holes in it to create some drainage.
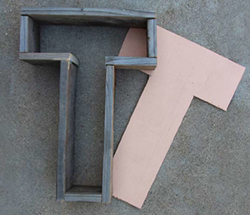
- Use your sandpaper to smooth out any really rough edges on the letter backing.
- Flip your pallet wood letter over so that the front side is down, and staple on your plywood backing.

- If you plan to hang your letter vertically, now is the time to add your hanging hardware. Follow the instructions included with your specific hardware. Be sure to estimate how much the letter will weigh with the soil in it so you can purchase a hanger that can handle its weight.
- Line the bottom with sphagnum moss to create a barrier between the soil and wood.
- Depending on the size of your letter, whether you will be setting it up horizontally or vertically, and whether you will be using entire plants or cuttings, you may want to staple some wire mesh to the front of your letter. Add the wire before you put soil in, since the soil and cuttings can fit through the wire.
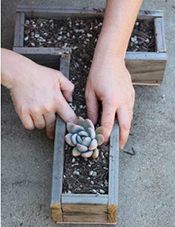
- Fill the letter with soil.
- Plant your succulents. Choose a color scheme or a few types of plants, but use different sizes to create visual interest.
- If your letter is going to be a vertical garden, you will need to let your plants take root for a few weeks before standing it up or hanging it. After a few weeks, gently pull on your plants to see if they come out of the soil easily. If they are not secure in the soil, you may need to wait a few weeks longer.

CARE INSTRUCTIONS
Place your letter garden where it will receive bright but indirect sunlight. If it is being kept vertical, you will need to lay it horizontal when you water. Water when the soil is totally dry and let the water completely drain out before you hang or stand it back up.