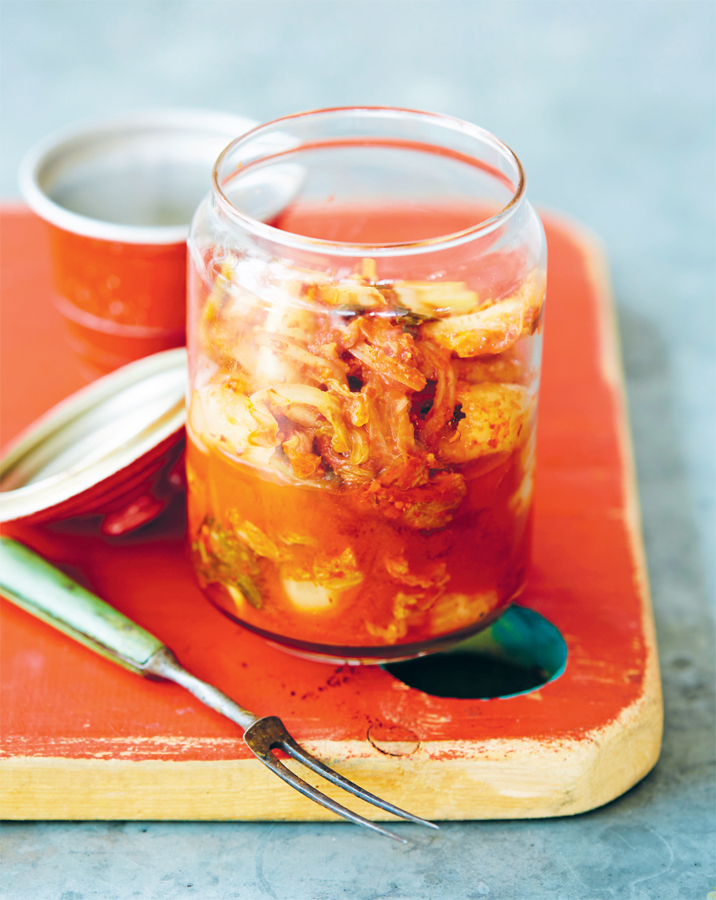
KIM CHI
This traditional Korean fermented side dish has some seriously devoted fans the world over. A heady mix of spicy and sour, kim chi elevates a simple bowl of rice to a meal with one spoonful. There are hundreds of variations, but this one contains all the essential ingredients. Don’t be put off by the funky smell when it is fermenting; traditionally it has been brewed in an outdoor shed or cool underground spot for this very reason. Just be sure to keep it in a well-ventilated spot and you’ll be fine.
MAKES: 2 x 1 litre (32 oz) jars
INGREDIENTS
½ large Chinese cabbage, about 1.5 kg (3 lb 5 oz) in total, cut lengthways into thirds, then washed and well drained
500 g (1 lb 2 oz) carrots, washed
1 small bunch garlic chives, about 75 g (2½ oz) in total
1 large brown onion, roughly chopped
1 large sweet red apple, cored and chopped
80 ml (2½ fl oz/1/3 cup) fish sauce, or 50 g (2¾ oz) sea salt
3 large garlic cloves, peeled
1 tablespoon grated fresh ginger
10 g (¼ oz/½ cup) Korean hot red chilli flakes (gochugaru)
EQUIPMENT
2 x 1 litre (32 oz) clean glass jars and lids (if there is excess mixture, you may need another small jar) – or you may prefer to use a jar and lid with an airlock
large bowl
blender
spatula
disposable kitchen gloves (optional)
paper towel
2 shallow bowls
KIM CHI METHOD
1. |
Prepare your jars: Wash your jars in hot, soapy water, rinse well and leave to air dry. |
2. |
Chop the vegetables: Chop the cabbage and carrots into bite-sized chunks and place in a large bowl. Cut the garlic chives into 2 cm (¾ inch) lengths and add to the bowl. |
3. |
Blend remaining ingredients: Put the onion and apple in a blender. Add the fish sauce, garlic, ginger and chilli flakes and blend into a rough paste. |
4. |
Combine paste and vegetables: Use a spatula to scrape the paste out of the blender, adding it to the chopped vegetables. Rub the paste into the vegetables very firmly for a good minute or two; you may want to wear disposable kitchen gloves while doing this as the chilli flakes are quite hot. The vegetables will slowly start releasing liquid, which is what you want. |
5. |
Pack your jars: Fill the jars with the mixture, pressing it down firmly to ensure no air or gaps remain and the mixture is immersed in its own liquid. Make sure there is a 5 cm (2 inch) space between the top of the liquid and the lids. Wipe the rims clean with paper towel and screw the lids on. |
6. |
Leave to ferment: Place each jar in a shallow bowl to catch any juice that may escape. Leave to ferment on your work bench for 4–7 days. The mixture will bubble furiously and then calm down. After 4 days you can open the jars and press the mixture back down in the jar, as it will appear to have grown, due to carbon dioxide being produced by bacteria. It will smell pretty strongly, so keep it in a well-ventilated area. Taste the kim chi regularly during fermentation, to see what you like. I prefer a shorter fermenting time, but others like it really funky. |
7. |
Store and eat: After 7 days, or when you think the kim chi tastes good, transfer to the fridge, where it will keep for up to 3 months. As you use up the kim chi, you can decant the rest into smaller jars to save space in the fridge. |
HOW TO USE
- Spice up your salad dressings with a teaspoon or two of kim chi to add some kick.
- Kim chi and a bowl of fried rice is a match made in heaven.
- Use instead of pickles on a toasted cheese sandwich.
- Enjoy with poached eggs and butter-sautéed kale.