What You’ll Need: clear base and top coat; white nail polish; yellow, brown, and red acrylic paint; red nail polish; fine-tipped brush; tweezers; three-ring-binder stickers; gold flakes or dots
1. Apply a clear base coat. Apply two coats of white polish on the index fingernails, which is where Hello Kitty’s face will be.

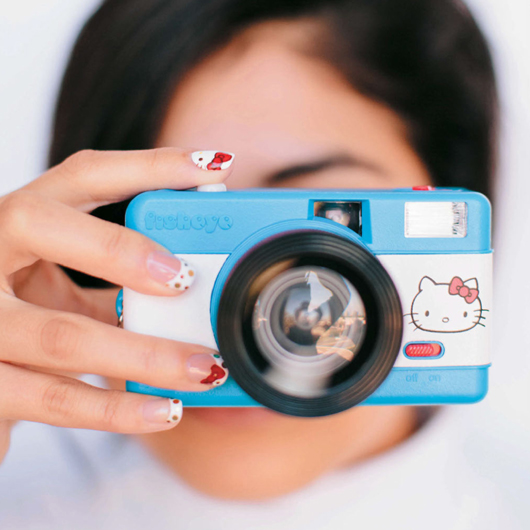
2. On the white index fingernails, draw Hello Kitty’s face: Using a fine-tipped brush and yellow paint, draw a horizontal oval for the nose. Using brown paint, draw two vertical ovals for the eyes and draw the whiskers.

3. Using red polish or acrylic paint, draw a bow at the top right corner of the nail. (See this page.) Once the bow has dried (about five minutes), add an outline using a fine-tipped brush and brown acrylic paint.

4. Using tweezers, apply stickers at the tops of the rest of the fingernails leaving a little space between the sticker and the tip of the nail to create a French tip.

5. Paint two coats of white polish on the tip of each fingernail with a sticker.

6. Using tweezers, peel off the stickers.

7. On each ring fingernail, paint a bow at the top right corner of the nail using red paint. Once the bows have dried (about five minutes) outline the bows with brown paint.

8. Starting with the pinky nail, apply a top coat just to the white tip and, using tweezers, apply gold flakes or dots to the freshly applied top coat. Make sure to work on one nail at a time, applying top coat and then the gold flakes or dots, so the top coat doesn’t dry out.

9. Apply a clear top coat to all nails.

