What You’ll Need: clear base and top coat; beige or flesh-toned nail polish; yellow or gold glitter nail polish; blue glitter nail polish; pink glitter nail polish; brown, blue, and pink acrylic paint; clear glitter nail polish; large glitter flakes; fine-tipped brush; wood cuticle stick with flat tip; tweezers; star-shaped glitter decals
1. Apply a clear base coat.

2. On the middle and ring fingernails, apply two coats of beige or flesh-toned polish.
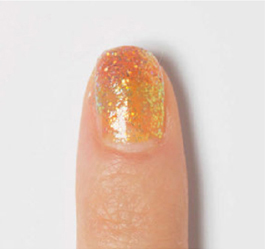
3. For the ombre look, start out by applying one coat of yellow or gold glitter polish on the remaining nails. Then, starting two-thirds of the way down the nail and painting toward the tip, apply two coats of blue glitter polish. Next, add two coats of the pink glitter polish on the top third of the nail only.

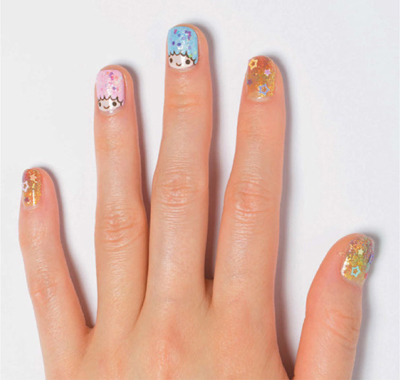
4. For the character nails (middle and ring fingers), paint Kiki on the middle fingernail by drawing the outline of his face in brown paint using a fine-tipped brush: About a third of the way up from the nail bed, paint a scalloped pattern in brown paint with the scallop facing toward you. Next, draw two round eyes and a mouth.

5. Paint Lala on the ring fingernail in the same manner. Using blue and pink acrylic paint, paint the hair for each character. Be sure to stay within the scallop so as not to paint over the characters’ faces. (Lala’s hair is pink; Kiki’s is blue).

6. Using a fine-tipped brush and clear glitter polish, add a top coat just to the hair of each character. Next, place glitter flakes on a palette. Using the flat tip of the cuticle stick, scoop the flakes onto the pink and blue hair of each character. The flakes will stick to the just-applied layer of clear glitter polish.

7. Apply clear top coat on the ombre nails, then use tweezers to apply different colored star-shaped decals to the thumbnails and index and pinky fingernails.
8. Apply a clear top coat to all nails.