1
Build a simple box. Cut the plywood parts and assemble them with trim-head screws. Make sure the box opening is 1/4 in. taller and wider than the door itself.

1
Build a simple box. Cut the plywood parts and assemble them with trim-head screws. Make sure the box opening is 1/4 in. taller and wider than the door itself.

2
Square it up. Take diagonal corner-to-corner measurements, then adjust the box until the measurements are equal and the box is square. Install the back, using one edge of the back to straighten the box side as you fasten it. Check once again for squareness, then secure the other edges of the back.

3
Cover the plywood edges. Install screen molding over the front edges of the box. Apply wood glue lightly and use just enough nails to “clamp” the molding in place while the glue dries.

4
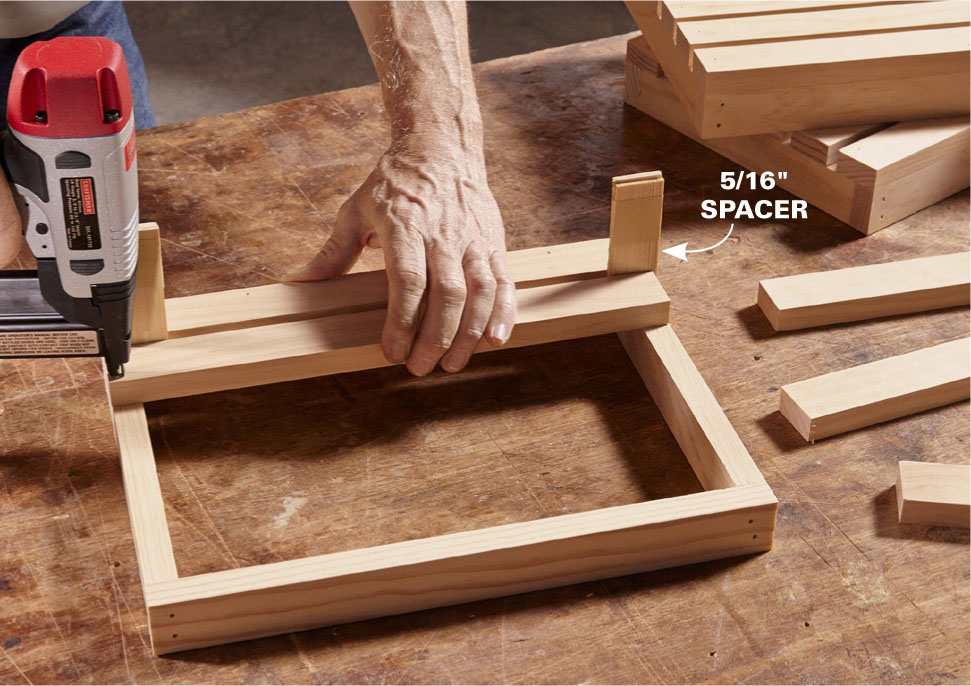
Build slatted shelves. Plywood shelves would work fine, but slatted shelves allow better ventilation so wet clothes and shoes can dry. Space the slats with a pair of wood scraps.

5
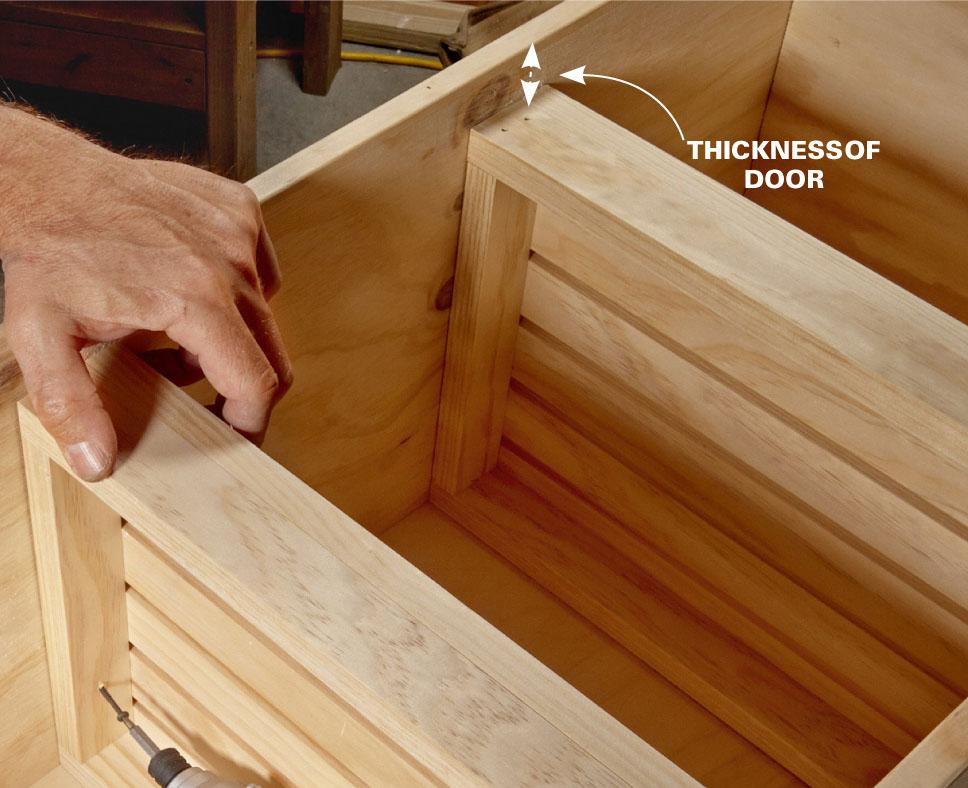
Install the shelves. Stand your locker up and position the shelves to suit the stuff that will go in it. Mark the shelf locations, lay the locker on its back and screw the shelves into place. Make sure the shelves are inset far enough to allow for the door.

6
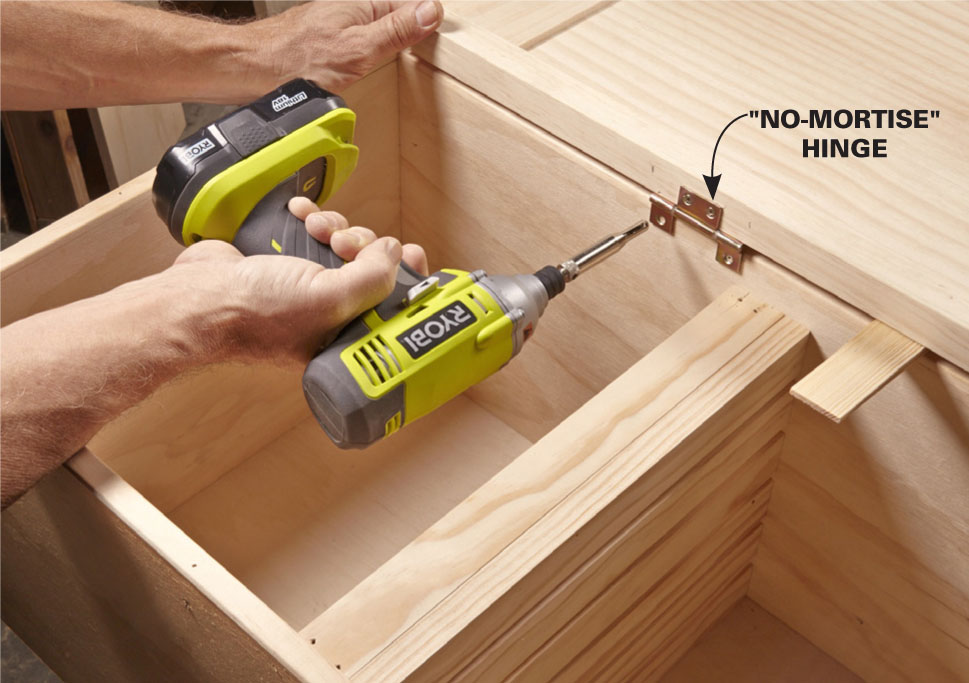
Mount the hinges. Remove the hinges from the doors (they’ll be pointed the wrong way) and reinstall them on the door based on the direction you want it to swing. Prop up the door alongside the box and align the door so there will be a 1/8-in. gap at the top and bottom of the box. Then screw the hinges to the box.