
WHAT IT TAKES
TIME: 1 day
SKILL LEVEL: Beginner
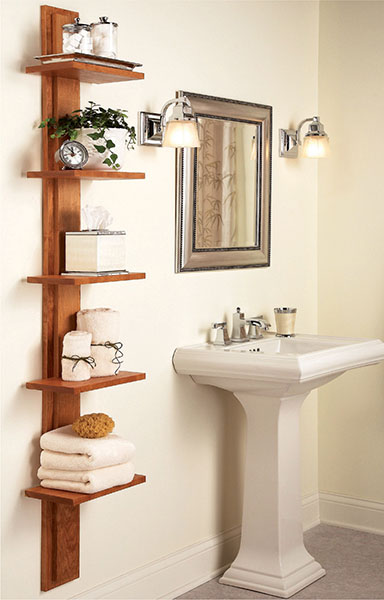
In a small bathroom, every single square inch counts. These shelves make the most of wall space by going vertical. The version shown here, made of cherry, cost about $100. But you can build one for less if you choose a more economical wood like oak or pine. All you need is a 6-ft. 1x4, a 6-ft. 1x6 and a 6-ft. 1x8.
Cut the middle spacers and the shelves 12 in. long. Cut the bottom spacer 11 in. long to allow for a decorative 1-in. reveal. Cut the top spacer to fit (the one shown was 7-1/4 in.). Measure 1 in. from one edge of the backboard and draw a guideline for the shelves and spacers along its length. Nail the bottom spacer in place, leaving a 1-in. reveal at the bottom edge. Center the first shelf by measuring 3-1/4 in. in from the edge of the backboard and nail it in place. Work your way up the backboard, alternating between spacers and shelves (Photo 1).
On the back side, use a 1/8-in. countersink bit to drill two holes, one at the top and one at the bottom of each spacer. Drill two holes spaced 1 in. from each side of the backboard into each shelf ledge. Drive 1-1/4-in. drywall screws into each hole (Photo 2). Paint or stain the assembled unit. If you’d like to clearcoat it, use a wipe-on poly or spray lacquer—using a brush would be really tough. Mount the unit on the wall with two 2-1/2-in. screws and screw-in drywall anchors. Drive the screws where they won’t be seen: right below the bottom shelf and right above the top shelf.