WHAT IT TAKES
TIME: 1–2 days
SKILL LEVEL: Intermediate
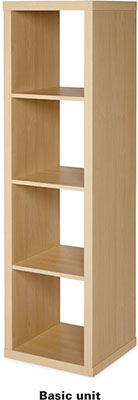
Notice that the end panels of the original assembled Kallax shelving unit protrude beyond the sides. Remove both panels (Step 1) and trim off the protruding edges (Step 2). Then reattach both panels flush with the sides (Step 3). Cut hardwood plywood panels to wrap around the unit (Step 4). Make the top and bottom panels long enough to cover the side panels, and cut the side panels to fit tightly between the top and bottom pieces. Cut all the panels wide enough to create a 3/16-in. lip around the front of the shelving unit. Adhere iron-on edge banding to these pieces.
Fasten the panels with flat-head sheet metal screws after drilling countersink pilot holes through the unit. The unit’s frames are hollow, so be careful not to punch through their thin faces when drilling the countersinks. Make sure the screw heads seat flush.
Cut plywood to cover the bottom and sides inside the unit (Step 5). Don’t fasten these pieces with screws; instead, go for a friction fit. Apply iron-on edge banding to the exposed edges.
Remove all the plywood parts to apply finish. Finish the legs too. Reinstall the panels and inserts—tack the inserts with small nails or brads. Then attach the legs (Step 6).
