1
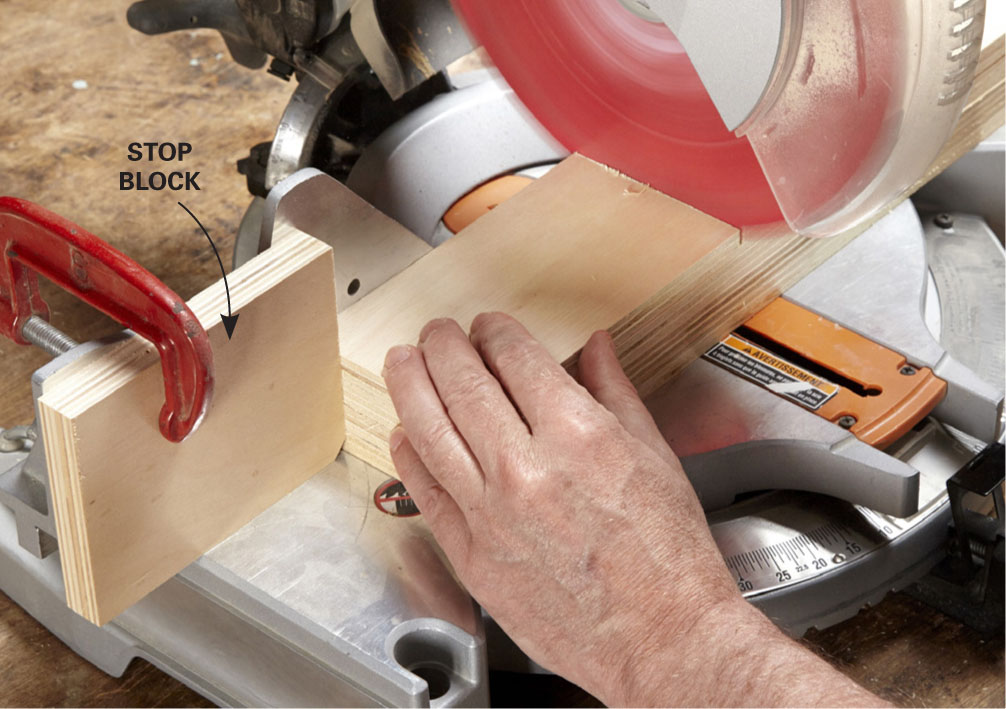
Cut the parts. Rip strips of plywood to width on a table saw, then cut them to length with a miter saw. Clamp a scrap of plywood to the saw’s fence to act as a stop block. That lets you cut identical lengths from several strips with one chop.

1
Cut the parts. Rip strips of plywood to width on a table saw, then cut them to length with a miter saw. Clamp a scrap of plywood to the saw’s fence to act as a stop block. That lets you cut identical lengths from several strips with one chop.

2
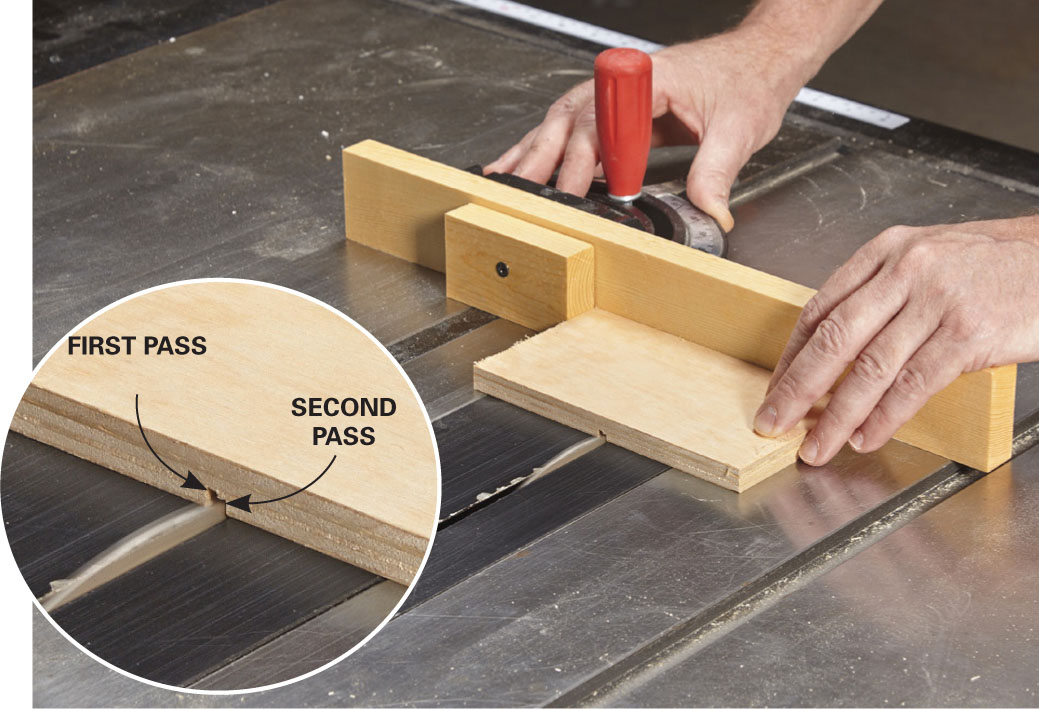
Cut divider slots. Mount a fence on your saw’s miter gauge and position a stop block on the fence. Run the bin side across the blade. Then rotate the side 180 degrees and make a second pass to widen the slot.
Caution: You have to remove the guard for this step. Be extra careful!

3
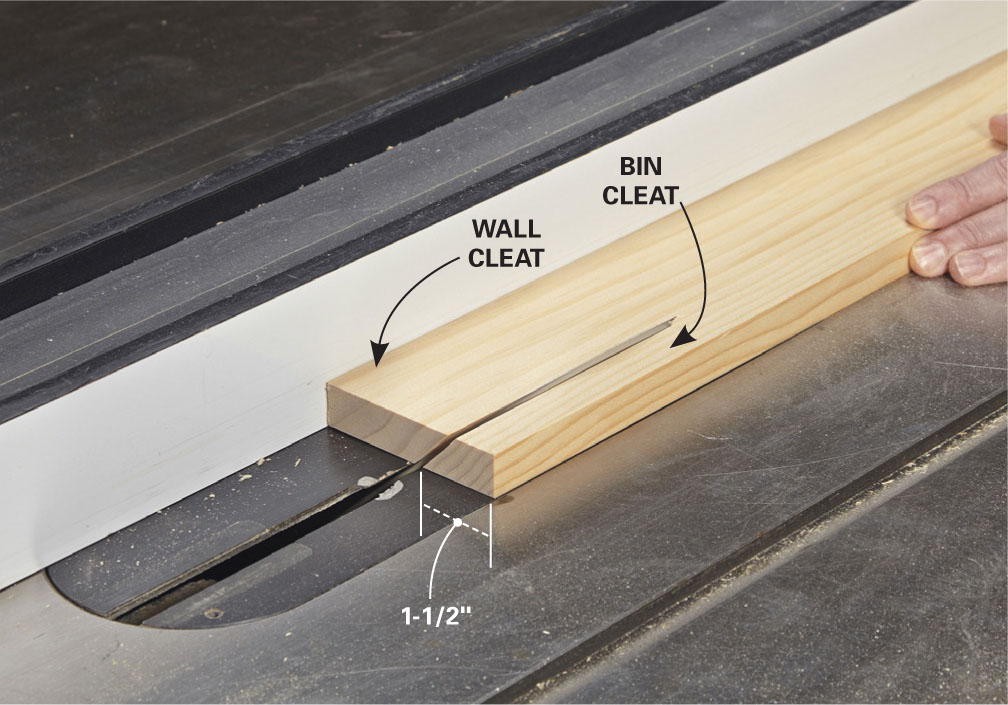
Cut the cleats. Tilt the blade to 45 degrees and set the fence so that the bin cleat is 1-1/2 in. wide. Getting the fence positioned may take some trial and error, so cut a test scrap first.
Our guard was removed for photo clarity. Use yours!

4
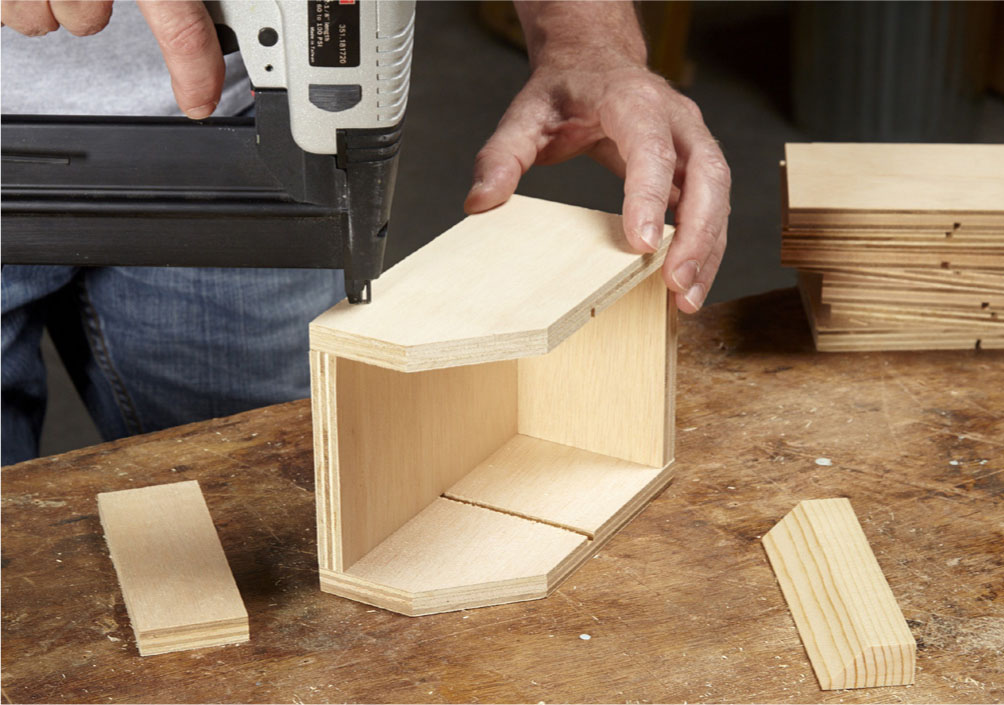
Assemble the bins. Join the parts with glue and brads. The glue will provide plenty of strength, so drive only as many brads as needed to hold the parts together while the glue sets.