1
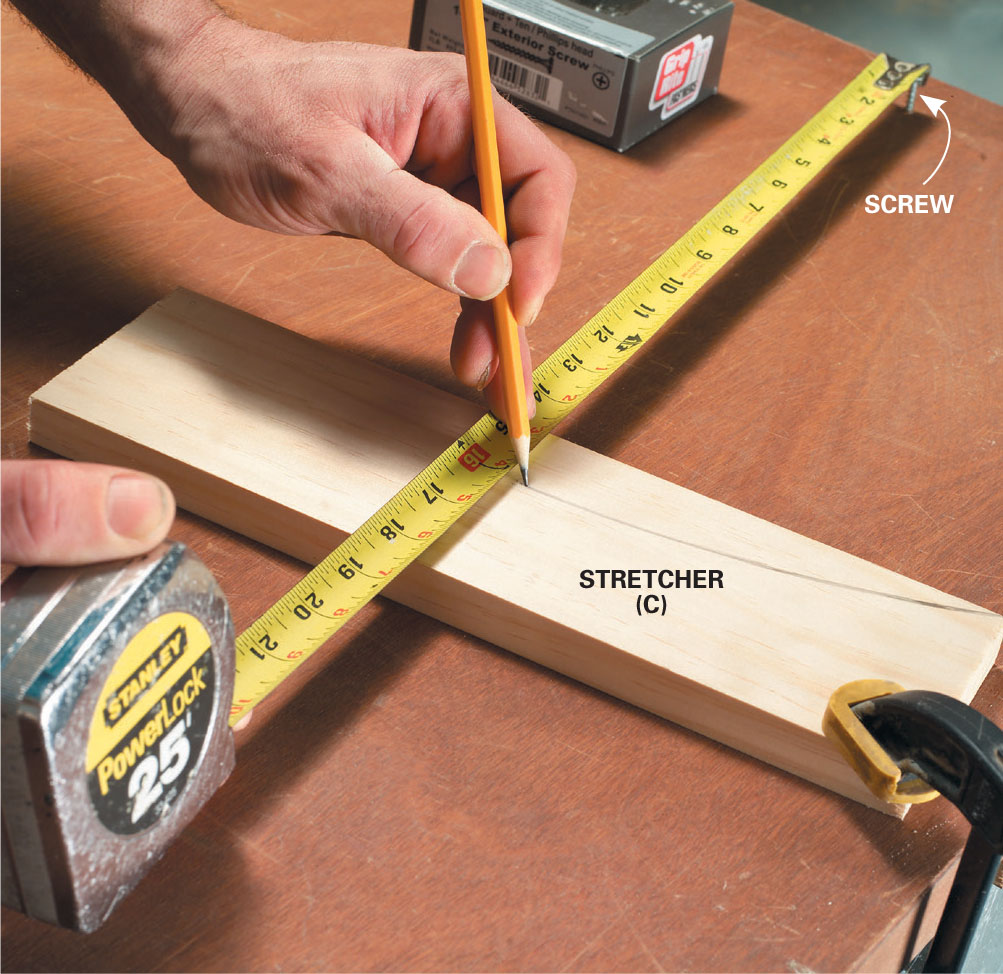
Draw an arc on each side stretcher by hooking a tape measure on a screw driven into the work surface. Draw the arcs on the legs using a compass or coffee can, then cut out all the arcs with your jigsaw.

1
Draw an arc on each side stretcher by hooking a tape measure on a screw driven into the work surface. Draw the arcs on the legs using a compass or coffee can, then cut out all the arcs with your jigsaw.
2
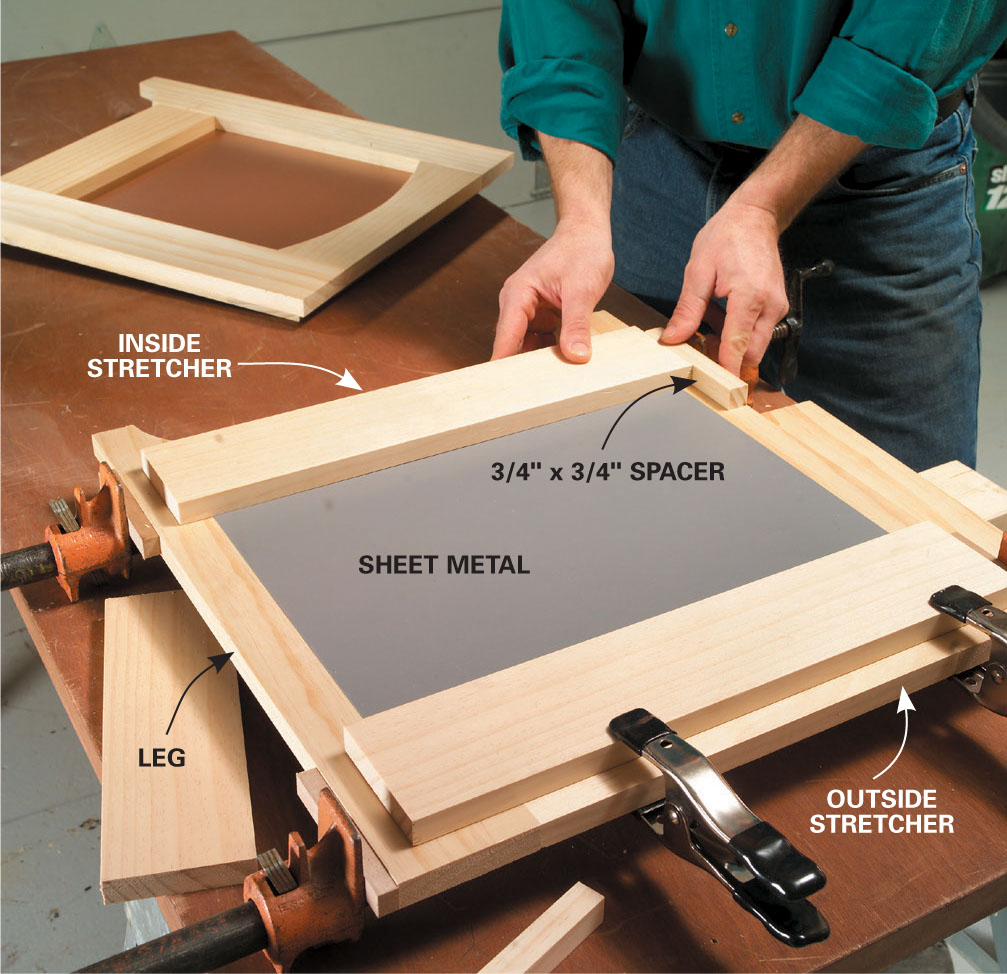
Clamp together the legs and outside stretchers to make a frame. Lay the sheet metal on it, then position the inside stretchers. Use a spacer to get the stretchers centered, then screw them on to lock everything together.
3
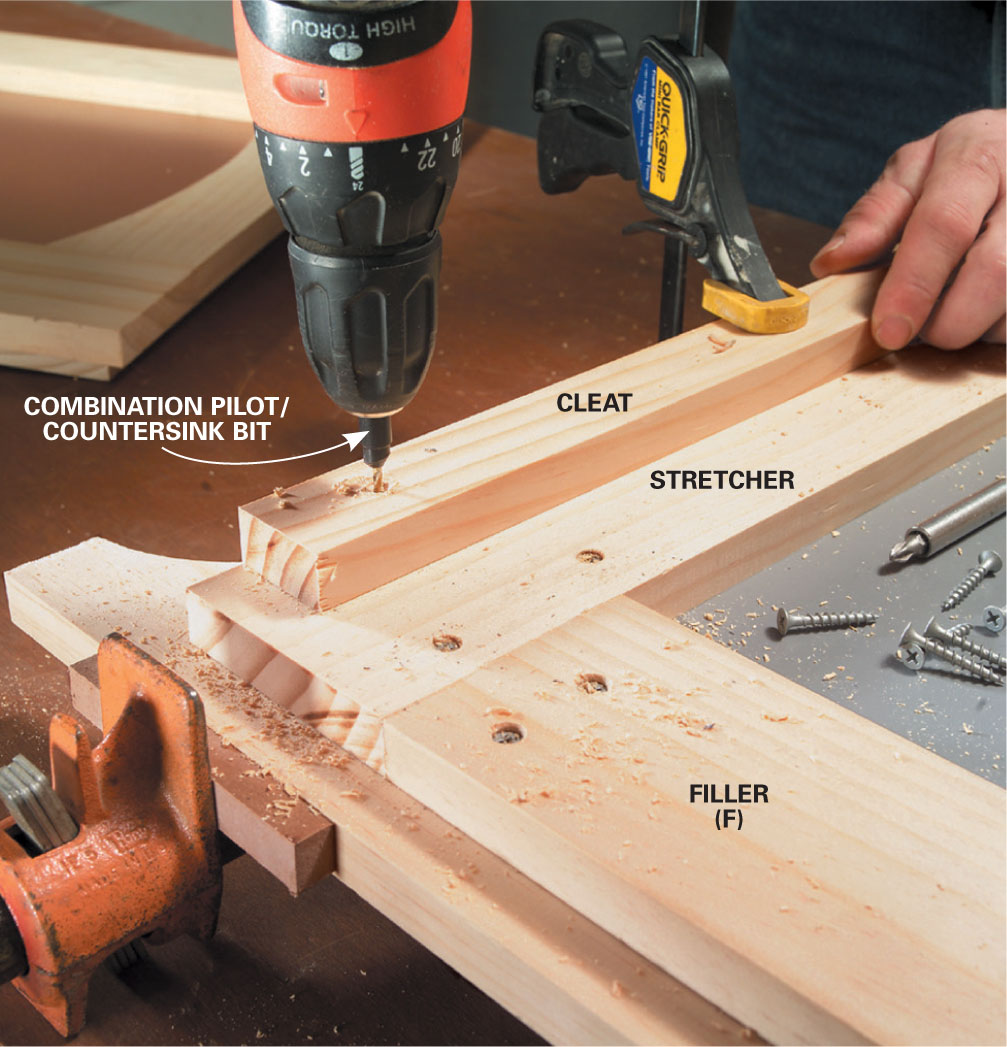
Screw filler pieces between the stretchers, then add cleats to hold the bottom. Be sure to predrill and countersink all screws.
4
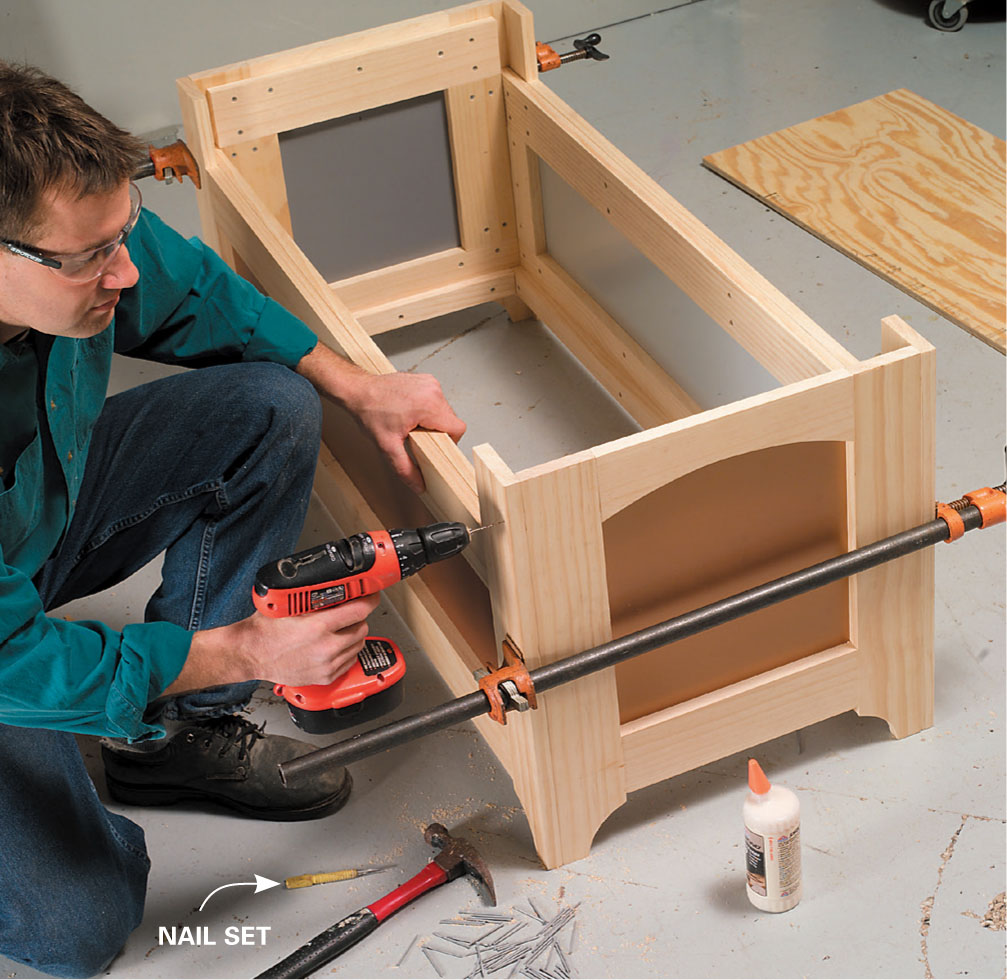
Nail the front, back and sides together. Predrill for each nail, and drive the nail heads slightly below the surface with a nail set. For additional strength, run a bead of glue along each joint before assembling.
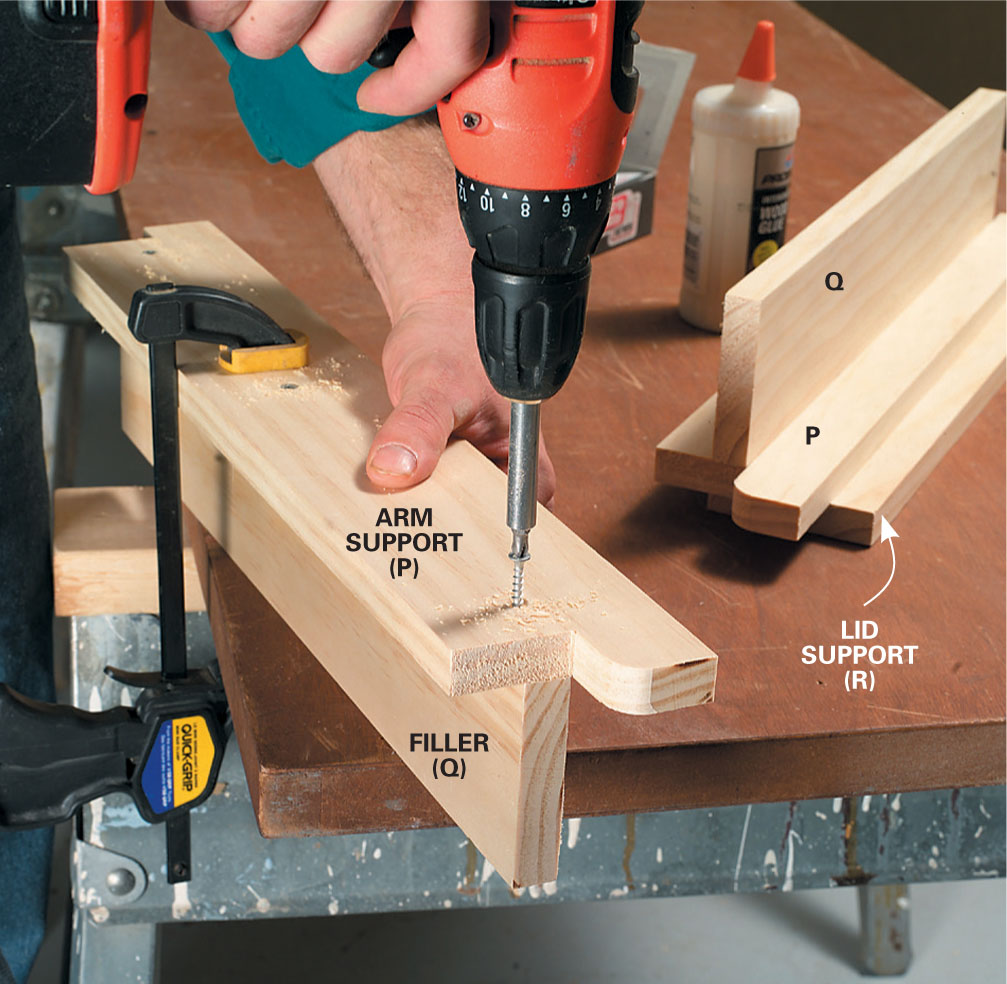
6
Mark the notches for the arm supports directly from the bench. Cut out the notches with a jigsaw, then round off the protruding corners.
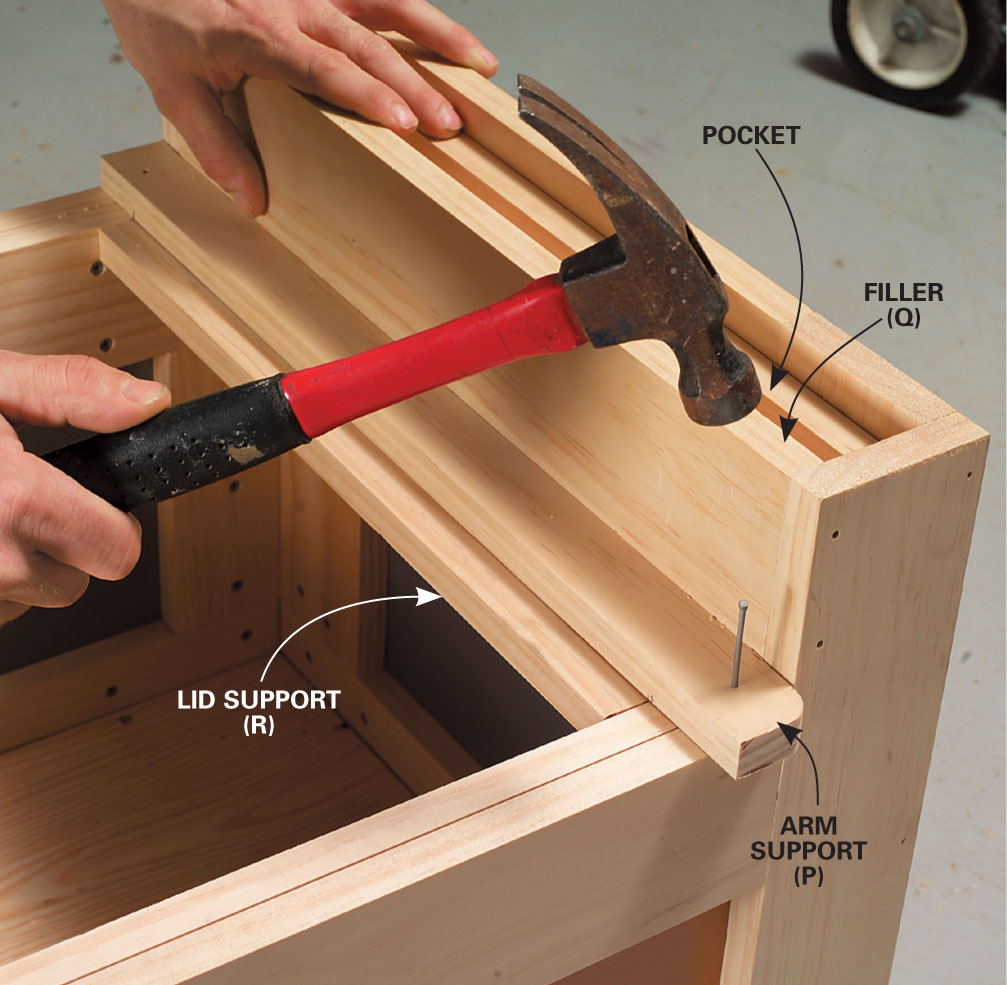
7
Place the arm assembly in position and nail it to the legs and stretcher. There will be a pocket formed at the top where the arm cleat will go (see next photo).