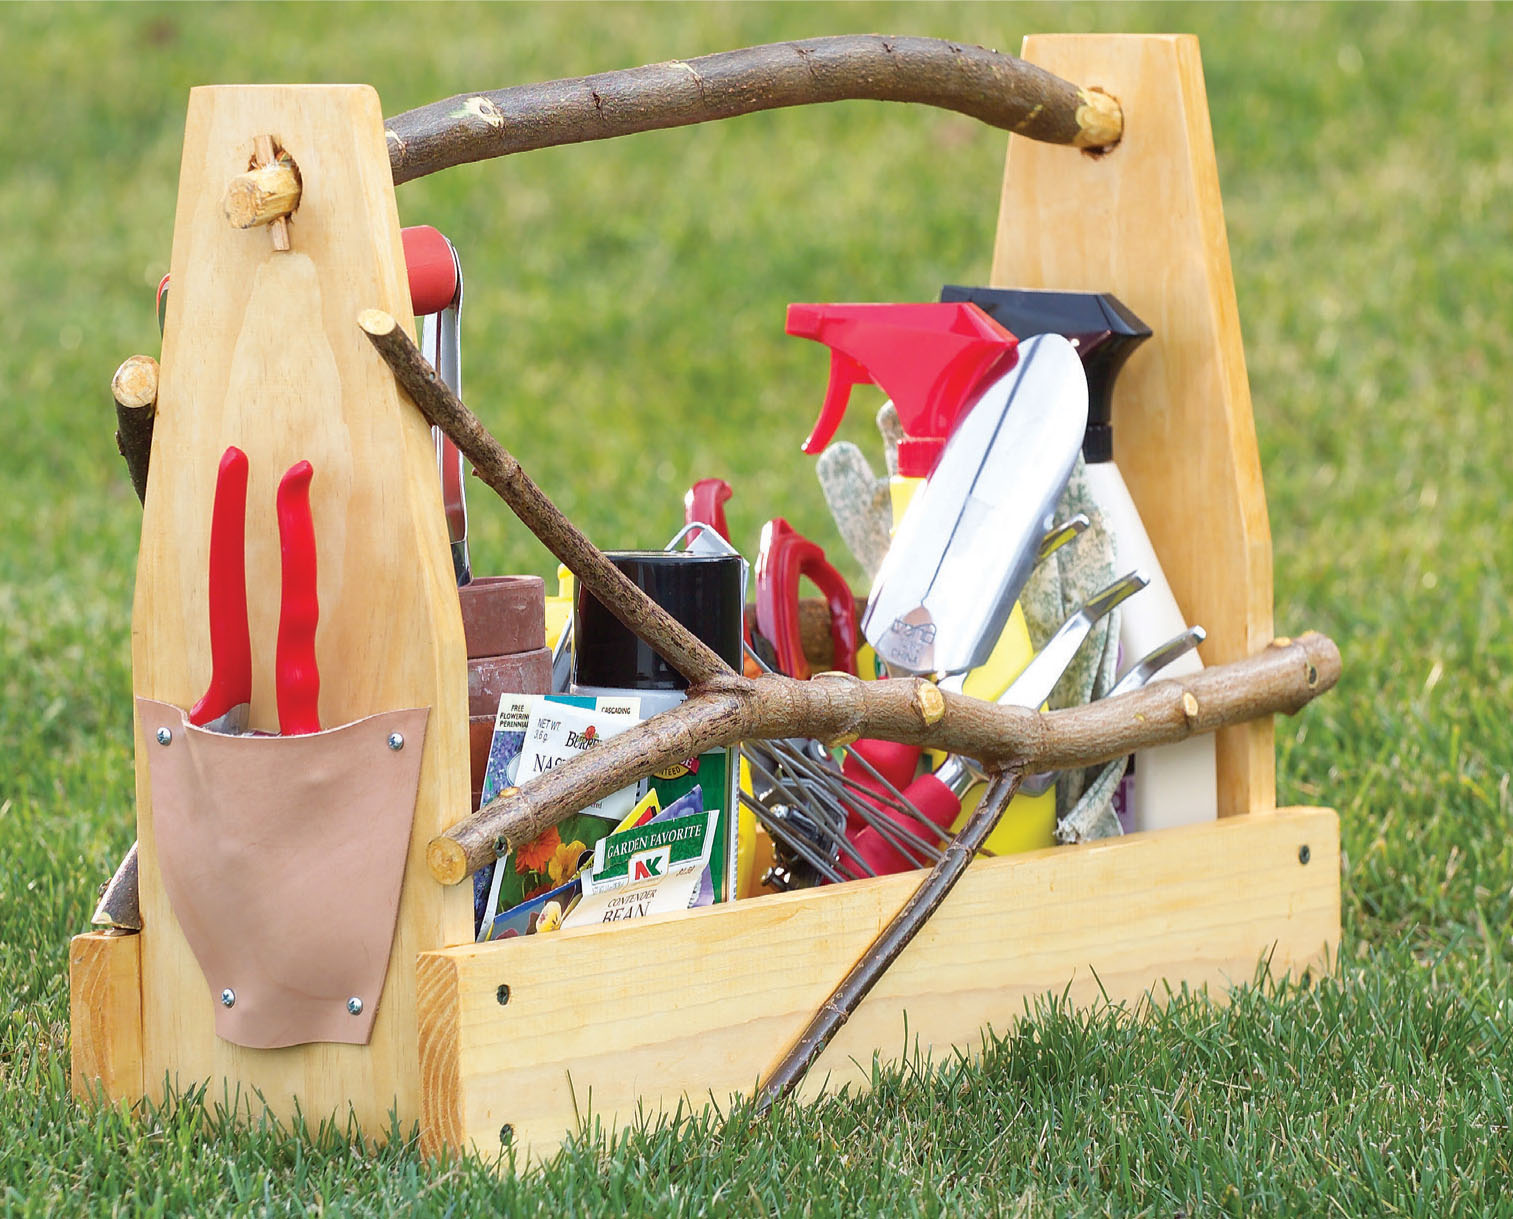

WHAT IT TAKES
TIME: 4 hours
SKILL LEVEL: Beginner
This simple gardening toolbox gets its natural charm from the branches used for the sides and handle. When you’re searching for branches, choose green, freshly cut ones for strength and flexibility. The only tools required are a saw and a drill and maybe a knife to whittle the handle ends.
Along with three 25-in.-long branches, you’ll need a 6-ft. 1x6, a 4-ft. 1x4 and a short length of 1/4-in. wood dowel, exterior wood glue and a handful of 1-5/8-in. deck screws. We used clear pine, but No. 2 pine or cedar will work fine too.
Cut the parts using Figure A as a guide. Then screw the box together (Photo 1). Whittle the handle ends to fit the holes. You’ll have to bend the handle to slip it into the second hole.
Cut away any knobs on the branches for the sides. Then attach them, keeping the screws at least an inch from the ends to avoid splits (Photo 2). Finally, drill 1/4-in. holes through the handle ends and drive in the dowels to hold the handle in place (Photo 3).