
WHAT IT TAKES
TIME: 8 hours for 1; 10 hours for 2
SKILL LEVEL: Intermediate
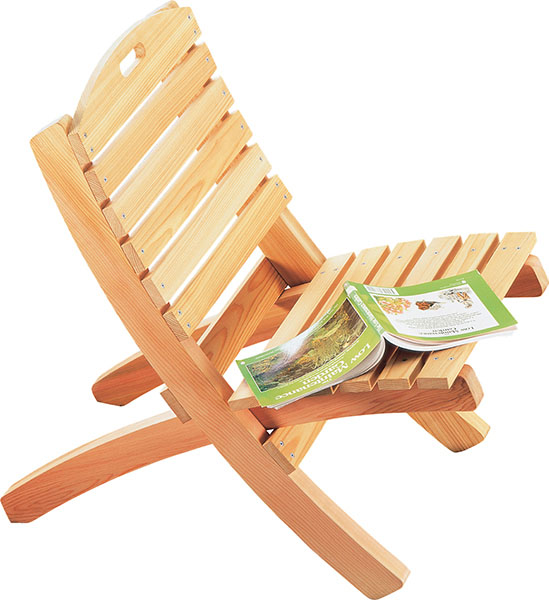
Whether you’re staking out a curbside spot for watching a parade, heading to the woods for a weekend or simply trying to catch a few rays, you’ll love the portability and comfort of this chair. Interlocking legs and gravity keep the two sections together when in use. And when it’s time to pull up stakes, the seat section tucks neatly inside the back. A handle cutout in the top slat makes for easy carrying and storing too.
We made our chair from cedar because it’s lightweight, but you could use cypress, fir, treated or other decay-resistant woods. We didn’t want knots weakening the legs or seat, so we spent extra for knot-free “D-grade” cedar, but you can find suitable pieces if you pick hrough the lumber piles. You’ll need basic tools: a jigsaw, drill, Phillips bit, file, combination square, carpenter’s square and screwdriver, plus a table saw and belt sander. If you don’t own these last two tools, borrow them (or use this project as an excuse to add a few more tools to your workshop).
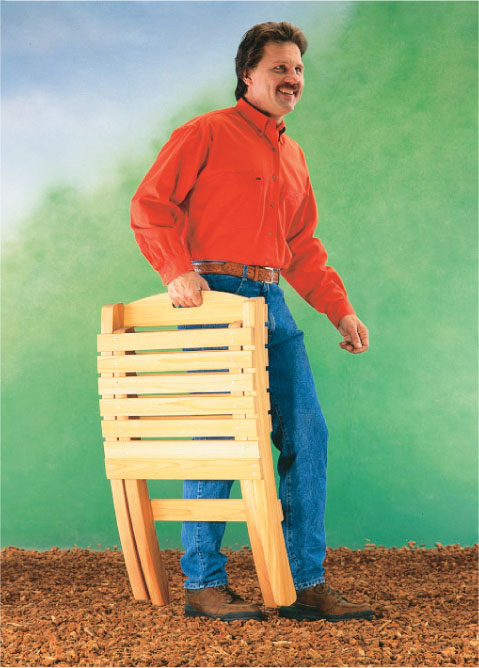
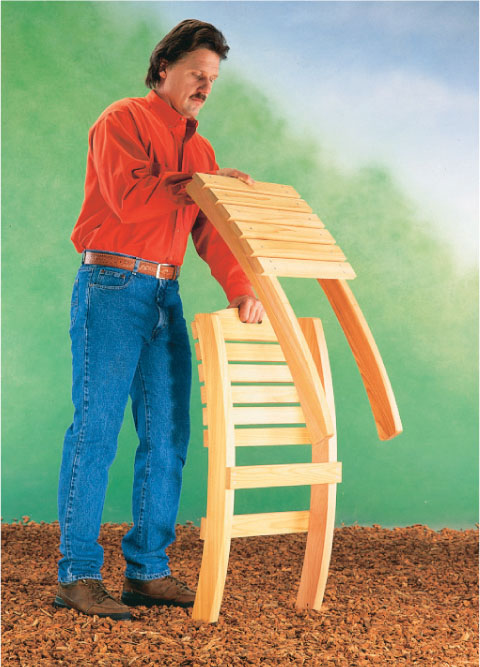
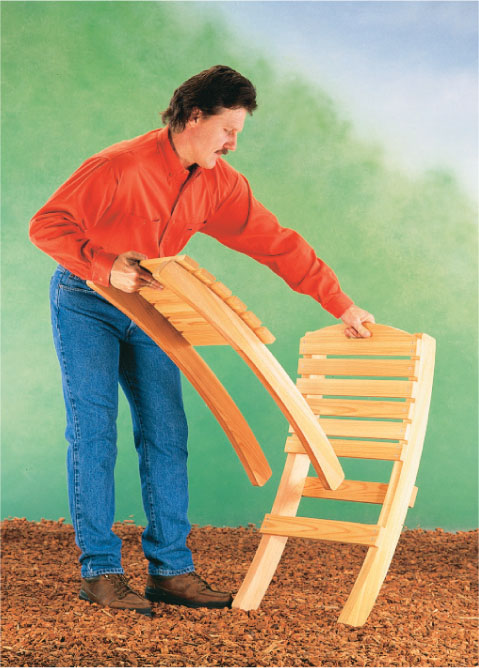
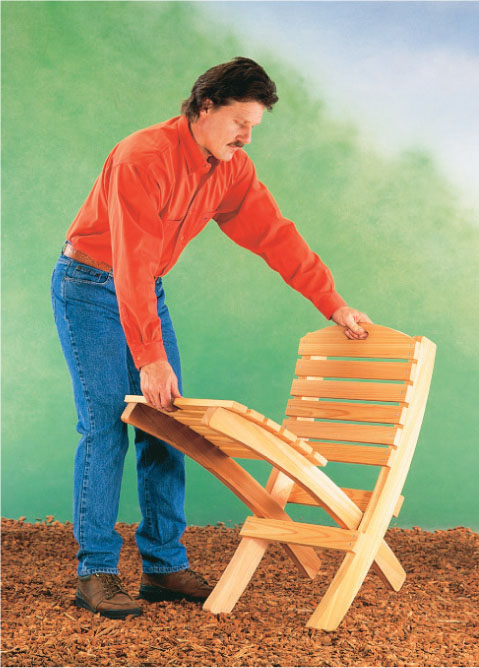
Building one chair takes about eight hours. But once you’re “jigged up” and have your patterns made, building additional ones only takes an hour or two more each.
The backrest and seat support struts must be the exact length and shape for the chair to set up and “nest” for storage properly. You can ensure accuracy two ways: You can place the strut grid (below) on a photocopier, then enlarge it until the squares are exactly 1 in. On our office machine, that meant first enlarging the grid 2x, taking that copy and enlarging it 2x, then taking that copy and enlarging it 1.30x. We taped two pieces of 8-1/2 x 11 paper together lengthwise to create the 18-in.-long pattern. Every copier is slightly different, so make sure the final grid is 18 in., and 18 squares, long. Then cut it out to create your pattern.
A second way is to use the transfer grid method (Photos 1 – 4). The shapes in Figure A are drawn on a scaled-down grid. Draw a full-size grid of 1-in. squares on hardboard (Photo 1) and transfer the shapes to it; you’ll have a template you can use over and over.
We’ve drawn only half of the backrest and seat struts on our grids because the halves are symmetrical. Make one template for half of the shape, then flip it to draw the other half. Since the shapes of the seat and backrest struts are so similar, you can make only the backrest strut template, then use it to draw the seat strut pieces, making them 1/4 in. narrower and 1 in. shorter (2 in. shorter overall).
To use the template, align it to centerlines drawn on the boards (Photo 4), trace around it, then flip it over the centerline and trace the rest of the shape. Remember, the seat struts are 1/4 in. skinnier and 2 in. shorter than the backrest struts.
Cut all the pieces to the dimensions given in the Cutting List, using the templates for the legs and the top slat. Cut out the shapes with a jigsaw, then sand the pieces with a belt sander (Photo 5). Lay out the hand grip hole in the top slat (C), then cut it out using a jigsaw and spade bit (Photo 6). You’ll need to rip the back and seat slats 2 in. wide using a table saw.
Lay out, countersink and drill all the screw holes for the slats and supports. Finish-sand all the pieces with 120-grit, then 150-grit sandpaper. Round over the sharp edges with the sandpaper.
Screw the two seat supports (D) and curved top slat to the backrest struts (Photo 7) using the spacing given in Figure A. Then attach the five slats to the backrest struts and six slats to the seat struts (Photo 8).
Before applying the finish, unscrew the two seat supports and apply weather-resistant glue to the joints, then rescrew the seat supports to the backrest struts. The glue will strengthen the joint. The chair relies primarily on these seat supports for strength.
Brush on two liberal coats of a penetrating exterior wood sealer. Let the first coat dry for 24 hours, then apply the second coat. After an hour, wipe off any excess finish. Let the finish dry for a couple of days before using the chair. After a year or two, you’ll want to recoat the chairs to keep them looking good. If you decide to paint the chairs instead, use an oil-based primer followed by a semigloss paint. Don’t use a clear varnish; the sun will eventually break it down and you’ll be refinishing every summer instead of relaxing.
Set up the chair by sliding the seat struts through the backrest struts and seat supports as shown in the photos seen here. Push the seat in all the way so the rear seat slat is firmly against the backrest struts. Then kick back and relax!