Do you ever get the urge to break loose from the daily doldrums and explore the possibilities for enhancing an image that haunts you? Mainstream photography does not tolerate much weird science. But since infrared is already a little on the inexplicable side, why not test the limits?
Some images lend themselves beautifully to a painterly effect. Programs like Adobe Photoshop and Corel Painter can be used to achieve the effect—or you can try your hand using a new product, Topaz Impression. This software is different from other auto painting programs in that large brush strokes are applied in open areas, while smaller strokes are automatically used in smaller, more detailed areas—all in one action.
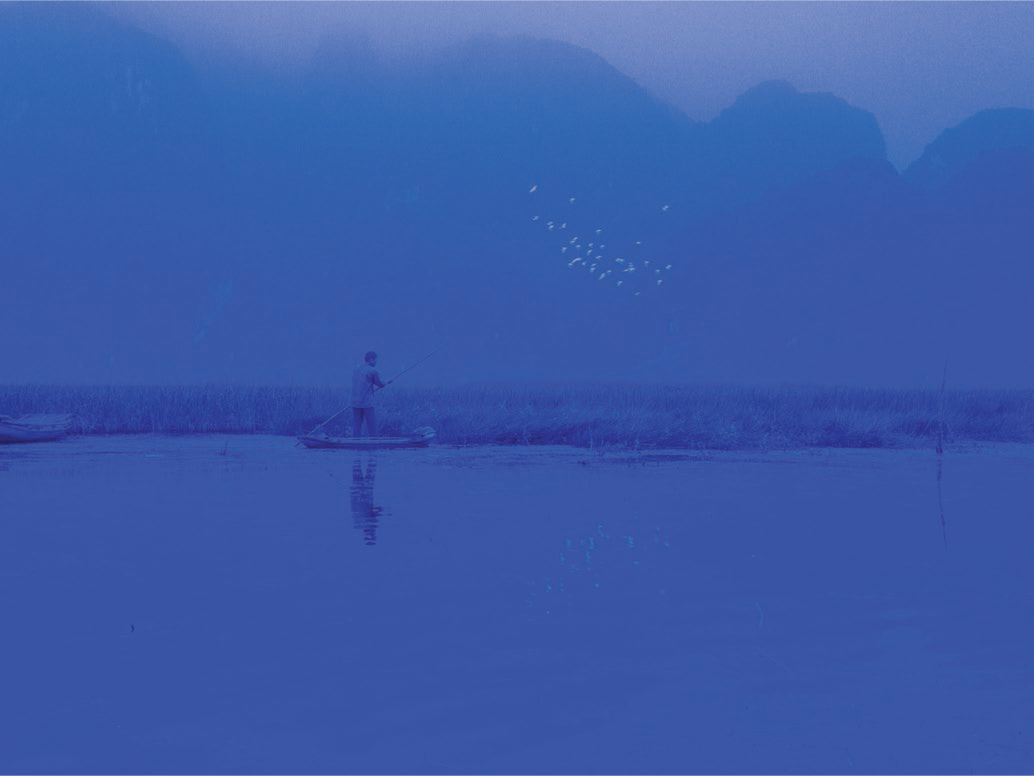
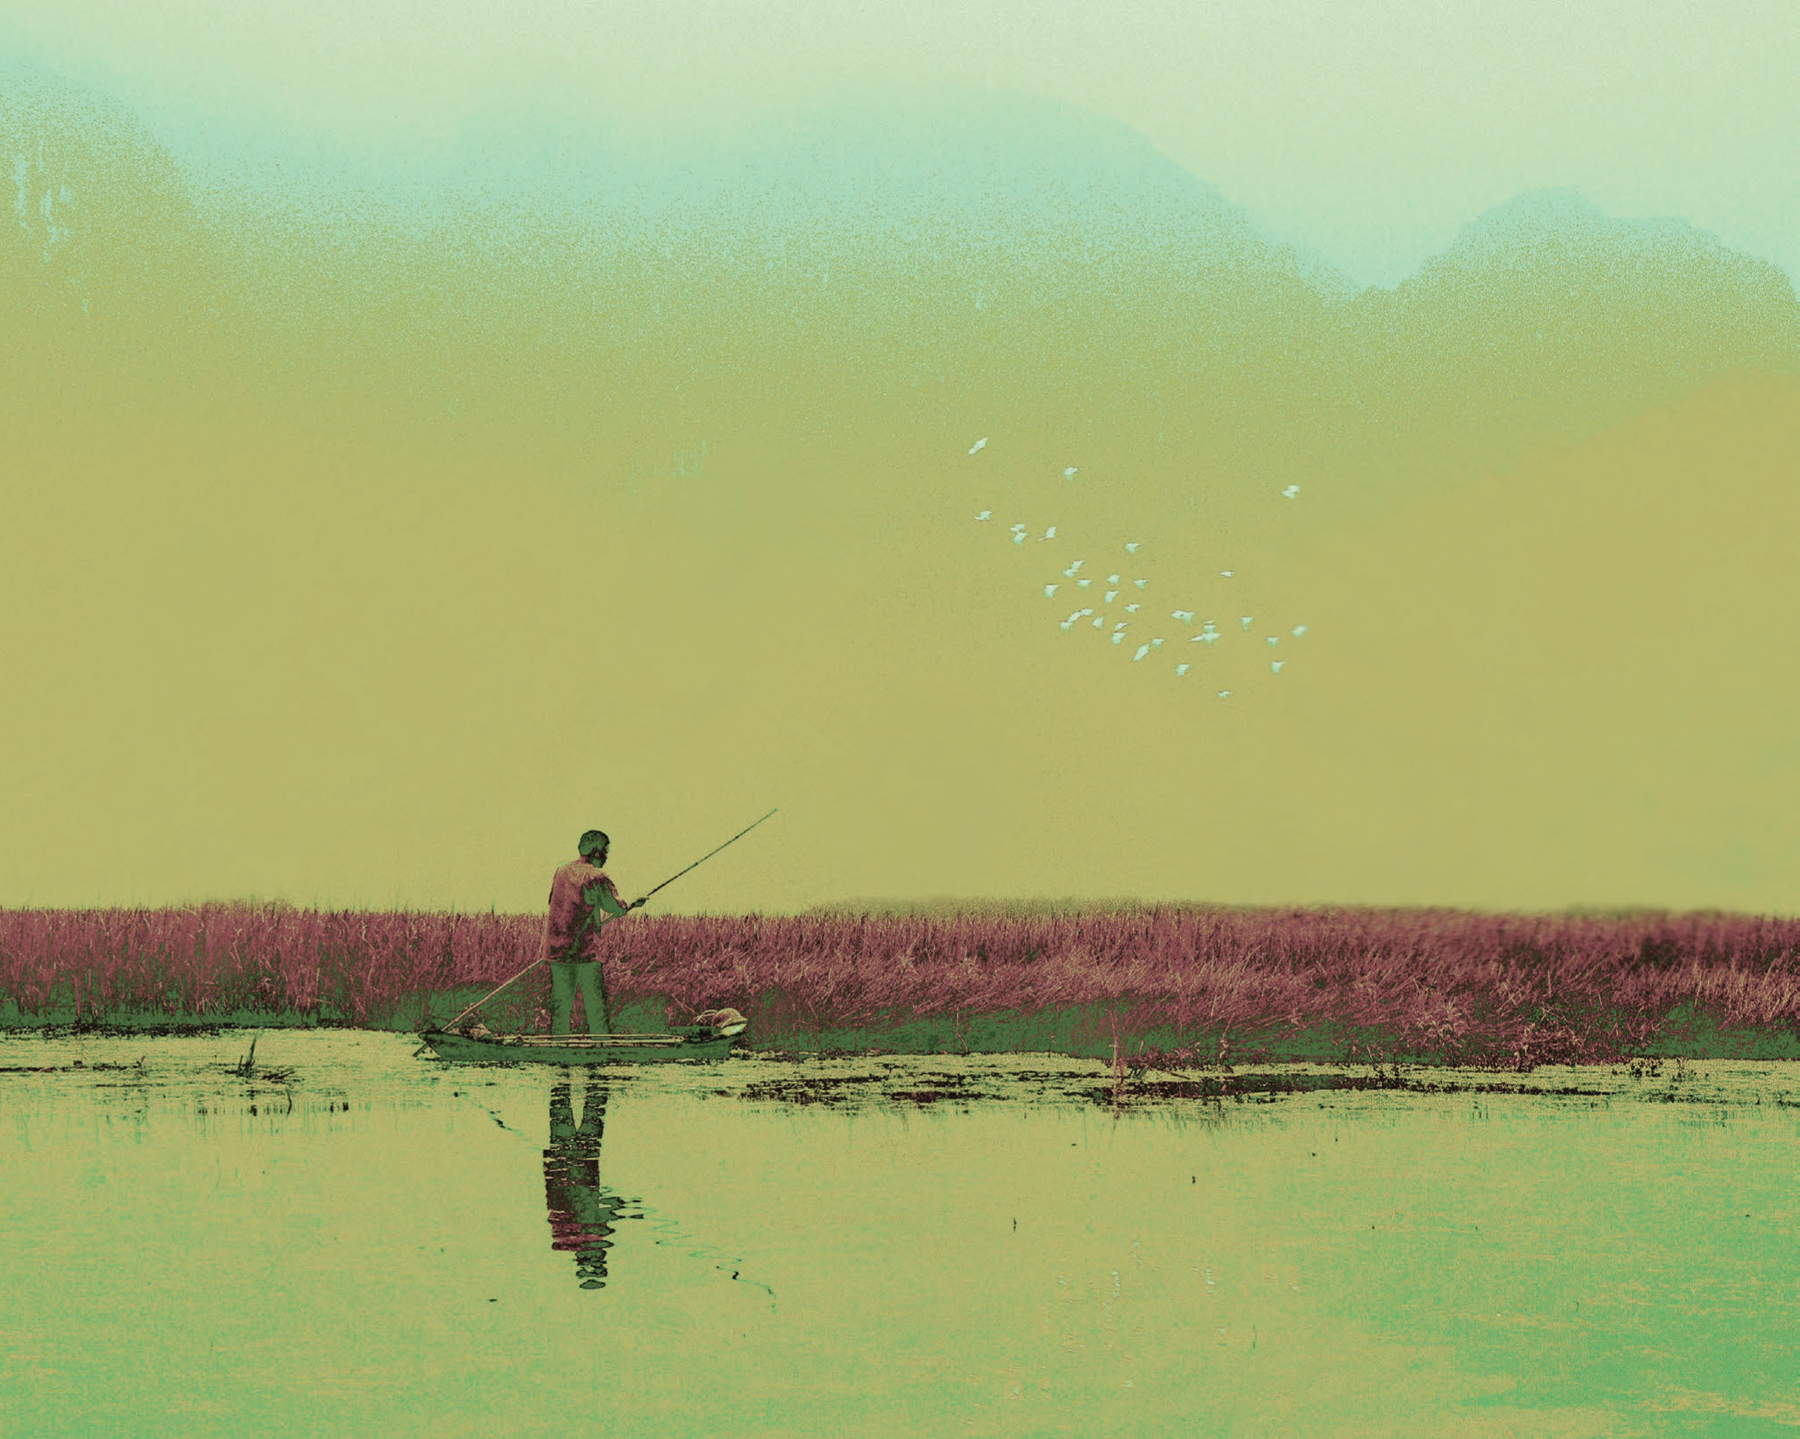
I shot this scene in RAW and JPEG. The JPEG image is shown on the left and the RAW image is shown on the right. The colors appear wildly different and the two files would process differently.

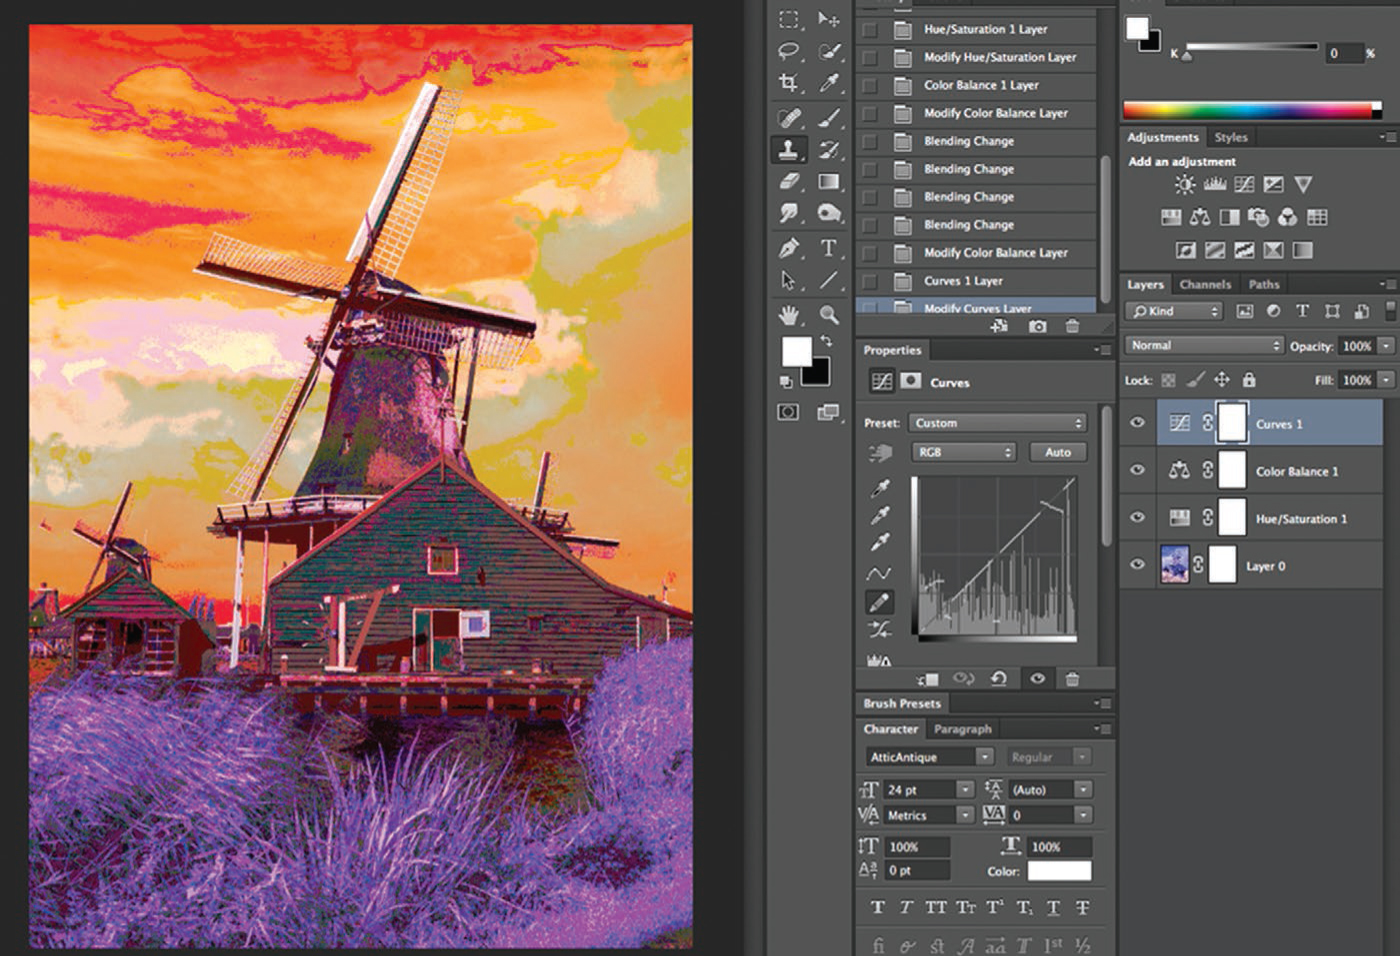
The RAW file was processed in Photoshop by swapping the red and blue channels in the Channel Mixer.

Topaz Impression (charcoal selection) was used to convert this image to black & white.

A painted version of the image shown at the top left of the page.
Expect the unexpected from your RAW files. Let yourself go. Explore new avenues of photography. Try out the host of imaging tools that are at your disposal in Photoshop and other post-processing programs.
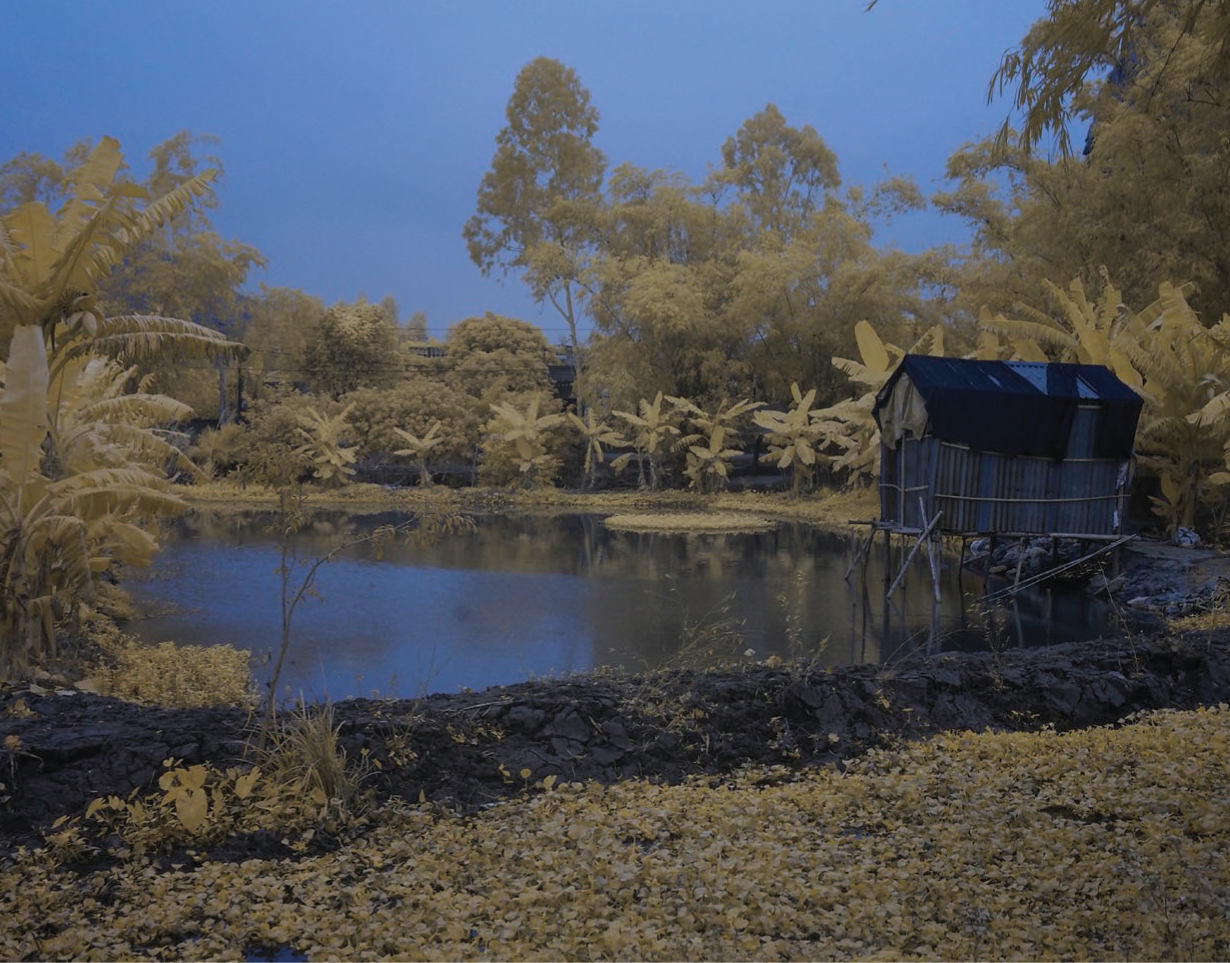
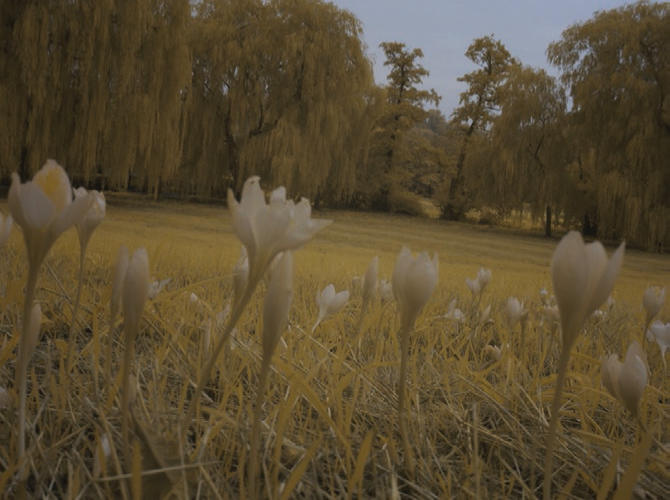
An image I shot in Vietnam early one morning haunted me because of its simplicity, but it needed a creative treatment.
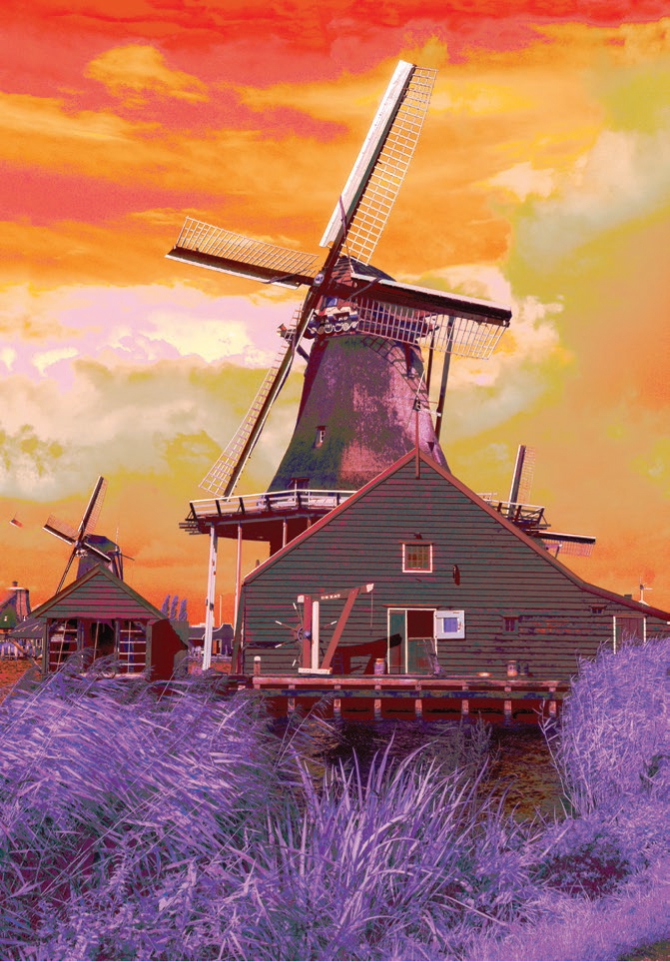
Another infrared surprise! This is how the image appeared when it was opened in Photoshop. I tried various approaches but could not coax the image into red and blue colors.

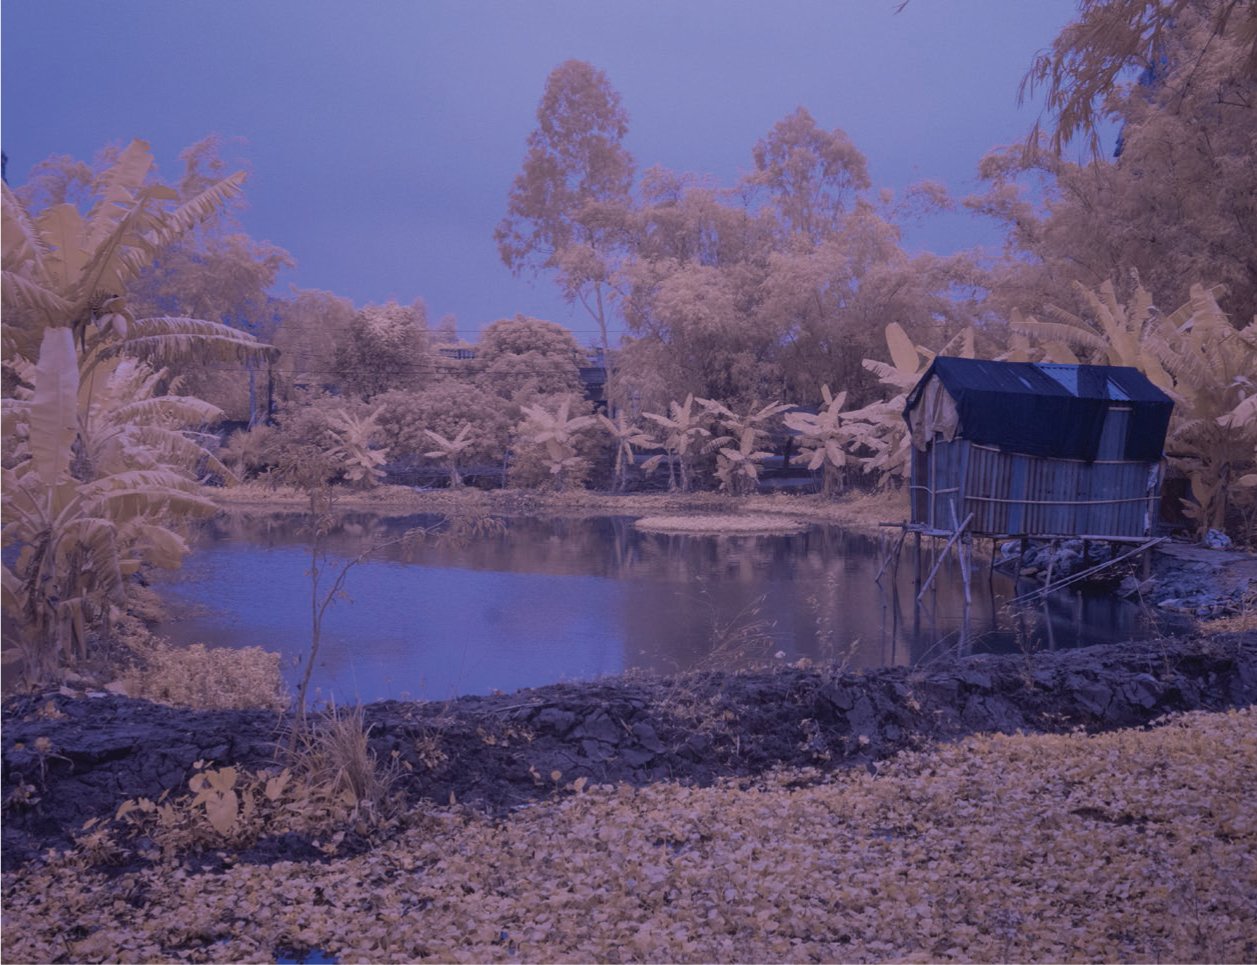
I took the image enhancement as far as I was able to in the RAW editor. The red and blue looked striking to me, so I decided to go ahead and open the file in Photoshop for further editing.
I also had the image in JPEG format, but I stuck with the project at hand and tried Hue/Saturation. The blue image converted into an array of images in beautiful color combinations. This is the one I settled on. It turned out better than I could have imagined. I’d never have been able to create this look by adding color manually.

Turn dark and drab straight-out-of-the-camera infrared color images into photos that are vibrant and exciting.

Here’s a trick that will provide hours of entertainment for the creative soul. Access Photoshop>Curves>Pencil icon. I call this the “Van Go Infrared Crazy” technique. If you don’t like what appears on the monitor, revert and try a few different cuts.

Apply a little noise reduction to smooth the grain from the sky.
Move from vibrant Van Garish to a more muted Digi-Degas.
“Cutting corners” usually refers to taking a half-hearted approach to reaching a goal. My Cutting Curves technique might also be considered offensive to photographic art, but it’s offered here as a creative option.
Here’s another Cutting Curves example (left). Painting with light has never been so easy. Still, it’s a matter of luck and experimentation with infrared images. Four small “cuts” were made with the pencil icon in Curves.
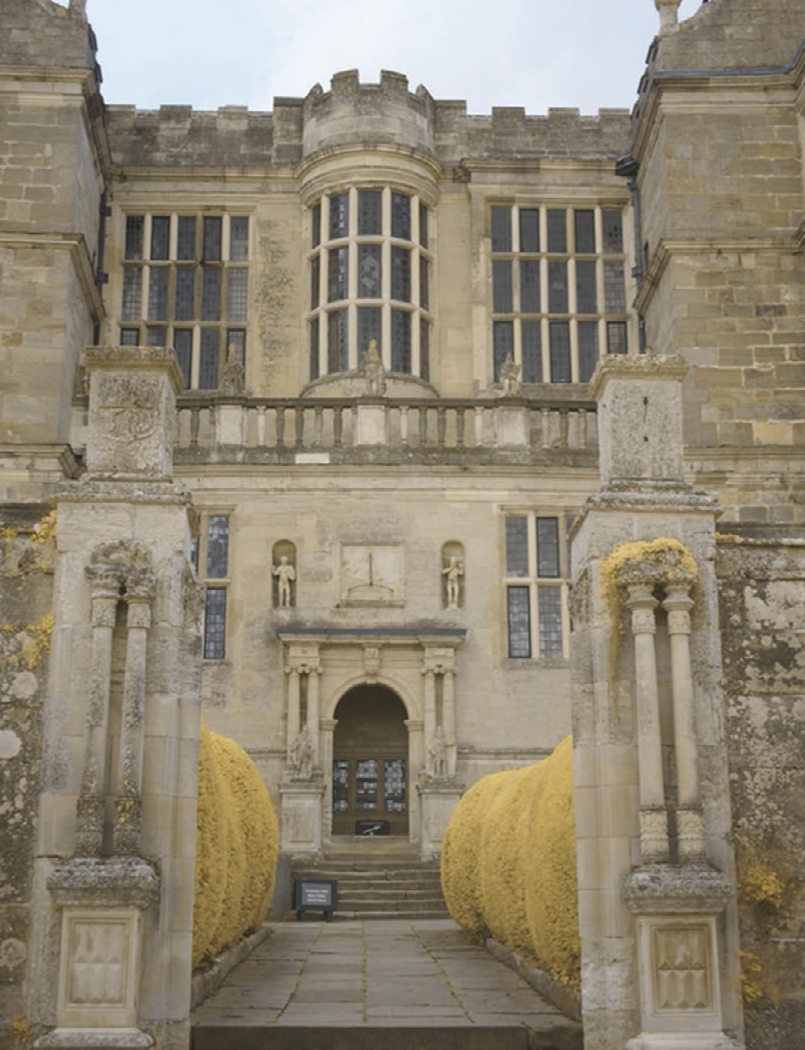
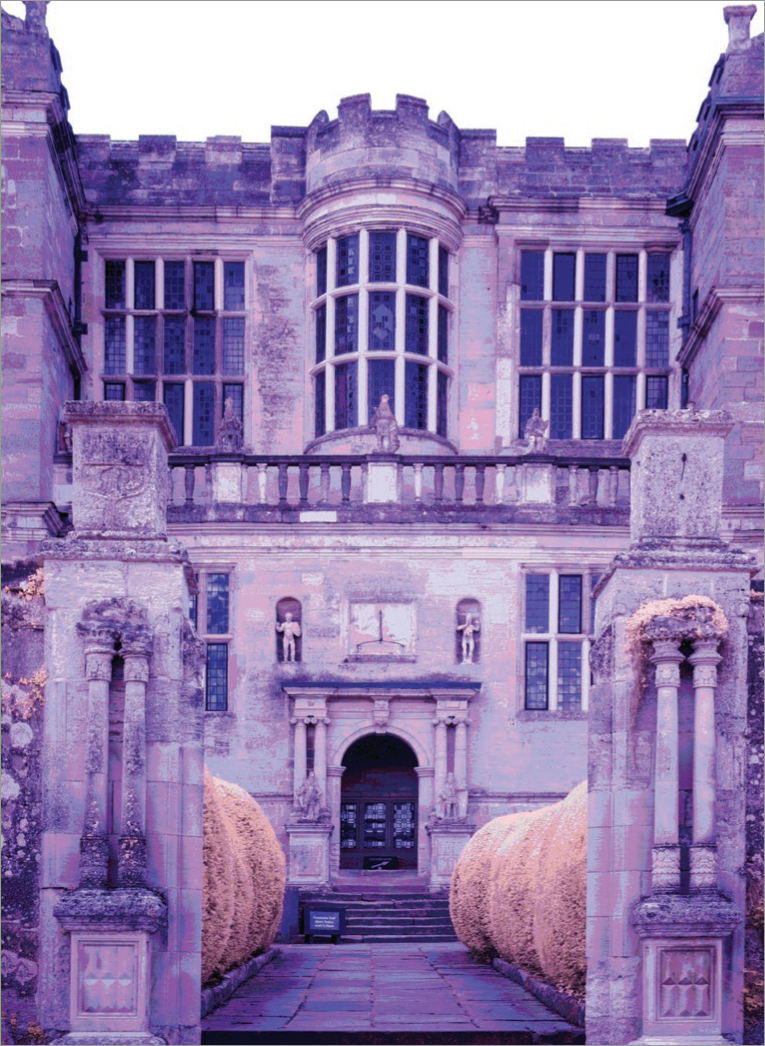
Infrared artistic manipulations options are boundless. An image I captured at Fountains Abbey in Yorkshire (facing page) intrigued me. I could just picture Heathcliff walking through the scene. “There has to be something more interesting I can get out of this,” I muttered to myself before retiring the file in favor of getting more productive work done.
As far as I can remember, these were the steps for creating this image. These steps are not intended to be used as a guide for creating similar effects. They are only provided as a demonstration of how various options can be employed in Photoshop to enhance an image. Maybe you would not reach the same result, but one of the steps might trigger a creative spark that will work for you in your own pursuit of art. After all, everything is experimental and far from an exact science.
“‘There has to be something more interesting I can get out of this,’ I muttered to myself.”
1. I made a copy of the background layer (Cmd/Ctrl + J).
2. In the Layers palette, I chose Difference from the Blend Mode options. The image became very dark.
3. I used the Dodge tool to lighten the image and found that it then looked like a negative.
4. I used Cmd/Ctrl + I to invert the image. At this point, I used the eyedropper tool to sample colors to add to select areas.
5. An FYI: the color swatches showed colors that are opposite the original hues on the color wheel because the image had been inverted.
A screen shot of the abbey depicted a dull Yorkshire structure suitable for illustrating Wuthering Heights. Weeks later, the file nagged at me when I needed a break from routine.
This is as far as I got with my polarized image before I left it sitting in my unfinished files.

This image kept nagging me to come play. I ventured into seldom-accessed Photoshop regions and came up with surprising color enhancements.
Composites are a good fit for infrared art. Contagion is one in a series of images produced by Jayme Blaschke combining levitation and infrared. He posed the models on ladders of varying heights and shot the scene with a tripod-mounted Canon 50D converted with a 720nm filter. He altered the poses and positions numerous times to achieve the right composition, then removed the models and ladders and photographed the empty scene. Jayme warns, “Don’t forget this last step before moving the tripod away from the shot! If the camera is moved even a few inches, parallax makes it impossible to accurately match the subjects to the background in Layers.”

In Photoshop Layers, Jayme Blaschke combined the empty scene with an image containing models, then used masking to remove the ladders. With the illusion of levitation completed, he flattened the image. Next, he adjusted the colors in Levels and worked to achieve realistic skin tones. He then created a duplicate layer and swapped the red and blue color channels to attain the false-color “Winter Wonderland” look (overcast conditions during the shoot resulted in muted false color). Using masks, he replaced the models’ bluish skin tones in the channel-swapped layer with the more natural look from the lower layer. Finally, after flattening the final composition, he applied a Photoshop Action of his own creation to simulate the ethereal glow of infrared film.

And She Was is part of Jayme Blaschke’s infrared levitation series. He posed the model on a ladder in the scene. He used his tripod-mounted Canon 50D as mentioned above, then removed the model and ladder and photographed the empty scene.