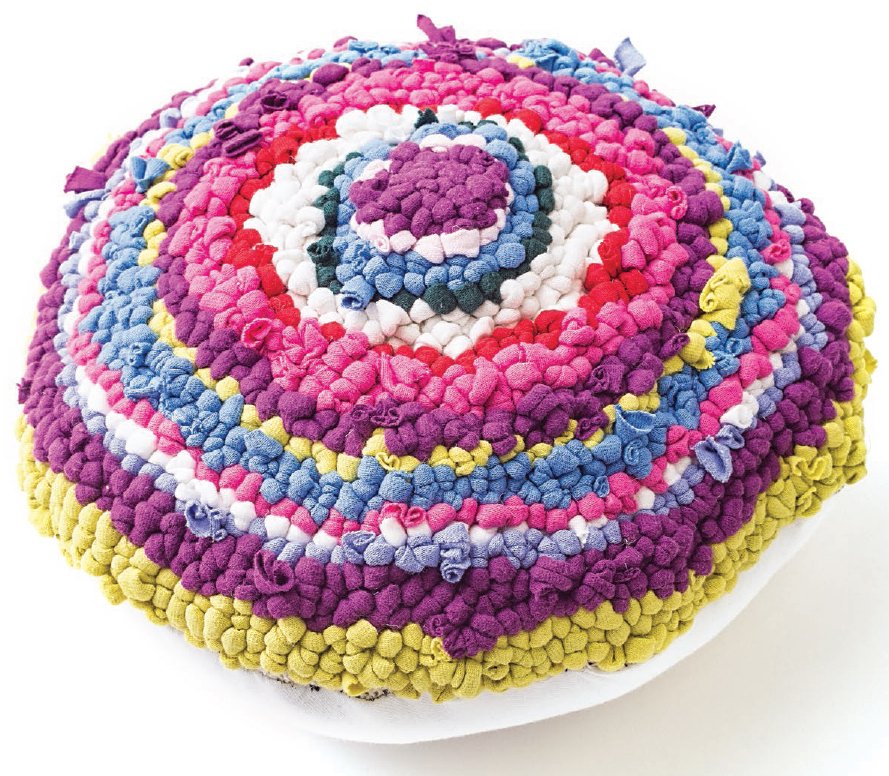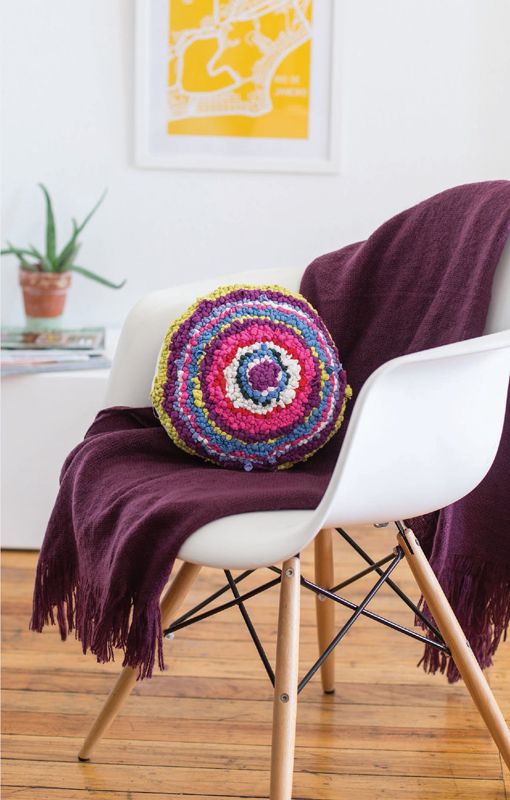
CIRCLE PILLOW

YOU’LL NEED
Burlap—a square a few inches bigger than your finished pillow
T-shirt yarn—for a 12˝ circle, about 40 yards of yarn made from 1˝ strips
Permanent marker
Crochet hook size 4.25mm or G
Needle and thread
T-shirt fabric—a piece 2˝ larger than your finished pillow size
Pillow form in your desired pillow size, or polyfill or fabric scraps
Prep
1. For a 12˝ × 12˝ pillow, cut a 16˝ × 16˝ square from burlap. Mark a 12˝ circle in the center.

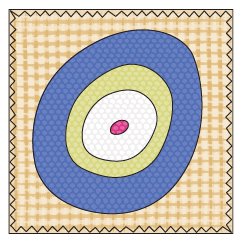
2. Using a permanent marker, draw your design onto burlap. (I drew several concentric circles for my design.) Then cut out a circle, leaving 2˝ around the outer edge of your design.
3. Zigzag or straight stitch ½˝ from the edge. This will keep the burlap from unraveling while you work.

4. Cut T-shirt yarn 1˝ wide. (See Making Yarn.)
5. Use a crochet hook to pull an end of the T-shirt yarn from the bottom of the burlap through the top.
6. Put your crochet hook through a hole in the burlap near where you pulled up the first bit of yarn, and hook a loop of T-shirt yarn. Pull the yarn through to the top to form a bump (or “kernel”) on the top side. Continue to pull more kernels to the top.
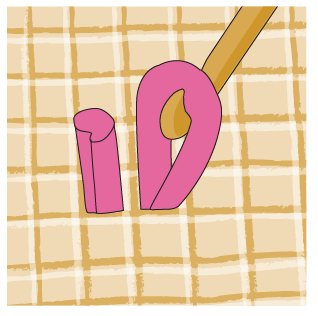
Follow your pattern, changing colors as needed, until the pillow top is covered with kernels. Leave a border of plain burlap at least 1˝ around your finished design.
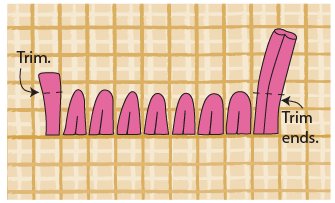
7. When you’re finished with a color, snip the end of the yarn flush with the rest of the kernels.
8. Trim the fabric for the back of the pillow to match the size of your finished pillow top. Pin the back to the top, right sides together. Stitch them together, leaving an opening big enough to stuff the pillow form in (you can compress the pillow form quite a bit!), or big enough for your hand if you’re using other filling.
9. Turn the pillow right side out and stuff it. Pin the open edges and hand stitch using a simple whipstitch.
tip>
Use this technique to create a pillow any size and shape you’d like. Just create a pattern and mark it on burlap.
