Using Contrast: Demonstration
This demo shows how to rely more on value contrasts than on pencil outlines to define shapes. The light source in this scene is at the top right, but the snow also reflects light, making the wolf’s outline light as well. This looks dramatic against the dark of the mountains. When collecting your supplies, include your value scale and proportioning devices so they will be handy when you need them.

STEP 1 Draw the Basic Shapes
Using a 4H pencil, sketch the basic shape of the body and the slope of the hillside. Add a circle for the basic shape of the head. While you may be tempted to rush on to the next step, this is the time to pay attention to proportions so the finished drawing will be accurate. Use a proportioning device to check your work, making adjustments as necessary.
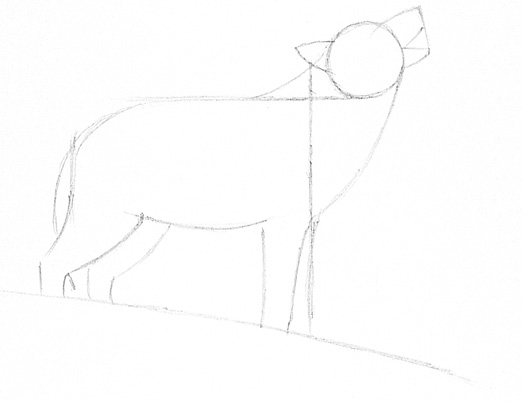
STEP 2 Sketch the Overall Shape of the Body
With the 4H pencil, sketch the shape of the body, including the legs, neck, ear, mouth, lower jaw and tail. Pay close attention to the placement of the line for the belly because this will affect how tall the legs appear. Check your work with a proportioning device and make adjustments as needed.
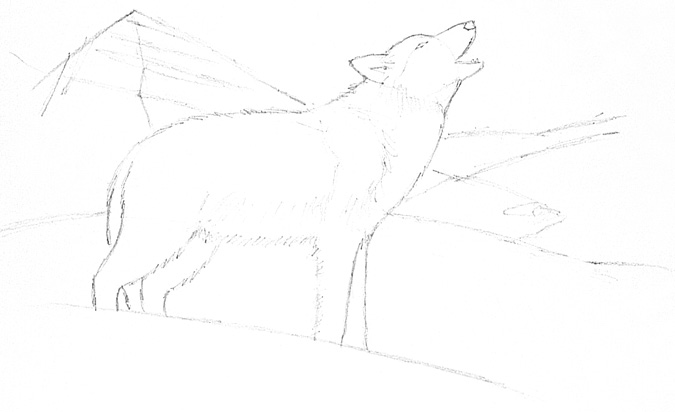
STEP 3 Add Detail Lines to the Wolf and Sketch the Mountains
Erase obsolete guidelines with your white vinyl eraser and add details to the face, including the eye and nose, with the 4H pencil. Suggest the texture of the coat with back-and-forth lines along the outline of the body and within the body itself. Sketch in the mountains. Pay attention to where the lines of the wolf meet the lines of the mountains, making sure you do not create unwanted tangents.

STEP 4 Start Adding Values
With a 4H pencil, add shading to the wolf, letting your pencil strokes follow the direction of the fur. With the exception of the head, keep the outer edges of the wolf light to suggest the light from the sky and the light reflected off the snow. This is a good place to start referring to your value scale as you lay down lights and darks for the rest of this demo.

STEP 5 Add Darks and Details to the Wolf
With the HB pencil, add the darker values to the coat and the shadow areas. Add facial details by darkening the eye, nose and mouth, leaving white spaces to indicate teeth. Add dots to the wolf’s muzzle to suggest whiskers.

STEP 6 Add Lighter Values to the Distant Mountains
Using the 4H pencil, make back-and-forth strokes, filling in the mountains except for the area in direct sunlight.

STEP 7 Add the Darks of the Trees
With the HB pencil, indicate the exposed rock of the mountains with short back-and-forth strokes.

STEP 8 Add the Dark Background Trees
With a 4B pencil, use vertical pencil strokes to add the dark areas of the background trees. To do this, cut a piece of copier paper in the same curve as the hillside. Use this as a frisket to create a clean edge, as discussed on page 15.

STEP 9 Add Finishing Touches
Now to step back from your drawing to observe the range of lights and darks in the sky. Before you attempt to add the sky, consider practicing this step on a piece of scrap paper. Using a 4H pencil, add light values to the sky with long, horizontal lines. Start with light pressure at the top and gradually decrease the pressure as you work down. If you get frustrated, leave the sky white; your drawing will still be dramatic. Be encouraged. You can come back and try this again at a later date for better results. Either way, sign and date your drawing.
Call of the Wild
Graphite on drawing paper
14" × 11" (36cm × 28cm)