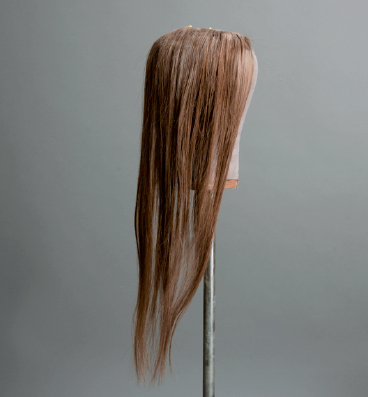

You’ll notice that every hairstyle tutorial in this book deals with the chignon, the hair at the back of the head. It was looped up, braided, left long and worked into buckles. If you already have hair down to your shoulder blades or longer, groovy—you can skip this part. For those of us deficient in the long and luscious department of hair, we recommend the good old-fashioned clip-in extensions to make it up in the back. [9]
• 1 package (22–24-inch [56–61-cm]) human hair extensions
• #30 silk thread in matching color
• 4 or more wig clips
1. Divide out enough wefts for your chignon to be nice and full. Remember that it will gain in volume when pom’d and pow’d, but it’s better to err on the side of fullness.

2. Wefts often come in one long string. Don’t cut the string, just fold it back on itself to form a stacked row about 6 to 7 inches (15 to 18 cm) wide. Stitch the two stacked wefts together.
3. Fold the weft back under to add to the stack and stitch. Continue until you have all of the hair wefts stacked and stitched.

4. Place four wig clips across the top of the chignon on the underside, teeth pointing down. Stitch each to the stack of wefts.

5. Pomade and powder the chignon before you clip it in, and then style as you like. To keep your chignon extension looking nice, store it in a loose hairnet inside a cloth bag.