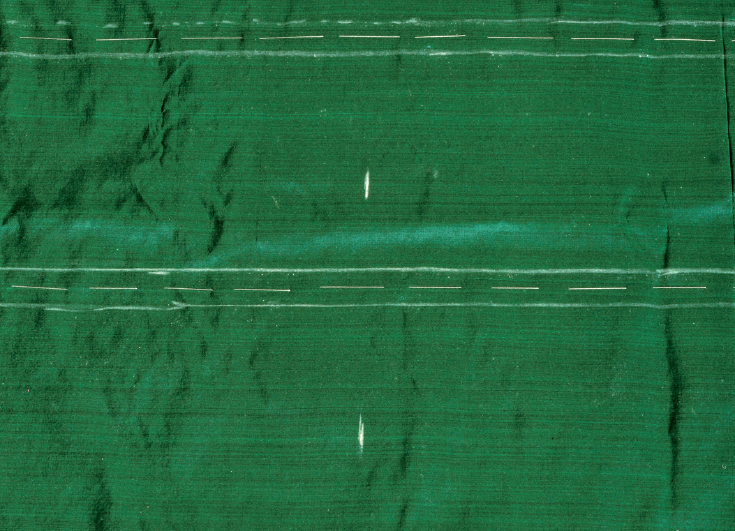
One of the most bizarre headwear fashions of the late eighteenth century is the calash bonnet. Named after a popular convertible carriage, [7] a lady’s calash bonnet telescoped up and over the elaborate coiffures of the 1770s, 1780s and 1790s, continuing well into the first half of the nineteenth century. The size and shape of these bonnets changes over time with the hairstyles. Early calashes were cut on the straight and used simple rectangles in construction, [8] making the most of the fabric and taking the least time in labor. Calash bonnets were commonly made in green, black, brown or purple silk, and lined in pink or ivory to reflect light onto and flatter the face. [9] Many calash bonnets feature ruffles around the face, other decorations such as bows at the back and variations in the design of the holding strings. This is the hardest project in this book. Don’t worry—stick to it, and you’ll have an amazing calash at the end.
• 2½ yards (2.5 m) green, brown, black or lilac silk taffeta
• 1½ yards (1.5 m) pink or ivory silk taffeta
• #30 heavy silk thread in matching color of outer fabric
• 15 feet (4.5 m) 4.5-mm round reed
• #1 reed —45 inches (114 cm)
• #2/#3 reed —47 inches (119 cm)
• #4 reed—40 inches (102 cm)
• Drill
• 1 yard (1 m) ½-inch (1.2-cm)-wide ribbon

1. Turn in ½-inch (1.2-cm) seam allowances on the outer and lining fabric on the front edge of the calash body. Baste the outer fabric, then fold in the lining to sit just inside the edge of the outer fabric. Pin, then edge stitch the outer and lining fabrics together.
2. Mark the five boning channel fold lines on the outside of the calash body piece. Lay the outer and lining fabrics wrong sides together, then baste through both layers along the fold lines in the center of the boning channel marks.

3. Turn up and baste the seam allowance on both the outer and lining fabric on the back edge of the calash body. Baste the two turned edges together as well. The sides are still left open.
4. Finely running stitch the outer and lining fabrics of the back edge of the calash body together between the two marks on either side of the center back. Run a gathering stitch between the marks on the back edge.
5. Fold the fabric along the first boning channel center basting, wrong sides together. Backstitch along the marked line, approximately ⅜ inch (1 cm) from the folded edge. Repeat for all five of the basted boning channel lines. This creates the bone casing for each reed on the outside of the calash body.

6. While the calash body is still flat, pleat the sides and baste, making sure not to catch the boning channels in your basting stitches.
7. Fold the calash body in half, right sides together, matching the center back seam. Pin below the mark for the gathering stitches. English stitch this seam from the base to the marks.
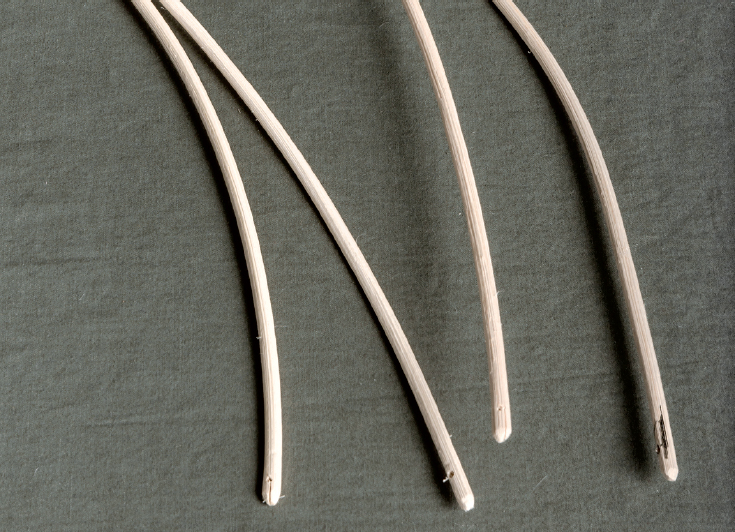
8. Cut the reeds to length—follow the length guide on the pattern. The front and back reeds will be shorter than the reeds in the mid-section of the calash body. Mark the ends of the reeds with colored markers to keep them organized.
9. If your reeds are too curly, you’ll need to soak them in water for about 15 minutes, then straighten them out a bit into a gentler curve. Hold them in position—we used jaunty rubber traffic cones—and allow the reeds to dry in the new shape. The reeds do not need to be straight but rather arced more or less in the shape and curve that the finished calash will be.

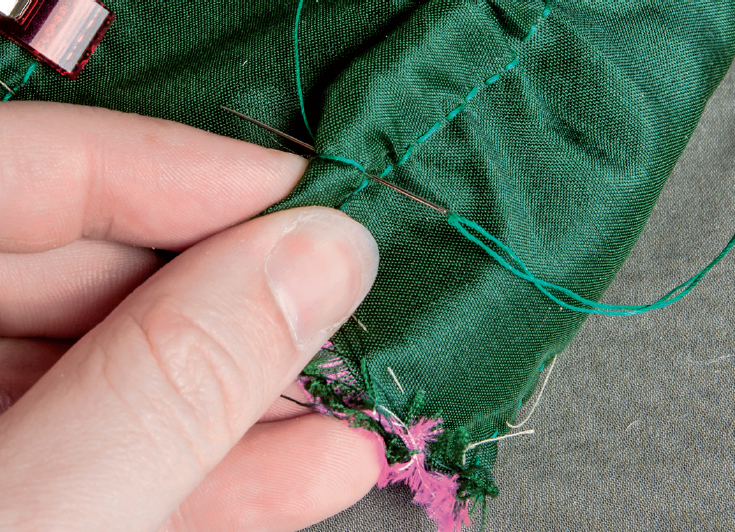
10. Using a tiny drill bit, carefully drill a hole at both ends of each reed. You can also use a very small nail to press a hole through the reeds. Be very careful not to split the reeds on the ends. Sand and smooth any rough burrs or bits on the ends of the reeds.

11. Feed the reeds into the boning channels until the end lines up with the raw edge of the opening.
12. Now carefully stitch through the holes in each reed, taking a few strong tacking stitches and carrying on to the next reed. This is a little tricky to find the holes but do NOT skip this step. It’s vital that the reeds be anchored in place. It’s going to be a total mess on those raw bottom edges but don’t worry—all these sins will be covered later on.
13. Gather the excess fabric up along the reeds. Once the reed ends and the raw edge of the fabric are aligned, once again stitch through the holes in the reeds to secure them into place, folding the channel toward the back and stitching it down too. Arrange the gathers evenly.
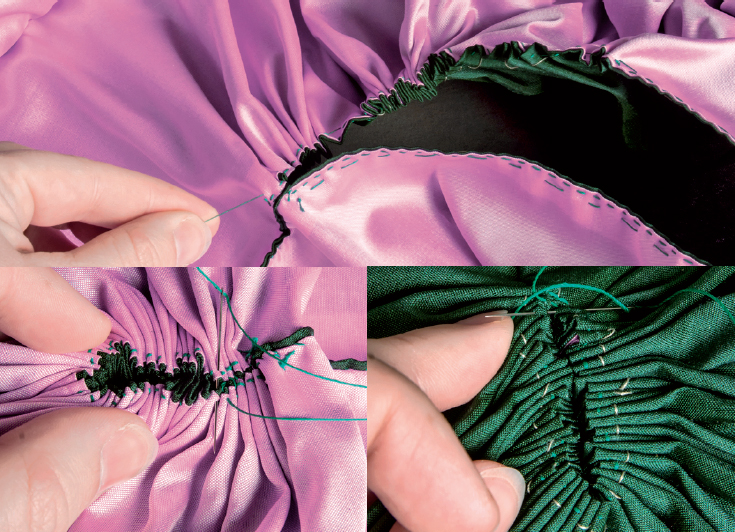
14. On the inside, pull up the gathering stitches nice and tight around the hole at the center back seam. Arrange the resulting “bumps” in a fairly symmetrical way and then whipstitch it all together as best you can. This doesn’t have to be perfect, but be sure to pull the stitches nice and tight. Catch all of the bumps, then flip the calash to the outside and whip the bumps together on the outside as well. This will be covered by a bow later on, so it doesn’t have to be perfect.

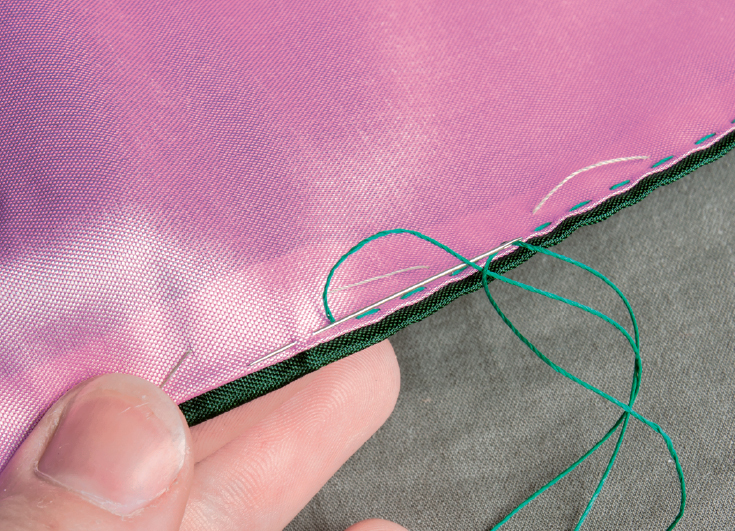
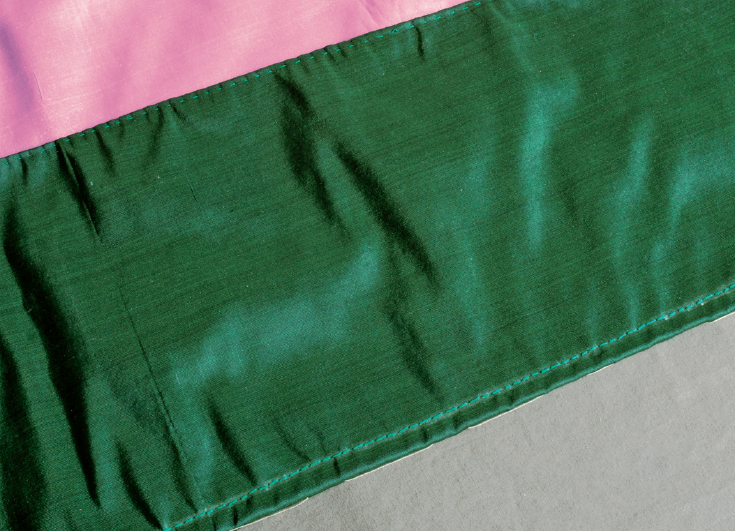
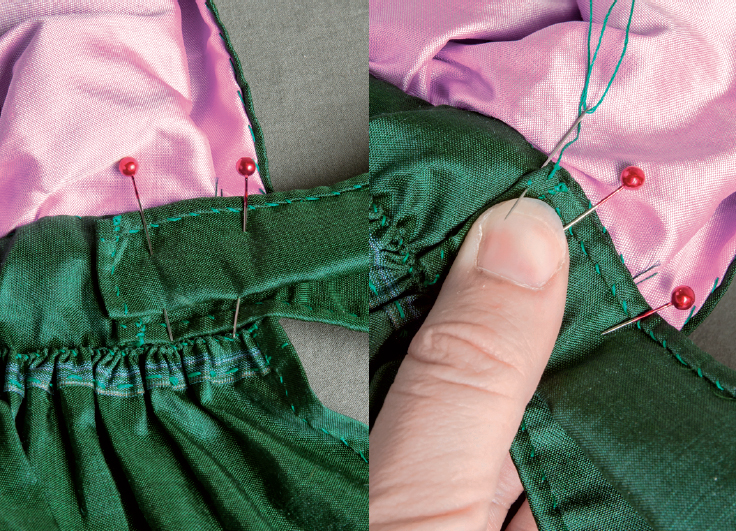
15. On the neck binding piece, fold in ½ inch (1.2 cm) on all sides and baste. With the calash body laid out as flat as possible, apply the neck binding to the outside of the calash body, aligning the raw bottom edge halfway, along the centerline of the binding. Applique stitch the top edge of the binding in place.

16. Turn the calash body over and fold the neck binding to the inside, encasing the bottom edge cleanly. Pin to hold, then hem stitch the top edge of the neck binding in place. Finish the ends by stitching them shut, and press the bottom edge of the neck lightly. Now you’re on to the home stretch!

17. Hem all four edges of the neck ruffle, leaving the top edge un-hemmed.

18. Mark the center and 15 inches (38 cm) on either side to divide the curtain into four sections for gathering. Now whip gather over the finished top edge of the curtain. Every 15 inches (38 cm), gather the volume down to 5¾ inches (15 cm), tack stitch, then carry on with this method until the entire length of the curtain is gathered down to 23 inches (58 cm), the length of the bottom edge of the calash body.

19. With the calash laid out as flat as possible, align the top boned edge of the neck curtain with the bottom edge of the calash body, right sides together. Pin, then tightly whipstitch the pieces together. When complete, fold down the neck curtain ruffle and gently pull to “pop” the seam into place.
20. The neckties play a vital role in holding your calash in position. You can use premade ribbon or the same fabric as the calash, hemming the edges. The neck ties should be about 3 inches (8 cm) wide and 30 inches (76 cm) long, able to be comfortably tied in a bow around the neck.
21. Turn in ½ inch (1.2 cm) allowance on the ends of the neck ties and baste. Pin into place at the base of the neck of the calash, placing the edges about 1 inch (2.5 cm) inside, along the neck binding. Take a pleat to narrow the width of the neck ties to match the width of the neck binding, then securely hem stitch around the end, both sides and at the front edges. There is a lot of stress on these stitches, so make them strong.

22. The additional strings on the sides of the calash are to hold while wearing the bonnet and to keep it up and in position. You can use narrow ribbon in a matching or similar color or self-fabric narrow hemmed. We used 36 inches (91 cm) of ½-inch (1.2-cm)-wide black silk ribbon. Stitch these strings on the interior near the first bone, about 10 inches (25 cm) up the sides of the calash.

23. Lastly, and for extra floof, construct a bow in self-fabric. Start by hemming two pieces of silk fabric on each long edge—the first should be 14 inches (35.5 cm) by 3 inches (8 cm) and the second should be about 20 inches (51 cm) by 3 inches (8 cm).

24. On the shorter piece, match the raw short edges right sides together and running stitch. Turn the loop right side out and arrange the seam at the center back, then running stitch through both layers in the center. Pull up the thread to gather the center of the bow and tie off.
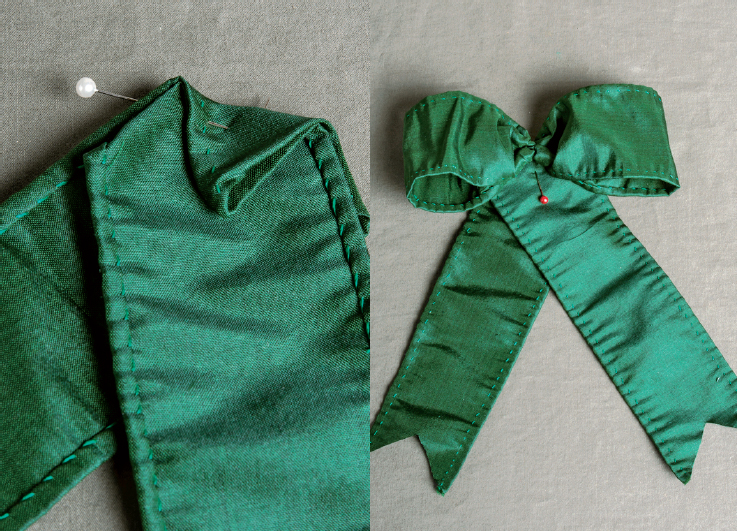
25. Fold the longer piece into a triangle at top so that both right sides of the ribbon show. Tuck down the point at the top, then place this top behind the bow loops. Stitch the tails to the bow through the center point with a few strong stitches. Cut the ends of the tails into zigzags or at angles.
26. Position the finished bow on the back of the calash, covering the tightly gathered portion. Take a few stitches all the way through to secure the bow in place.
27. To store your new calash, untie the necktie and truncate the bonnet flat.
You made it! You’re done! You never have to make another calash bonnet again! … Unless, of course, you would like to explore the different shapes for later decades. Experiment with the width of the back edges and the overall size and length of the calash body to achieve smaller, rounder shapes.