

This cap is based on several illustrations in the Gallerie des Modes [23] between 1776 and 1785 as well as Adélaïde Labille-Guiard’s 1785 self-portrait, [24] all depicting large, wide caps with various styles of ruffles topped with lappets, long rectangular pieces of lace or fabric matching the cap, applied in several creative ways. Our cap—called in French the Bonnet à la Jeannot in one 1783 fashion plate, [25] but whimsically re-named with every new publication—displays the lappets in a popular way, looped at the sides and pinned or stitched at the top. Placement, width and length of the lappets leaves room for personal preference, or you may omit them altogether.
For this project, we have used fine cotton organdy, a permanently-sized, lightweight, semi-sheer fabric with a stiff hand. Organdy is a wonderful, accurate material with which to make big caps, but feel free to use silk organza, well-starched cotton voile or handkerchief-weight linen for different effects.
• 1 yard (1 m) fine cotton organdy, silk organza, cotton voile or fine linen
• Silk or cotton thread (#30 for gathers & seams and #50 for hems)
• 20 inch (51 cm) ¼-inch (6-mm)-wide fine cotton tape or candlewicking
ALL THE RUFFLES
1. Turn up and narrow hem the band and the caul ruffle, with a fine ¼-inch (6-mm) hem. Hem stitch in place with a minimum of 12 stitches per inch (2.5 cm).

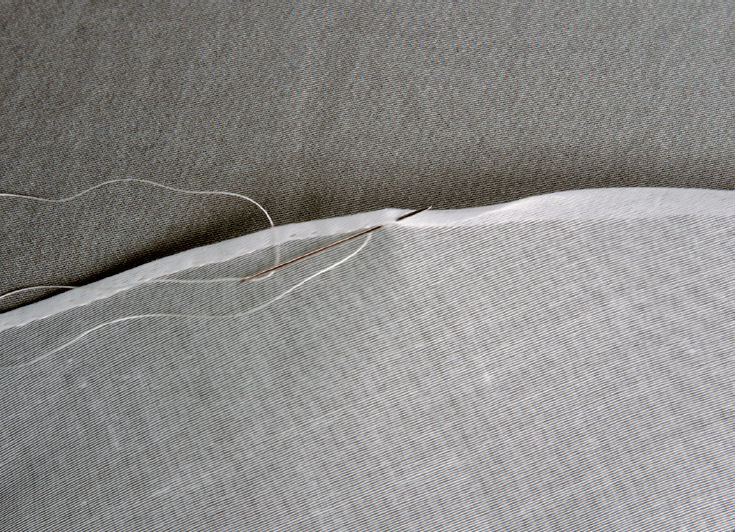

2. On the face ruffle pieces, narrow hem each long side of the “fish” opposite of each other. Turn the shorter side under and the longer side up so that when the fish is folded in half along the fold line, the hems both turn under the same direction.

3. Turn up, baste and hem all edges of the lappets, creating a ½-inch (1.2-cm)-wide hem. This is a decorative choice and looks nice on sheer and semi-sheer fabrics.

4. Pleat up the caul ruffle to fit half of the band, and pin into place. Be sure you’ve matched the caul ruffle with the straight edge of the band.
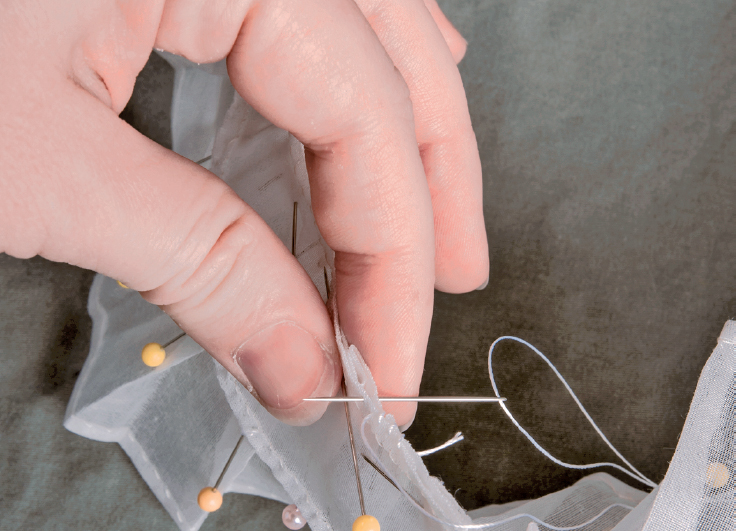
5. Right sides together, whipstitch the caul ruffle to the band, catching in all the layers of the pleats. Repeat this for the other side. Do not open out the pieces yet.
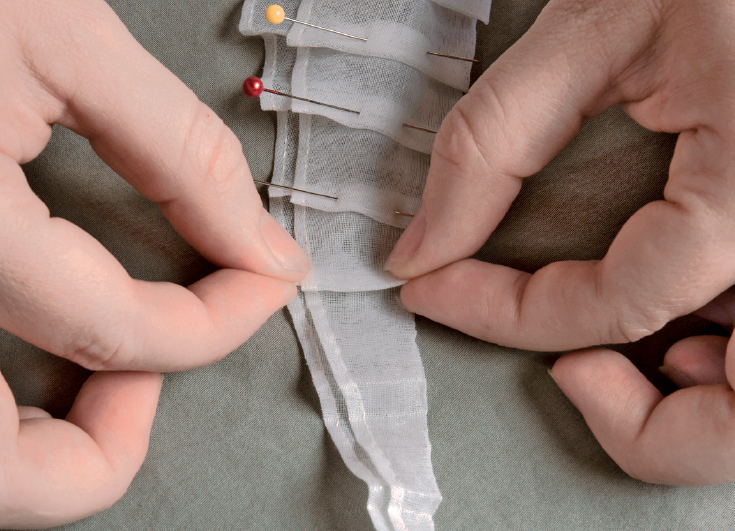
6. Fold the face ruffle pieces in half along the fold line, then pleat each “fish” to match the curved edges of the band. Working one side at a time, pin the pleated fish to the band right sides together. Whipstitch over the edges, then open the two pieces out flat, gently tugging them apart to “pop” the stitches into place.

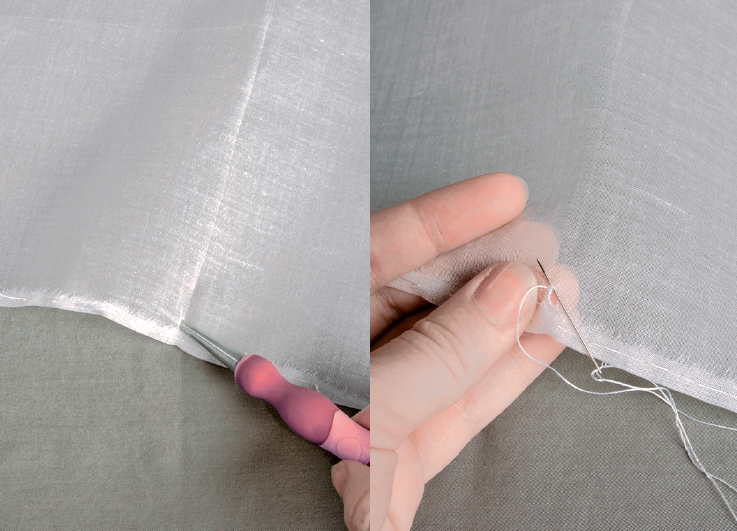
7. Turn up ¼ inch (6 mm) on all edges of the caul and baste. Fold the caul piece in half lengthwise to find the center and mark just above the basted seam at the bottom of the caul. Pierce the fabric with an awl at this mark, then stitch the eyelet open with heavy waxed thread (#30). When complete, poke with the awl again to further open and shape the eyelet.
8. Atop the turned and basted seam allowance on the bottom flat edge, secure the narrow tape to the base of the caul piece on each end using a few strong backstitches. Pull the excess tape through the eyelet, using an awl or pin to push it through.
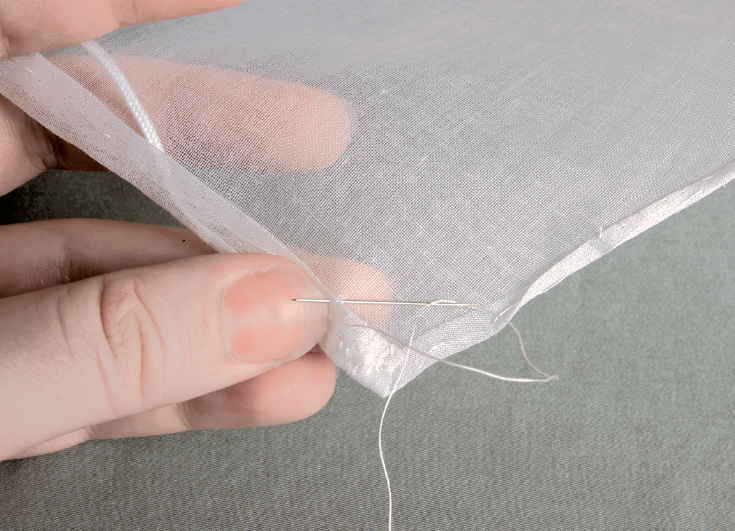
9. Fold up the straight bottom edge of the caul piece over the tape. Finely hem, making sure not to catch the tape in the stitches.
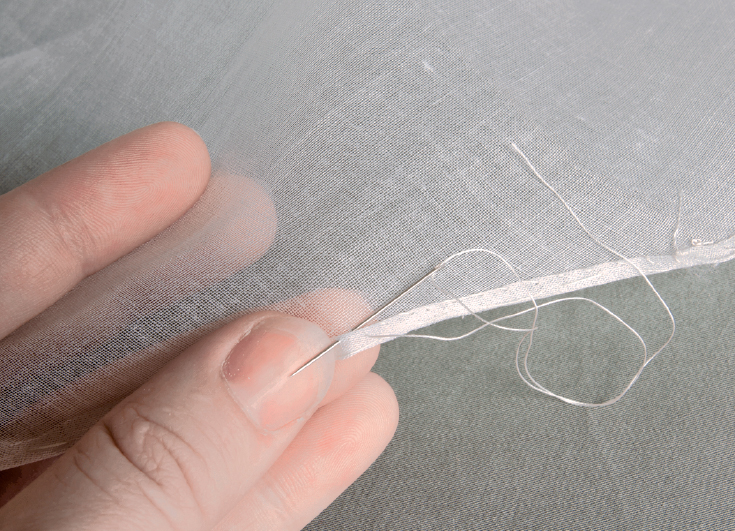
10. Continue to hem the rest of the caul using the fine hem method shown here.
11. Following the pattern, mark where the gathering should start on each side of the caul with a pin. Then fold the caul in half lengthwise to find the top center point and also mark it with a pin.

12. Loosely whip over the curved hemmed edge of the caul from one side to the center point, about 4 to 6 stitches per inch (2.5 cm). Pull up this thread to gather half of the caul to approximately half the length of the band. Repeat for the other side of the caul.

13. Pin the caul to the band and caul ruffle, right sides together, matching the center marks. Whipstitch the two pieces together, catching every “bump” of the gathers. When complete, open out the seam, gently tugging the pieces to “pop” the stitches into place.

14. If needed, smooth the caul ruffle upwards over the caul, and loosely tack it down at every pleat to keep the ruffle from flopping forward.
Iron the seams so everything lays smoothly and starch as needed.
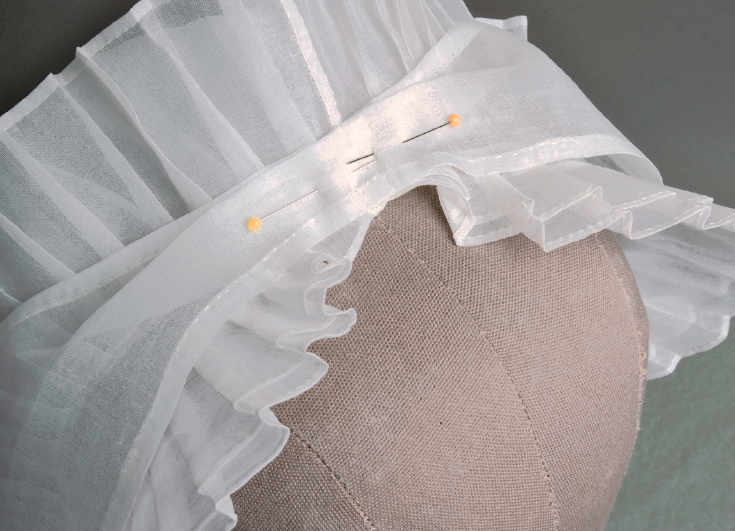
15. Pleat one short end of each lappet at the center-front-top of the cap band, taking a tuck toward the back of the cap to fit the narrow part of the band. Stitch in place with a few tacking stitches.
16. Allow the lappets to loop down around the ears, pinning or tack stitching inside the loop to lightly hold this portion in place. Make sure both sides of the lappets are evenly placed for a symmetrical appearance when worn.


17. Loop each lappet back up to the center-front-top of the cap band, folding the lappet back on itself and allowing the loose ends to fly. Here you will pin or tack stitch the lappets at an angle to help them fly back rather than fall in your face constantly. This angle will be different for everyone, so experiment before making your final stitches. If you need more security with the tails of your lappets, you may wish to discreetly pin or tack stitch in other places on the cap to keep them in place.