
Throughout this book we make many, many bows to decorate various caps and hats. Use this tutorial as your quick reference to making this ubiquitous bit of frippery.
• 20 inches (50 cm) 2-inch (5-cm)-wide silk ribbon or self-made hemmed fabric ribbon
• #50 silk thread
1. Cut two short lengths of ribbon, approximately 6 inches (15 cm) long.
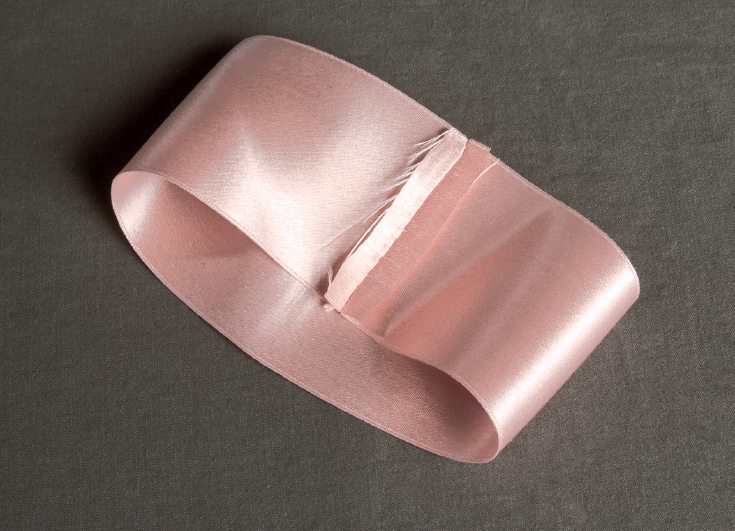
2. Match the raw ends right sides together, stitch, then press open. Then stitch across the width with a running stitch.
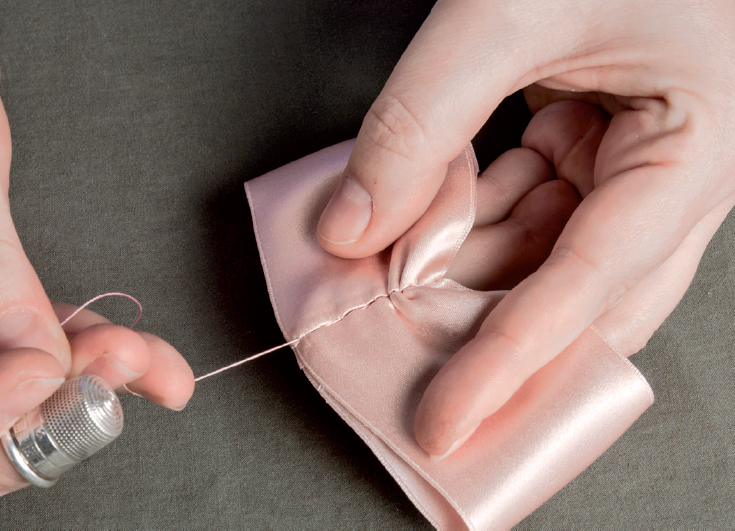
3. Without cutting the thread, make a running stitch across the width on the opposite side of the ribbon loop, then draw the thread up to gather each side of the loop and bring them together.
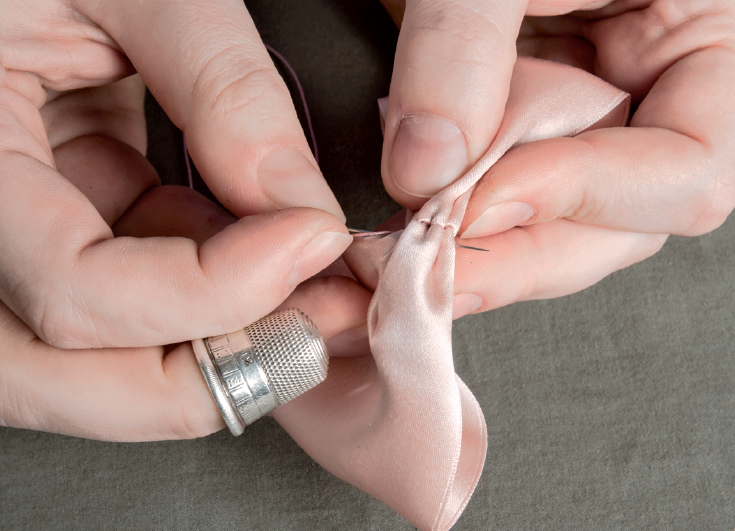
4. Still without cutting the thread, make a few strong stitches through all layers and knot.
5. Repeat for the second bow.
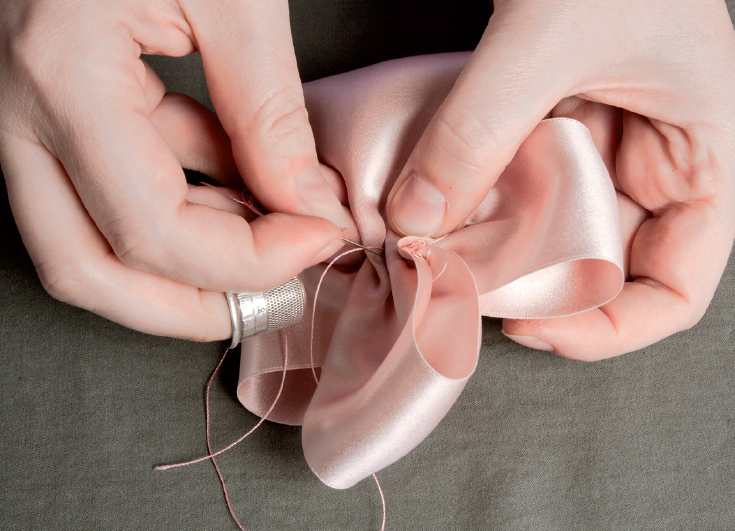
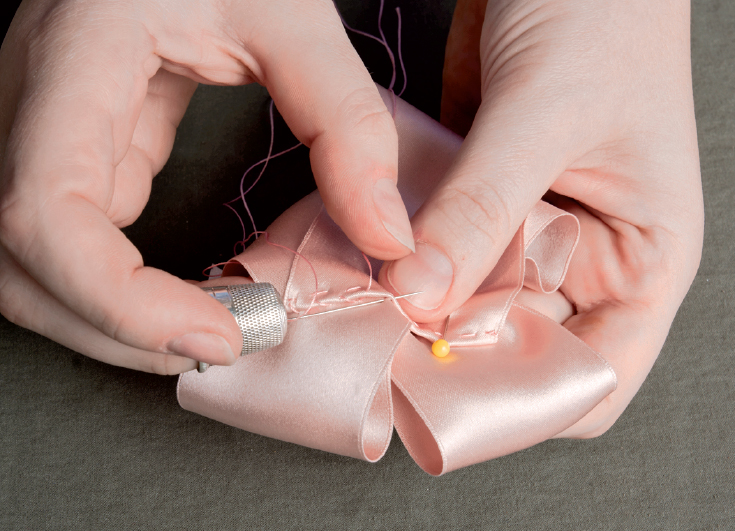
6. Place the two bows atop one another at right angles to form the rosette. Stitch through all layers to secure the bows together
7. To add tails, fold a length of ribbon about 8 inches (20 cm) long into a V roughly between 45 and 60 degrees. Take a few tacking stitches across the top.
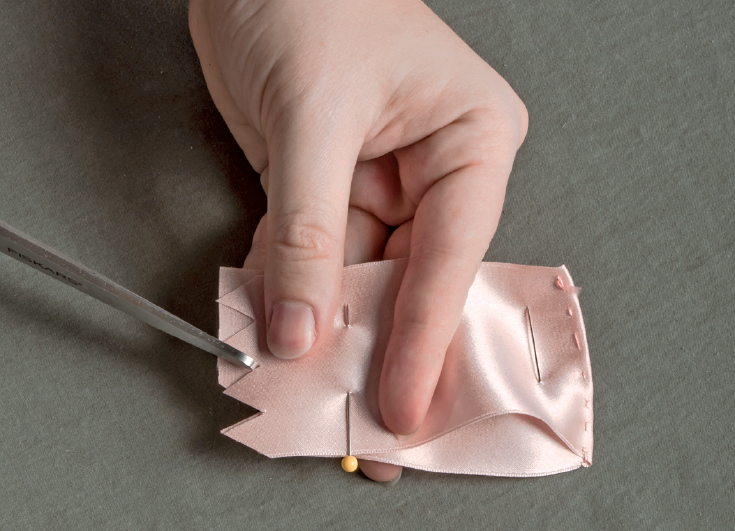
8. Cut the ends of the ribbon at angles or in a zigzag pattern.
9. Place the rosette atop the tails and take a few tacking stitches on the back, making sure the stitches do not show through to the front of the bow.

10. Now your finished bow is ready to be pinned or sewn onto hats, caps or the front of your gown. If you would like to create these bows using narrower or wider ribbon, it’s necessary to adjust the lengths needed for each piece. Use shorter lengths for narrower ribbon and longer lengths for wider.