Bank account reconciliation is a validation process of the bank's account statement and recorded transactions in the cash and bank management module, through customer deposits and vendor payments.
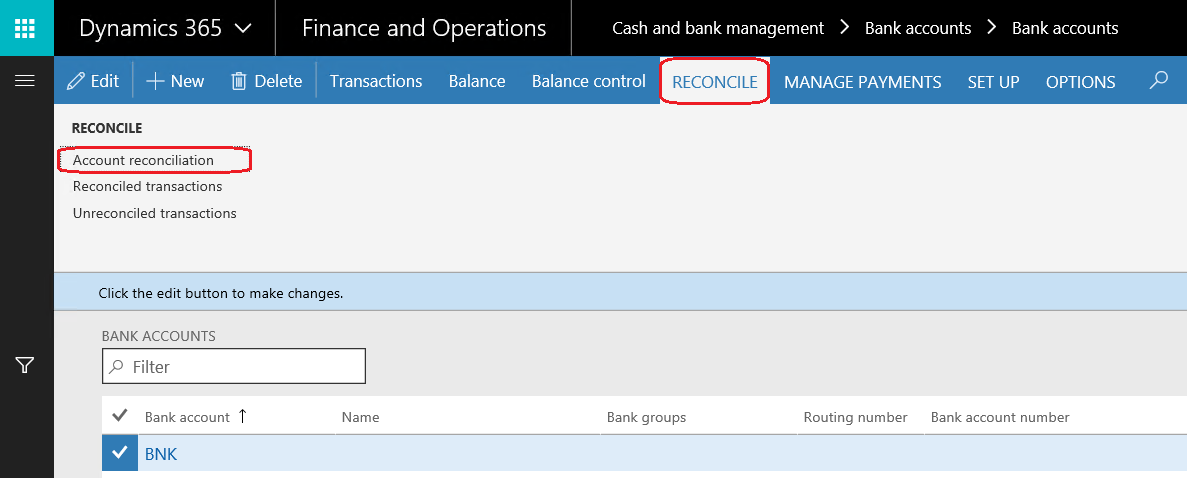
There are two reconciliation mechanisms that you can apply for each bank account: the first one is the manual reconciliation mechanism, and the second one is the automatic import of bank statements. You have to navigate to Cash and bank management | Bank accounts | Bank accounts | Select bank account. In the RECONCILE ribbon, click on Account reconciliation, as shown in the following screenshot:
The procedure begins when the company receives the bank account statement from the bank. Under Cash and bank management | Bank accounts | Bank accounts, select the Bank account | Bank account ribbon then Account reconciliation. In the Account reconciliation form, enter the reconciliation date, statement number, and statement ending balance, as shown in the following screenshot:

Under reconciliation transactions, only transactions booked through Microsoft Dynamics 365 for Finance and Operations modules are listed. If it matches the bank statement, mark it as Cleared, as you can see in the following screenshot:

After marking all transactions, click on Reconcile account to confirm the reconciliation process. If the reconciliation is successful, a message bar will open displaying this message: Account has been reconciled. This is shown in the following screenshot:

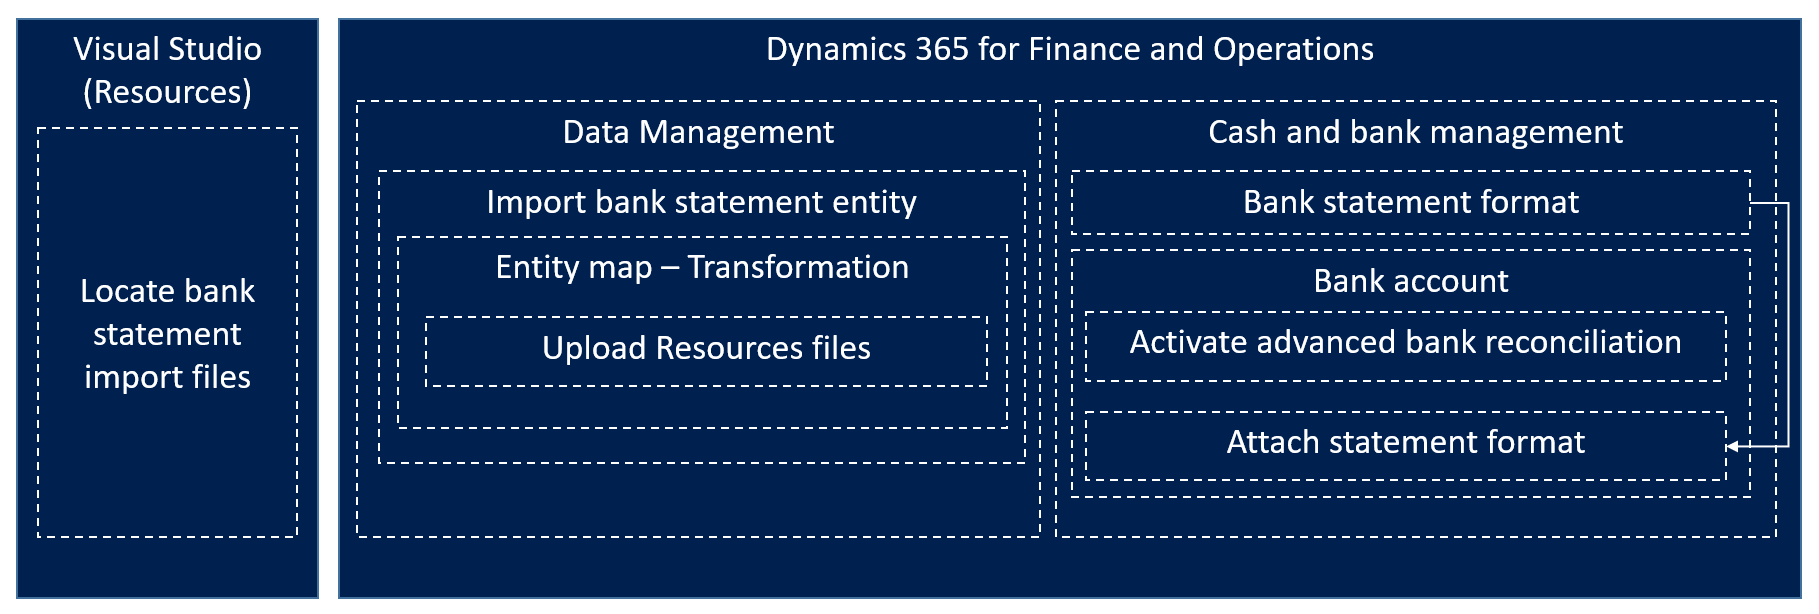
Automatic bank reconciliation requires to be set up on three areas: the resources on Visual Studio, data management, and the cash and bank management module, as shown in the following diagram:
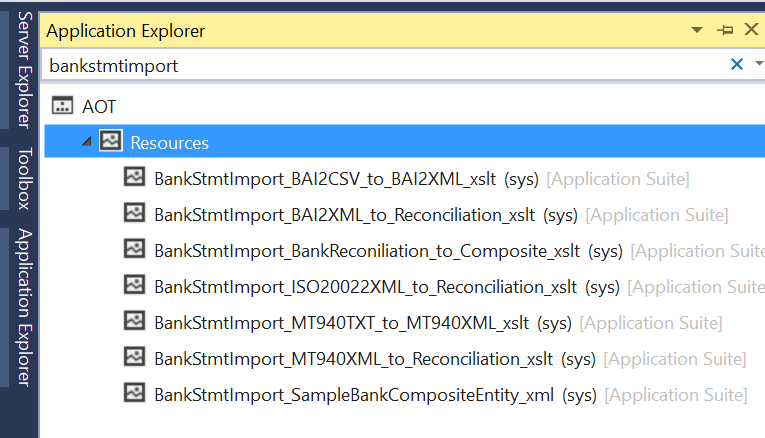
Open Visual Studio, move to Application Explorer, and filter on bankstmtimport as shown in the following screenshot:
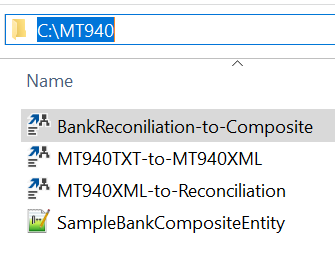
Then create a folder under the C drive and copy the following exported files as shown in the following screenshot:
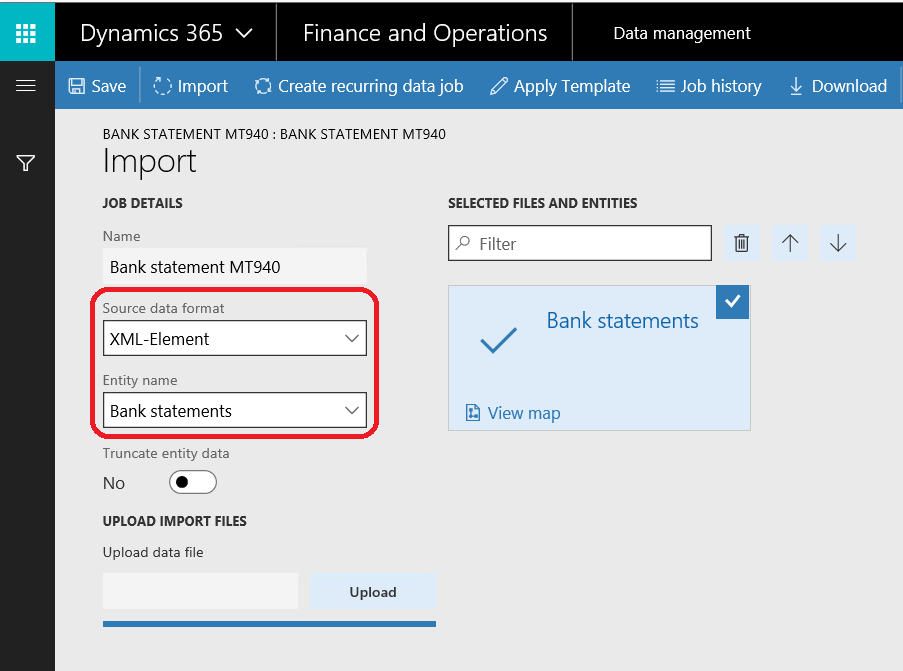
Then, move to Microsoft Dynamics 365 for Finance and Operations and go to the Data management workspace, select Import and XML-Element for Source data format and Bank statements in Entity name, then select SampleBankConsiteEntity in the file upload, as shown in the following screenshot:
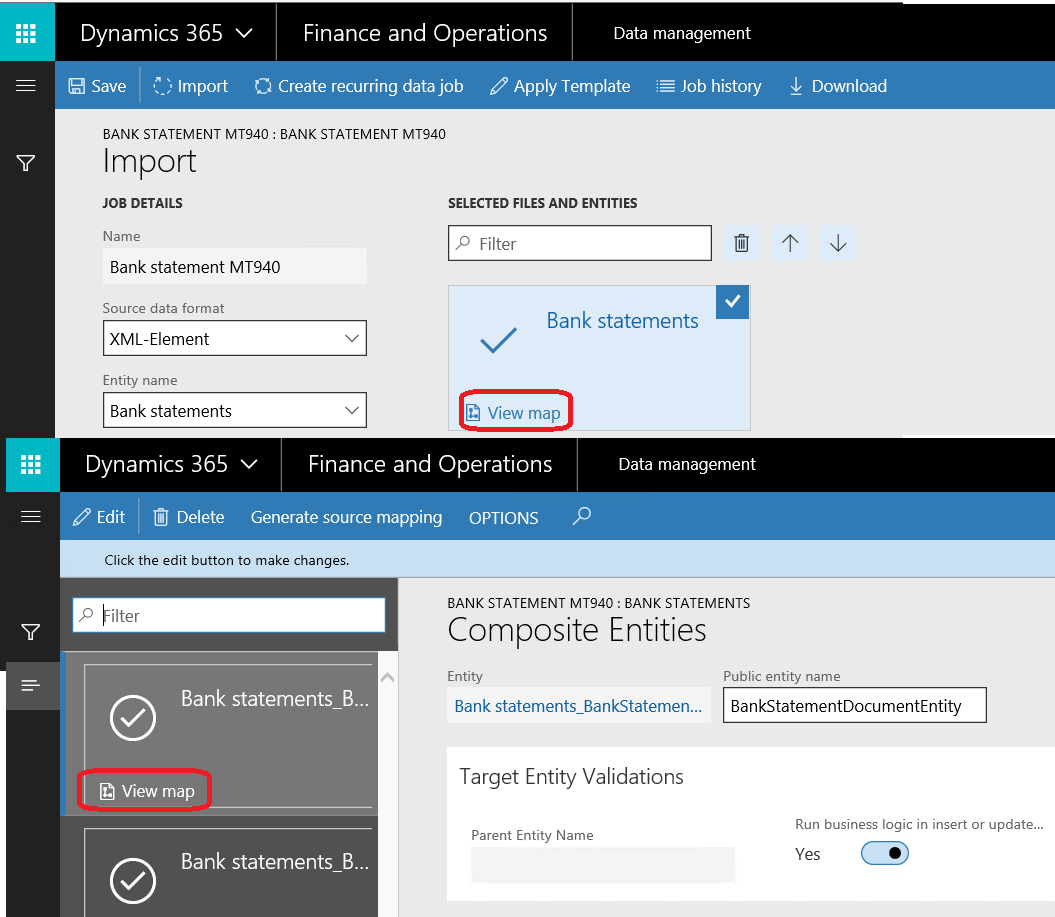
Select View map and the Composite entities form will open, and then select View map, as shown in the following screenshot:
The Map source to staging form will open, then move to Transformations, create new lines, and upload files from the C:MT940 folder, as shown in the following screenshot:

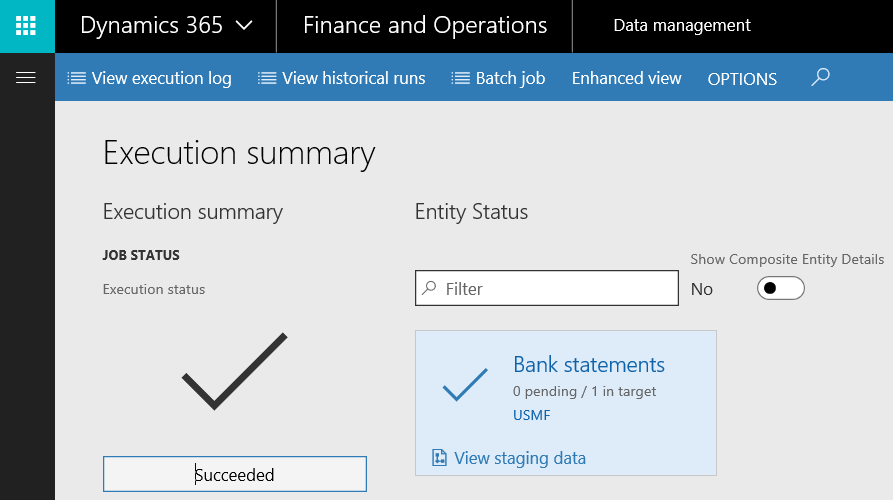
The Execution summary will show Succeeded, as shown in the following screenshot:
Then move to Cash and bank management | Setup | Advanced bank reconciliation setup | Bank statement format, create a new line, and link it to the created processing group:

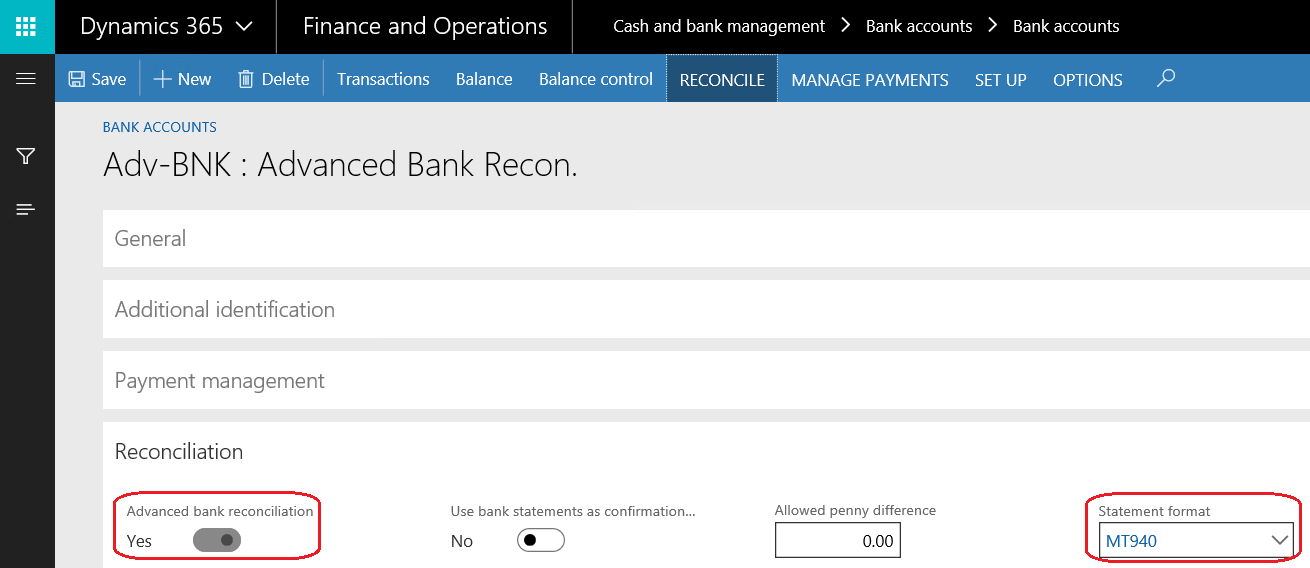
To automatically import bank statements, you must activate the Advanced bank reconciliation option. In order to activate the Advanced bank reconciliation option, navigate to Cash and bank management | Bank accounts | Bank accounts | Edit | Reconciliation. The following screenshot displays the Advanced bank reconciliation option under the Reconciliation fast tab:
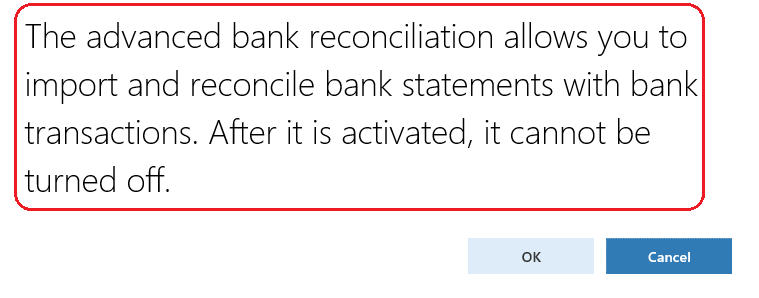
As you can see in the following screenshot, the Advanced bank reconciliation option cannot be turned off after activation:
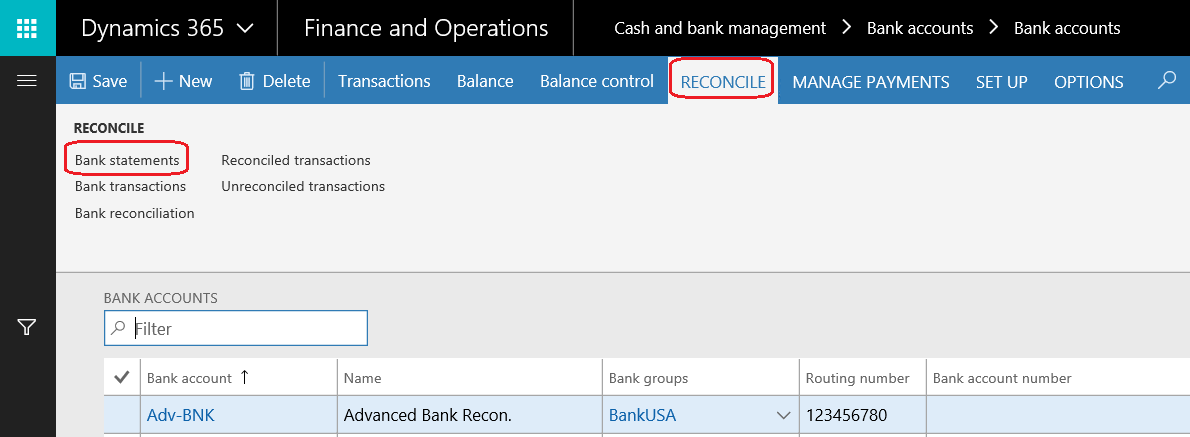
The process of importing bank statements starts by selecting RECONCILE and then by clicking on Bank statements, as you can see in the following screenshot. In order to go to the Bank statements section, navigate to Cash and bank management | Bank accounts | Bank accounts. Select a bank account, and then go to the RECONCILE ribbon and select Bank statements:
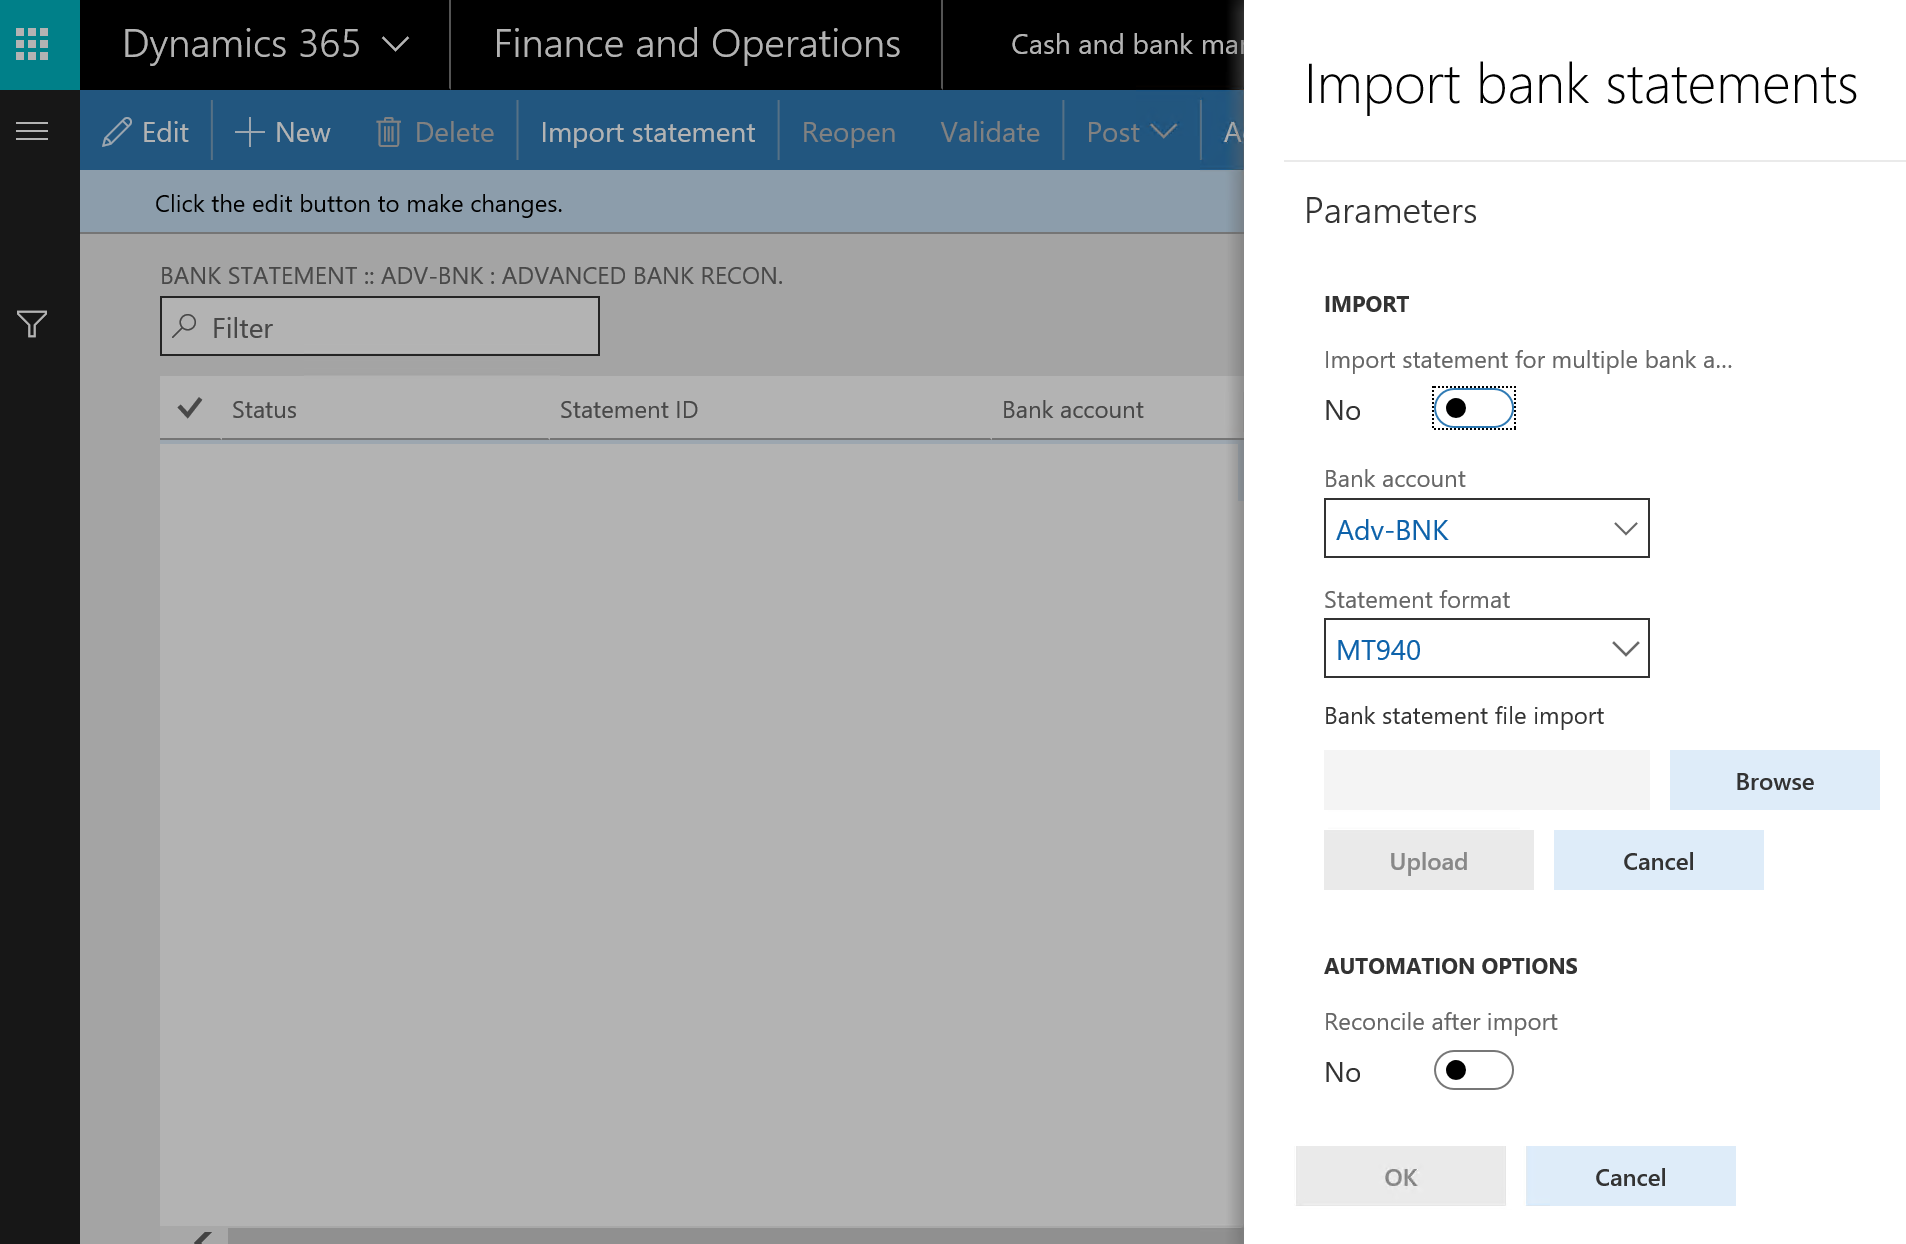
In the Bank statement screen, a journal line has been created with a status of Open. To import the bank statement, click on Import statement. To go to the Bank statement section, navigate to Cash and bank management | Bank accounts | Bank statement. A dialog box will pop up to select the file to be imported. Choose a bank account, locate the file path, and then click on OK. In order to go to the Import bank statements section, you have to navigate to Cash and bank management | Bank statement reconciliation | Bank statement. In the Bank statement ribbon, select Import statement.
The Import bank statements window is shown in the following screenshot:
The bank statement is imported with the Open status as shown in the following screenshot:

The Bank statement form contains the transaction lines of the imported bank transactions, in addition to the opening balance, ending balance, and net amount details. Click on Validate to validate the imported bank statement. If there is an error with the opening or ending balance, the validation process will stop. In order to edit the bank statement, you have to navigate to Cash and bank management | Bank accounts, then move to the RECONCILE ribbon, and select Bank statements. Select the Bank statement record as shown in the following screenshot:
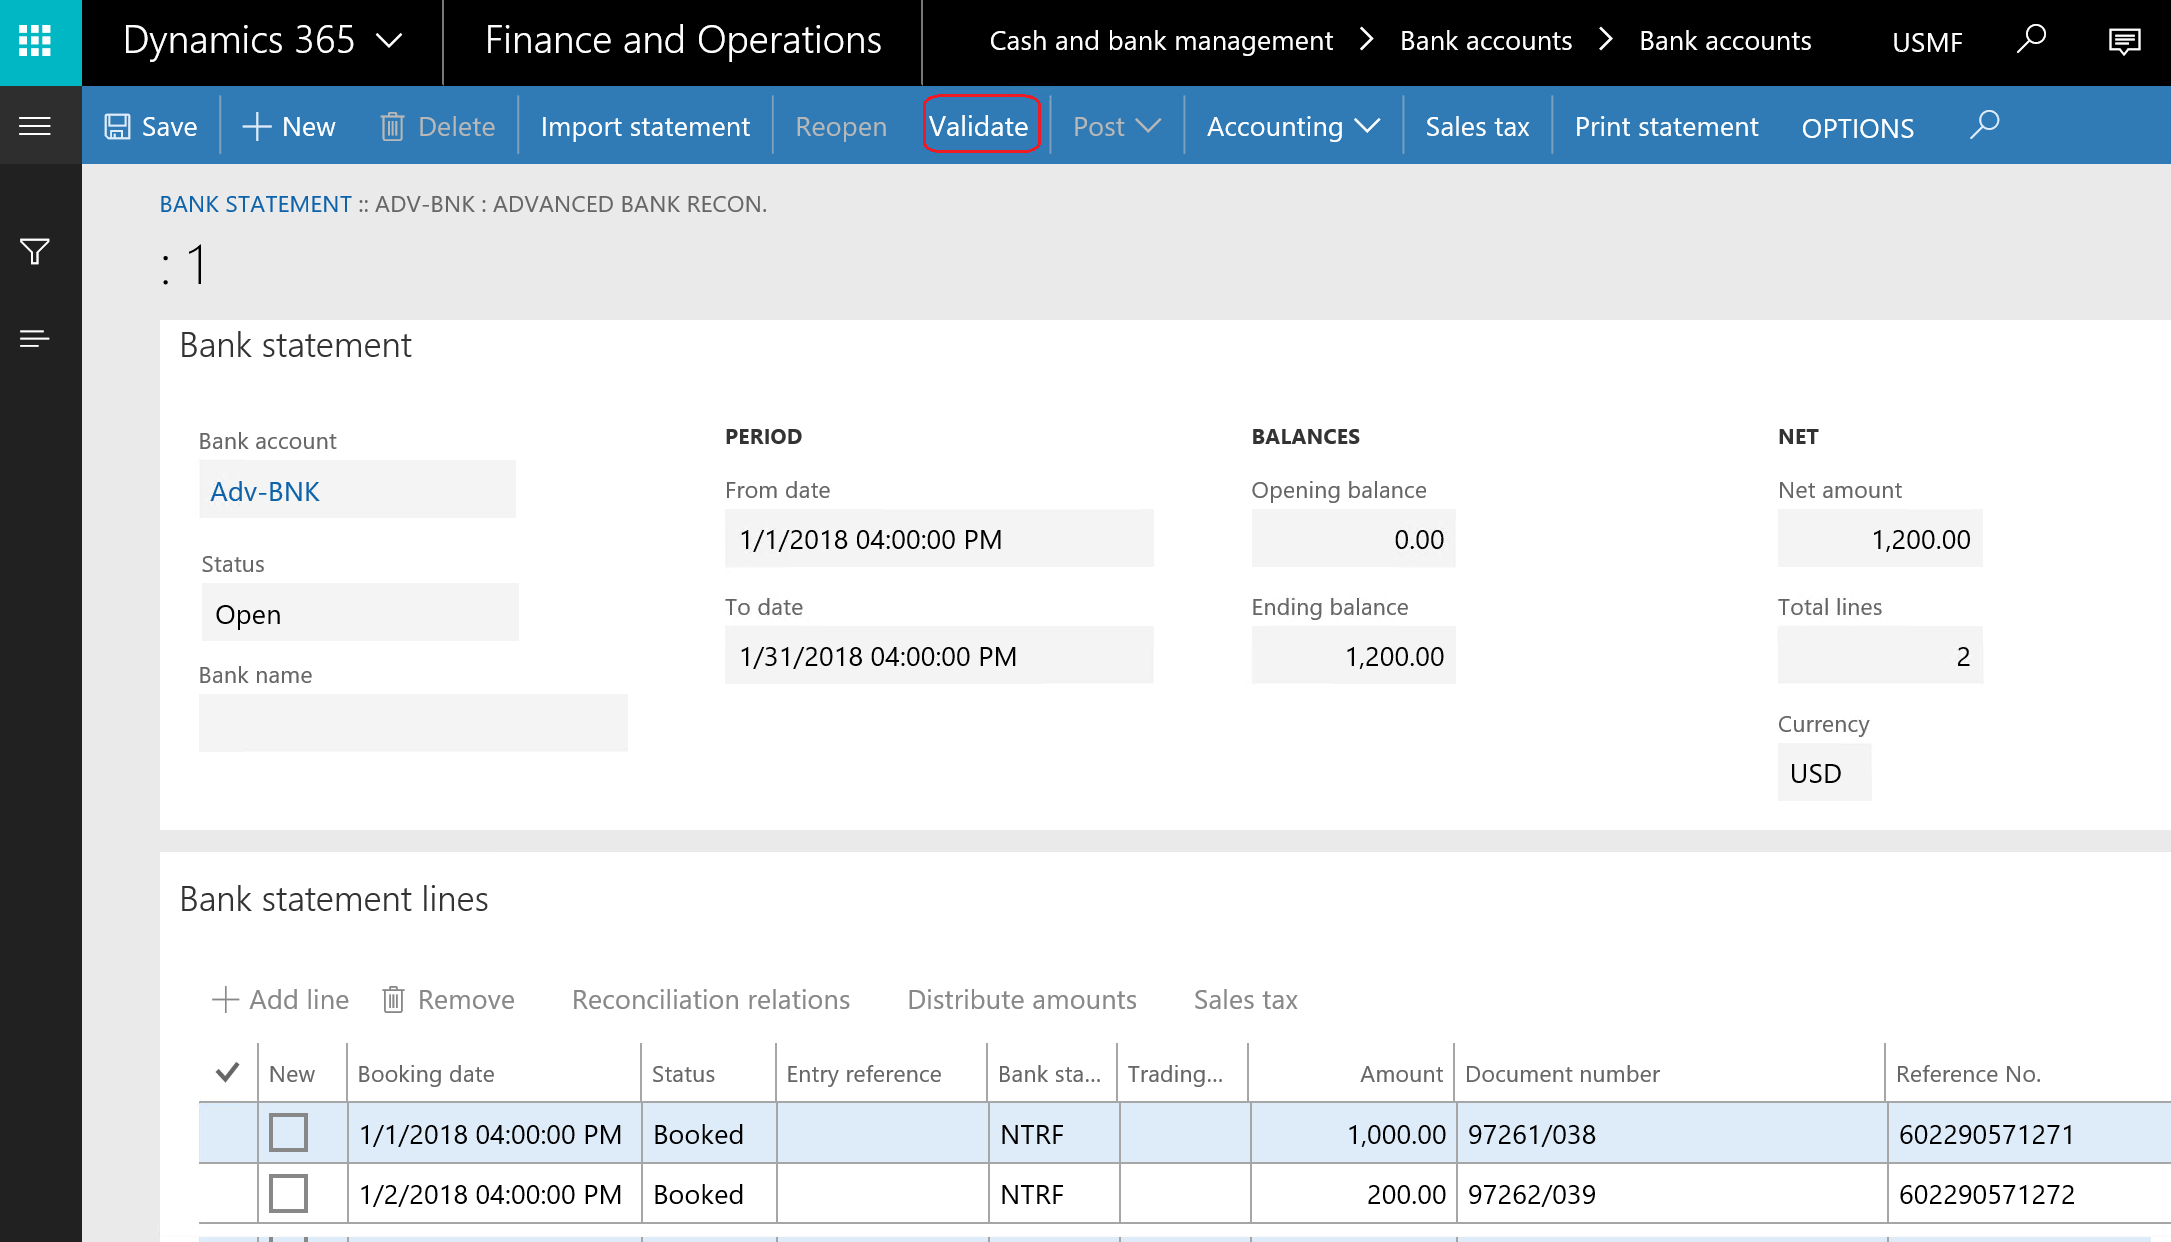
As you can see in the following screenshot, the Message details window will open to confirm that the statement passes the validation process:
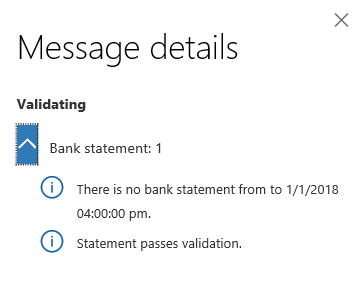
In order to match the bank transactions with the bank statement, go to the Bank reconciliation journal by navigating to Cash and bank management | Bank statement reconciliation | Bank reconciliation, create a new record, and select bank account ID; the filed information will be populated automatically. Then select Worksheet, as shown in the following screenshot:

The bank reconciliation worksheet contains the following fields:
- Open statement lines: This represents the imported transactions of the
bank statement - Open bank documents: This represents the bank transactions posted on Microsoft Dynamics 365 for Finance and Operations
- Matched statement lines: This represents the matched line in the statement with posted transactions
- Matched bank documents: This represents the matched bank document
in the statement with posted transactions
While checking a bank statement line with a posted transaction, click on Match. As you can see in the following screenshot, the matched lines on Unmatched transactions fast tab:
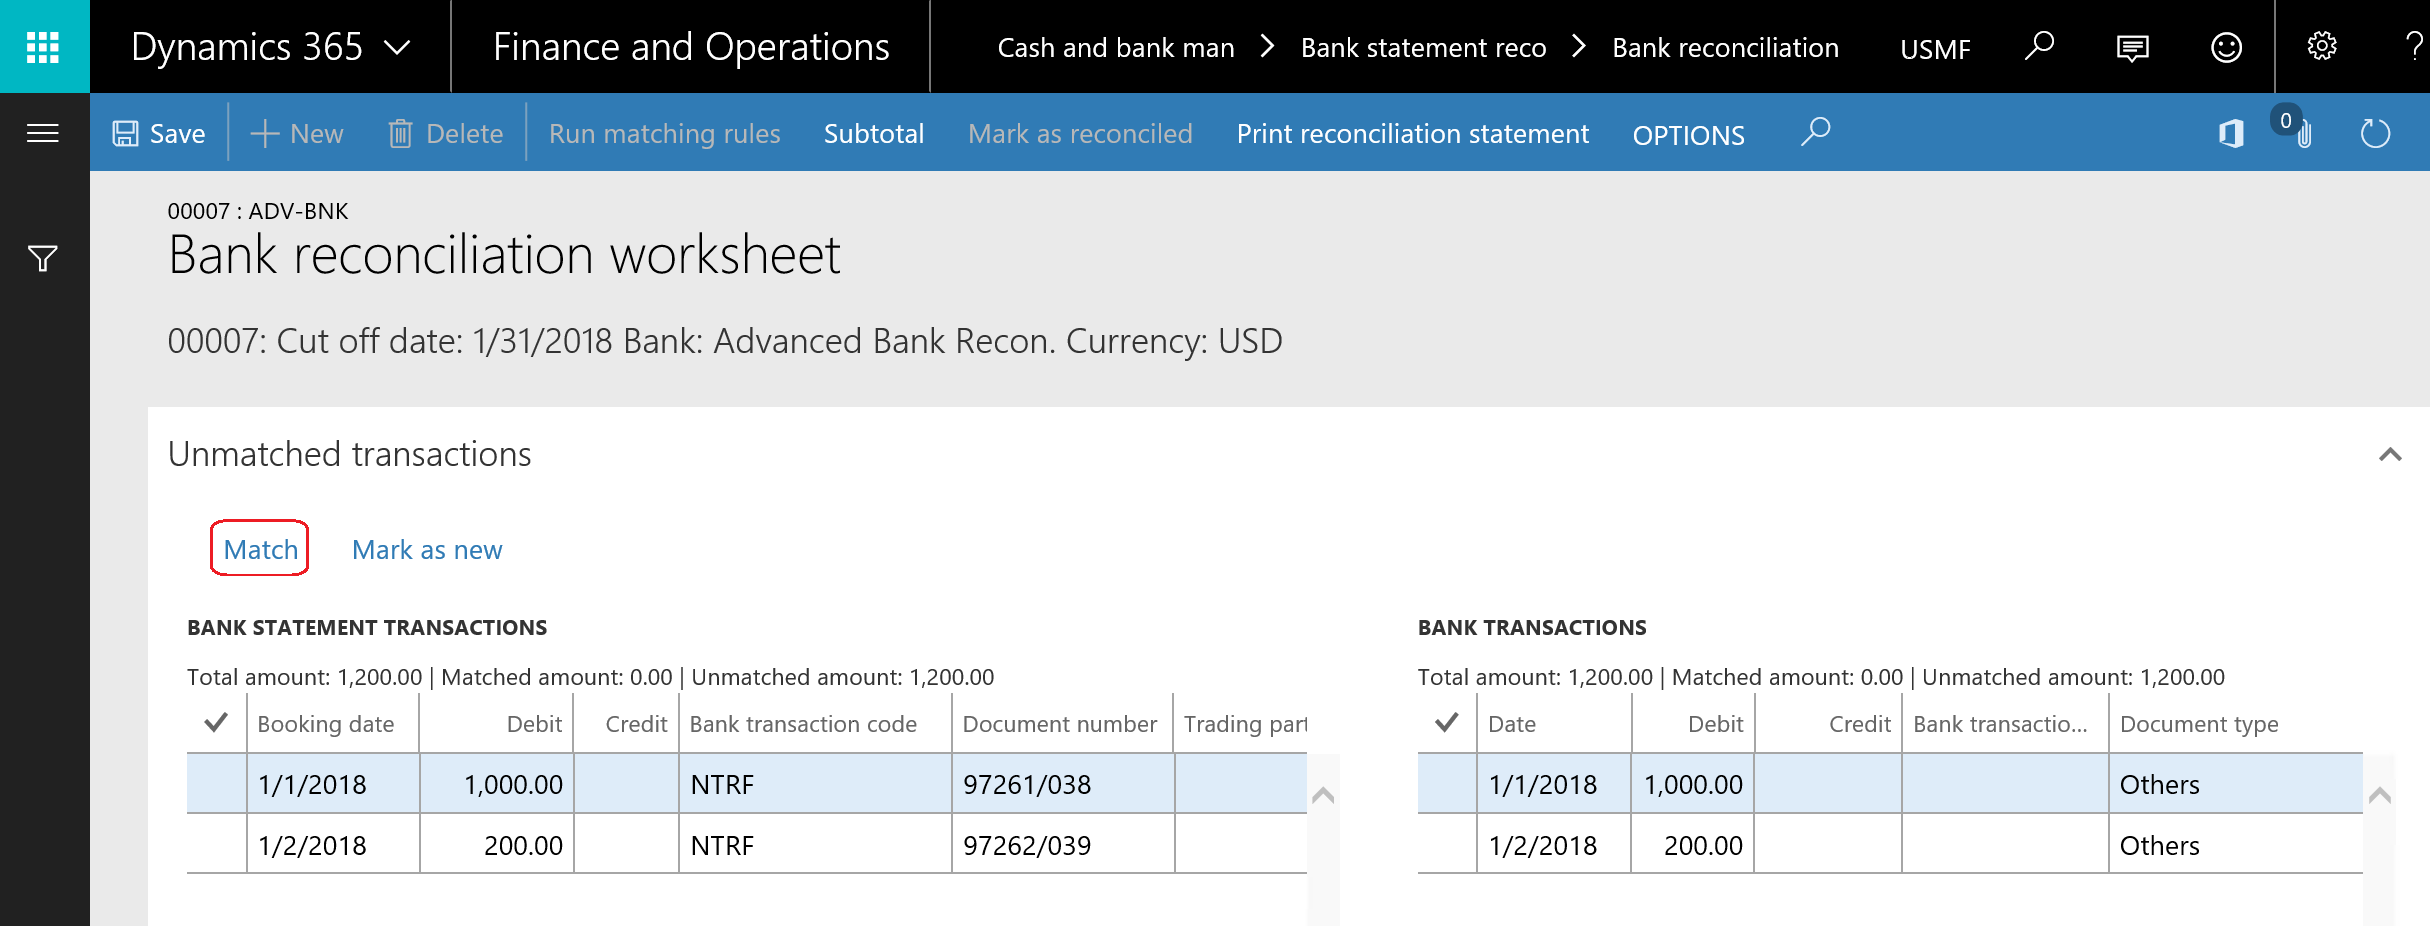
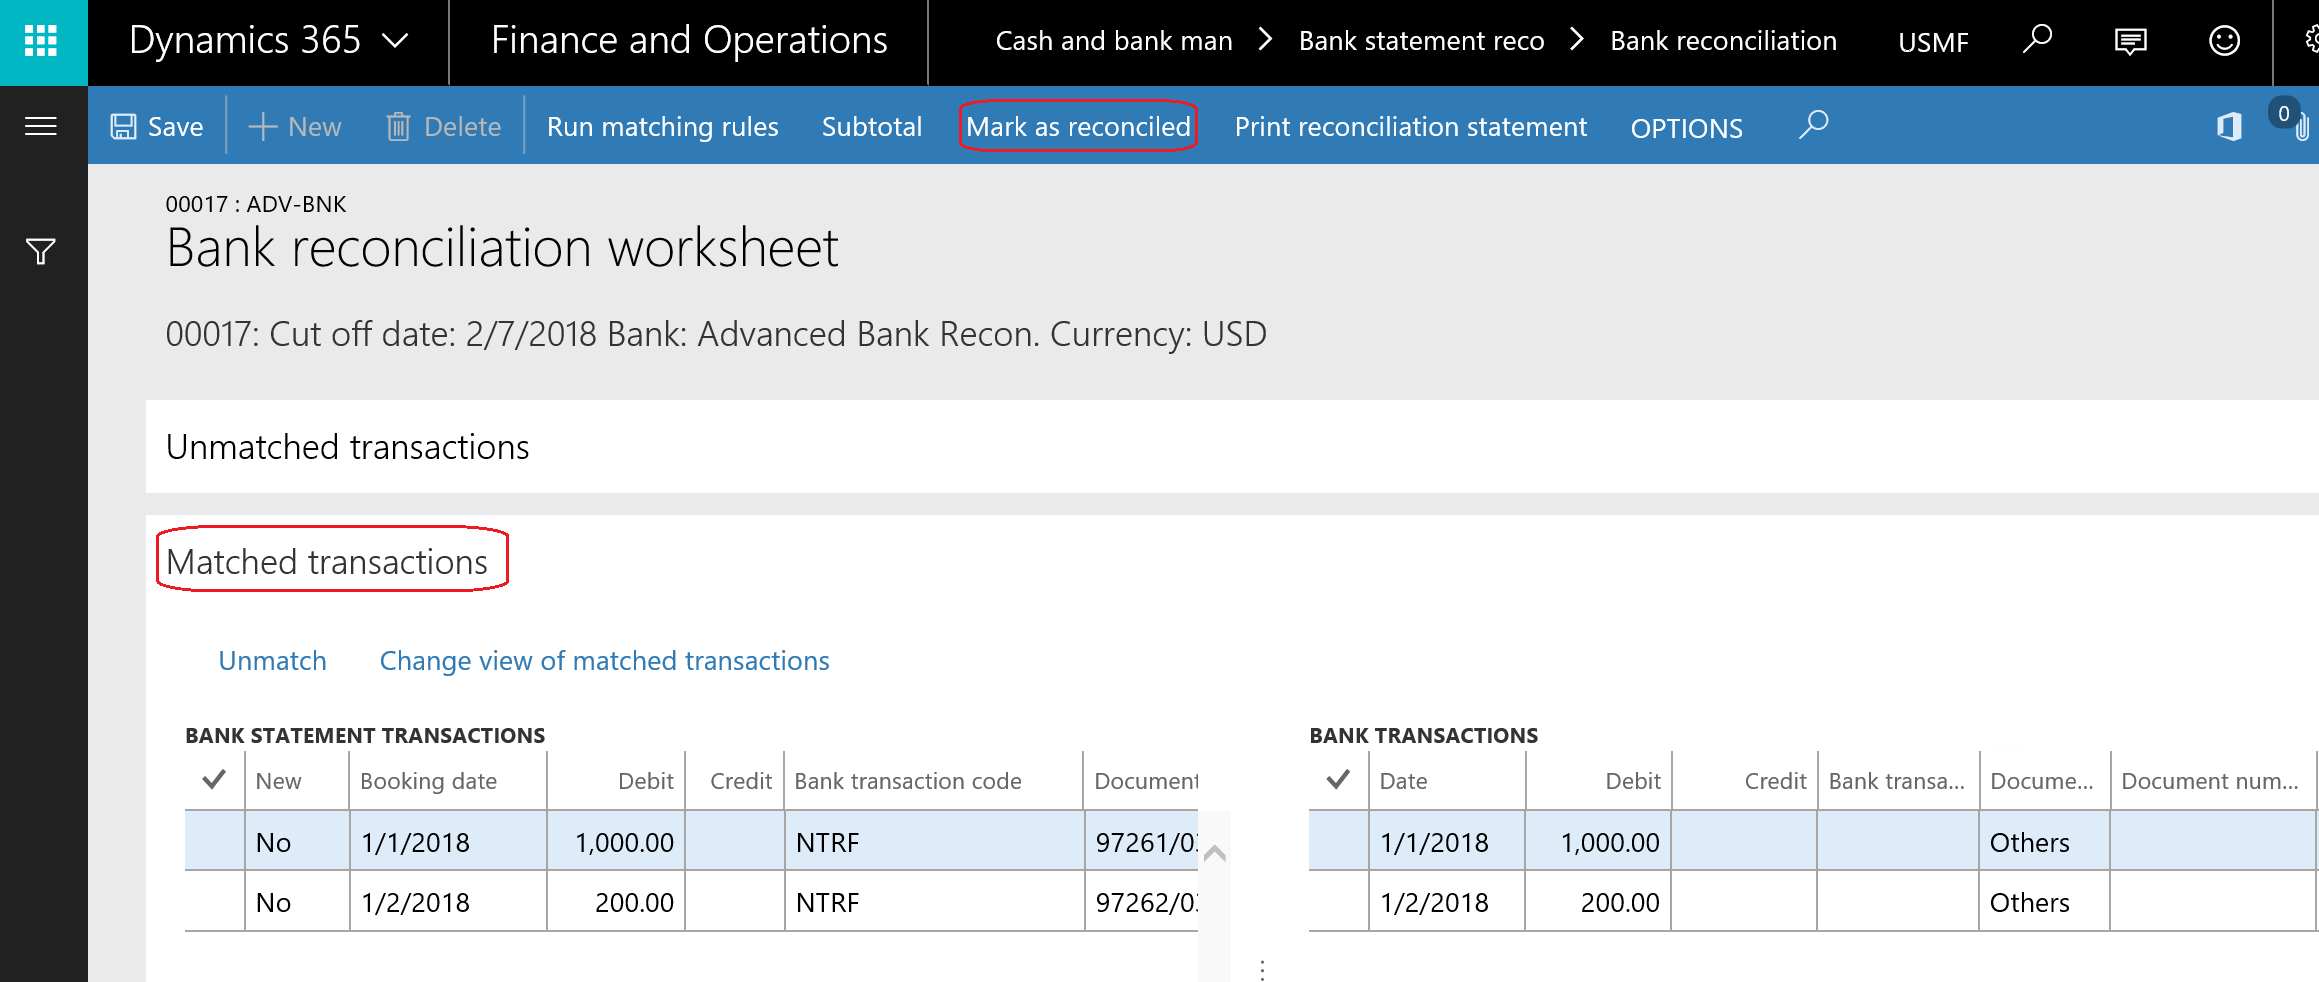
After matching all transactions against the bank statement, click on Mark as reconciled as shown in the following screenshot:
