In this section, we will show you how to work with services in CentOS 7.
Let's open your three VMs, master, client1, and client2, from the previous section of this chapter in three different tabs that are connected together on the same internal subnetwork.
Let's begin by installing a simple networking service. In our example, let's install the Apache2 web server on the master server, as it is very easy to set up and use:
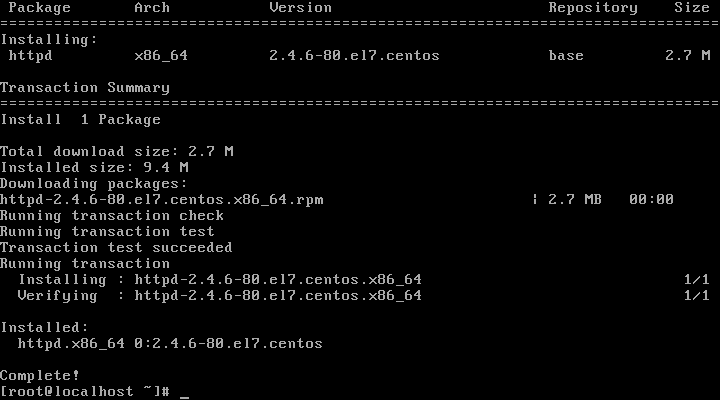
Now, following installation of the httpd package on CentOS 7, you can manage services using the systemctl command, which is part of the systemd service.
To get a list of all the units currently available in the system, use the following command: system ctl list-units. This will open the unit list with less navigation:
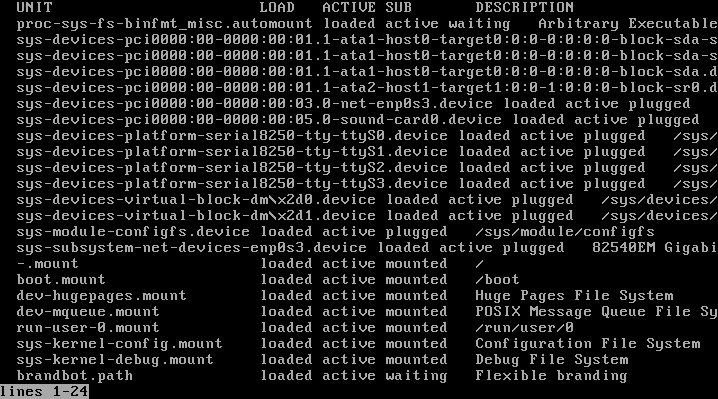
As you can see, different kinds of unit files are available; for example, one that ends with device, one that ends with mount, and the service files. Press q to quit the navigation. To get a list of all the services currently available in your system, just type systemctl list-unit-files and then filter for services by using --type=service. In this list, you will see all the available services currently enabled or disabled in your system. As we installed Apache2 Web Server an httpd services file that is currently disabled also exists. To get a detailed status of a single service, use the systemctl command with the status option and the service name; in our example, the httpd service:
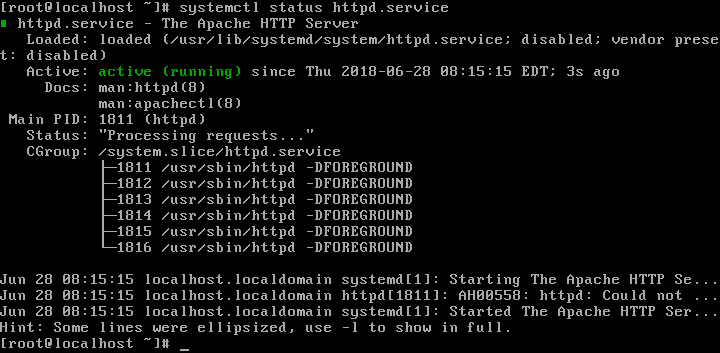
As you can see, following installation of our new Apache HTTP server, the service is not running. By default, there are two different states a systemd service can have that are important for us: enabled or disabled, and active or inactive. In our example, the httpd service is disabled and inactive by default after installation. Just like any other service, the Apache HTTP server, by default, is disabled and inactive. Enabled means that a service should automatically start every time you start your Linux system, which is also referred to as on boot. Active means that a service is currently running.
To start a service, use the systemctl start option and then the name of the service; in our, example, the httpd.service. Now recheck the service, using the status option again:
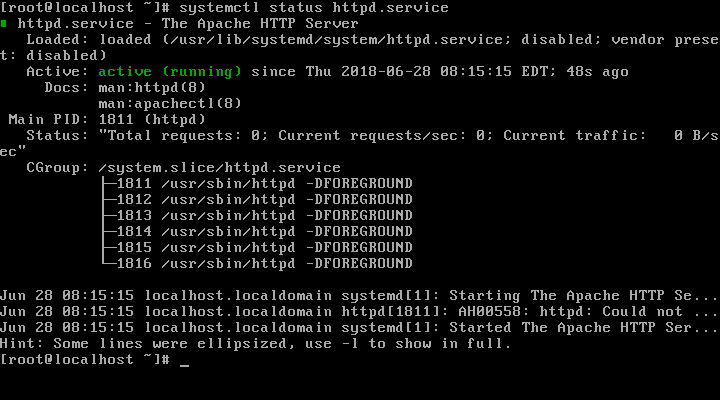
As you can see, it's now running. Also, you can see two other very important things in the output here. First, you can see that a service can consist of several processes. In our example, the httpd service consists of six different HTTP processes. The other important thing is that the systemctl status command will output the last lines of messages generated by the service when it is started up. Such lines of useful text generated by a process are also called a log and can give us useful information about the running behavior of a service. Still, our service is disabled. To enable it, use the systemctl enable option. Now view the status again:
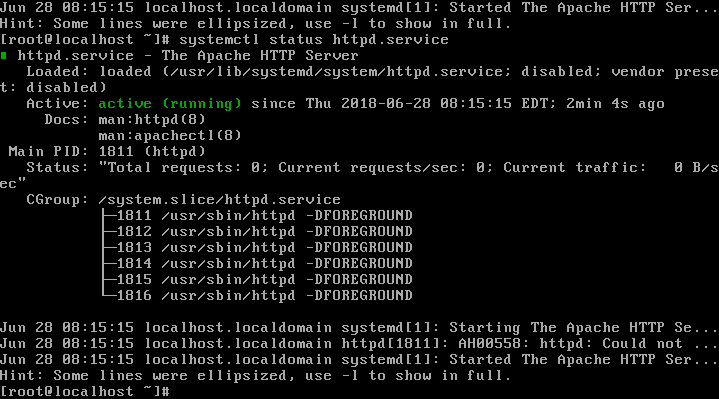
You can see now that it's also enabled, so this service will automatically start up every time we restart our server. To stop a currently running service, use the systemctl stop option. We will see that it's inactive again.
It's important to note that starting or stopping will not influence the service's disabled or enabled server boot behavior. Here, this service is still enabled while it's not running. This is also true for the other way around. Disabling or enabling a service will not start or stop it.
To disable a service, use the systemctl disable option. Then, again, start the service up. Now, to test if our HTTP server is working and can host and deliver web content, let's first create a standard home page for our server. The standard home page for our server is the index.html file in the /var/www/html folder. Now, incorporate the following HTML content, which is a greeting message from our server:
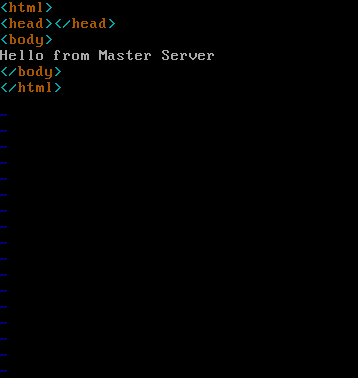
Save and exit the file. Now, to access our home page from our new web server on the master server where this web server is located, use wget:

As you can see, we can properly access the home page locally from our master server. Now, what happens if you stop the web service and try again to access our web page? You will see that the web page is not accessible any more. Restart the web server. Now, let's test if we can access our new web server from another machine in our local network. Just go to the client1 tab and test if the web server is accessible through the network. You will see that it is not.