Meal Prep Basics
Getting dinner on the table night after night (especially on those pesky weeknights!) is no small feat. When you’re juggling sports-practice carpools, work schedules, homework, studying, and more, sitting down to a home-cooked meal every weeknight can seem near impossible—and let’s be honest, it might very well be impossible without a little bit of advance preparation. The key to making the magic happen in the kitchen lies in the pages of this book. Two simple words: meal prep. Prepping your meals in advance using time-saving tips and freezer-friendly recipes puts you on the fast track to healthy, tasty, family-friendly meals you can rely on all week long.
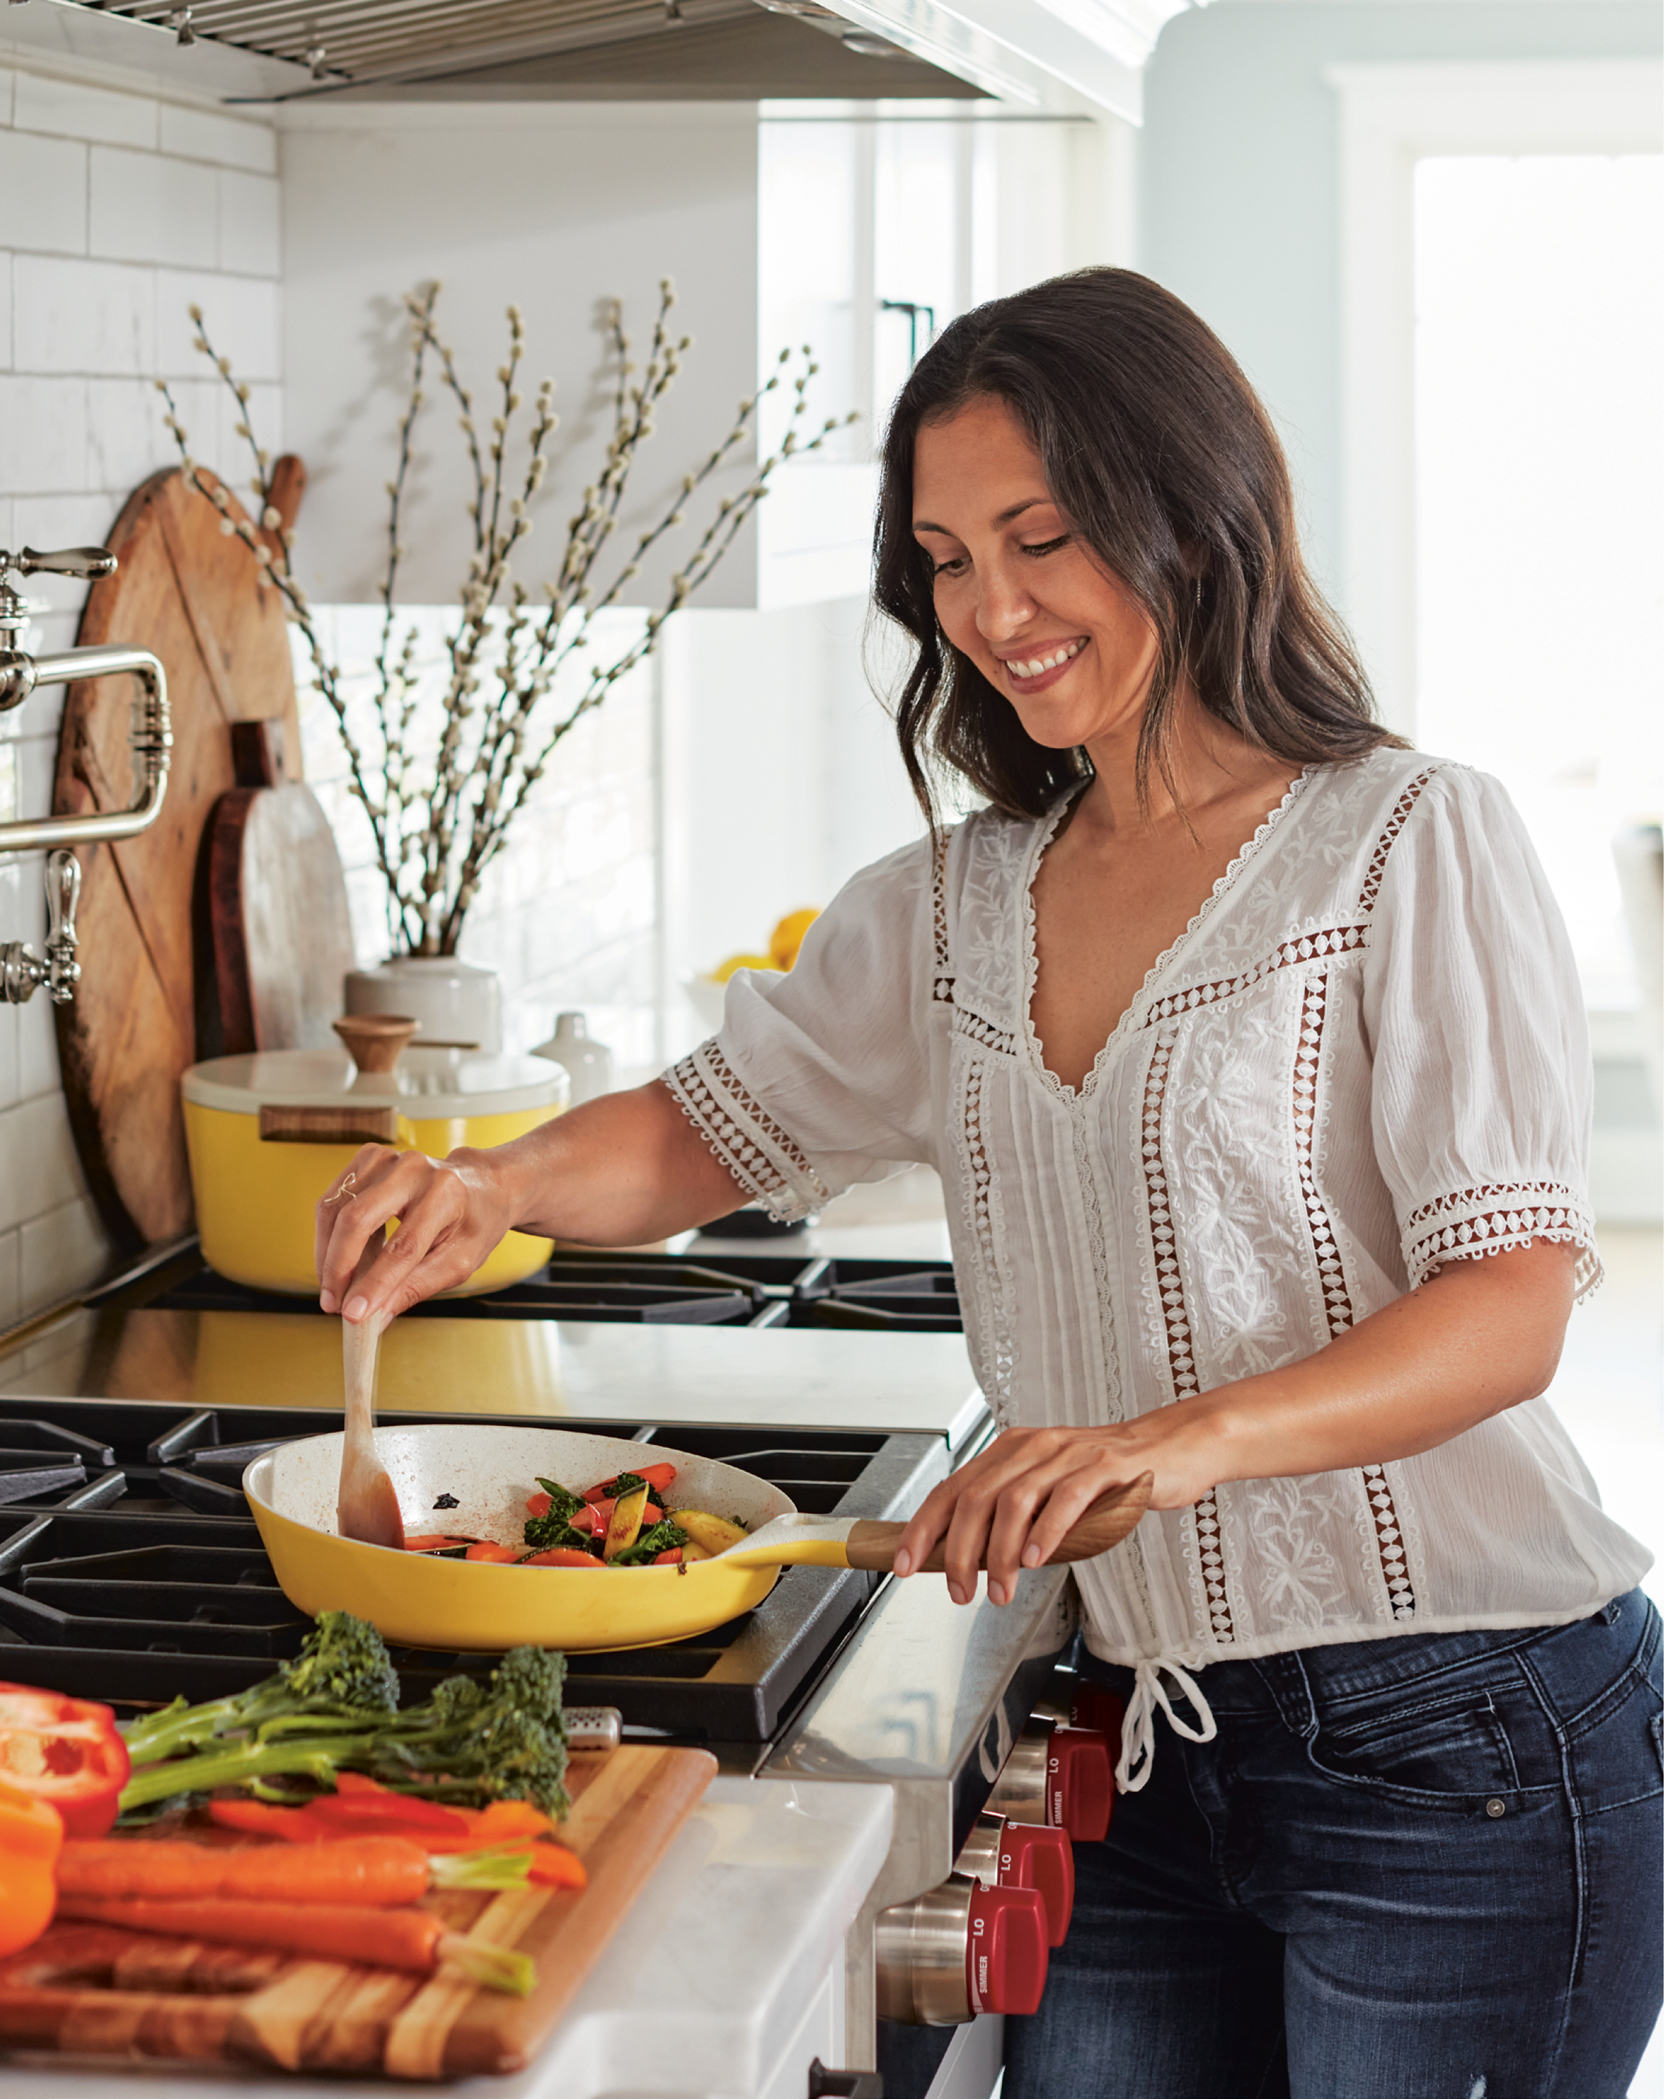
As a mother of two, I’m no stranger to the stress of getting everyone fed on time, let alone with a nutritious meal! Some days, quick-cooking dinners are my best friend, and other days, I need meals that can go straight from my freezer to my oven or Instant Pot (or any electric pressure cooker) and be ready in a matter of minutes. That’s what you’ll find here: Recipes that are easy to prep in advance, and even easier to finish up when it’s time to eat.
Truth be told, meal prepping does take a little bit of advance planning, but don’t let that discourage you! A few minutes of prep over the weekend can save you hours during a busy week. I’ll be spilling all my secrets on how to make that weekend prep as simple and painless as can be. And no, that doesn’t mean buying processed foods! I’m a big fan of healthy, whole, and wholesome ingredients, so I’ve jam-packed every recipe in this book with real food. You’ll be meal prepping with fresh produce and ingredients you can pronounce (well, except maybe quinoa, but I can help you with that one—it’s pronounced “keen-wah”).
My tried-and-true strategies will help you master meal prep in no time. Here’s how to get started:
STEP 1:
Choose Your Recipes
The first step is choosing your recipes, and in my opinion, this is the best part! You can select recipes from this cookbook, or pick from any of the limitless options online. For inspiration, take a look in your pantry to see what you may want to use up, so you can build a meal around that. I also like to get my husband and kids involved—we all come up with dinner ideas that we’re excited about. You can also scan your grocery store circular to see what’s on sale, choosing ingredients that are seasonal, so you score the best prices and quality. I jot down my ideas in The Skinnytaste Meal Planner (a notebook works just as well).
STEP 2:
Make a Shopping List
Heading to the store without a list is like hitting the bank without your ATM card. It’s both futile and frustrating! Thanks to technology, making a shopping list is easier than ever: I simply say “Alexa, add milk to my shopping list” and it appears on my phone app. But an old-fashioned pen-and-paper list does the trick, too.
STEP 3:
Go Shopping
Step three is heading out to do your shopping. You might want to simplify by ordering online and having your groceries delivered (again, do what works for you). For recipes that use fresh seafood or vegetables that may spoil fast, I usually buy the day before or the day I plan to cook.
STEP 4:
Meal Prep!
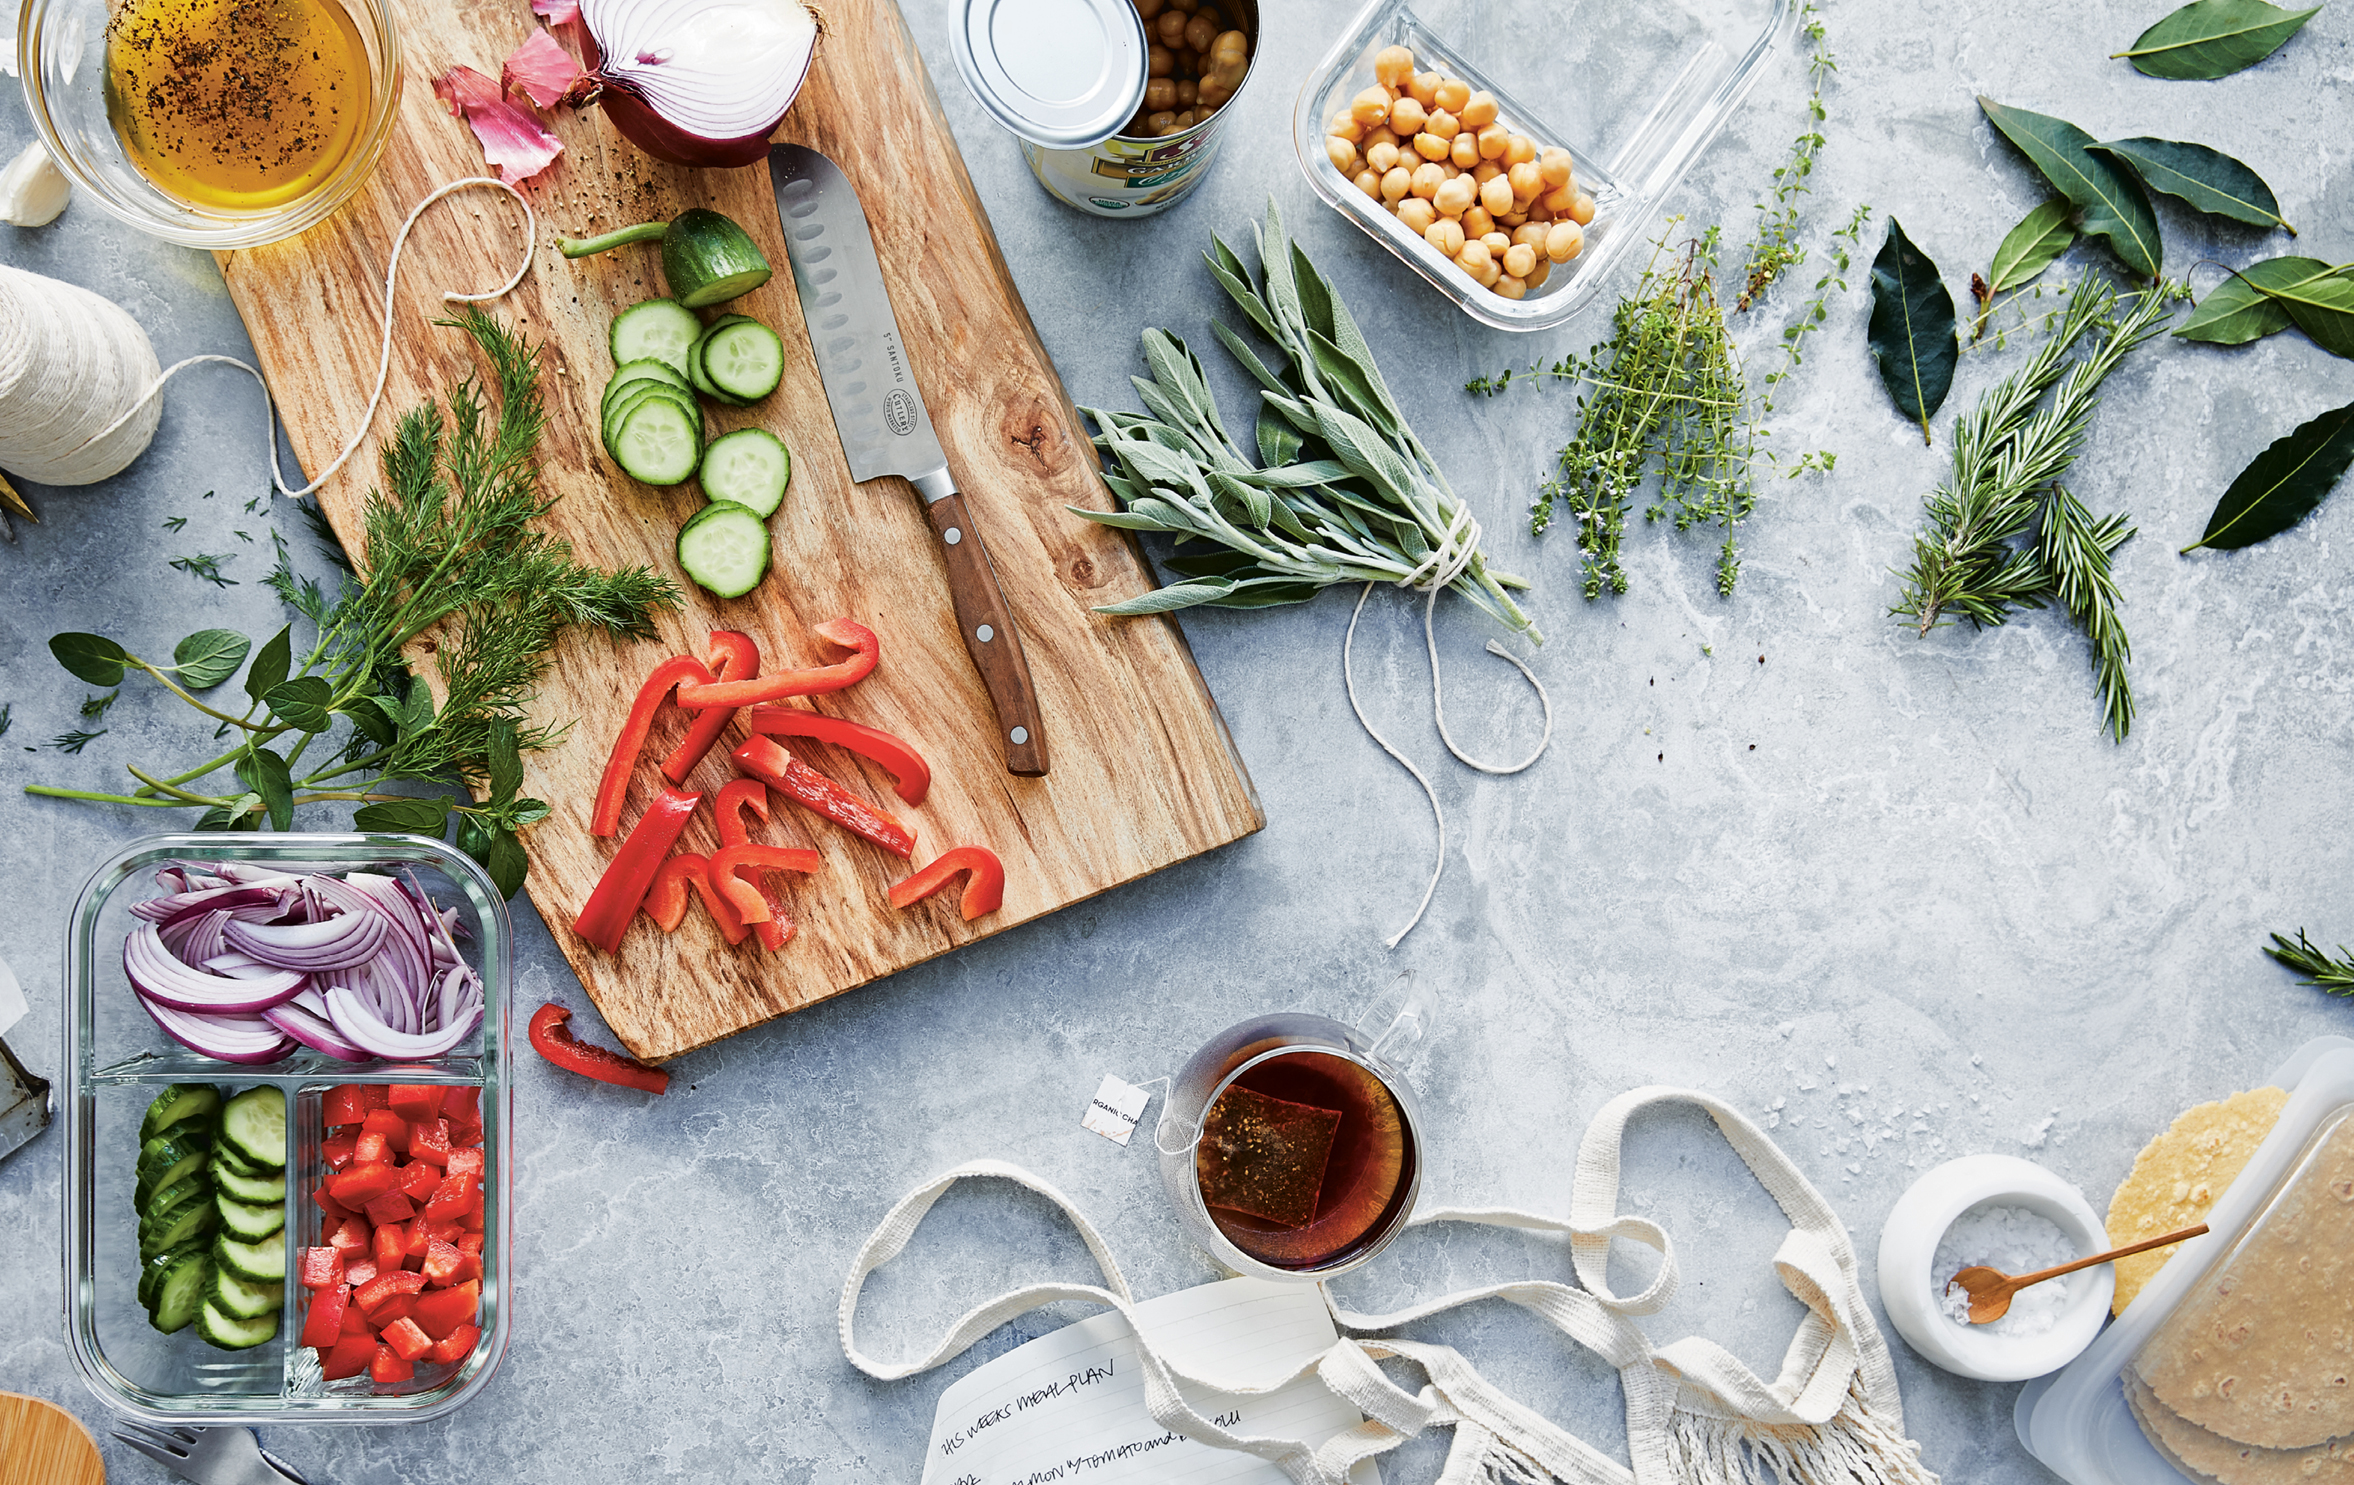
Finally, find a day that works best for you to do all of your meal prepping. For many people, Sunday makes sense, but everyone’s schedule is different. Then prepare some of the dishes that will hold up well in the fridge that you can reheat during the week. Recipes like soups, stews, chilis, and so on all reheat well. And don’t be afraid of leftovers and planned-overs—those are the easiest lunches! Cook hard-boiled eggs, rice, quinoa, oatmeal, and more ahead of time and store them in airtight containers. As a general rule, they should last 4 to 5 days in the fridge. Label everything with a name and date. You can use dry-erase markers on plastic containers or permanent markers on tape.
Don’t stop at dinner.
As you strategize your meal prep for the days or week ahead, don’t forget about breakfast, lunch, and snack time! What meals put the most pressure on your family? Maybe you don’t mind throwing together a last-minute dinner, but packing lunches and getting breakfast ready every day has you stressed. No problem! Start by getting breakfast and lunch prep out of the way with recipes like Breakfast-on-the-Run Bowls (this page) or Banh Mi Turkey Meatball Rice Bowls (this page), and leave yourself some flexibility for dinners. Feel fine with packing lunches, but aren’t sure what to snack on? I get it! Get a head start with some of my favorite snacks like Buffalo Chicken–Stuffed Celery Sticks (this page) or Air-Popped Popcorn with Sea Salt (this page).
Whether you’re prepping one dinner a week or stocking your fridge with breakfasts, lunches, snacks, and dinners, you’ll be saving tons of time, stress, and cash!
Prep as much as you can, but don’t go all-or-nothing.
Just like eating healthfully, meal prepping is all about balance and moderation. Start small and be flexible with what you can get done each week. It’s not all-or-nothing!
Set aside some time during the weekend to meal prep, but if you don’t have a full day to dedicate to chopping, simmering, and roasting, there’s no need to call the whole thing off! There are plenty of ways to get ahead of the week’s menu. Here are some ideas, listed from the least effort to the most:
-
Prep some of your ingredients for recipes in advance to speed up cooking when the time comes. This might be as simple as chopping some veggies, measuring spices, and whisking sauces—and then stopping there. Pack them away until you’re ready to use them. Some of my favorite freezer-dump recipes take advantage of this method! Check out Ribollita Soup (this page) and Freezer-to-Instant-Pot Cream of Chicken and Wild Rice Soup (this page).
-
Cook part of your recipe now and save the rest of the cooking for later. You might make a homemade pasta sauce in advance to heat up later in the week along with the pasta and veggies to go with it.
-
Batch-cook your recipes. Double a recipe and freeze half for the following week—this gets you even more ahead of the game!
-
Fully cook one or more recipes for the week ahead. Then pull out what you want to eat each day and heat it up (if necessary). This method takes the most amount of prep time, but you get rewarded with the least amount of effort needed throughout the week.
Save a few things for the last minute.
While almost everything in this book can be made in advance, make sure to read the recipe directions all the way through before beginning. Some ingredients that turn brown, wilt, or get soggy should always be prepared at the last minute. Sliced avocados and fruits like apples and pears are notorious for browning if sliced too far in advance. You can toss these with lemon or lime juice to ward off browning, but still save the slicing for the last possible moment. Dressed greens will wilt if prepared too far in advance. When packing up a salad, keep the dressing in its own small container until just before you’re ready to eat.
Sandwiches assembled more than a day in advance can lead to soggy bread. For instance, if you’re planning to bring a sandwich with Tuna and White Bean Salad (this page) for lunch, pack the salad in a lidded container and wrap up your bread or pita in beeswax wrap or another container of its own so it stays fresh and is delish when you’re ready to eat.


Meal Prep and Freezer Containers
There’s no point in prepping ahead if you don’t have a place to store all that delicious food! Yes, that means clearing some space in your fridge and freezer. It also requires stocking up on storage containers. And for meals you plan to take to work, you’ll want leakproof containers that are microwave- and dishwasher-safe. I keep my kitchen cabinets loaded with these meal prep and freezer essentials:
Meal Prep Containers
-
GLASS AND BAMBOO: Glass are my favorite as they are the easiest to clean, but the downside is that they are heavier to carry around. You can buy glass meal prep containers in sets of four or five, with one, two, or three compartments. I have several shapes and sizes, and use both rectangular and round ones depending on what fits best. Pyrex sells a great eighteen-piece meal prep kit.
-
PLASTIC: These are so much lighter and are microwave-, freezer-, and dishwasher-safe. They also come in different shapes and have compartments for sectioning foods. They usually stack, which takes up less space in your cabinets. Be sure to select BPA-free varieties, which are now easy to find.
Containers for Batch Storage and Freezing
-
8 × 8- and 9 × 12-inch freezable glass dishes for small and large casseroles. Keep in mind that baking from frozen is not advised. It’s best to thaw in the refrigerator overnight before reheating.
-
8 × 8- and 9 × 12-inch foil pans for small and large casseroles you plan on baking from frozen.
-
Large freezer- and microwave-safe lidded food containers (in 8- to 10-cup sizes) are ideal for items like pasta and full entrées. NOTE: Do not put food containers in the oven straight from the freezer. You will need to thaw your freezer meals in the refrigerator overnight if you plan to reheat in the oven.
-
Medium lidded food containers (2 to 3 cups) are ideal for individually packed lunches, leftovers, or prepped veggies.
-
Small lidded food containers (½ to 1 cup) are ideal for snacks, dressings, and dips.
-
Gallon-size freezer-safe zip-top plastic bags are made of a thicker material that is less likely to be punctured and keeps freezer burn at bay; stick to these heavy-duty bags if you’ll be storing prep in the freezer!
-
Mason jars in quart and pint sizes are ideal for layering salads, storing oats, and so on.
Food Wrap
-
Foil, paper, or plastic, there are lots of wraps to help you protect food from the frost of the freezer. Have you tried beeswax food wrap? This is a great natural alternative to plastic wrap for food storage. For fridge storage, it’s perfect for wrapping extra cheese or half a lemon or covering a bowl when all your lidded food containers are in use.