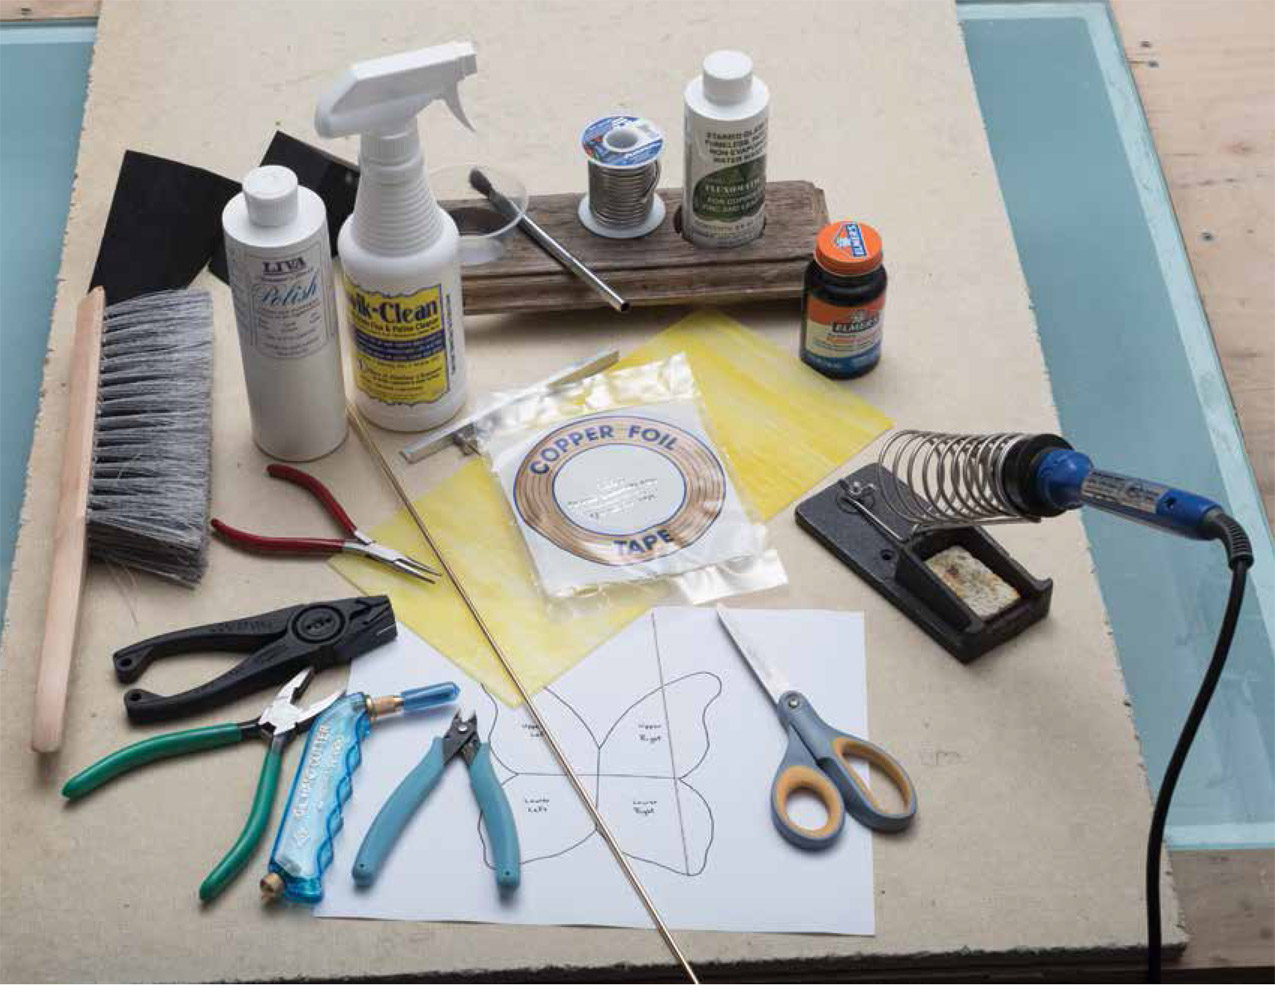

TAKE SOME TIME TO LEARN ABOUT THE MATERIALS and equipment needed for successful stained glass making. Some of the items listed on the following pages might be in your toolbox or workshop right now. Other, more specialized tools need to be purchased at your local stained glass shop. Each project in this book requires a different combination of the equipment and materials explained in this section. A supply list is included at the start of each project, specifying all the tools and materials you will need to complete it. This list can be copied and taken along to the store with you when you go shopping.
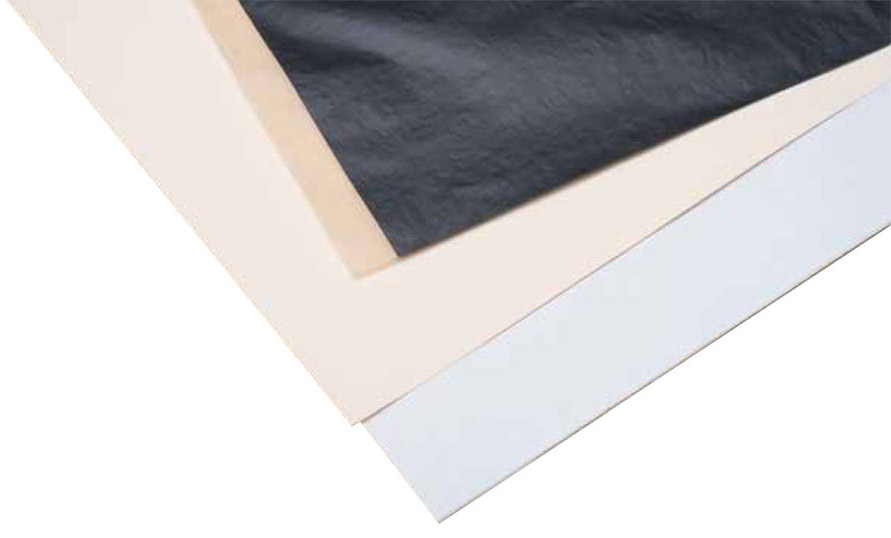
Oak tag
This paper has a thickness and texture similar to a manila file folder. It is used to make patterns to build your projects on.
Carbon paper
This is the inky blue or black paper used to transfer the pattern of the project onto oak tag paper.
Tracing paper
This very thin paper is translucent and allows the lines from the original pattern to show through so they can be traced.
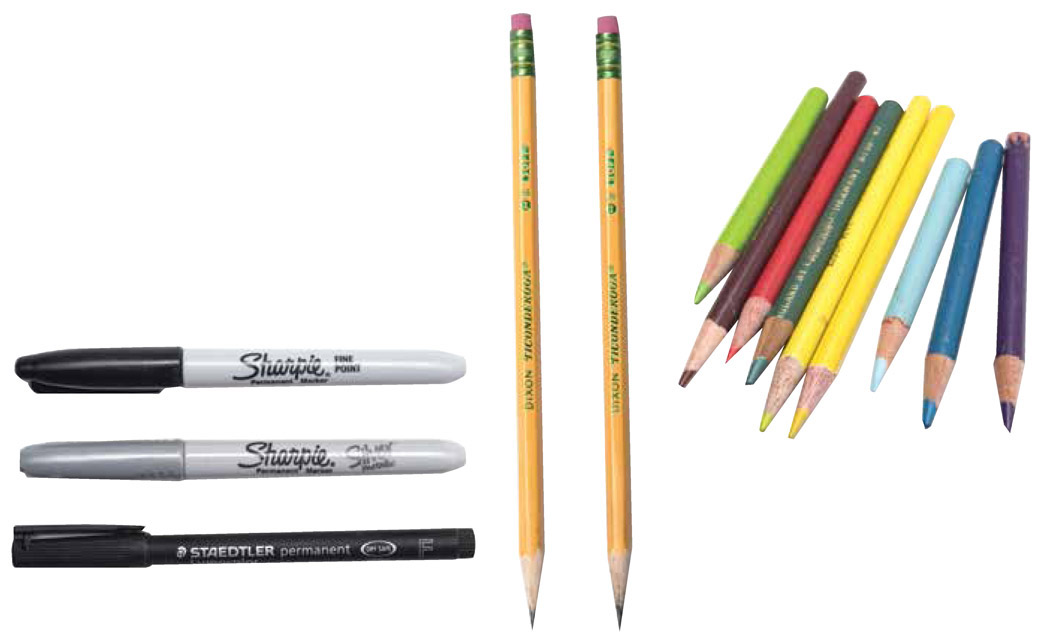
Keep a supply of pencils and markers on hand for drawing patterns, color-coding, and marking the glass.
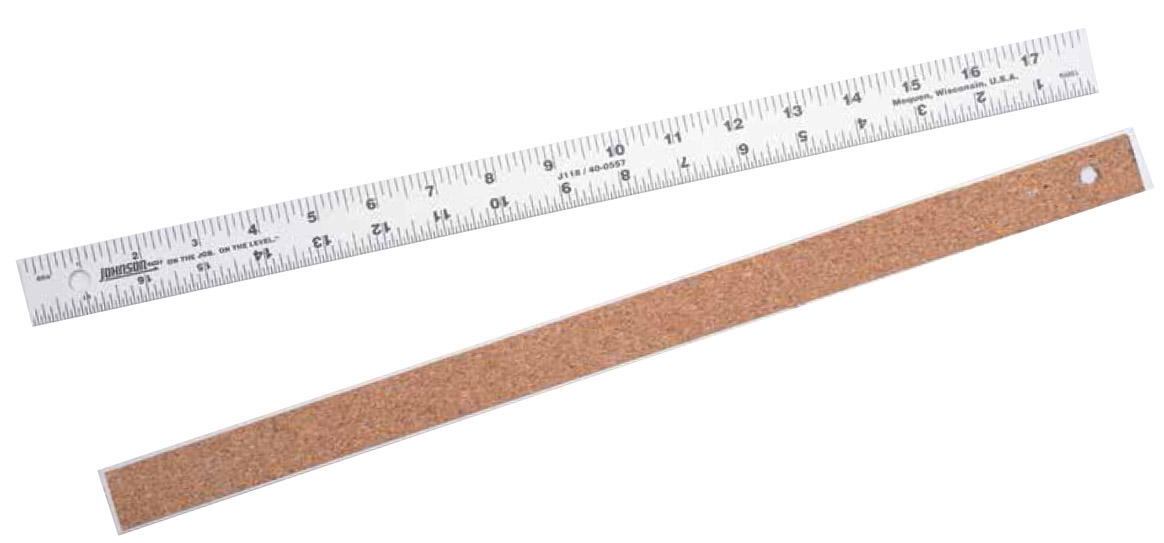
This is used as a measuring tool and to make straight, even lines while drawing or cutting. A ruler backed with cork or other skid-resistant material is a good choice.
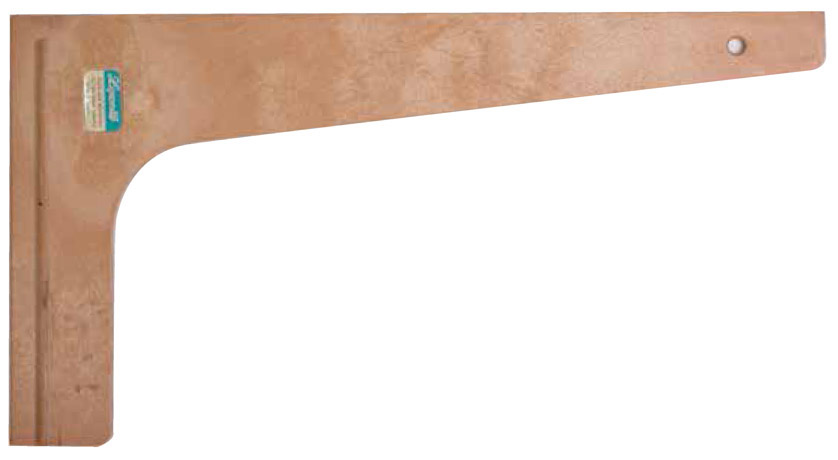
Used much like a ruler, the cutting square is designed to gauge straight lines based on a right angle, which is helpful when drawing shapes such as squares and rectangles. A raised lip along the underside of one edge of the square keeps it from moving when you’re cutting a right angle.
These special scissors are designed so the single top blade fits inside the double blades on the bottom, delivering a cut that removes a thin strip of paper. This strip is important for stained glass making because it allows room for the copper foil or lead between pieces of glass so that your project fits together perfectly. Typically, shears are available that leave a 1/32-inch gap for foil-edged projects and a 1/16-inch gap for lead projects, as you can see in the photo here.
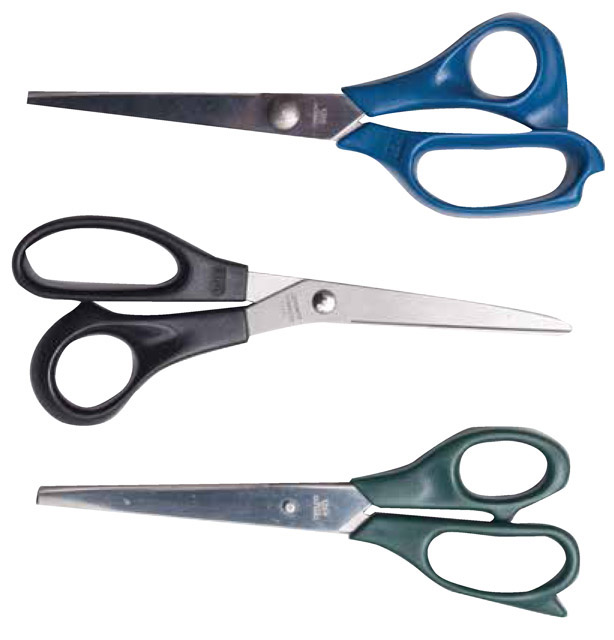
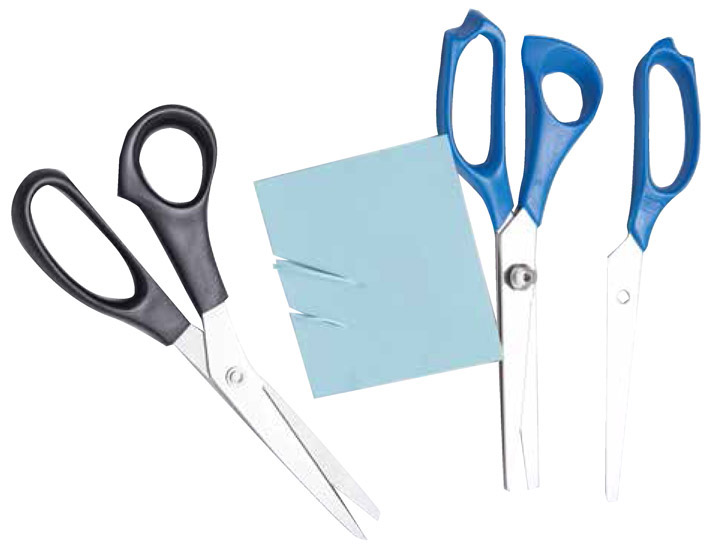
Some manufacturers produce a model of pattern shears with interchangeable blades for working with both copper foil and lead. It is also a good idea to keep a regular pair of scissors nearby for routine cutting and trimming.
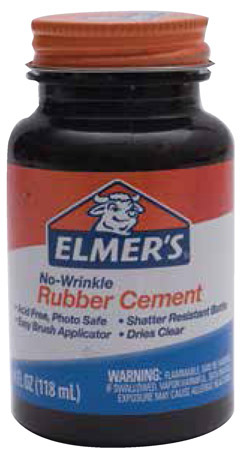
This is used to glue paper patterns onto pieces of glass prior to cutting.
These should be worn for eye protection while breaking or grinding glass.

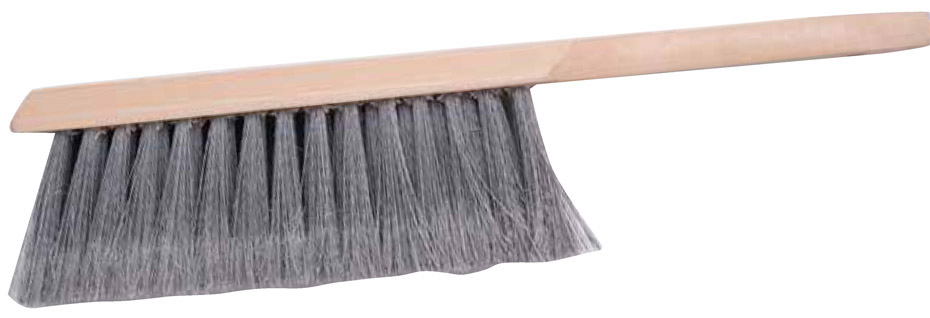
A sturdy brush is perfect for sweeping shards of glass from the work area into a trash can to eliminate the risk of injury.
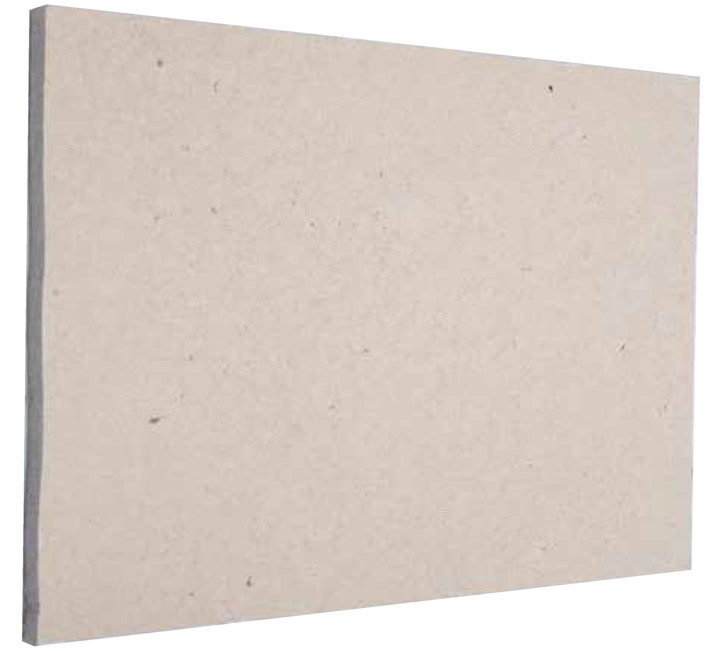
This board makes a great work surface when cutting glass, pinning projects into place, and soldering.
A quality glass cutter is the most important tool a beginner must have before starting a project. All cutters consist of a handle and a metal wheel of some type that turns against the glass to create a weakened seam called a score.
The metal wheel, which rotates much like a pizza cutter, is not sharp to the touch. It must be lubricated before each cut to reduce friction between the blade and the glass.
Some cutters require manual lubrication, whereas the higher quality ones are self-lubricating.
Keep in mind that learning to use a cutter correctly takes some patience and practice, as the tutorials in chapter 5 will demonstrate.

A Traditional steel wheel cutter
The most inexpensive and “lowtech” of all cutters, this type uses a rotating wheel of honed steel to score and weaken the surface of the glass before breaking. The wheel must be manually lubricated before every cut to reduce friction on the glass that might shatter or chip it. The grip typically is made of metal, plastic, or wood and is designed to fit well in the hand. Most have a weighty ball on the back end of the grip for tapping scored glass, and three indentations near the tip that can break or chip glass if needed.

B Pencil grip cutter
This quality cutter uses tungsten carbide, a very hard metallic element, in the cutting wheel. This makes it more durable than the steel type and allows it to cut much more efficiently and with much less force.
The plastic handle of the cutter serves as a reservoir for the oil that lubricates the cutting wheel. The grip is designed to fit comfortably in the hand, and the tip on this cutter can last a very long time.
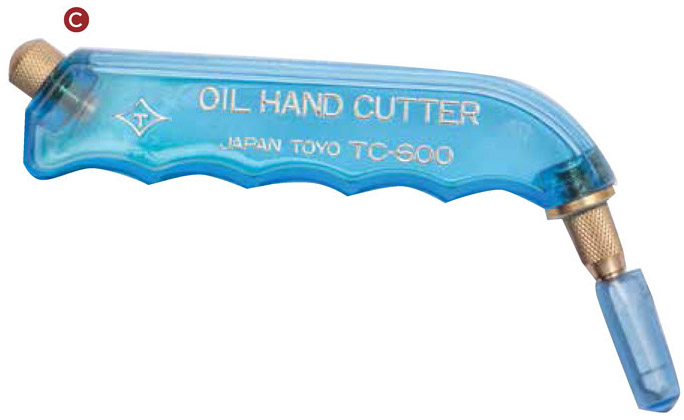
C Pistol grip cutter
This variation of a tungsten carbide wheel cutter replaces the simple shaft of the pencil grip with a pistol grip for easier and more precise handling. The handle is hollow and holds the glass cutting oil, which flows from the reservoir down to the wheel through a small tip containing an absorbent wick. The oil from this wick allows for continuous lubrication while scoring the glass.
Many stained glass hobbyists prefer this kind of cutter because it helps reduce some of the hand fatigue that might occur with a standard cutter, and it allows greater control while cutting the glass.
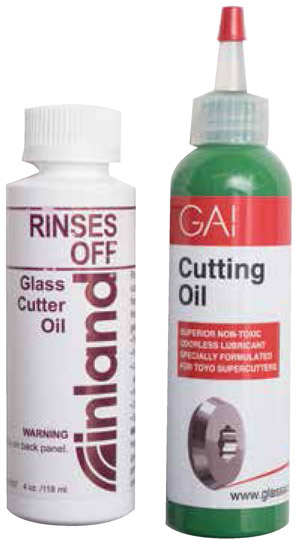
A number of manufacturers sell oil specifically designed for use with glass cutters. The oil helps to reduce friction between the cutter wheel and glass surface, and it also helps to keep small flecks of glass from impeding the rotation of the wheel.
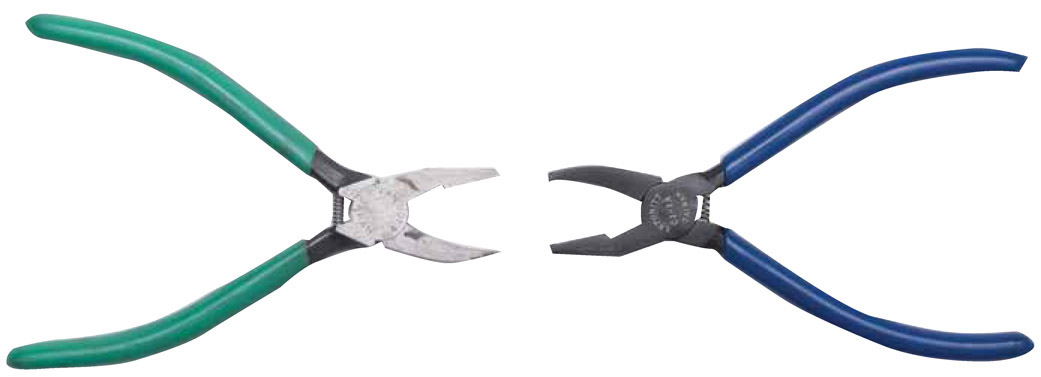
These stained glass–specific pliers are used for two purposes. As a breaking plier, this tool is used with the flat side facing upward to grip and break off curved or narrow pieces of glass that have been scored.
As a grozing plier, the curved side faces up while chewing or grinding away small points of glass.
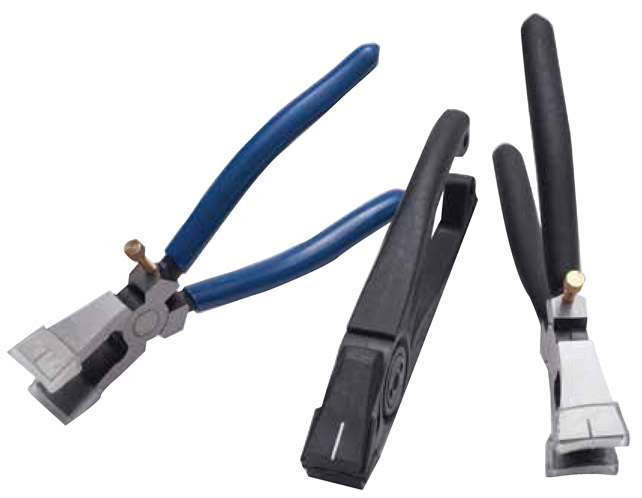
These pliers are used to carefully break a piece of glass along a straight score line. The top jaw of the pliers is flat, while the bottom contains a narrow, raised section in the center of it. This raised section is positioned under the score line. When the pliers are squeezed gently together, the force causes the glass to break evenly along the score. These are especially helpful when cutting long strips of glass.
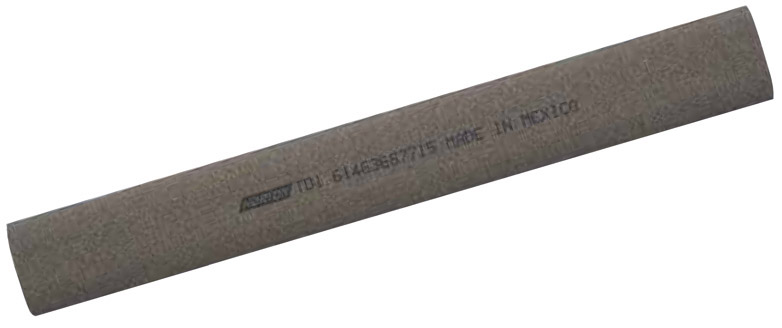
This is a coarse, abrasive tool used to smooth jagged edges of glass. Water should be applied to the stone periodically to reduce friction between it and the glass, which will make smoothing easier.
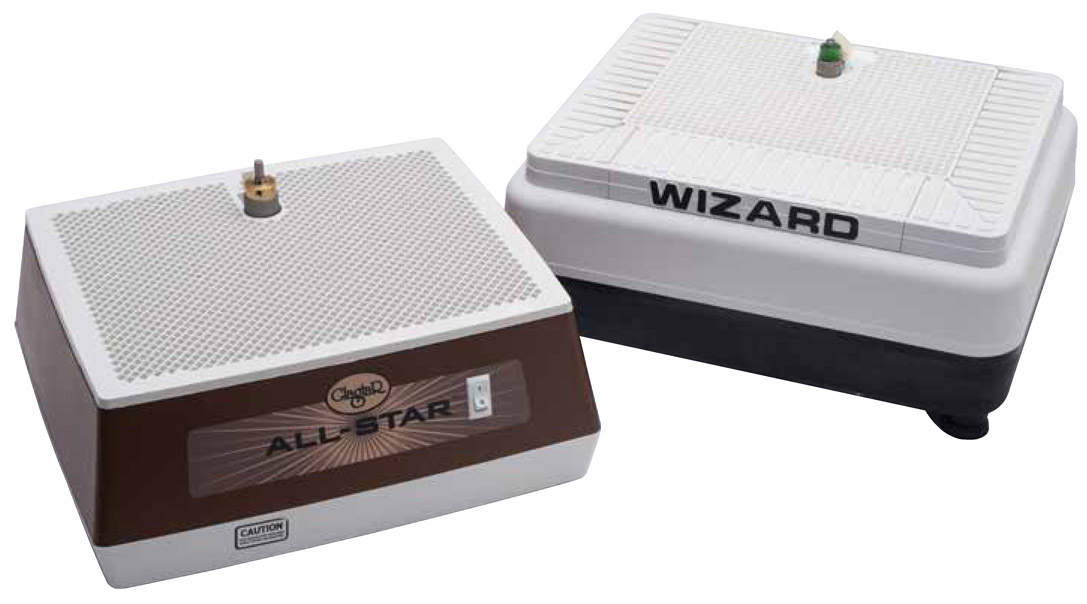
These grinders take the place of the Carborundum stone and instead use a rotating wheel to smooth sharp edges of glass. They are designed to be used on the tabletop, and most feature an eye protection guard and a small, water-filled chamber that keeps the grinding wheel cool during operation.
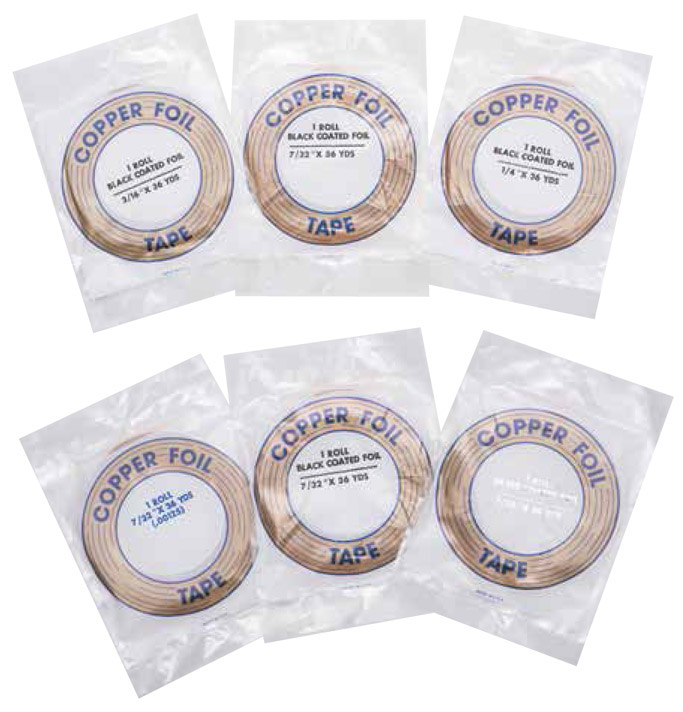
This shiny foil tape is applied carefully to the edge of a cut piece of glass and wrapped so that it covers a portion of both sides of the glass. It provides a surface to which solder can bond. Most foil sold for stained glass making comes in rolls and is backed with adhesive for easy application. Popular widths are 3/16 inch, 7/32 inch, and 1/4 inch; 7/32 inch is standard for most projects.
Copper foil comes backed in three colors: copper, black, and silver. The foil backing you use should match the patina of your finished project.
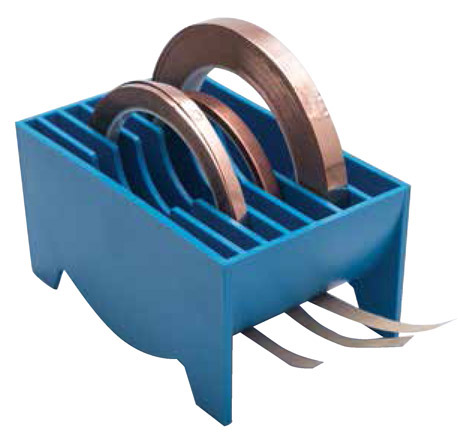
A copper foil dispenser can make foiling easier and more efficient. Foiling by hand is recommended for beginners until the technique is well understood.
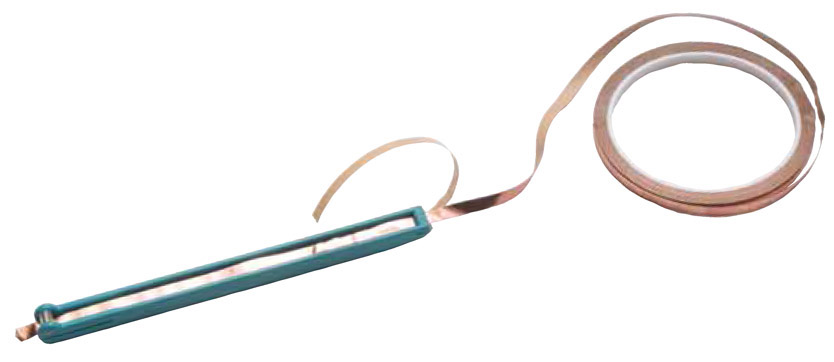
A hand foiler can be used to work more efficiently as well. It separates the protective paper from the foil and aids in centering the glass.
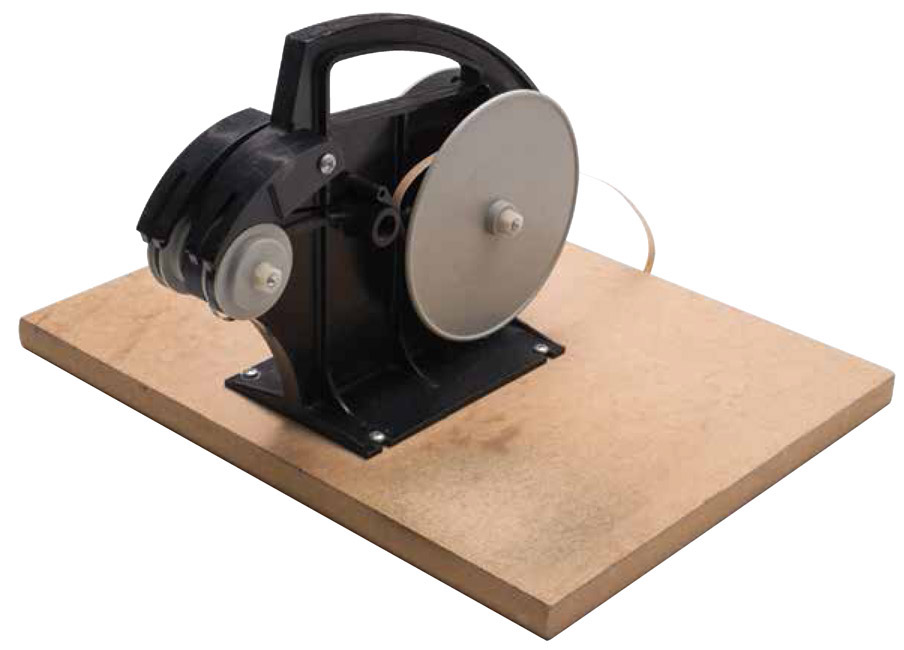
A foiling machine is also a great tool to use. When used properly, it can reduce the time it takes to complete this step by half. The machine helps center the foil on the glass and begins to fold the foil over the edges of the glass.
This is the perfect tool for correcting mismatched overlaps of copper foil.

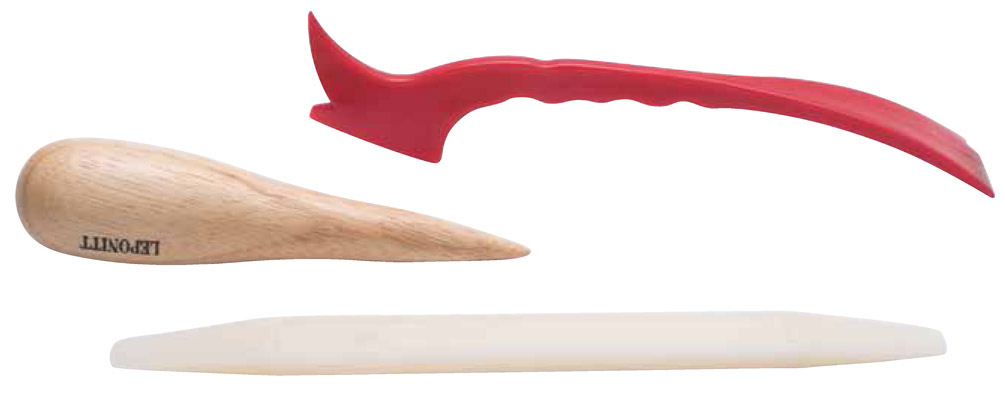
This tool comes in a number of shapes and sizes and is used mainly as a burnishing or smoothing tool when applying foil to stained glass. It also can be used to gently pry open the channel portion of a piece of lead came.
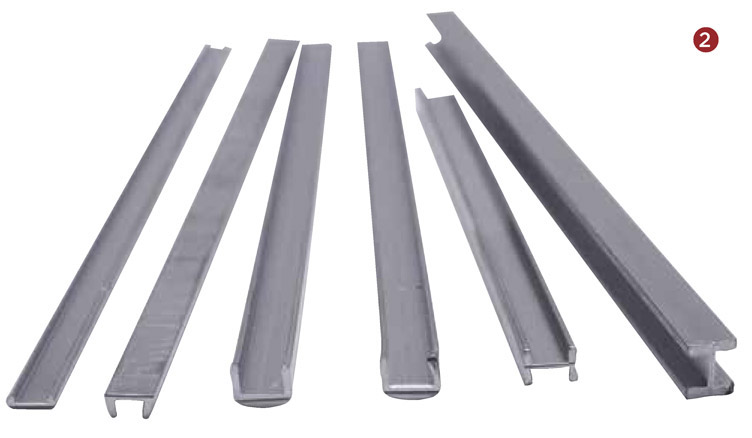
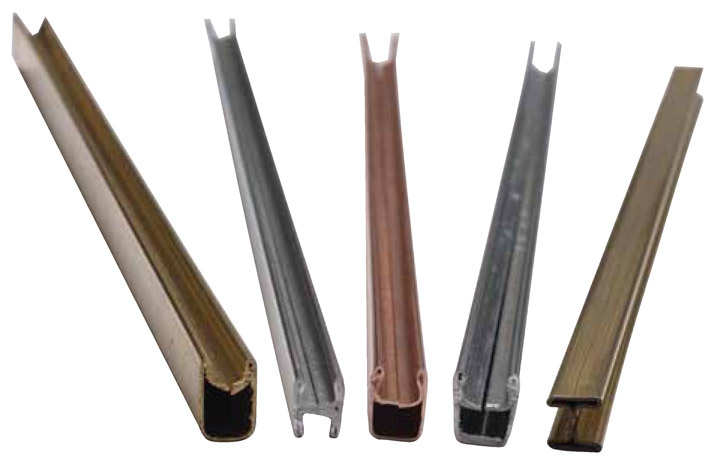
These are long strips of pliable lead, usually sold in six-foot lengths, which make up the entire framework for leaded glass projects. They have a central channel to hold pieces of glass in place, provide the metal surface needed for soldering, and establish the lines and curves that define a project.
As shown in Figure 1, most types of came have channels that are either H-shaped (pictured on the left) for holding two pieces of glass along a shared edge, or U-shaped (pictured on the right) for holding a single piece of glass along an outside edge.
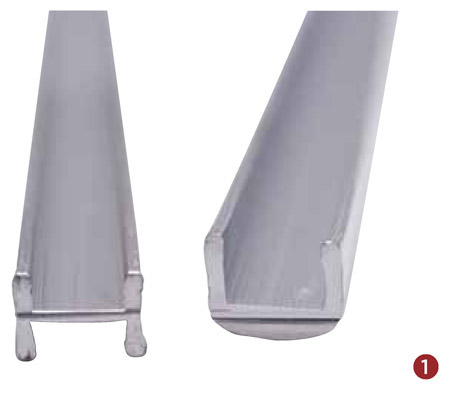
Figure 2 shows a variety of sizes of U-shaped channel lead on the left, and two sizes of H-shaped lead on the right.
Note: Refer to chapter 2 for information about the safe handling, use, and storage of lead materials.
Pieces of brass, copper, or zinc are used in projects that require a very sturdy and rigid material. These are also available in both H-channel and U-channel varieties.
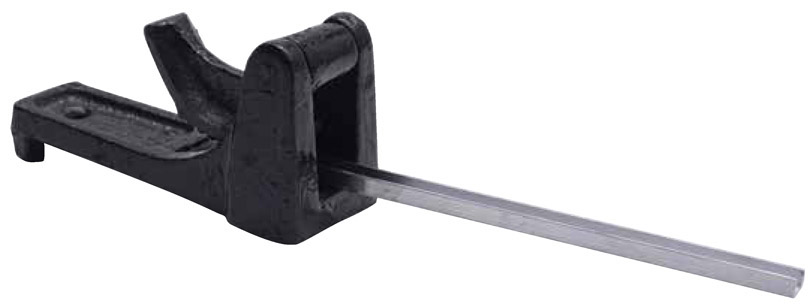
This simple metal vise is used to hold a strip of lead came in place so that it can be stretched before use. Stretching came makes it straighter and stronger.
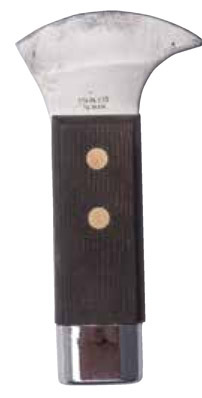
Lead cutters, also called lead dykes, have blades that are flat on one side and concave on the other. They are used to cut lead came, making a variety of straight or angled cuts.
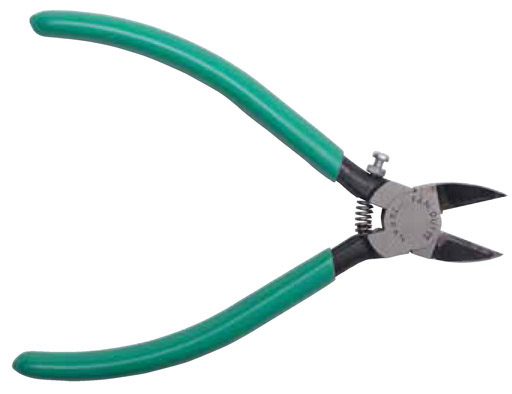
This tool can also be used to cut lead came cleanly.
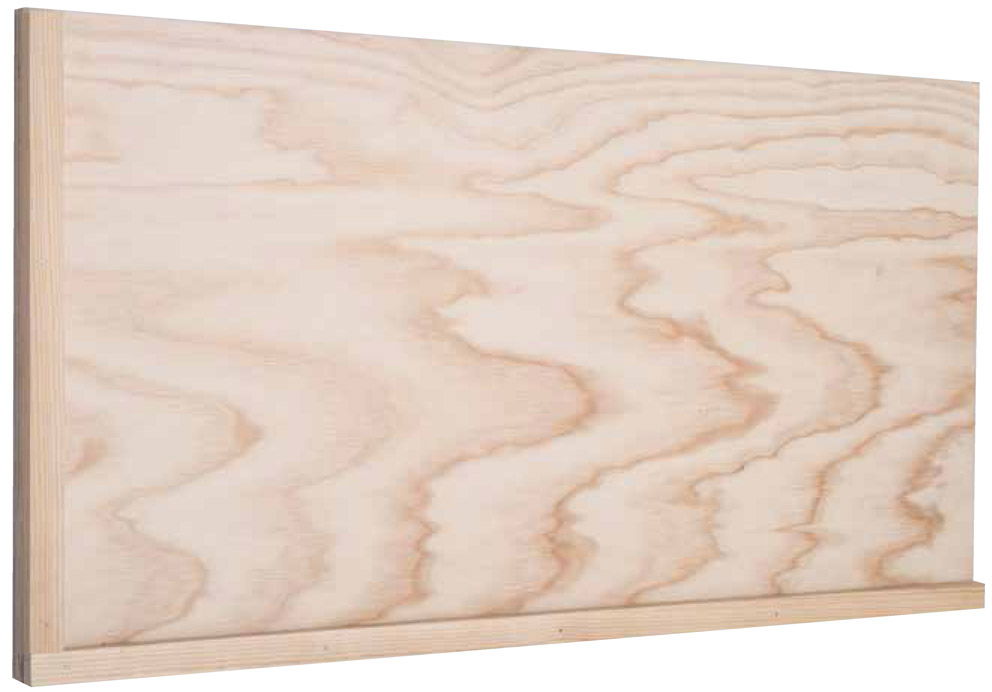
This board, made of plywood and wood strips, is used to hold the side and bottom of a lead project in place while it is being put together. It is also useful when framing a copper foiled project. A lead board needs to have a precise 90 degree angle built into the lower left corner.
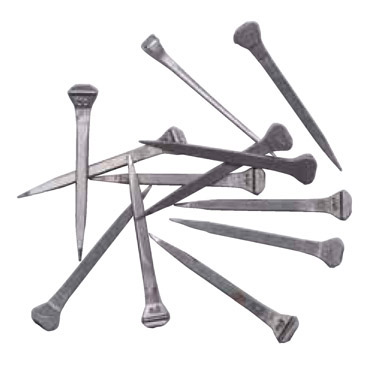
These long, narrow nails are flat on one side, making them perfect for holding lead came in place during project building.
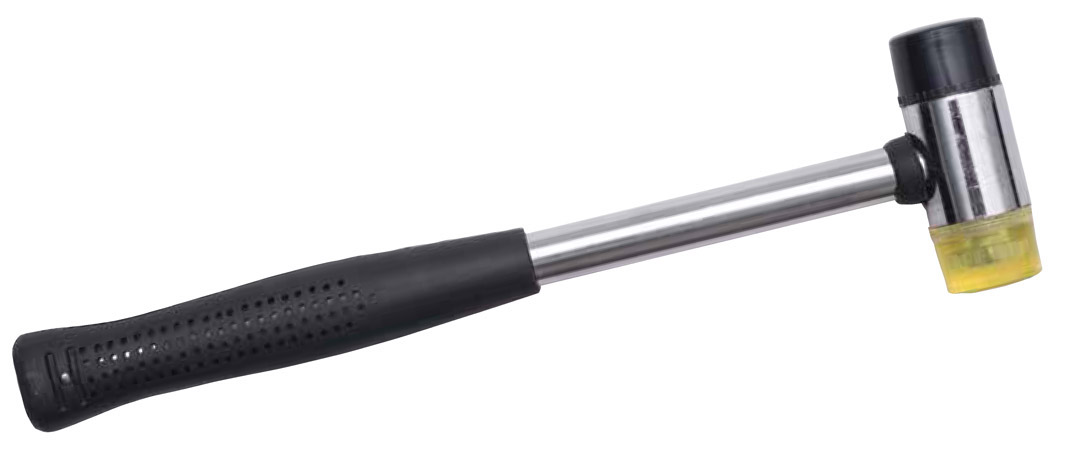
A glazing hammer with a rubber head is a good choice for stained glass making. Sometimes glass pieces need to be tapped gently into place, and the rubber reduces the risk of cracking. The hard plastic end can be used to drive nails into place when working on a leaded project.
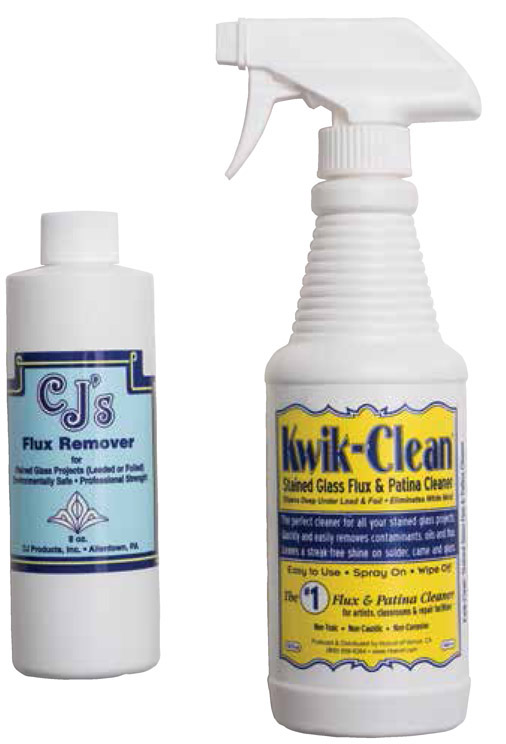
Flux is a mild acid used to clean oxidation and other dirt from metal surfaces so that melted solder will adhere readily. Without flux, solder would simply not flow over the copperfoiled edges of glass or on lead. Flux can be found in liquid, gel, or paste form, and each works well for foil and lead projects. Because it is corrosive, be sure to wash flux from your project as soon as you are finished soldering.
Any medium-to-firm brush designed to apply paint or solvent-type materials can be used to apply flux to a project.

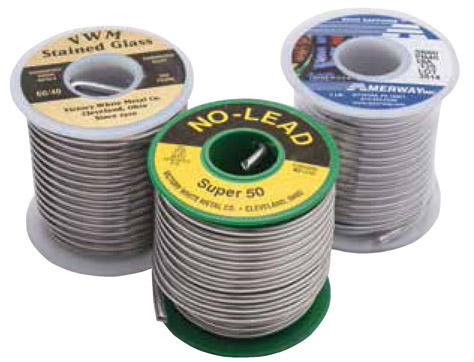
The solder used in stained glass making is an alloy of tin and lead that is melted with a hot soldering iron and applied to pieces of metal or foiled glass to bond them together. The most common solders are sold in coiled spools and are available with either a 50-50 ratio of tin to lead or a 60-40 ratio of tin to lead. The 60-40 solder tends to flow more smoothly and is typically easier to work with than the 50-50 blend. A no-lead solder is also available and is generally used in jewelry making.
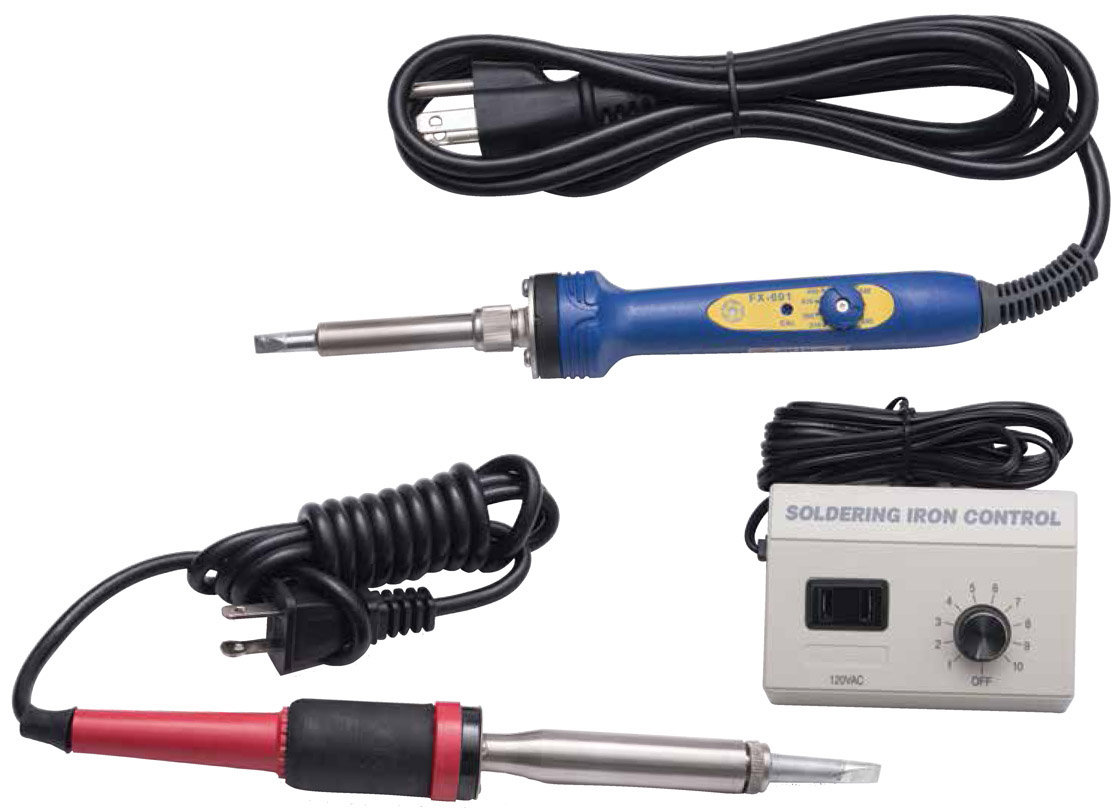
The soldering iron is used to melt solder, which joins two or more pieces of copper-foiled glass or lead together. A number of models come equipped with an adjustable control on them for maintaining a specific temperature; other models can be plugged into a separate rheostat unit and have their temperature adjusted in that way. Another type of iron uses interchangeable tips to regulate temperature.
A sturdy stand is recommended for convenience and safety. The stand usually consists of a heavy, stable base with a coiled piece of metal attached for holding the iron when it’s not in use. This helps prevent accidental burns and keeps the iron from being dropped or knocked to the floor.

Most stands typically have a small tray in the base where a moist sponge is placed for periodically wiping solder and flux residue off the hot iron.
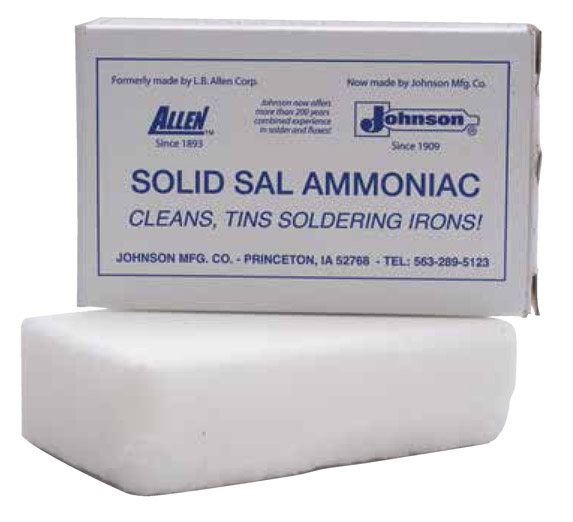
Sal ammoniac is a naturally occurring or man-made mineral composed of ammonium chloride that reacts to the heat of a soldering iron and helps clean residue from it when the iron is gently scraped across it.
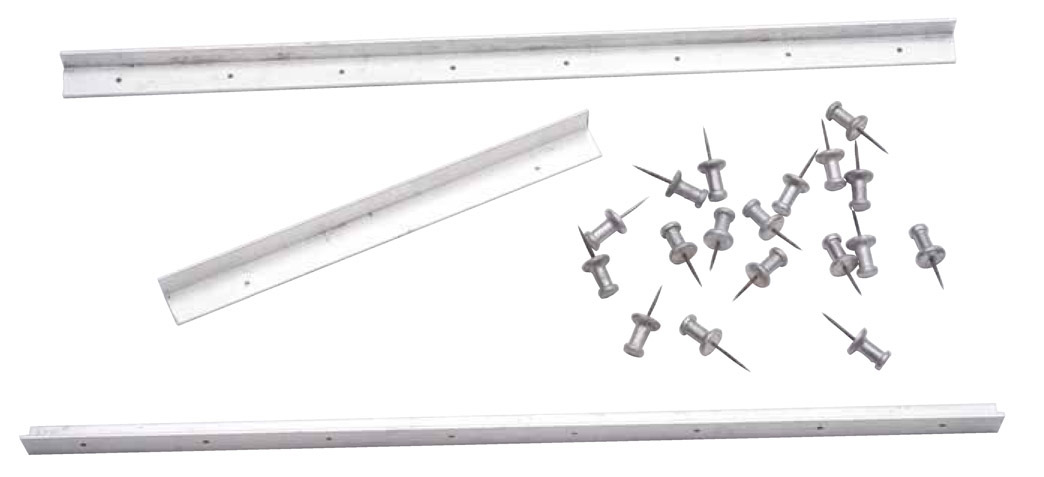
These items can be used to make a jig to hold your project in place while you are working on it.
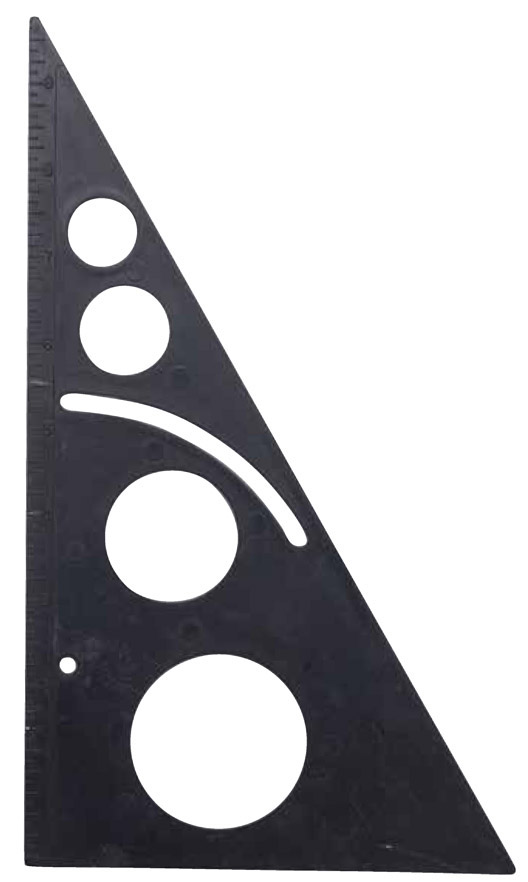
This handy tool is used to square up a project while pinning it into place with layout strips prior to soldering. It can also be attached to the surface of a grinder to serve as a straight edge.
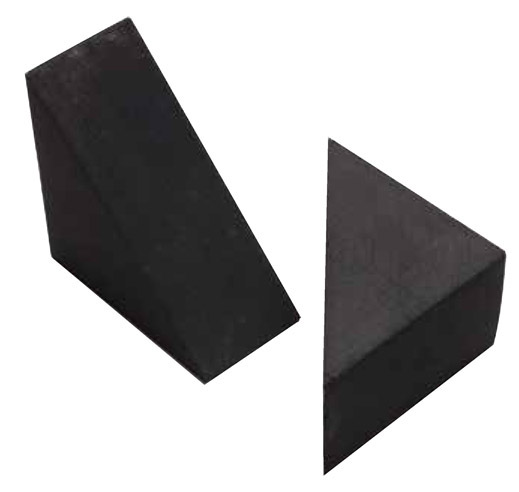
These high-density foam blocks are useful to position three-dimensional glass projects during the soldering process.
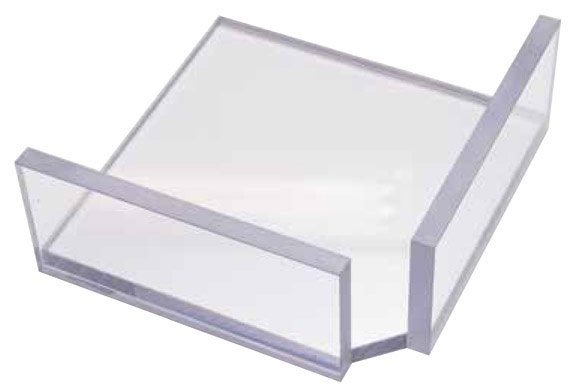
When building three-dimensional projects such as the Copper Foil Candleholder in chapter 10, or other stained glass boxes with 90 degree angles, this tool is great for lining up their corners.
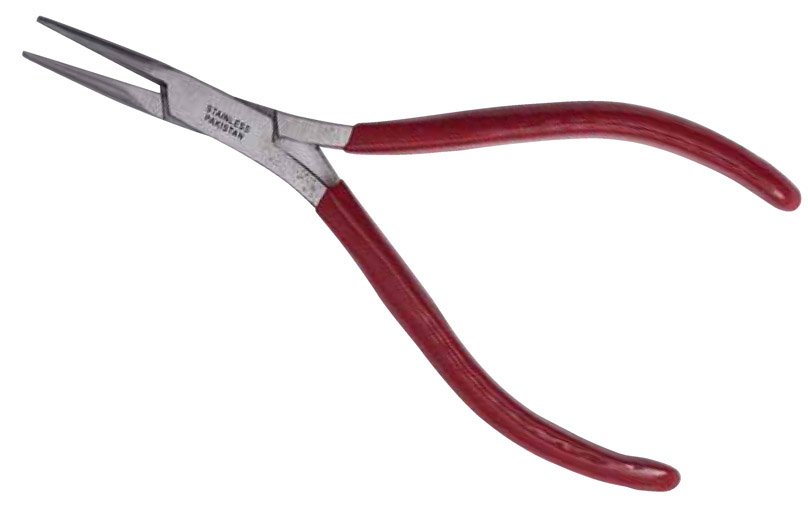
These are handy for holding small components like hooks or nuggets in a stained glass project.
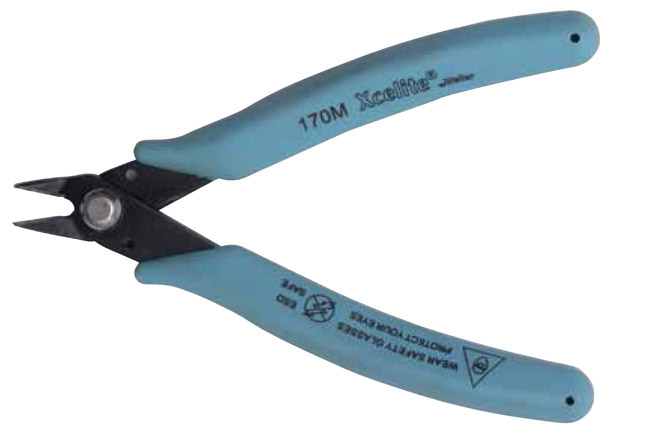
This tool is used to cut pieces of wire, which are found in a variety of projects.
This device is very helpful to support a lampshade while soldering exterior seams. It works nicely when used in conjunction with Handy Wedges.
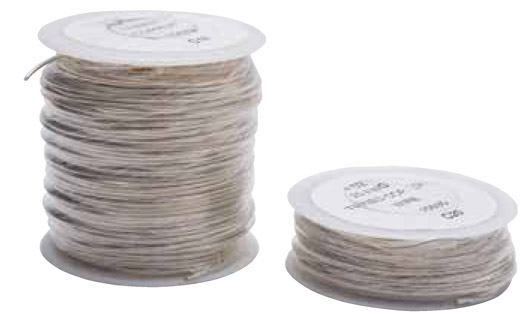
This wire can be used to make hooks or reinforce stained glass projects, adding stability and strength.
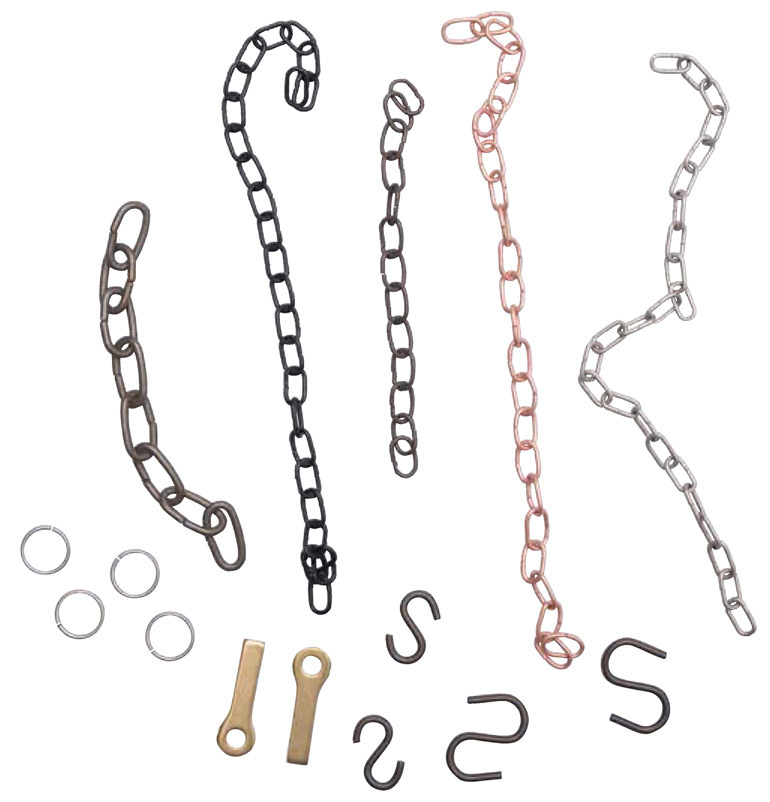
You can choose from a variety of hooks, chain, and rings for hanging and displaying finished stained glass pieces.
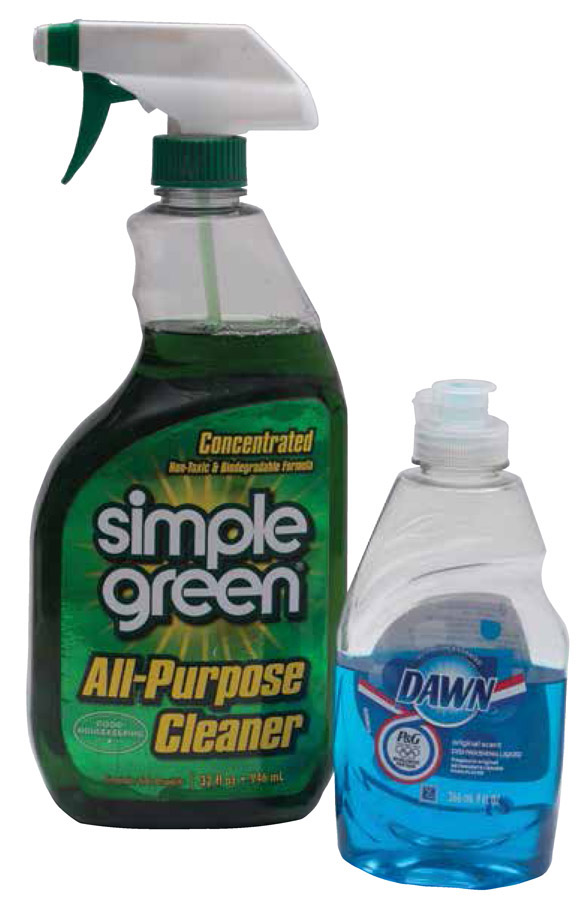
A mild detergent should be used during the cleaning stages of your projects.
This substance neutralizes chemicals in flux and patina and will need to be applied at the end of most projects.
These should be worn when working with patina and other chemicals.

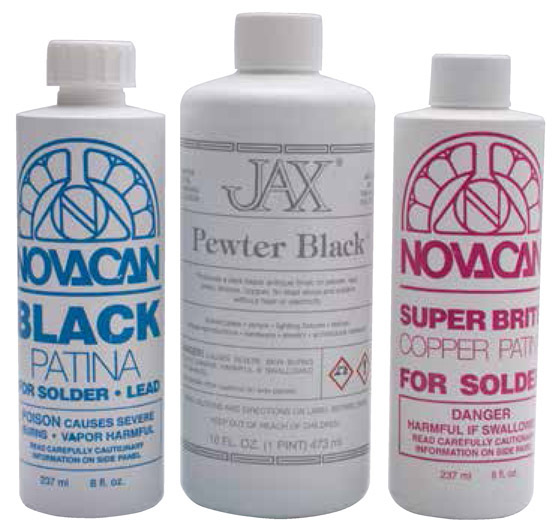
Patina is a liquid solution that changes solder and other metals from silver to black, dark gray, or copper. Patina contains chemicals that are harmful to the skin and lungs, so it must be used with care and caution.
A stained glass piece should be rinsed with warm, soapy water after the patina is applied to neutralize the chemical reaction and make it safe to handle.
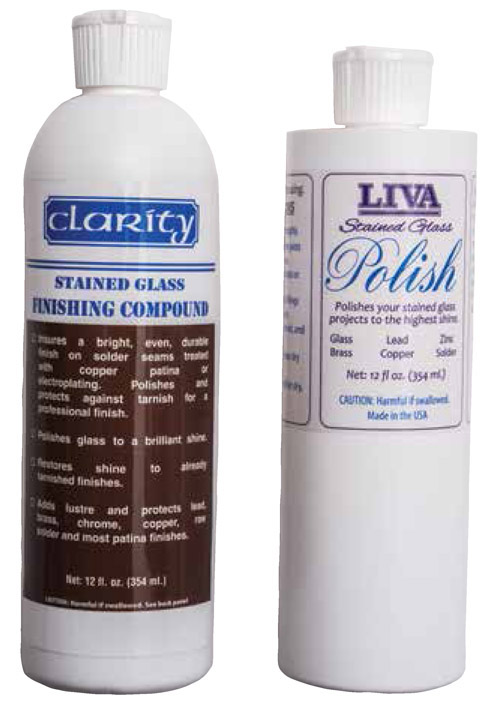
Applied as the last step of a copper foil project, this finishing compound will polish the glass and metals and help slow the oxidation process.
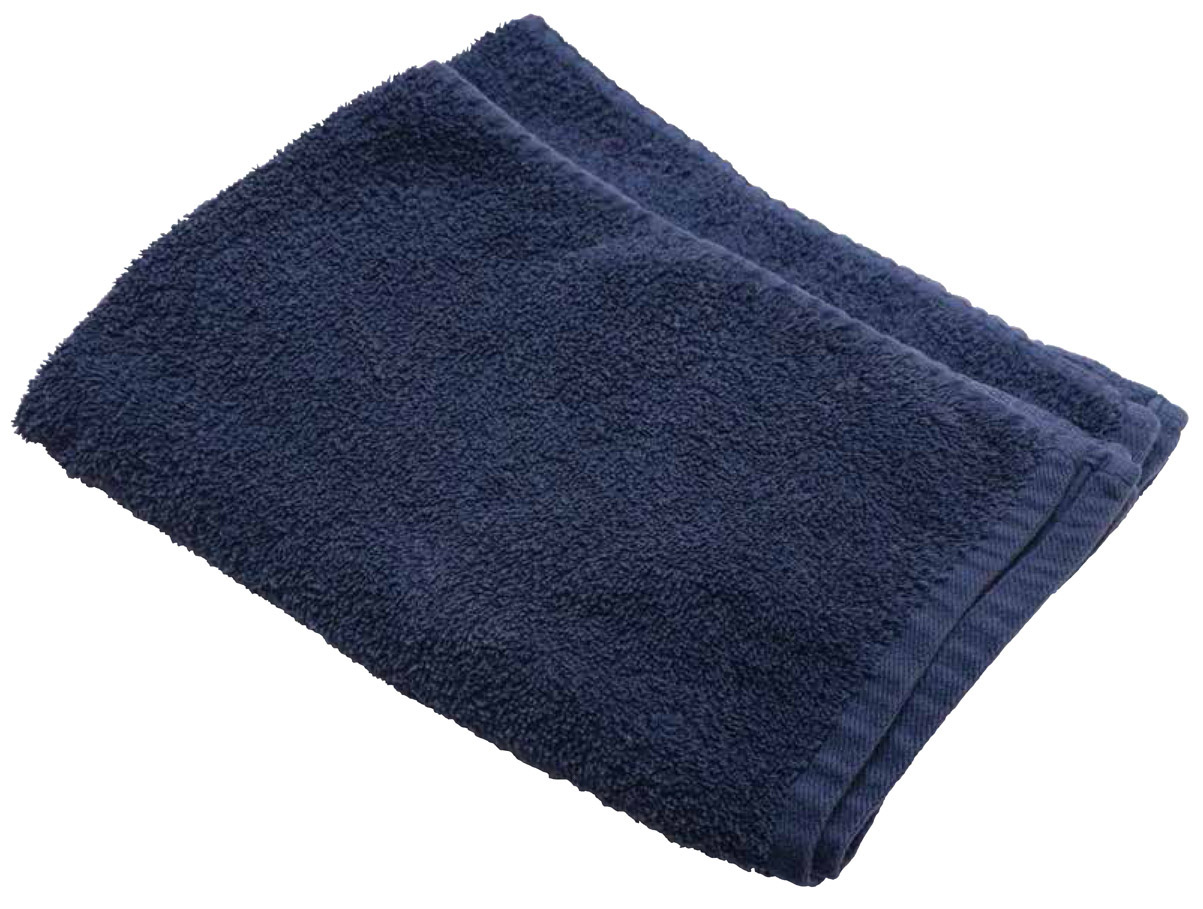
A variety of old towels are handy to have in your workshop for cleaning and polishing your projects.
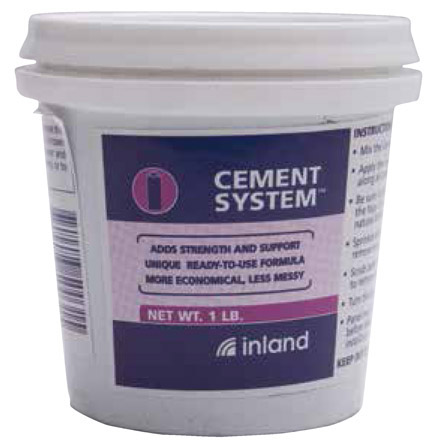
This material is applied to a leaded stained glass project to seal and strengthen the joints formed by lead came. The putty, which typically comes packed in linseed oil, must be mixed well before use.
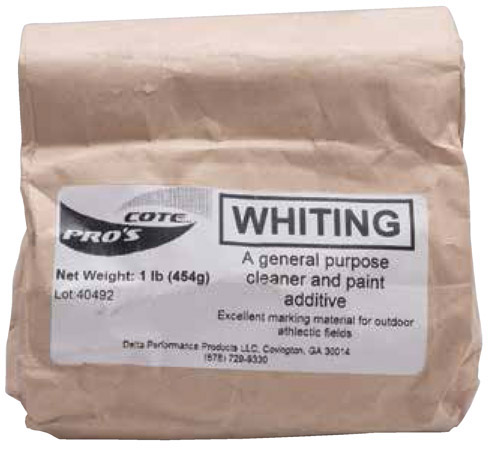
Whiting is a white powder, typically composed of calcium carbonate, which is used to dry the glazing cement and allow it to set. Whiting also helps clean excess putty from the glass surface.
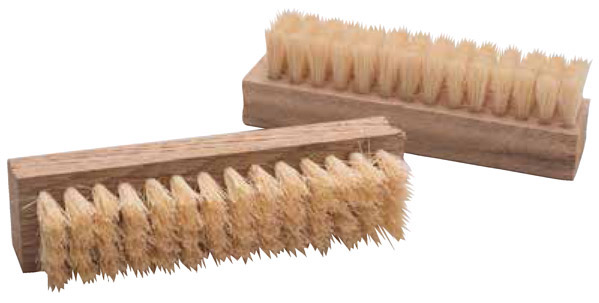
A stiff-bristled brush about 6 inches wide is used for applying glazing cement. A second brush should be used to work the whiting into the cement.
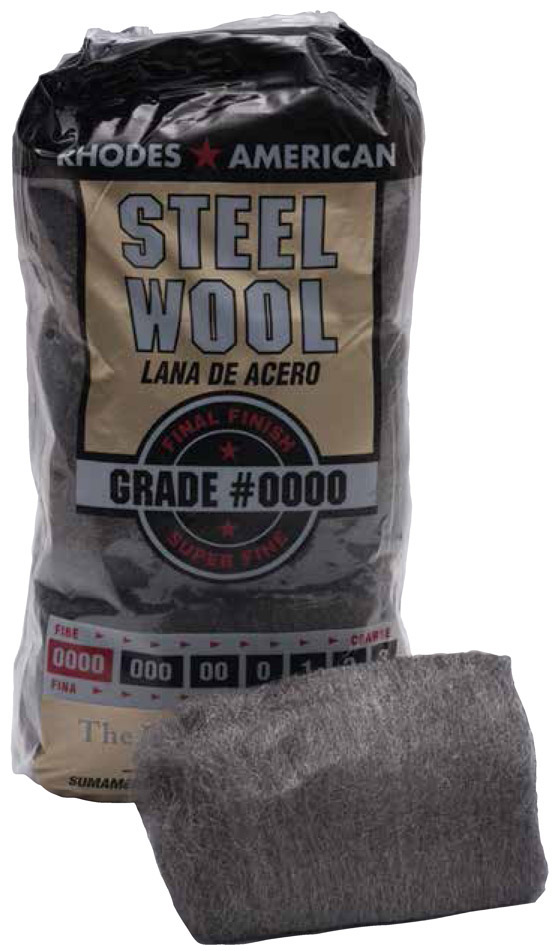
A superfine grade of steel wool can be used to remove oxidation from solder and other metal parts.
