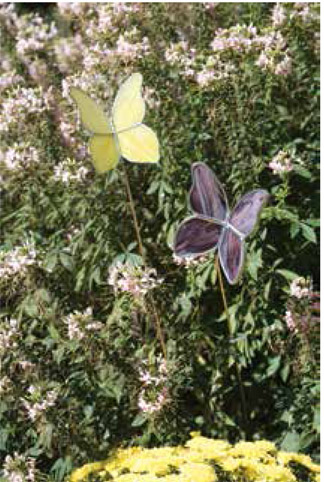

APPROXIMATELY 2 HOURS PER PROJECT
NOW THAT YOU HAVE COMPLETED THE COPPER FOIL PANEL AND THE LEAD CAME PANEL, YOU MAY WANT TO TRY THESE WHIMSICAL GARDEN STAKES.
Directions for using both the copper foil and the lead methods are included. Try each type of construction and discover which method you prefer.
Once you have tried your hand at these smaller projects, it will open up a world of sun catchers and small garden art pieces for you. There are many patterns and designs that will lend themselves to either method of construction. Add a hook to hang pieces in your windows or attach a brass rod for garden art.
The possibilities are endless!
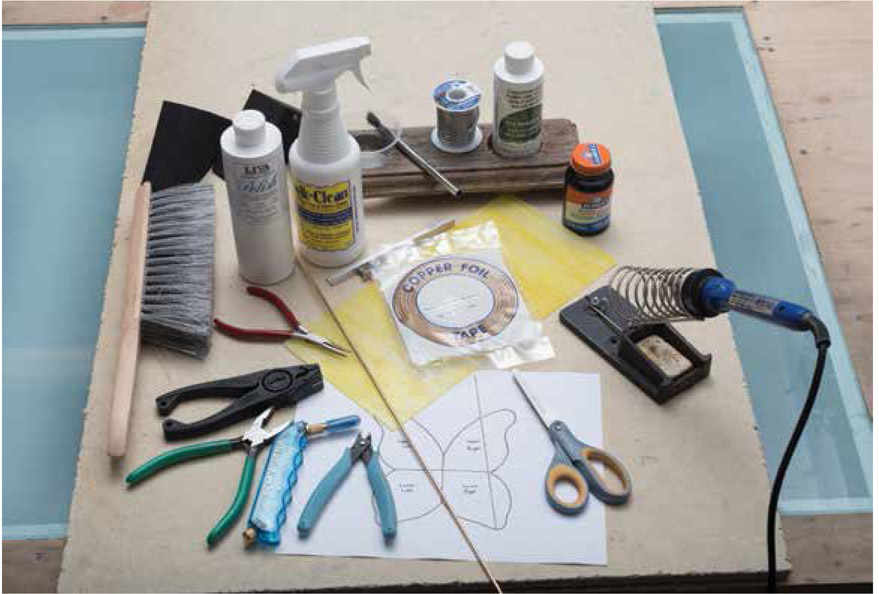
SUPPLY LIST
❍ Paper pattern
❍ Permanent marker
❍ Scissors
❍ Rubber cement
Glass
❍ Approximately ½ square foot, or 6x12-inch sheet of glass
We used Kokomo’s Yellow/White (166).
❍ Safety glasses
❍ Bench brush
❍ Homasote board or work surface
❍ Glass cutter
❍ Glass cutting oil
❍ Grozing/breaking pliers
❍ Running pliers
❍ Glass grinder
❍ 36 inches ¼-inch silver-backed copper foil
❍ Fid
❍ Vise
❍ Flux and brush
❍ Small cup for flux
❍ Solder
❍ Soldering iron, stand, and wet sponge
❍ 6–inch layout strip and pins
❍ 2 Handy Wedges
❍ Needle-nosed pliers
❍ Wire cutters
❍ 36 inches 20-gauge pretinned copper wire
❍ Wire twister tool
❍ 1/8-inch brass rod, 36-inches tall
❍ Mild detergent
❍ Wash basins
❍ Flux and patina neutralizer
❍ Stained glass polish
❍ Towels
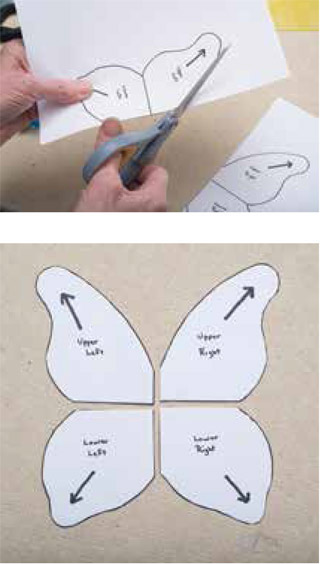
1 Using regular scissors, cut out the perimeter of the pattern and cut apart the wing sections. Because this is more of a free-form project, there is no need to use pattern shears to cut out the pattern.
2 Place each pattern piece on the glass, lining up the directional arrows with the color grain or pattern in the glass. Make sure there is space between each pattern piece to separate the glass pieces.
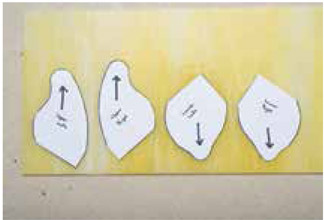
3 Brush rubber cement onto the back of each pattern piece and glue them all into place on the glass.
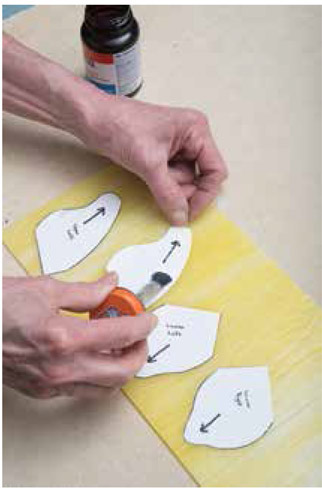
4 Using your glass cutter, score the glass between the pattern pieces and use running pliers to break the glass, separating each piece from the others.
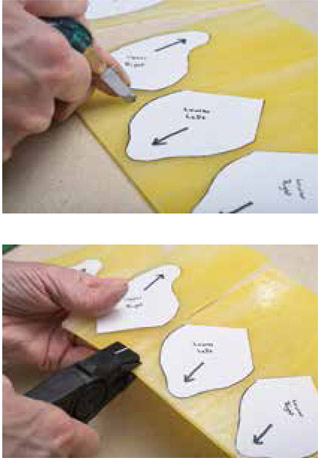
5 Cut out each of the butterfly’s wings. Refer to chapter 5 for a review of glass cutting if necessary.
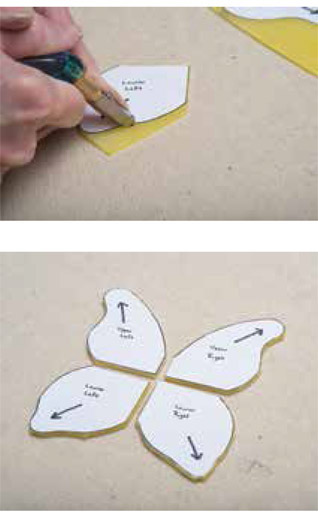
6 Grind the edges of each piece, right up to the edge of the paper pattern, but not beyond.
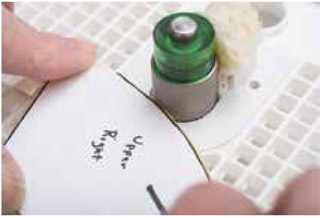
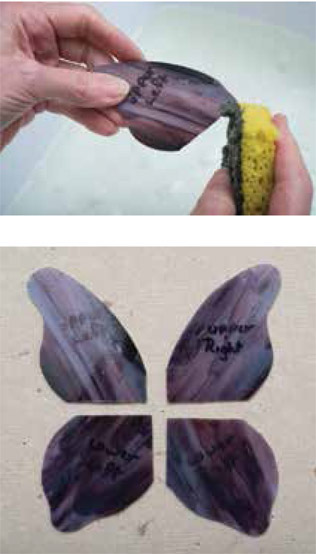
7 Peel off the paper pattern, dry with a towel, and label the pieces of glass with a permanent marker.
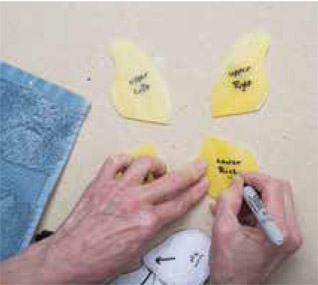
8 Wash the glass pieces with mild detergent and water, rinse, and dry them. Relabel the glass if its label washes off.
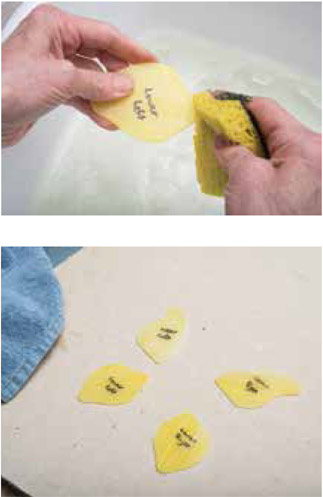
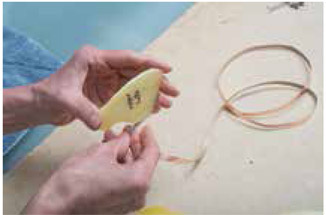
9 Once the edges are very dry, wrap copper foil around each piece. Use a 1/4-inch width copper foil with a silver backing. Refer to the “Copper Foiling” section in chapter 6 for proper foiling technique, if necessary.
Start the foil along one of the straight sides, so that the overlap will be anchored into one of the solder seams. This way there will be no chance for the foil to come loose over time.
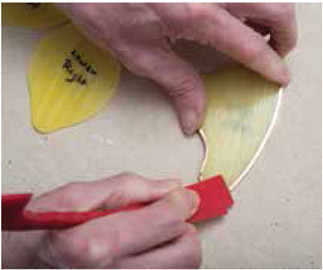
10 Burnish the edges of the foil with a fid. It is important to have the foil well-adhered to the glass for this project, as it may be displayed outdoors and exposed to the elements.
11 Pour a small amount of flux into a cup.
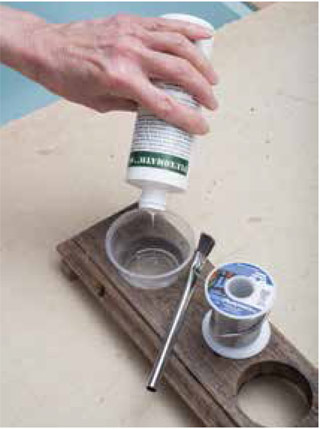
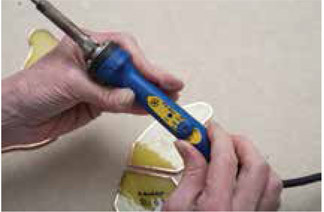
12 Plug in the soldering iron. Set a temperature-control iron at 410 degrees Celsius for soldering on copper foil.
13 Place a 6-inch layout strip on your work surface, holding it in place with two pins.
14 Align the right two wing sections against the straight edge of the layout strip, and pin them into place with a few pins.
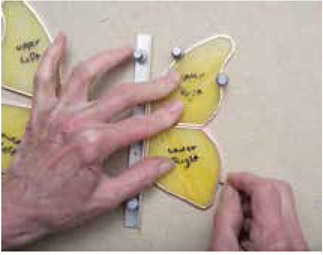
15 Brush flux onto the center seam.
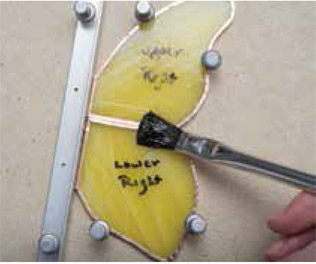
16 Apply a flat layer of solder over the seam.
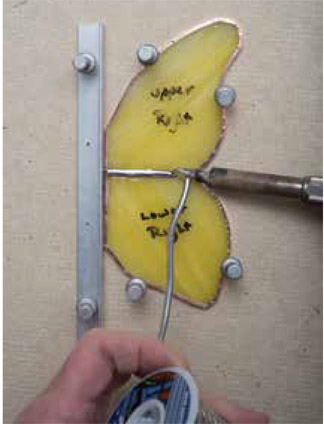
17 Add a little more flux; you do not need to dip the brush back into the flux container. There is plenty of flux remaining on the brush.
18 Add a second coat of solder, making sure it melts into the first coat. It should bead up, giving a nice rounded look to the solder.
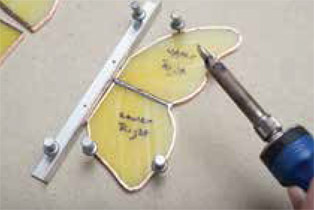
19 Remove the pins and turn the wing over.
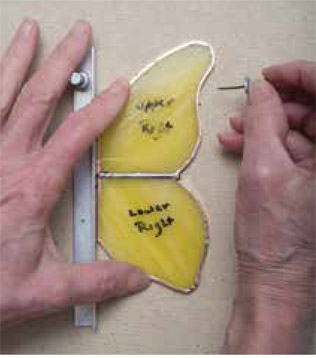
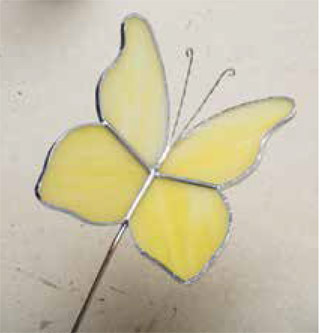
20 Flux the back center seam.
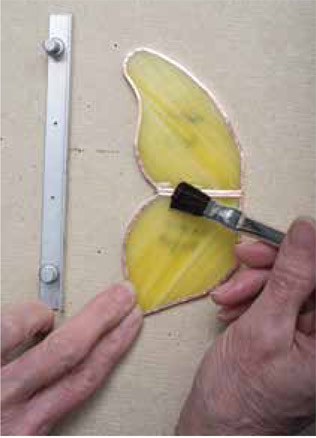
21 Solder the seam.
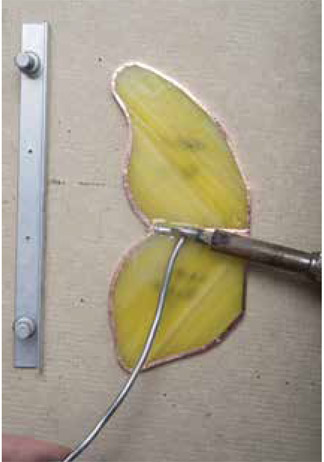
22 Add a little more flux and add a second coat of solder to get a nice rounded bead.
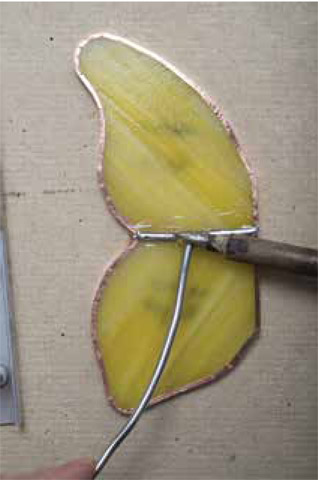
23 Remove the pins from the layout strip, turn the strip in the opposite direction, and pin it into place. Align the left-wing butterfly pieces against the layout strip and pin them into place.
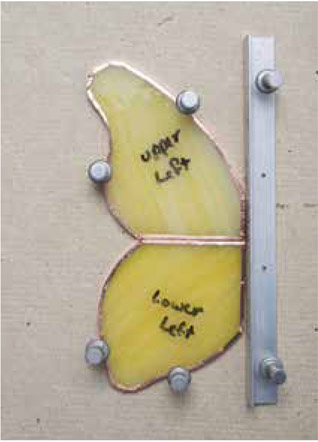
24 Flux and solder the left-wing center seam as you did the right-wing pieces.
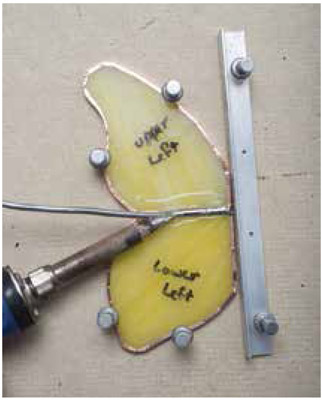
25 Add a little more flux and add a second coat of solder, making sure it melts into the first coat, just as you did with the right-wing pieces.
26 Remove the pins from the wing pieces and turn it over.
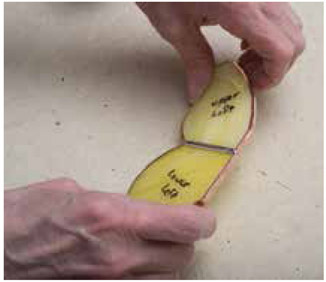
27 Flux and solder the back center seam as you did with the right-wing pieces.
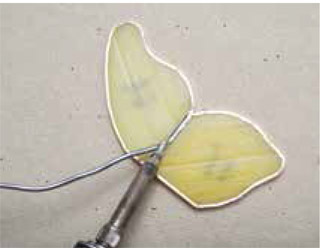
28 Add a little more flux and a second coat of solder, making sure it melts into the first coat.
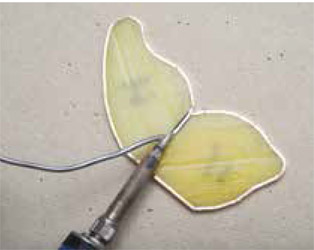
29 Turn both wing sets right-side up.
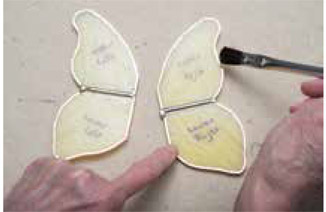
30 Flux around the perimeter of both wing sets.
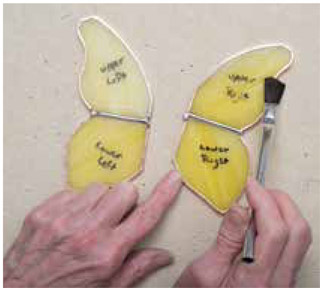
31 Take a tiny bit of solder onto the iron tip. Run the iron tip over the foiled edges, leaving just a bit of solder around the edges of both wings. This process is called tinning.
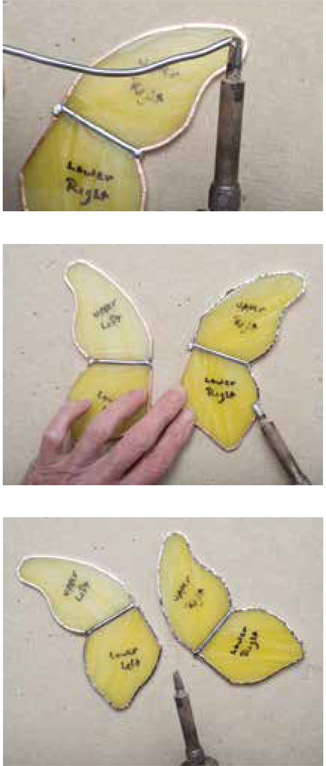
32 Turn over the wing sets and flux the outer edges.
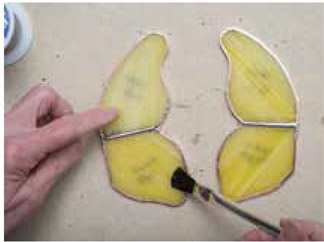
33 Again, add a bit of solder to the iron tip, and slide it around the edges so that the copper foil is covered lightly with solder.
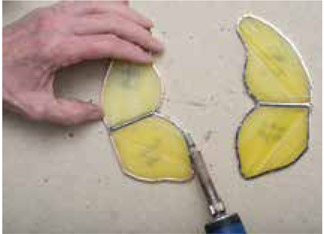
34 Carefully turn the butterfly wing set on edge. Run the iron around the edge of the foil so that solder covers the edges of the wings. Be careful to keep your hand higher than your iron so hot solder does not drip onto your hand. The flux and solder from tinning the top and bottom should be sufficient to cover the edges.
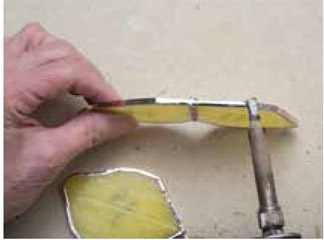
35 Repeat with the second wing set.
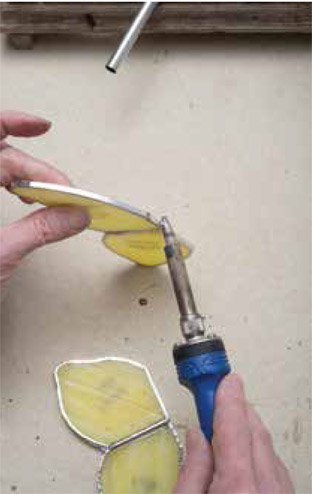
36 Turn both wing sets right-side up.
37 Use Handy Wedges to prop up the wing sets, creating a natural angle for your butterfly. The straight edges should line up to create a center seam.
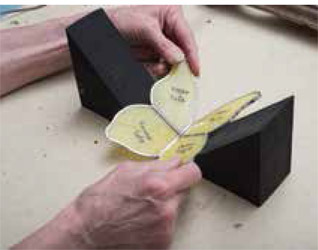
38 Add a flat coat of solder to the center seam.
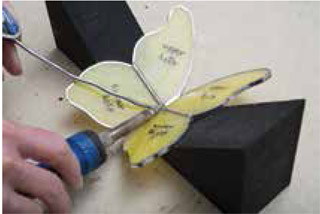
39 Make your own twisted wire with a vise, the wire twister, and 20-gauge pretinned copper wire.
• Cut off a 36-inch length of wire.
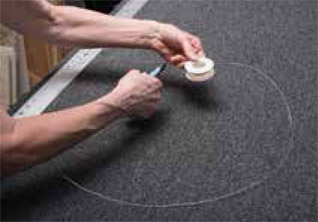
• Loop it through one end of the wire twister and clamp both ends into the vise.
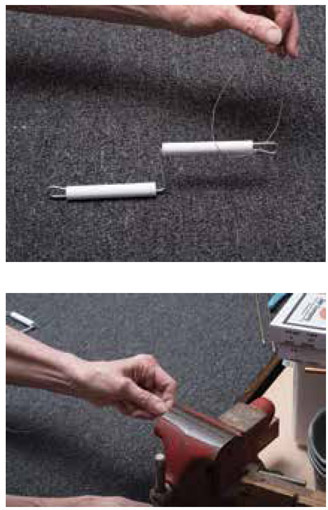
• Turn the wire twister until the wire is twisted to your desired tightness.
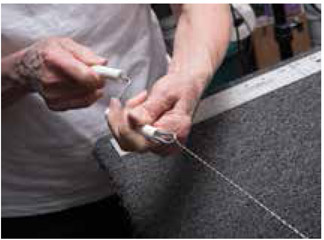
• Cut off a 7-inch section for this project and save the rest for future projects.
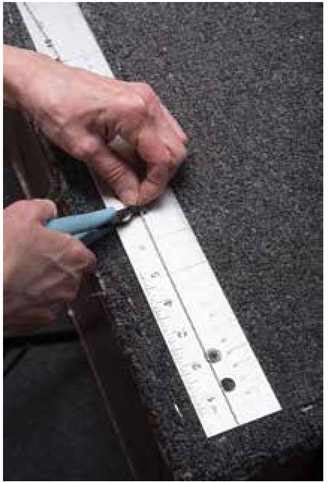
40 Use the needle-nose pliers to find the center of the twisted wire and bend the wire in half.
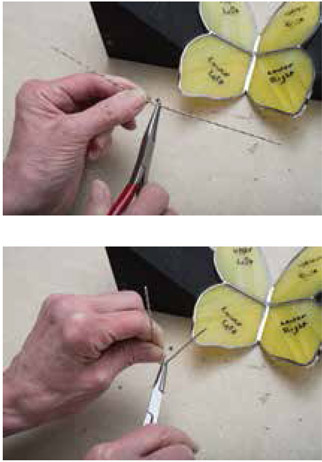
41 Squeeze the bottom of the twisted wire with the pliers.

42 Use the pliers to bend the top of each side of the wire into a loop for the antennae.
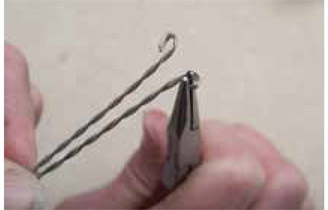
43 Place the antennae at the upper half of the center seam and apply flux to the wire.
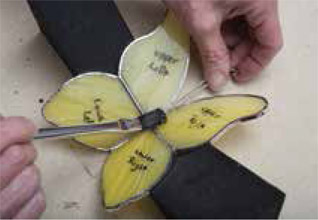
44 Use needle-nose pliers to hold the antennae in place, as heat will travel up the wire.
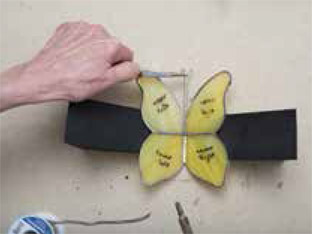
45 Add a bit of solder to your iron and apply it over the twisted wire to hold it in place.
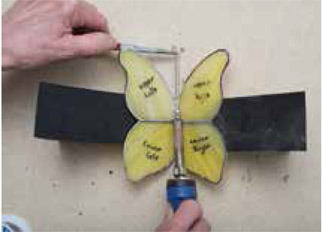
46 Use additional solder to build up the bottom half of the seam.

47 Turn the butterfly over.
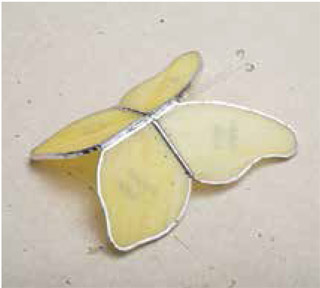
48 Use your iron to smooth the solder in the center seam.
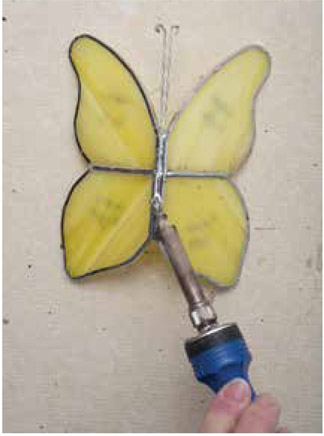
49 Place about 2 1/2 inches of a 36-inch-long brass rod into a vise and bend it to a 45 degree angle.
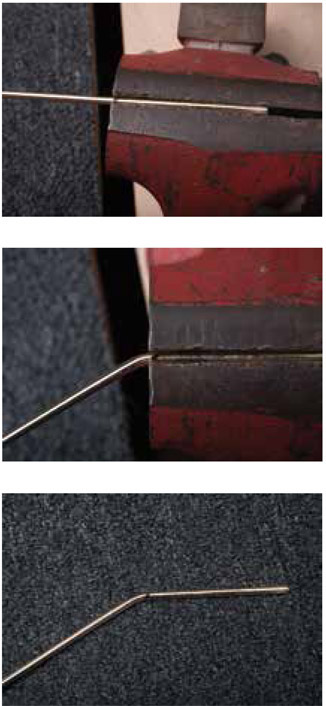
50 Flux the end of the brass rod, from the bend upward.
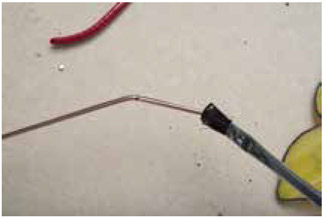
51 Pick up a bit of solder with your iron and slowly tin the entire bent portion. Pretinning the brass rod will allow it to join more easily to the butterfly. Move slowly, as brass takes more heat to adhere solder to it.

52 Position the bent portion of the rod into the center back seam of the butterfly. It makes it easier to balance if you rest the other end of the rod on your shoulder.
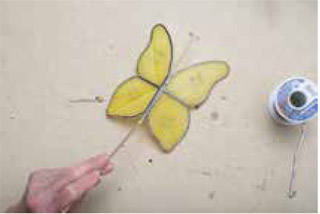
53 Use a bit of solder to tack a few places along the rod to hold it in place.
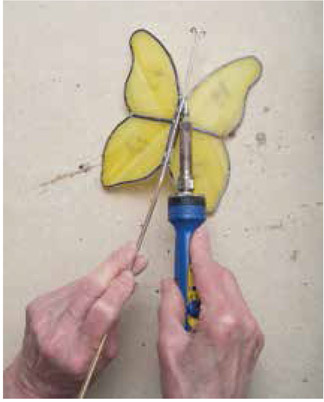
54 Smooth solder along both sides of the brass rod to fully connect it to the center seam.
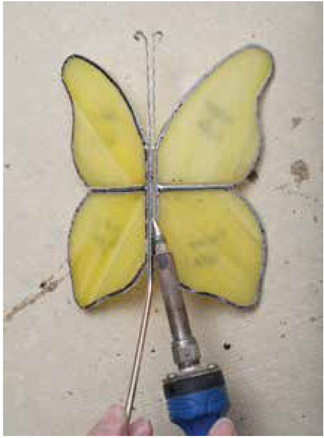
55 Turn the butterfly over, separate the ends of the antennae, and bend them into a graceful curve.
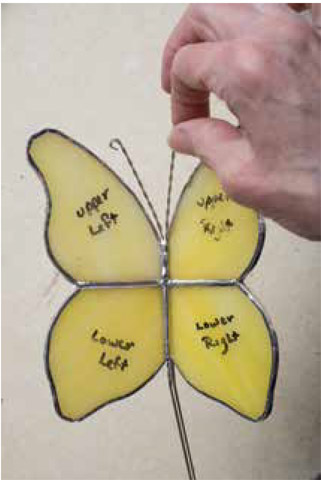
56 Wash the butterfly with mild detergent and water, removing all flux from the edges and seams, as well as the marker writing.
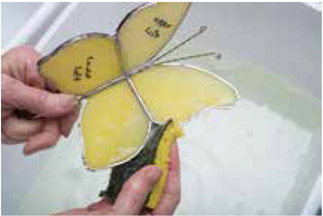
57 Rinse well and dry with a clean towel.

58 Spray both sides of the butterfly with a flux and patina neutralizer. Dry well with a towel.
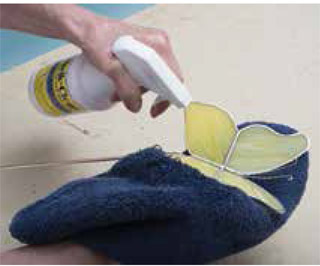
59 Drip a bit of glass polish on each of the wings. Rub it in with a towel and buff to a beautiful shine. Repeat on the back.
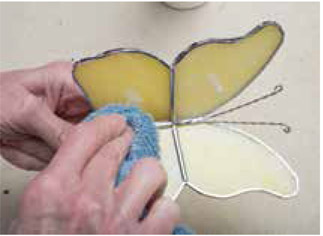
60 Your butterfly stake is ready to watch over your garden. In colder climates be sure to bring your butterfly indoors over the winter months.
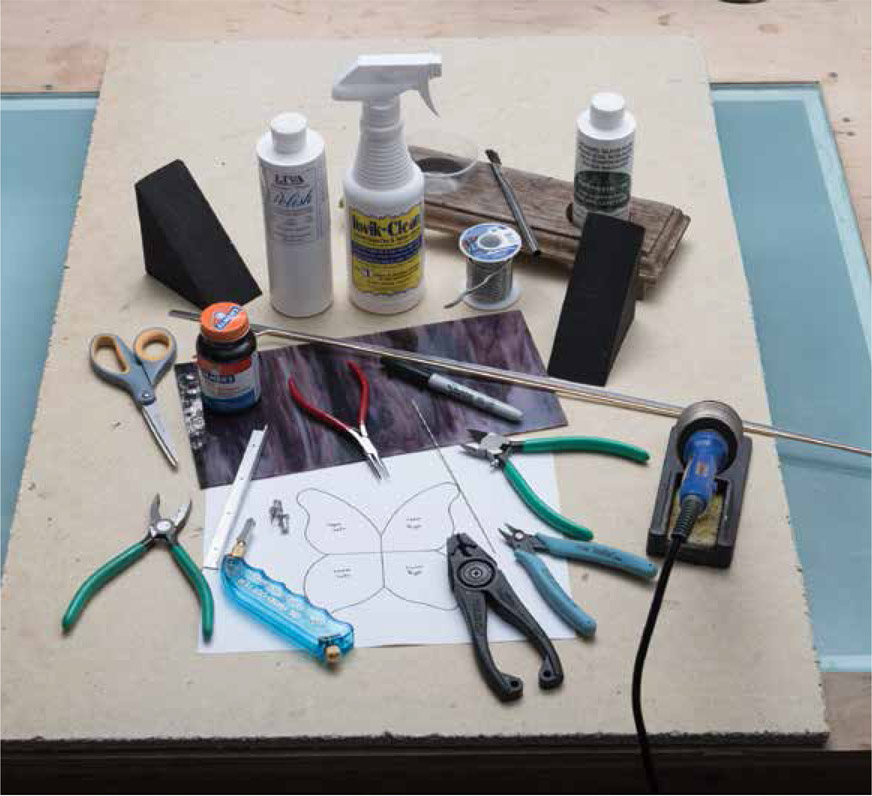
SUPPLY LIST
❍ Paper pattern
❍ Permanent marker
❍ Scissors
❍ Rubber cement
Glass
❍ Approximately ½ square foot or 6x12-inch sheet of glass
We used Kokomo’s Dark Rose/White Opal (26).
❍ Safety glasses
❍ Bench brush
❍ Homasote board or work surface
❍ Glass cutter
❍ Glass cutting oil
❍ Grozing/breaking pliers
❍ Running pliers
❍ Glass grinder
❍ Lead came: 36 inches ⅛-inch U-channel lead
❍ Vise
❍ Lead cutters
❍ Flux and brush
❍ Small cup for flux
❍ Solder
❍ Soldering iron, stand, and wet sponge
❍ 6-inch layout strip and pins
❍ 2 Handy Wedges
❍ Needle-nose pliers
❍ Wire cutters
❍ 36 inches of 20 gauge pre-tinned copper wire or 7 inches of twisted 20 gauge pre-tinned copper wire Wire twister tool
❍ 36-inch tall ⅛-inch brass rod
❍ Mild detergent
❍ Wash basins
❍ Flux and patina neutralizer
❍ Stained glass polish
❍ Towels
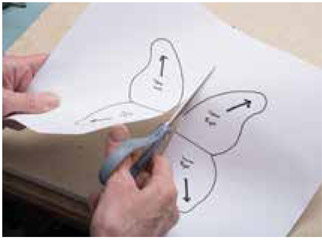
1 Using regular scissors, cut out the perimeter of the pattern and cut apart the wings. Because this is more of a free-form project, there is no need to use pattern shears to cut out the pattern.
2 Place each pattern piece on the glass, lining up the directional arrows with the color grain or pattern in the glass. Make sure there is space between each pattern piece to separate the glass.
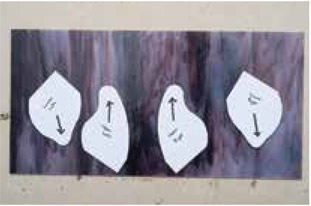
3 Brush rubber cement onto the back of each pattern piece and glue them into place.
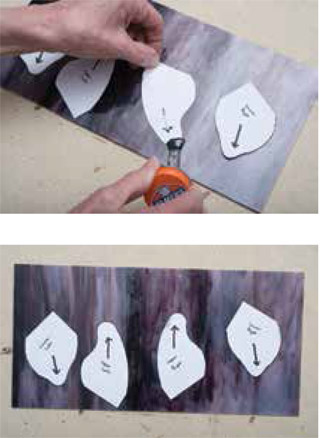
4 Using your glass cutter, score the glass between the pattern pieces and use running pliers to break the glass, separating each piece from the others.

5 Cut out each butterfly wings. Refer to the cutting directions in chapter 5, if necessary.
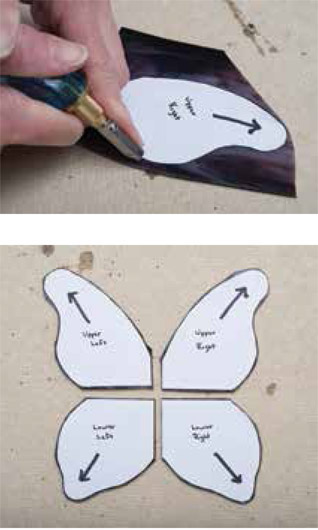
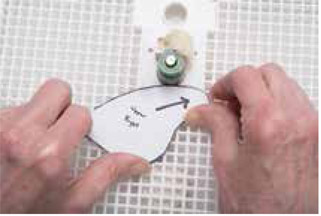
6 Grind the edges of each piece, right up to the edge of the paper pattern, but not beyond.
7 Peel off the paper pattern, dry with a towel, and label the pieces of glass with a permanent marker.
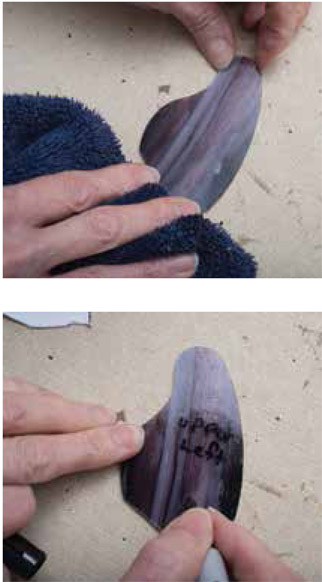
8 Wash the glass with mild detergent and water, rinse, and dry them.
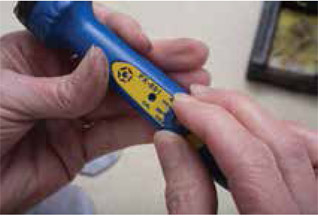
9 If you have a temperature-controlled iron, set it to 360 degrees Celsius. A cooler iron is advised when working with lead came.
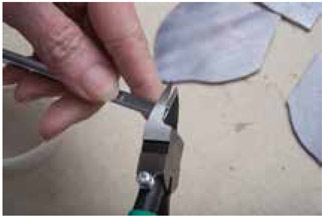
10 For this project you will use 1/8-inch U-channel lead, because it is easy to work with and contours nicely to the curves of each butterfly wing. Trim the end of a 36-inch length of this lead came to get a clean 90 degree cut on the end. Remember to trim the lead with the channel facing up. Refer to the lead cutting instructions in chapter 7 for more details, if necessary.
11 Beginning at the corner, slowly wrap each glass piece with the lead, following the contour of the wings. When you reach the beginning again, cut the lead so that it lines up with the first end.

12 Flux the lead joint.
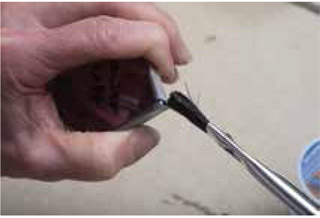
13 Pick up a bit of solder with the tip of your iron and seal the ends of lead together.
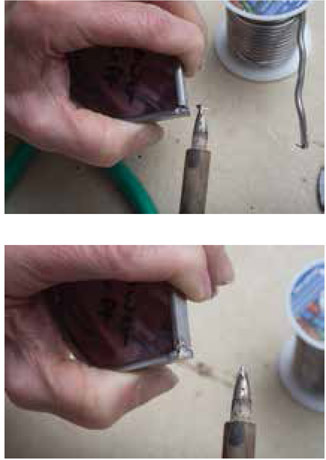
14 Add a tack of solder on the top surface and a tack of solder on the bottom surface as well.
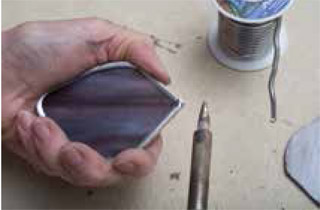
15 Repeat with the remaining three wings. Always begin with a clean 90 degree cut on the end of the lead came.
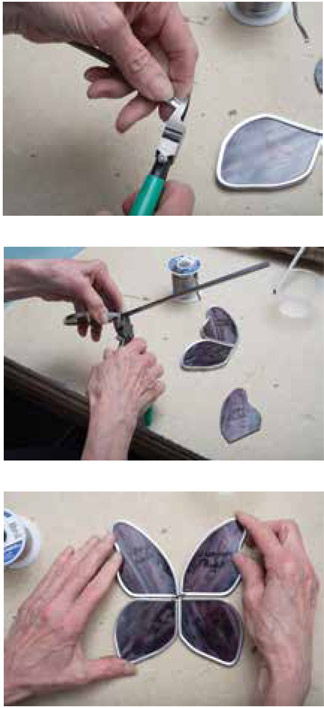
16 Pin the layout strip to your work surface with two pins.
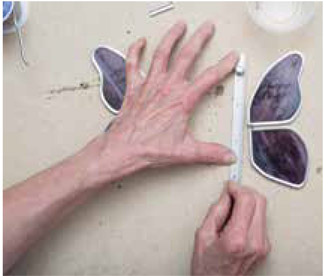
17 Pin the right wings against the layout strip and flux the center seam.
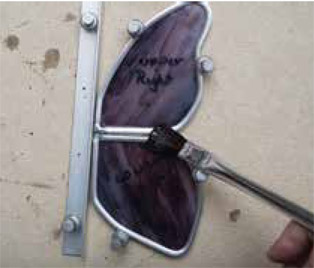
18 Solder the center seam right over the lead.
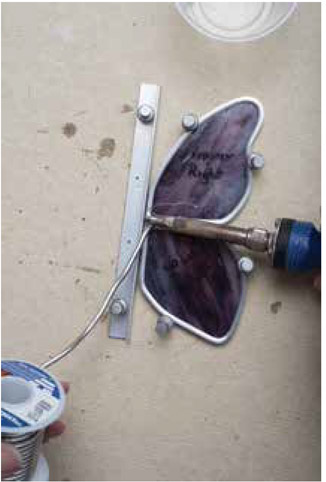
19 Add a little bit of flux and add a second coat of solder, melting into the first coat. This leaded project has a wider center seam than the Copper Foil Butterfly Garden Stake.
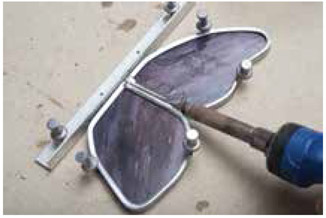
20 Turn over the right wing set and flux the center seam.
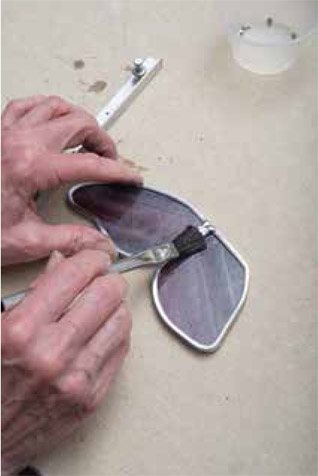
21 Solder over the center lead seam.
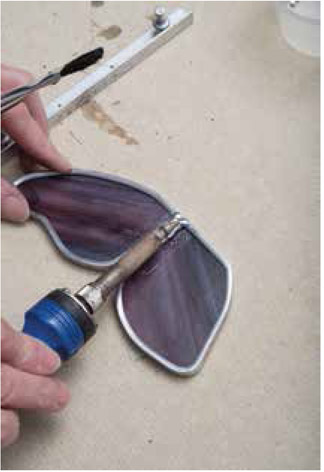
22 Add a little bit of flux and smooth the solder. Add a second coat if necessary.
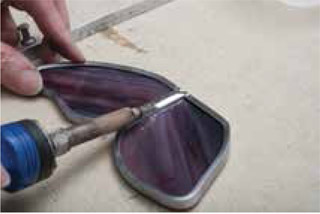
23 Flip the layout strip to the opposite side and replace the pins.
24 Place the left two wings against the layout strip and pin into position.
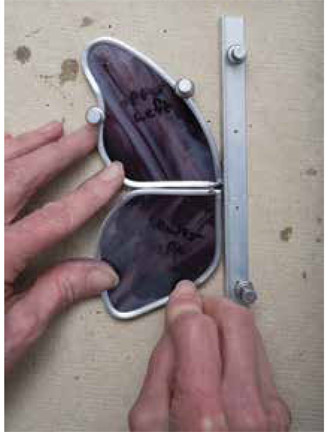
25 Flux and solder over the center lead seam.
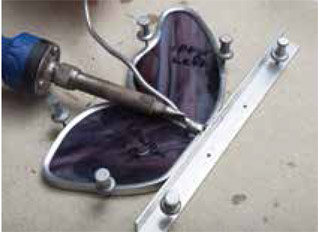
26 Add a bit of flux and smooth out the center seam with the flat of the iron, adding solder if necessary.
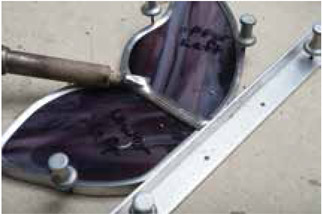
27 Remove the pins and turn over the left wing set.
28 Flux and solder the center seam on the back side.
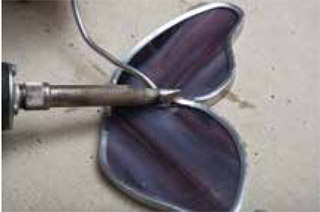
29 Add a little bit of flux. Smooth out the center seam with the flat side of the iron, adding a bit of solder if necessary.
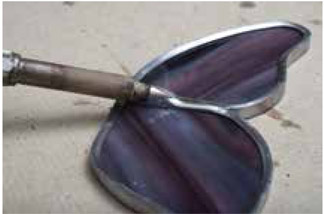
30 Using Handy Wedges, prop the wings up at a natural angle and line up the straight edges to form the center seam.
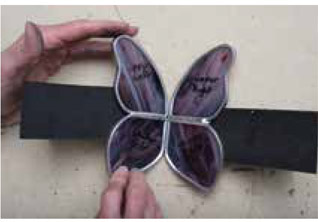
31 Flux the center seam of the butterfly.
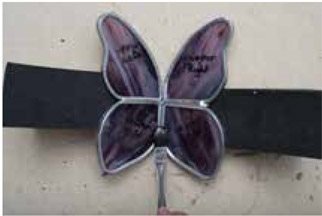
32 Put a flat coat of solder onto the center seam.
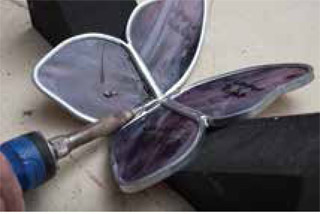
33 Refer to the Copper Foil Butterfly Garden Stake and follow the directions for twisting wire. You will need a 7-inch length of twisted wire for the antennae.
34 Place the needle-nose pliers in the center of the twisted wire.
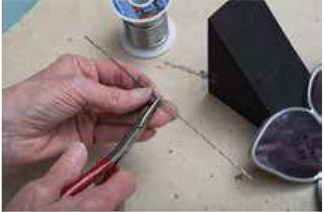
35 Bend the wire in half.
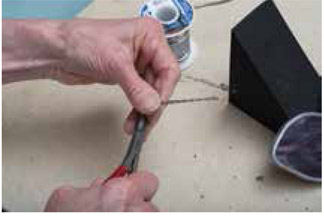
36 Squeeze the bottom of the twisted wire with the pliers.
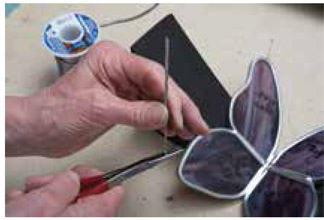
37 Bend each end of the wire into a loop for the antennae.
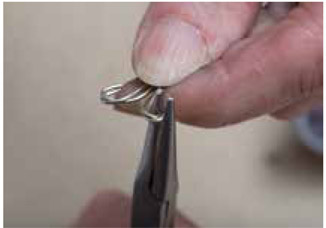
38 Place the antennae at the upper half of the center seam and apply flux to the wire.
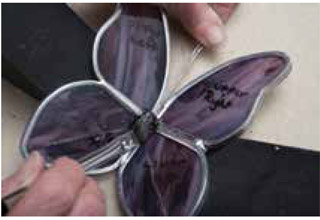
39 Use needle-nose pliers to hold the antennae in place, as heat will travel up the wire as you solder.
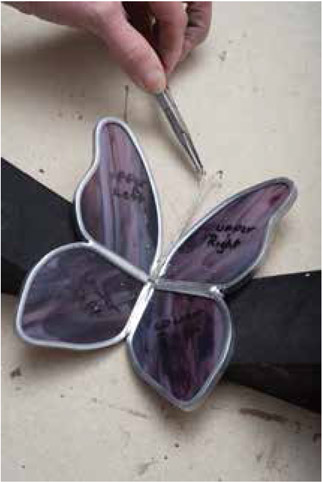
40 Add a bit of solder to your iron and apply it over the twisted wire to hold it in place.
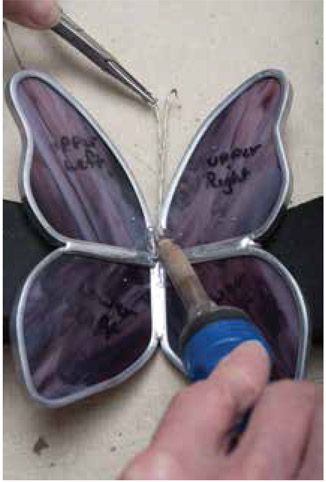
41 Use additional solder to build up the bottom half of the seam.
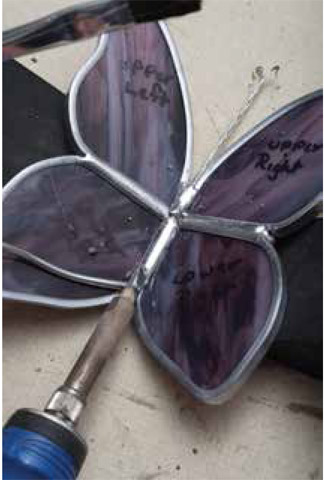
42 Turn the butterfly over, add flux, and use your iron to smooth the solder in the center seam.
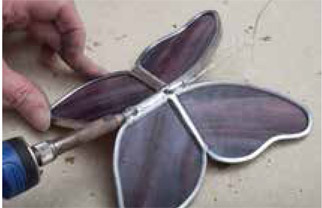
43 Using a vise, bend 2 1/2 inches of a long brass rod to a 45 degree angle for the butterfly’s stake.
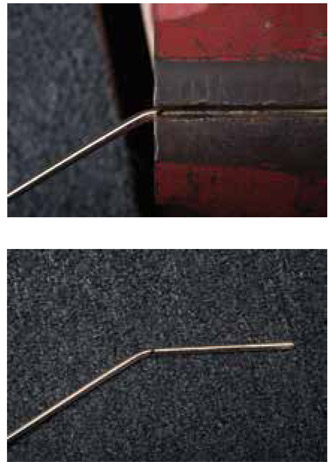
44 Flux the end of the brass rod, from the bend upward.
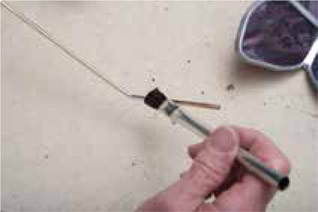
45 Pick up a bit of solder with your iron and slowly tin the entire bent portion. Lead melts at a much lower temperature than brass, so if the rod is pretinned with solder it will adhere much more easily to the butterfly. Move your iron slowly, as brass takes more heat to adhere solder to it.
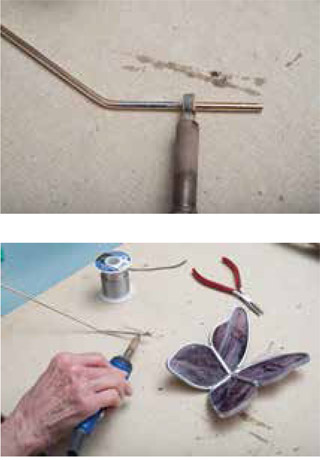
46 Position the bent portion of the rod into the center back seam of the butterfly. It is easier to balance if you rest the other end of the rod on your shoulder.
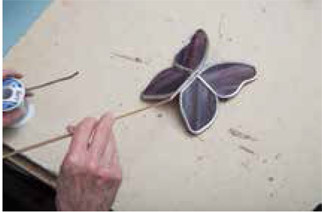
47 Use tacks of solder in two places along each side of the rod to hold it into place.
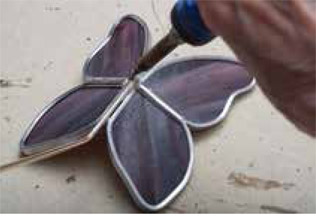
48 Smooth solder along both sides of the brass rod to fully connect it to the center seam.
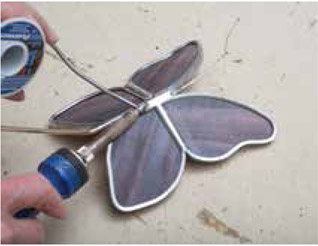
49 Turn the butterfly over, separate the ends of the antennae, and bend them into a graceful curve.
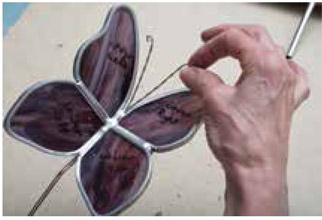
50 Wash the butterfly with mild detergent and water, removing all flux from the edges and seams, as well as the marker writing.
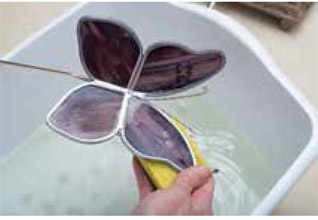
51 Rinse well and dry with a clean towel.
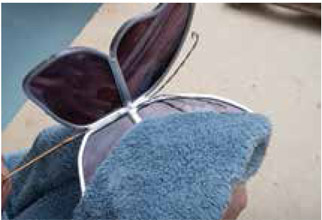
52 Spray both sides of the butterfly with a flux and patina neutralizer and then dry it with a towel.
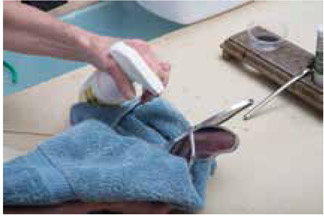
53 Drizzle a bit of glass polish onto both sides of the butterfly. Rub it in with a towel, and buff to a beautiful shine.

Remember to properly recycle your lead scraps!
The Leaded Butterfly Garden Stake has a different look than the Copper Foiled Butterfly Garden Stake. It is truly a matter of taste as to which style you prefer.
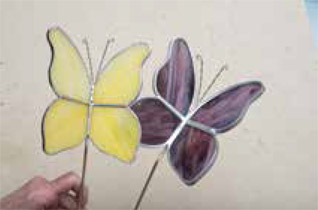
Remember to bring your garden stake indoors during the cold winter months!
