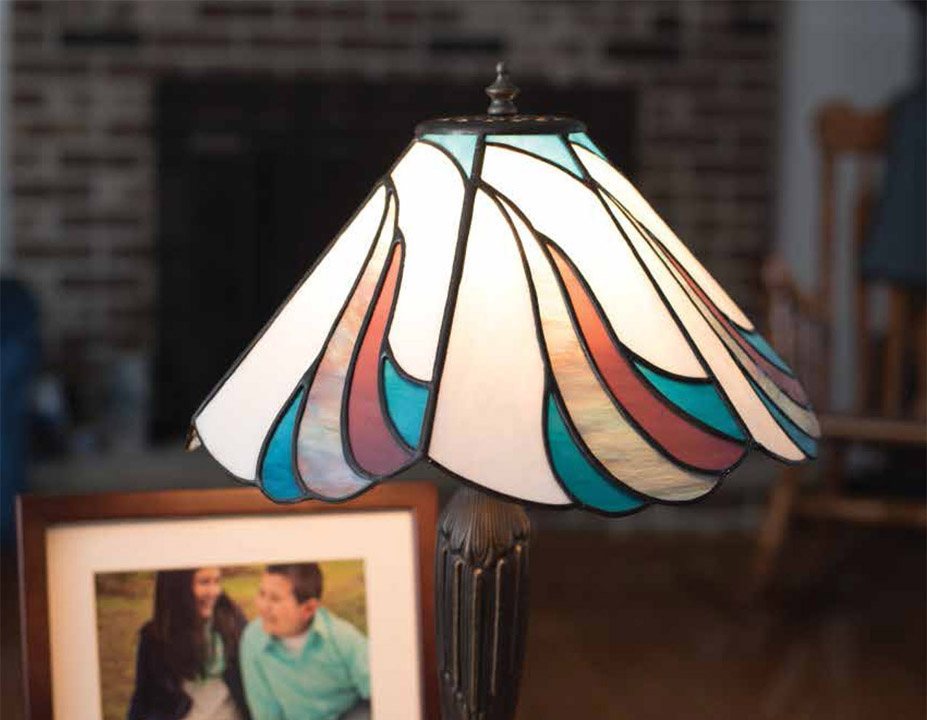

APPROXIMATELY 8 HOURS
CREATING A LAMPSHADE CAN BE A CROWNING ACHIEVEMENT IN YOUR STAINED GLASS JOURNEY. While at first glance, this may look like a daunting task, think of the project in steps. You will be creating six identical panels using the same skills you learned when making the copper foil panel in chapter 6.
The key to making a beautiful Tiffany-style lampshade is to accurately cut, grind, and solder each panel of the lamp so it is exactly like the other sides. Be consistent; you have the skills to take on this challenge!
Think about where you will display your finished lamp. You may wish to choose glass colors that will complement the decor in the room where the lamp will be placed.
A new technique that you will learn during this project is wiring the top and bottom of the shade to reinforce the seams, providing strength and stability to the finished product. You will add a cap to the top of your shade so that it will be ready to place on a purchased or repurposed lamp base.
Electrical wiring is not discussed in this book, and should not be attempted by anyone without appropriate experience.
When completed, your beautiful lamp will brighten any room. Incandescent bulbs were traditionally used in stained glass lamps, but you may wish to experiment with some of the more energy efficient bulbs available today.
SUPPLY LIST
❍ Paper pack: oak tag, carbon paper, tracing paper
❍ 6 copies of the pattern each printed on a different color paper
❍ Drawing tools: pencil and permanent marker
❍ Masking tape
❍ Scissors
❍ Pattern shears for foil
❍ Rubber cement
Glass
❍ 3–4 square feet for the background
❍ 1 square foot each of three complementary colors
We used Oceanside’s Clear/White Corsica (S600081) for the background. For the complementary colors, we used Oceanside’s Aqua/Rose/White/Clear Corsica (S603483), Kokomo’s Two Blues Opal (K123), and Kokomo’s Solid Purple Opalume (K3D).
❍ Safety glasses
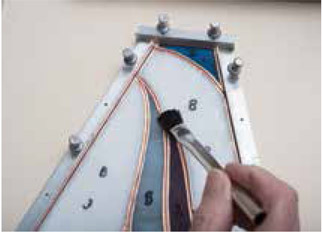
❍ Bench brush
❍ Homasote board or work surface
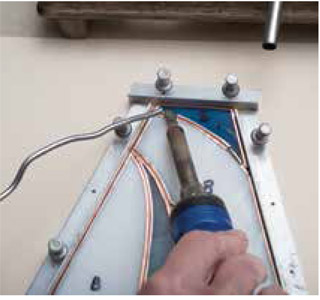
❍ Glass cutter
❍ Glass cutting oil
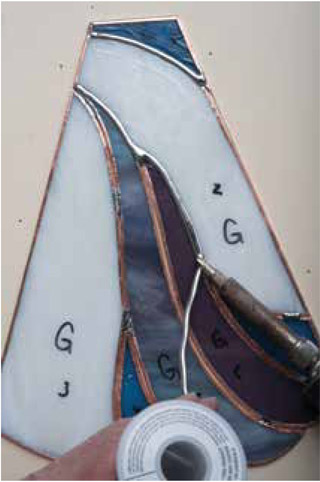
❍ Grozing/breaking pliers
❍ Running pliers
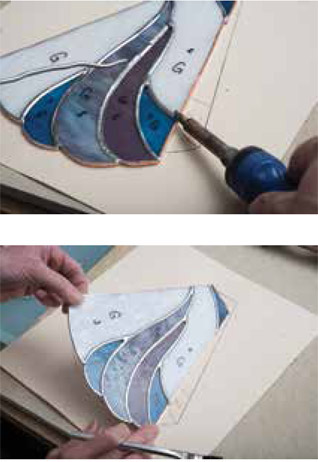
❍ Glass grinder
❍ ⁷⁄₃₂-inch black-backed copper foil
❍ Fid
❍ Craft knife
❍ Flux and brush
❍ Small cup for flux
❍ Solder
❍ Soldering iron, stand, and wet sponge
❍ Layout strips and pins
❍ Vinyl electrical tape
❍ Needle-nose pliers
❍ Wire cutters
❍ Approximately 66" of 20-gauge pre-tinned copper wire
❍ 3½-inch vented vase cap
❍ Steel wool
❍ 2 Handy Wedges
❍ Lamp support wedge
❍ Mild detergent
❍ Wash basins
❍ Newspaper
❍ Flux and patina neutralizer
❍ Protective gloves
❍ Black patina for lead and solder
❍ Small sponge
❍ Stained glass polish
❍ Towels
Note: When making a lamp it is very important to choose glass that is not too transparent, so that the light fixture inside is not visible. However, glass selection should allow enough light to come through so that the lamp is also functional.
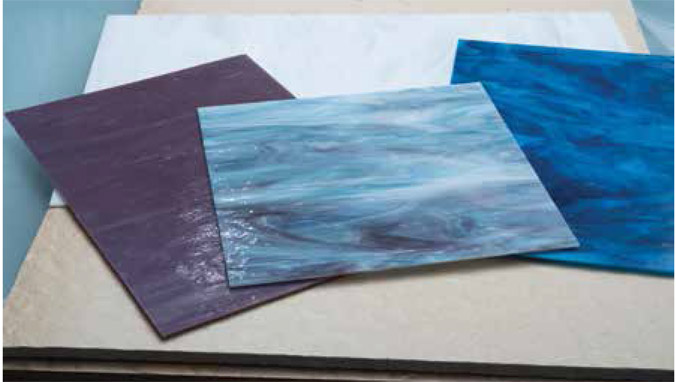
1 As in the other projects, begin with a paper pack of oak tag, carbon, pattern, and tracing paper.
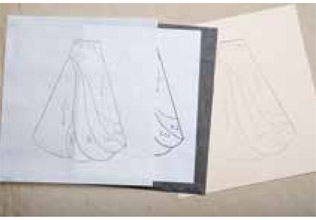
2 Trace the pattern.
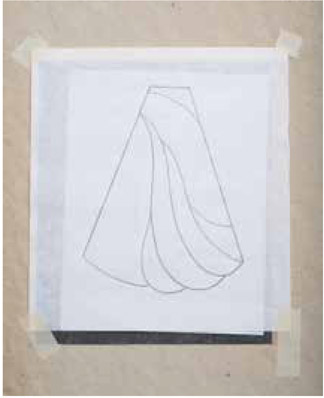
3 Draw in numbers for each piece, letters to color-code, and directional arrows for the texture or pattern in the glass.
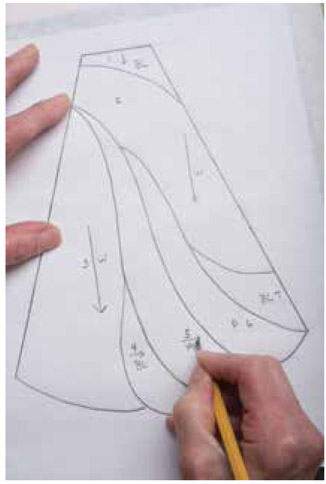
4 Take the original pattern and photocopy it onto six different colors of paper that will be the patterns for each of the six sides of the lamp. It is important that each side fits together well, so using different colors will help keep each panel separate.
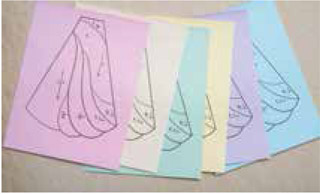
5 Begin by cutting the perimeter of each pattern with regular scissors.
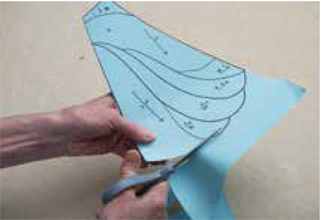
6 Use pattern shears to cut out the pattern pieces.
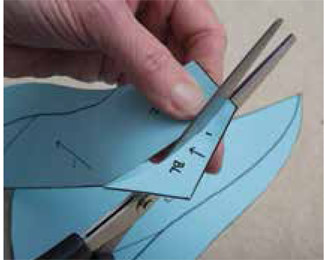
7 Lay out the pattern pieces on the appropriate glass, according to the directional arrows. Glue down the pattern pieces with rubber cement.
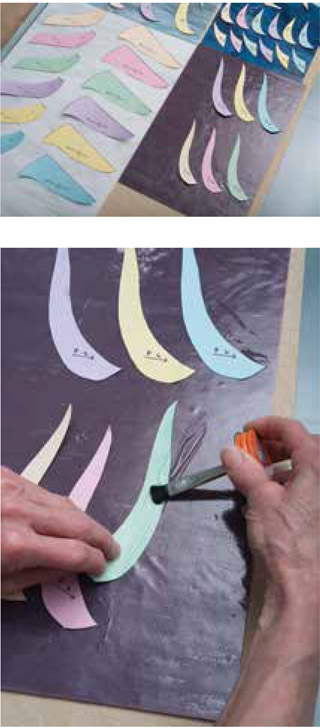
8 Separate the glass into manageable pieces.
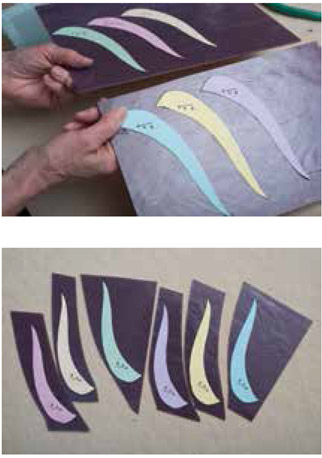
9 Proceed with one panel at a time from this point forward, so that the pieces from the different sides do not get mixed up. You are working with the panel designated by blue pattern pieces.
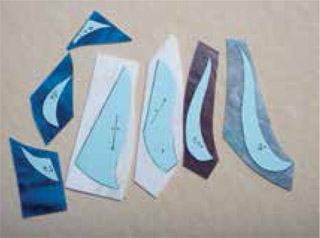
10 Cut out each piece of glass. Refer to chapter 5 for a review of successful cutting, if necessary.
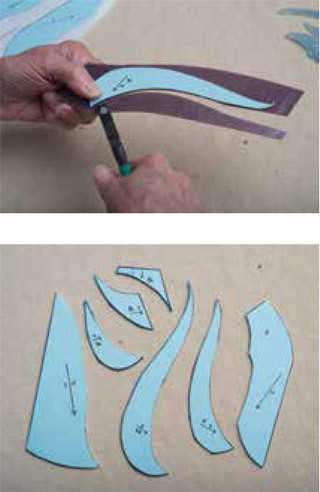
11 Grind each piece of glass.
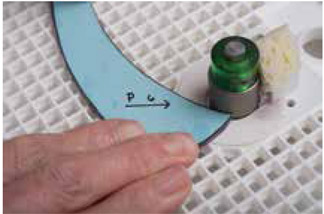
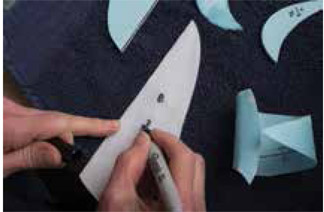
12 Peel off the pattern, wash, rinse, and dry each piece. Write the pattern number and a letter B (blue) on each piece.
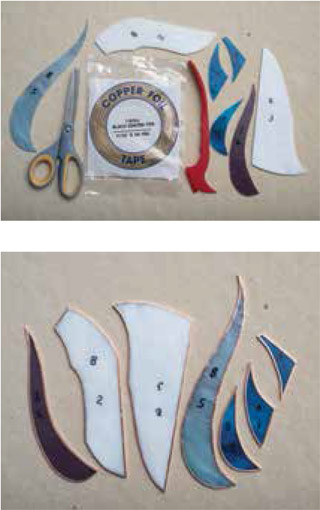
13 Foil each piece. Use 7/32-inch black-backed copper foil, as later you will add a black patina to the lamp. Refer to the “Foiling” section in chapter 6 for proper foiling techniques.
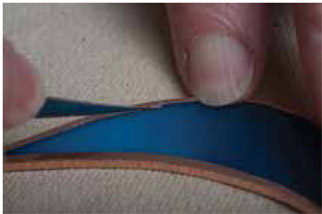
14 If there are any places that the foil overlap is off-center, trim the excess with a craft knife.
15 Continue by cutting, grinding, marking, washing, and foiling the glass pieces from the remaining five sides. Be careful to keep the pieces from each panel together so they do not get mixed up with the others.
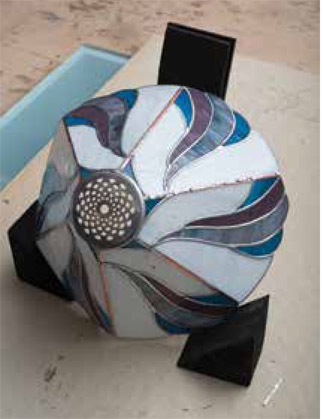
16 Take the oak tag copy of the pattern and create a jig to use for soldering each of the individual panels. Use pins to hold layout strips in place for the top, left, and right sides of the panel. Using a jig in this manner will ensure that each panel will have the identical angles and will come together well when all six panels are assembled to form the lamp.
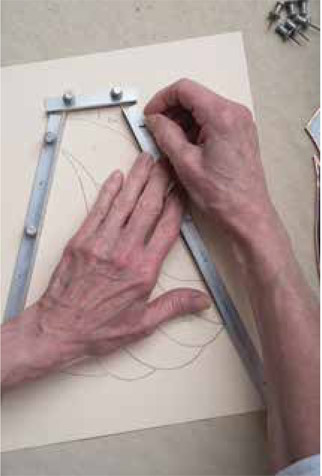
17 Assemble the first panel inside the jig.
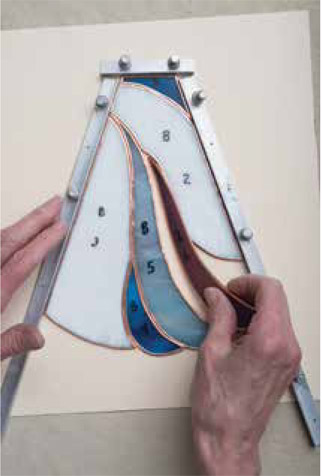
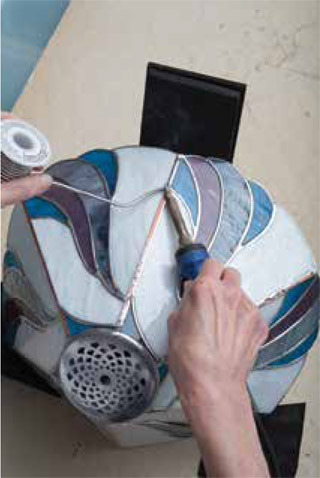
18 Make sure the bottom of each piece lines up with the pattern, and pin those pieces into place.
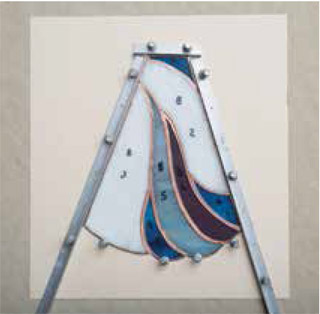
19 Now the panel is ready to solder.
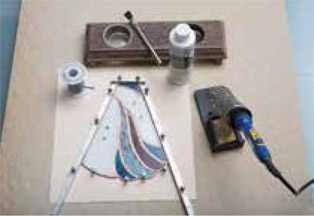
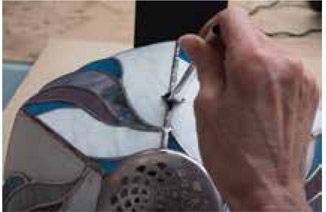
20 In the jig, flux each foil seam.
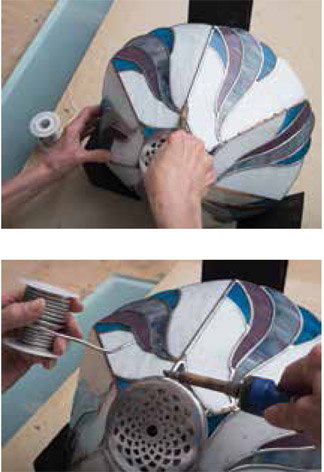
21 Tack solder each piece within the jig. Refer to the “Soldering” section in chapter 6 for proper soldering technique, if necessary.
22 Remove that panel, and build the next one in the same jig. Flux and tack solder this panel in the jig.

23 Repeat until all six panels are tack soldered and then remove the jig.
24 Beginning with one of the panels, flat solder each seam on the front side.
25 Add a small bit of flux to the solder seams, and add the beaded coat of solder.
26 Tin the top and bottom edges of this panel. No need to tin the sides.
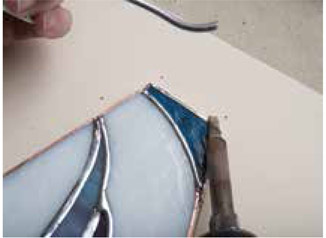
27 Turn the panel over.
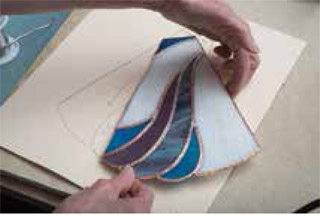
28 Flux each seam on the back of the panel.
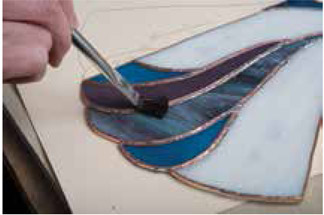
29 Flat solder the back side of the panel.
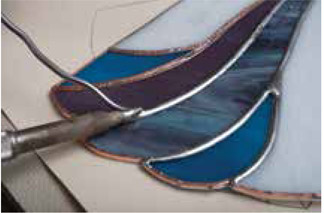
30 Add a small amount of flux to the solder seams and add the beaded coat of solder.
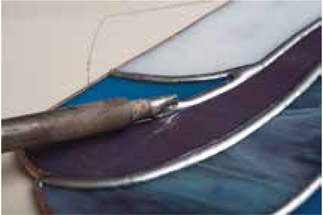
31 Tin the top and bottom edges of this panel. There is no need to tin the sides.
32 Repeat all soldering steps for the remaining five panels.
33 Wash, rinse, and dry all six panels.
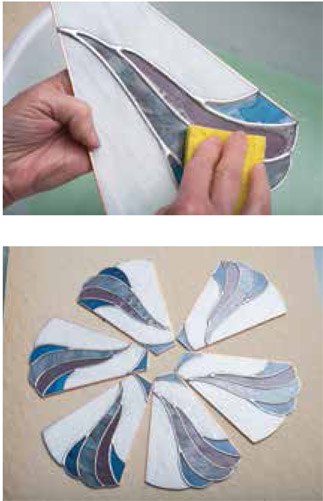
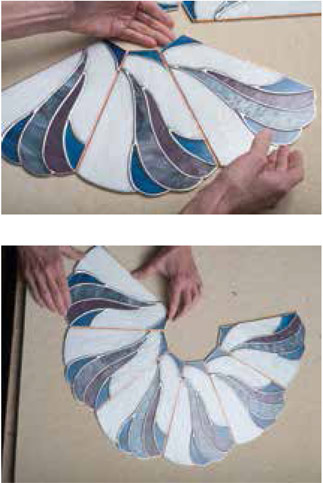
34 Arrange the panels so that the top and bottom edges line up, with about an eighth of an inch of space between each panel.
35 Tape each vertical seam with vinyl electrical tape, leaving a bit of space open at the top and bottom for a solder tack. Press down firmly to ensure the tape is well-adhered.
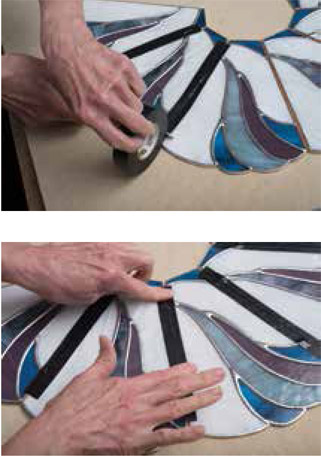
36 Place a line of tape near the top, connecting all the panels together in a semicircle. Leave a tab of tape extending over the edge of the first panel and finish that line just a bit short of the last panel.
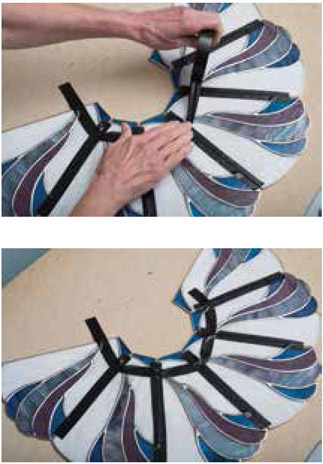
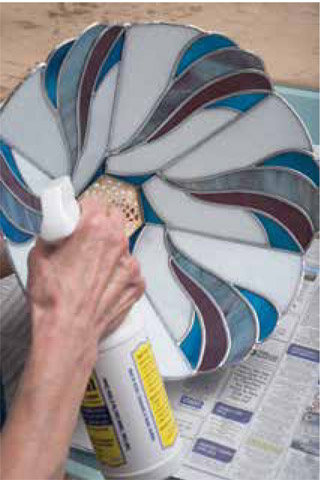
37 Repeat with a line of tape near the bottom edge of the glass, again leaving a tab of tape that extends over the first edge and then stopping short on the last panel.
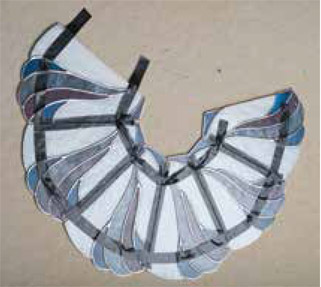
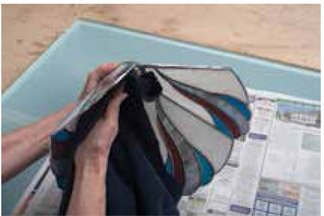
38 Grasp the top edges of the lamp and gently lift it until the edges meet.
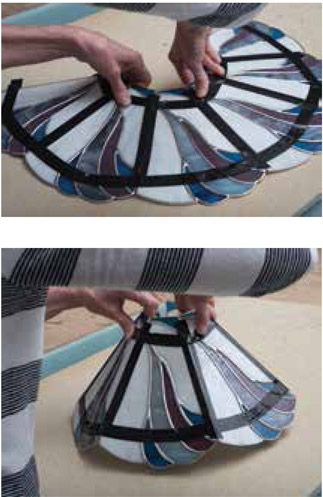
39 Take the tabs of tape and connect them to the adjoining panel.
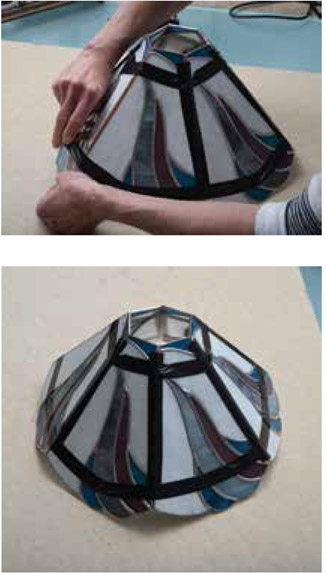
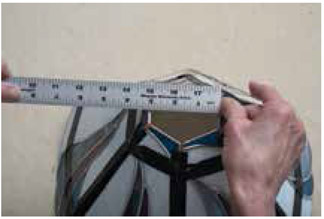
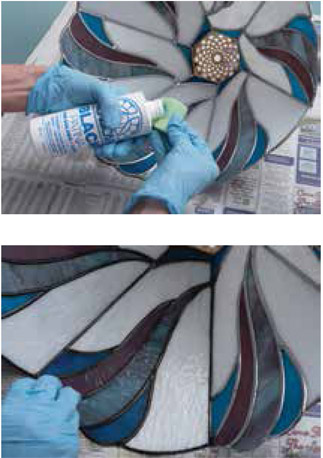
40 Measure the top of the lamp, from a flat side to a flat side; it should measure about 3 inches in diameter. This will be important for fitting the cap later.
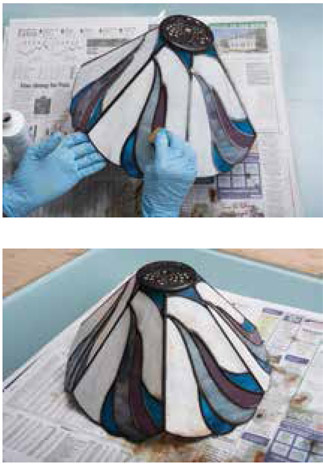
41 Tack solder the panels together near the top of each seam. Flux first, then add a dot of solder to hold the panels together.
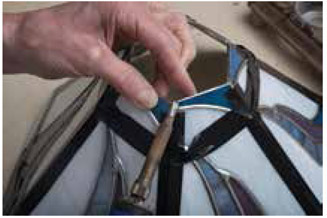
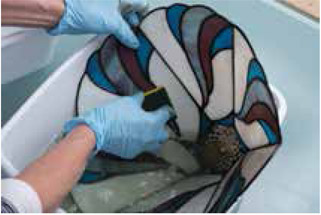
42 Use your fingers to move the panels into position so they line up well before tack soldering.
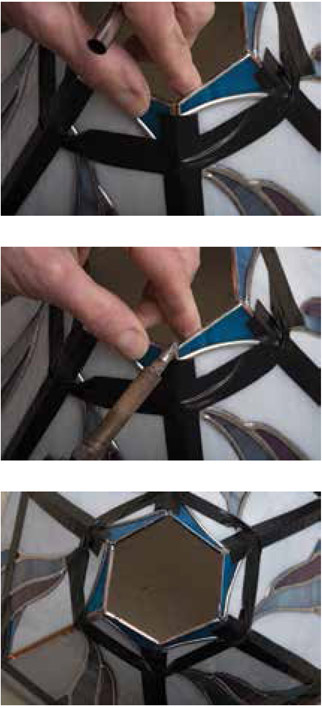
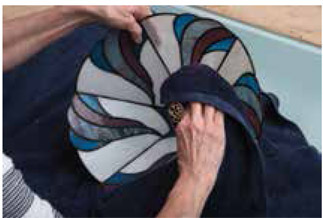
43 Flux near the bottom edge of each seam. Align the panels with your fingers, and tack solder them into place.
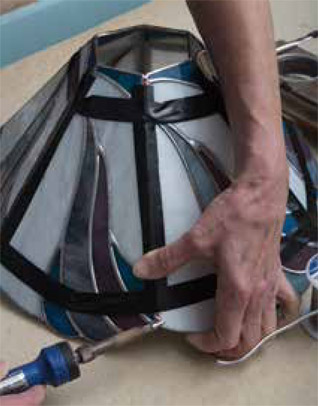
44 Repeat until all seams are tacked.
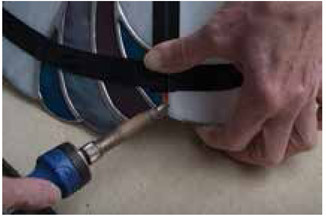
45 Wire the top of the lamp. Begin by estimating about how much wire is needed, leaving a little extra to work with. Cut off the amount needed from the spool.
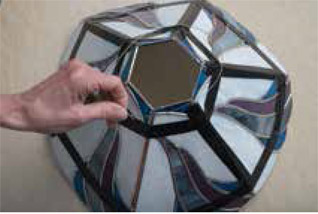
46 Flux the top edge of the lamp.
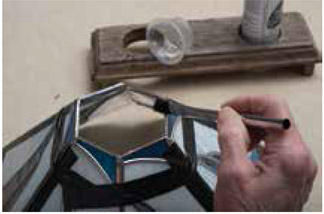
47 Flux the entire length of the wire.
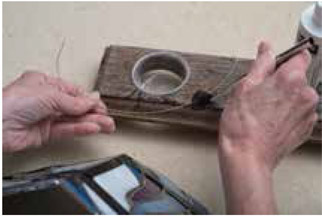
48 Begin the wire in the middle of a panel and tack solder the end into place.
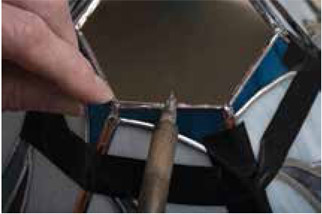
49 Use a pair of needle-nose pliers to help bend the wire along the contour of the lamp.
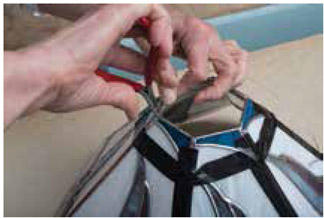
50 Add solder tacks to hold the wire to the top edge of the lampshade at the seams.
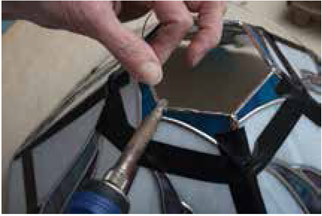
51 Continue around the top edges, adding solder tacks every inch or so.
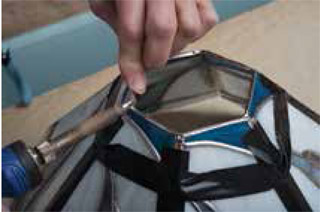
52 When you reach the beginning again, cut the wire so that it does not overlap, and tack it into place.
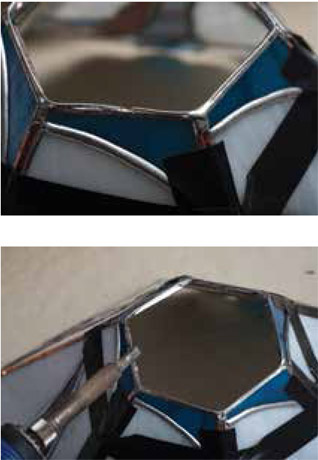
53 Add a line of solder the entire way around the wire so that it becomes fully connected to the top of the lamp.
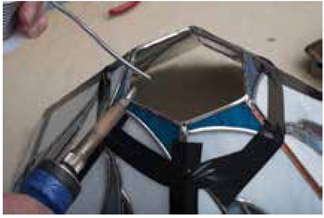
54 Prepare the cap by using a piece of steel wool to scour the surface.
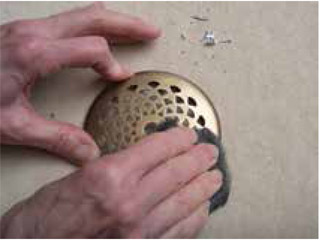
55 Flux the entire surface of the cap.
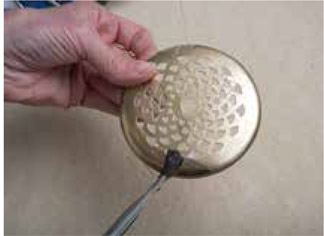
56 Tin the cap by adding some solder and spreading it around until the whole surface has a light coating of solder, including the edge. A little bit of solder goes a long way in this step. The key to tinning is to use a lot of flux and a lot of heat.
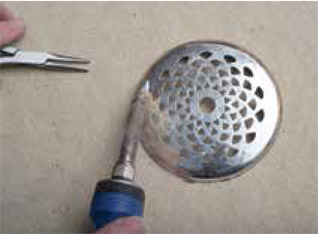
57 Use a pair of needle-nose pliers to hold up the cap while tinning the edges.
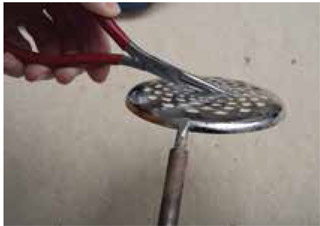
58 Place the cap on top of the lamp. Adjust the cap so that it is level and touches each seam.
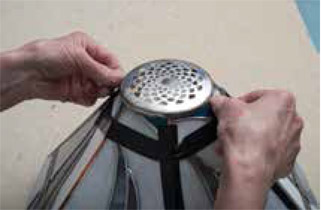
59 Add a tack of solder where each seam meets the cap.
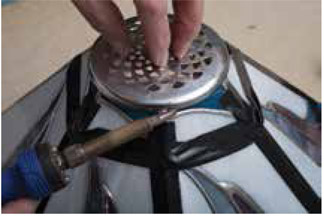
60 Lay the lamp onto its side. Use Handy Wedges to keep the lamp from moving. The inside seam to be soldered should lay flat against the work surface.
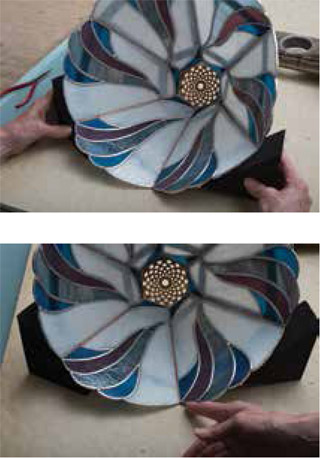
61 Flux the seam and add a flat coat of solder.
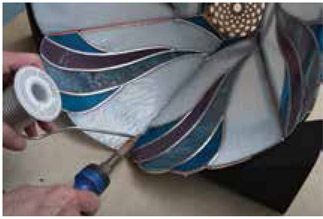
62 Flux again and add the beaded coat of solder.
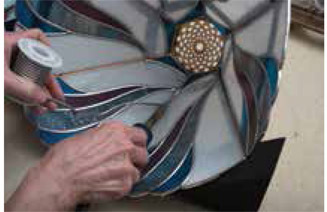
63 Rotate the lamp so that the next seam is flat against the work surface.
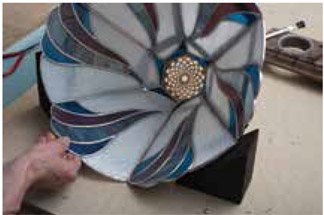
64 Repeat the sequence of adding flux, a flat coat of solder, a bit more flux, and a beaded coat of solder for each seam.
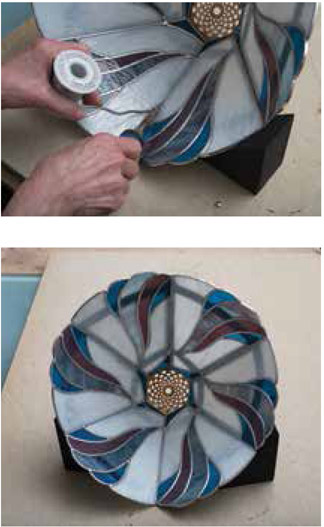
65 Turn the lamp upright and gently remove all the tape.
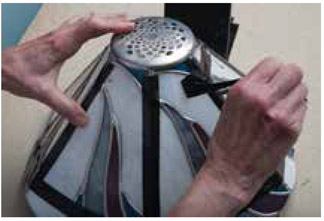
66 Use caution when removing the vertical tape lines so that the copper foil does not come loose from the glass.
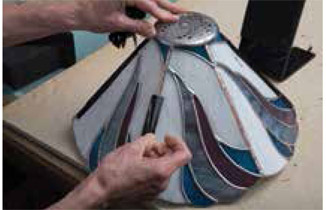
67 Set up the lamp support wedge and pin it into place so it cannot move.
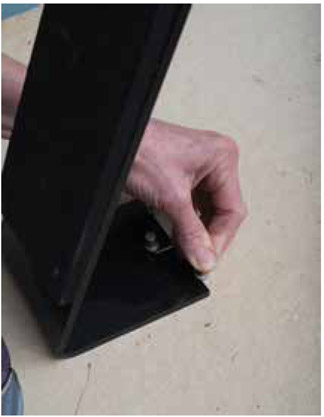
68 Prop up the lamp so that one seam is parallel to your work surface. The bottom edge of the lamp goes against the lamp support wedge so the cap is toward you. Use Handy Wedges along the bottom to help hold it in place.
69 Flux the seam and add the flat coat of solder.
70 You may want to turn the iron down a bit so that the chance of solder melting through to the other side is lessened. You may also add some crushed newspaper inside to prevent hot solder from dripping onto an interior piece of glass.
71 Add a small amount of flux over your solder seam.
72 Add the beaded coat of solder and smooth it again if necessary. Be sure to maintain a good connection to the cap.
73 Rotate the lamp to the next seam. Repeat the sequence of adding flux, a flat coat of solder, a bit more flux, and a beaded coat of solder for each remaining seam.

74 Smooth out the solder on each seam, if necessary.
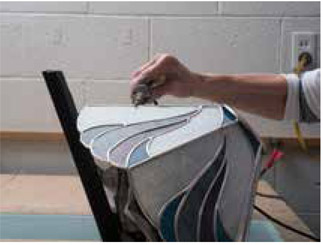
75 Turn the lamp so the bottom edge is facing up and use Handy Wedges to hold it in place.
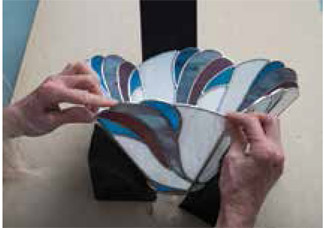
76 Estimate how much wire the bottom edge will require and cut that length from the spool.
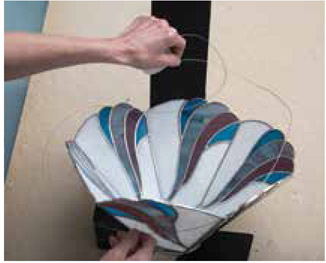
77 You may wish to stretch the wire with a vise to straighten out any bends or kinks.
78 Flux the bottom edge of the lamp.
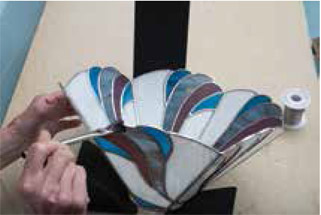
79 Flux the entire length of the wire.
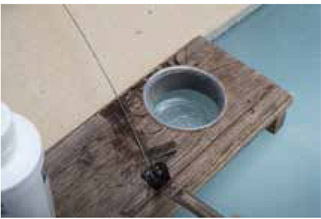
80 Begin the wire midway along one of the longer glass pieces.
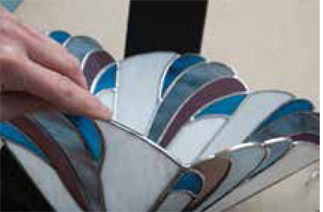
81 Tack the end of the wire on the rim of the glass with a dot of solder.
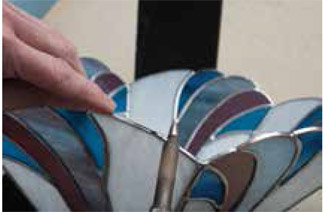
82 Use a craft knife to help bend the wire into the crevices along the contour of the glass. Continue adding tacks of solder every inch or so as you move along the edge.
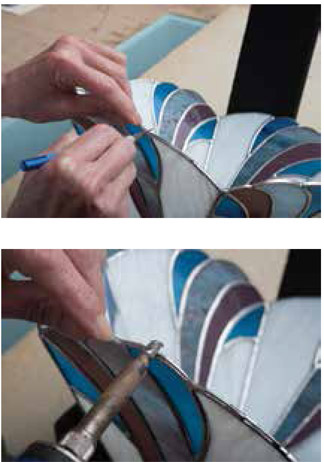
83 When you reach the beginning point, cut the end of the wire so it lines up flush with the start of the wire and tack it into place.
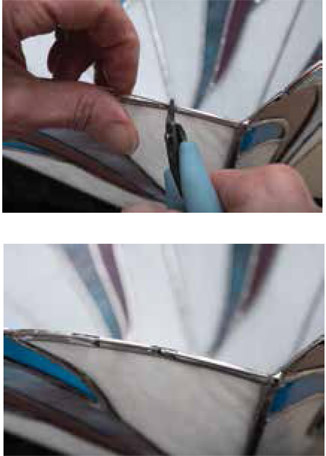
84 Now cover the entire wire with solder so that it blends into the bottom edge of the lamp.
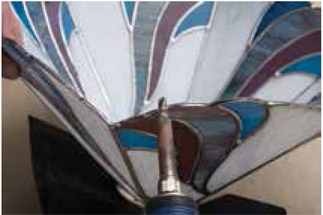
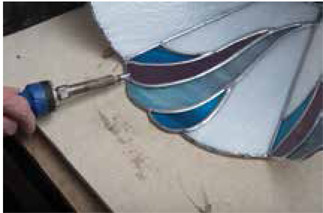
85 Lay the edge of the lamp onto the work surface and go over the outside seams and inside seams to clean up anywhere there is excess solder, blending the wire into the seam.
86 Gently wash the inside and outside of the lampshade. Be sure to wash off all flux and any residue left from the electrical tape.
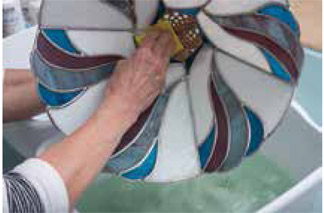
87 Rinse and dry the inside and outside of the shade.
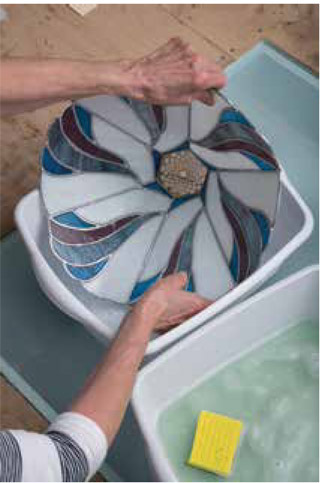
88 Cover your work surface with newspaper.
89 Spray the inside and outside liberally with a flux and patina neutralizer.
90 Thoroughly dry the shade with a towel.
91 Put on protective gloves before applying the patina.
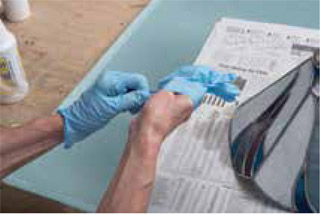
92 Pour a bit of black patina onto a clean sponge. Apply the sponge to all the solder lines on the inside of the shade. Thoroughly rub in the patina along every seam. Also apply the patina to the lower edge of the shade.
93 Turn the lamp right-side up and patina the cap as well as the solder seams on the outside of the lamp. Continue until there is no more silver showing.
94 Gently wash the shade with mild detergent and water.
95 Rinse the shade and pat it dry.
96 Spray the inside and outside liberally with a flux and patina neutralizer.
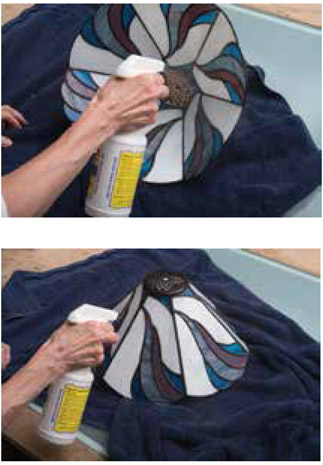
97 Dry with a clean towel.
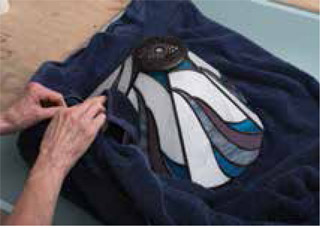
98 Drizzle a bit of polish on the outside of the lamp and spread it around with a towel. Allow the polish to film up.
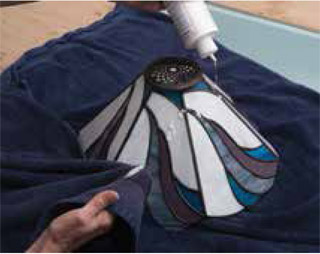
99 Then drizzle a bit of polish on the inside of the lamp and spread it around with a towel. Allow it to film up.

100 After a few minutes, take a clean towel and buff the inside and outside of the lamp to a beautiful shine.
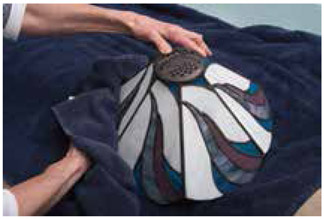
Your lampshade is now ready to display.
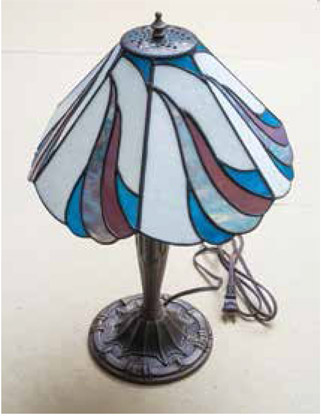
Choose a lamp base that will complement your beautiful new shade, sit back, and enjoy your hard work!