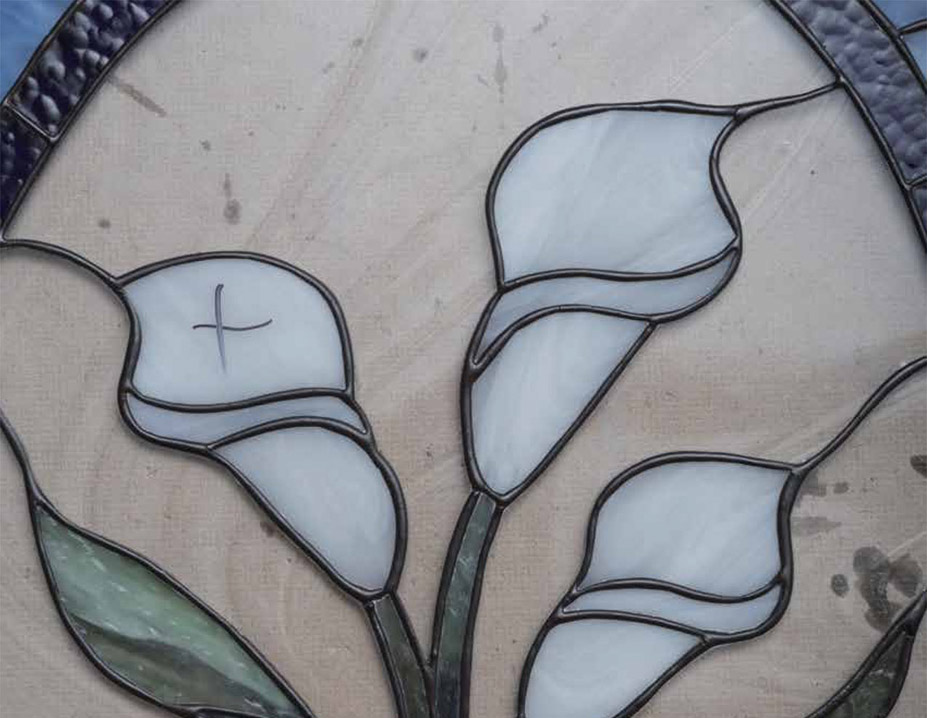

AS YOU CONTINUE TO CREATE BEAUTIFUL STAINED GLASS PROJECTS, IT IS INEVITABLE THAT YOU WILL ENCOUNTER A CRACKED OR BROKEN PIECE OF GLASS. Whether the broken piece is in something you made or is brought to you by a friend who needs to have it fixed, you are now up to the challenge of completing a minor repair. One or two broken pieces in a stained glass panel are quite manageable if you follow these step-by-step instructions. More difficult repairs or badly damaged stained glass pieces may need to be referred to a professional.
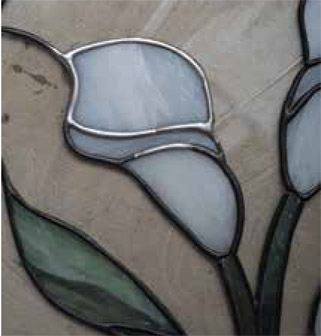
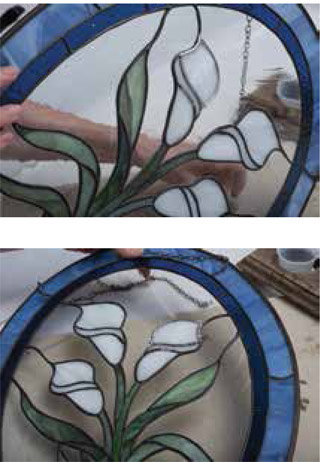
1 In this panel, one broken piece of glass is marked.
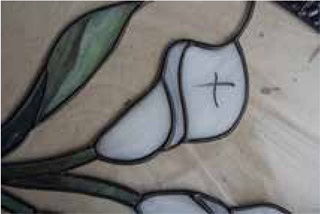
2 To remove this broken piece, you need to break it further into smaller pieces. Score the glass multiple times across the piece in one direction.
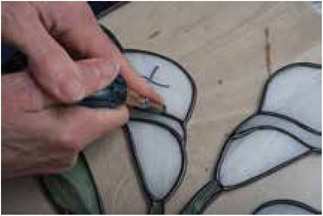
3 Turn it and score across the glass in another direction, making a crosshatch of scores. Make sure your scores go right up to the solder lines.
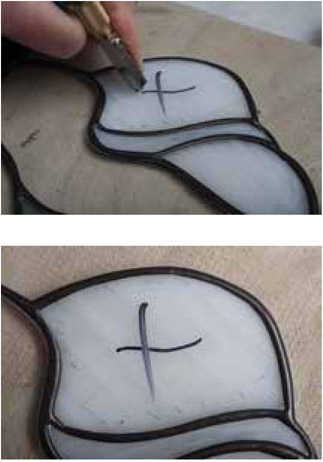
4 Turn the panel over and support it on either side of the broken piece.
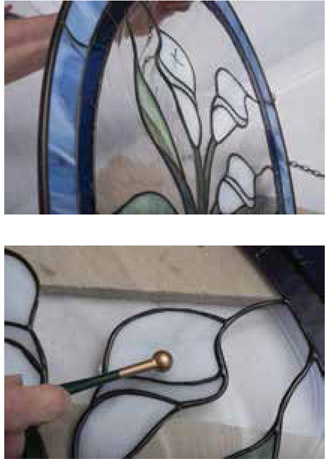
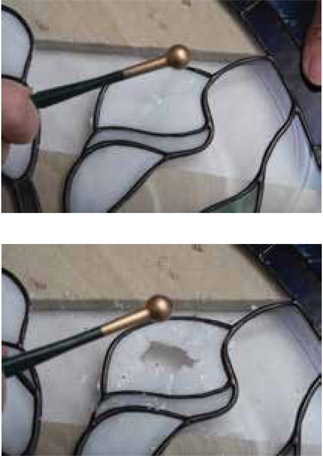
5 Use the balled end of a stick cutter to tap the glass until it breaks out in the center. Use a gentle touch so as to not accidentally break adjoining glass pieces.
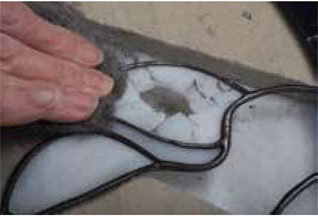
6 Use steel wool to clean the oxidation and patina from the solder seams surrounding the broken piece.
7 Flux the seams surrounding the broken piece of glass that you will be removing.
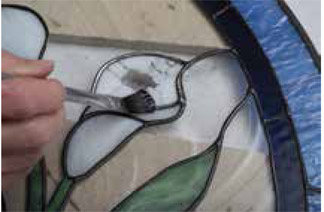
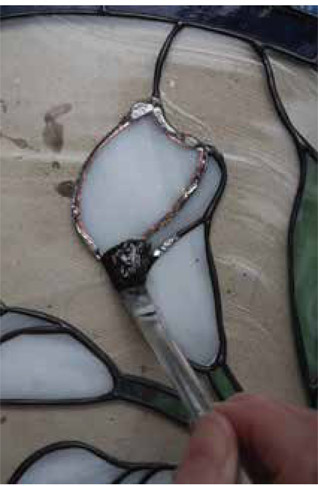
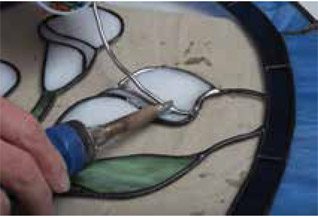
8 Use the soldering iron to melt the solder seam and loosen the adhesive on the foil of the broken pieces. Take care not to pull the foil from the adjoining intact pieces.
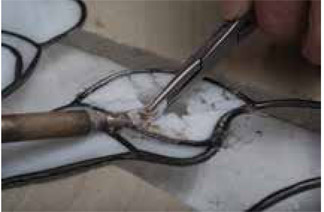
9 Use needle-nose pliers to pull glass pieces out as the heat loosens them.
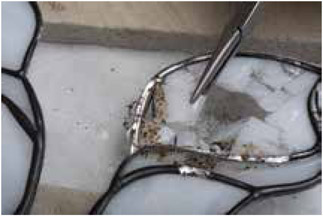
10 Once the glass pieces are all removed, you will need to remove the foil.
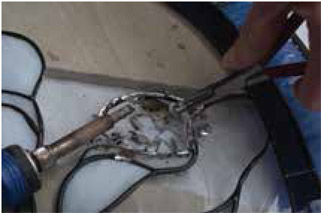
11 Use the needle-nose pliers to grasp one end of the loose foil and place the iron between that and the intact foil pieces to melt the solder that is holding them together. Continue around the perimeter until all of the foil from that piece has come loose.
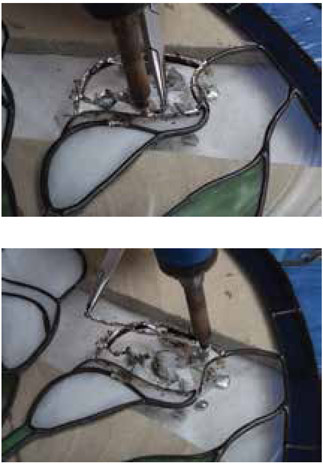
12 Take the iron around the perimeter to clean up any excess solder.
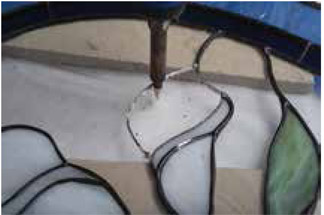
13 Now you will need to make a pattern for the replacement piece of glass.
14 Turn the panel over so the front side is facing up again.
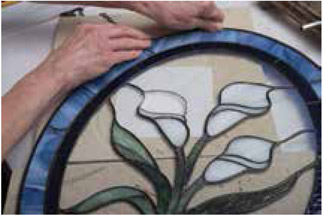
15 Place a small piece of paper underneath the opening in the panel. Use a pencil to trace the outline of the piece, taking care to keep the paper from moving.
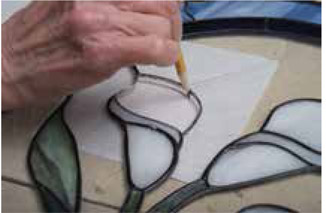
16 Draw an arrow on the pattern piece to indicate which direction the color grain should run.
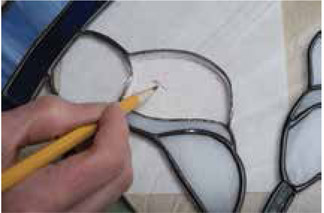
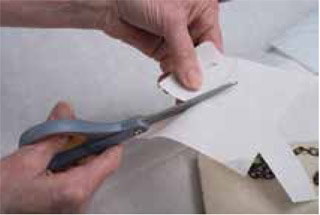
17 Cut out the pattern with regular scissors.
18 Glue the pattern onto the glass, taking care to note the direction of the texture or pattern in the glass.
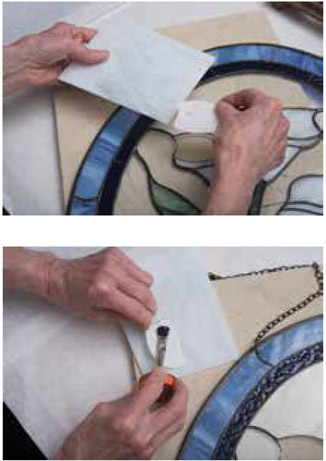
19 Cut out the piece of glass and grind it. Check to make sure it fits well in place. Do some touch-up grinding if necessary.
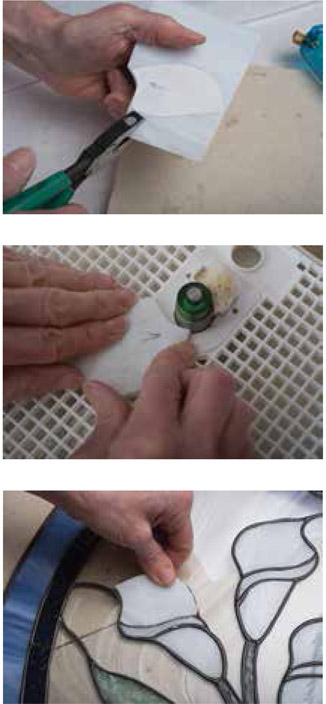
20 Wash, rinse, and dry the glass.
21 Foil the piece of glass with the same kind of foil used in the original panel.
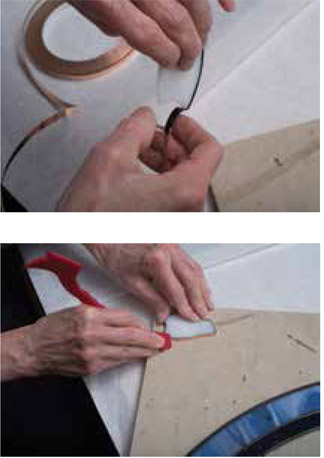
22 Use a few coins to prop up the piece of glass so that it is at the same level as the glass in the rest of the panel.
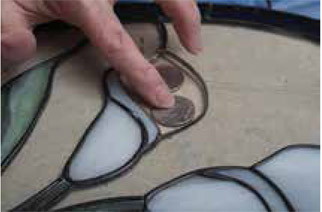
23 Flux the seams.
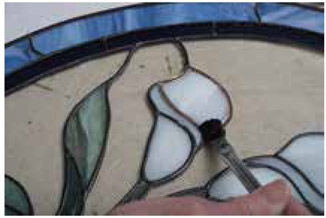
24 Add a coat of flat solder around the piece.
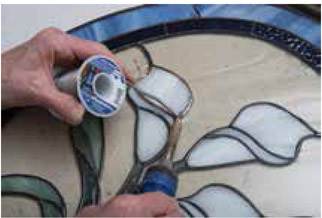
25 Use steel wool to clean old patina or oxidation from any seams that adjoin and do not easily accept the new solder.
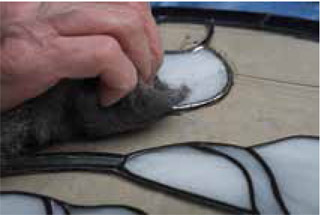
26 Brush on a bit of flux and add the beaded coat of solder.
27 Turn the panel over. You no longer need the coins to prop up the glass.
28 Add flux to the back seams.
29 Use your iron to distribute any solder that has come through from the front side.
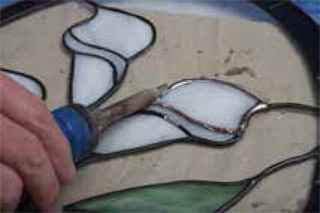
30 Flux again, and add more solder for the beaded coat, if necessary.
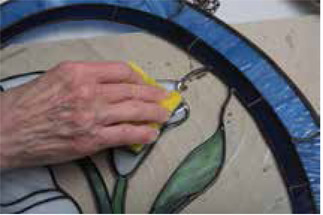
31 Spot clean the area with a soapy sponge.
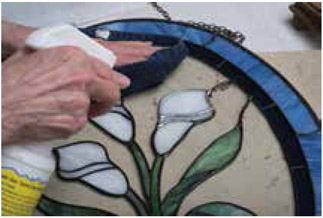
32 Spray liberally with a flux and patina neutralizer and dry with a towel.
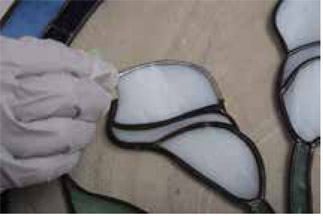
33 Put on protective gloves and then add a bit of patina to a sponge and rub over the solder seams in that area to match the patina on the rest of the panel.
34 Spot clean that area with a sponge, mild detergent, and water.
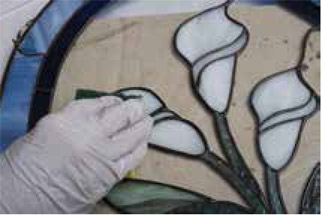
35 Spray that area with a flux and patina neutralizer and dry it off.
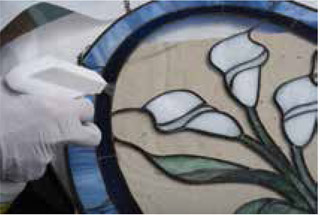
36 Turn over the panel and repeat the process to patina, clean, neutralize, and dry.
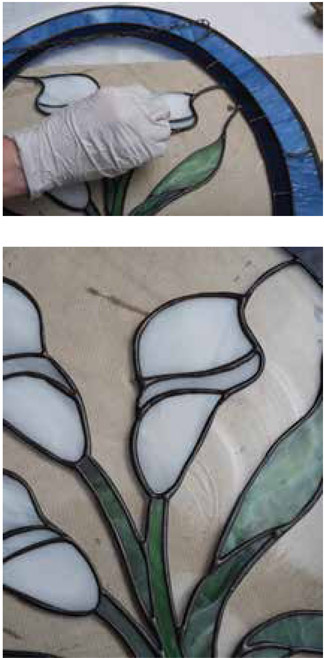
37 Polish the entire piece. Drizzle a bit of polish on the glass and solder seams and spread it around. Let that side film up while you add polish to the other side.
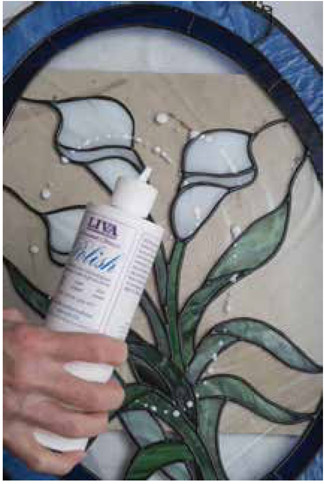
38 Turn the panel over and drizzle a bit of polish on the panel. Spread it around with a towel and let it film up.
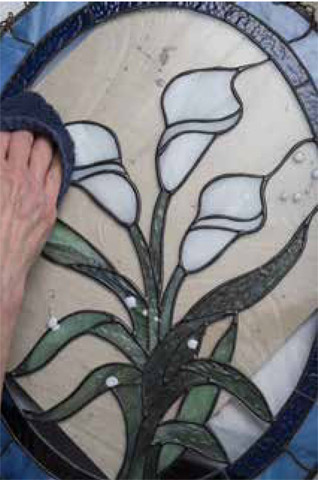
39 Buff both sides of the panel with a clean towel until it has a beautiful shine.
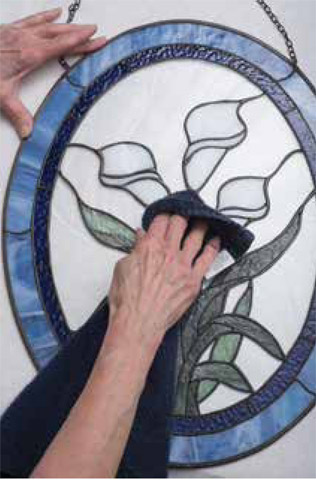
40 A soft-bristled brush can help to remove old or excess polish from solder seams.
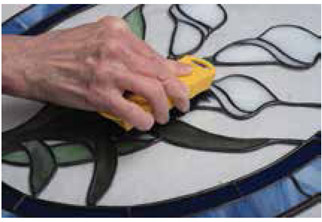
41 The repaired panel looks as good as new!
