“My grandmother was a Jewish juggler: she used to worry about six things at once.”
—RICHARD LEWIS
If the thought of entertaining a large group of people causes a panic attack, we’re here to tell you that you’re not alone. Even the most seasoned chef has gone cold when faced with entertaining guests in the double-digit range (not to mention a mob of hungry family members). The only difference is experience. Once you make it through your first holiday, the fear will subside. We’re not going to lie; it’s stressful and it’s overwhelming, but the sense of pride you’ll feel when it’s over is worth every pressed napkin and every second batch. To that end we’ve put together a cheat sheet of some basics to help you navigate the choppy waters of holiday entertaining.
Holidays are unpredictable. No matter how hard you try, there will always be a last-minute jolt to your well-laid plans. Whether it’s your suddenly vegetarian sister or surprise cousins from out of town, you can fend off disaster by keeping your pantry, refrigerator, and freezer stocked with these holiday essentials:
A 12- to 16-ounce bag of egg noodles (medium size)
All-purpose flour, presifted, bleached or unbleached
Boxes of vanilla and orange cake mixes (a great base for desserts)
Boxes of vanilla pudding (to add into the cake mix)
Brown sugar (light or dark)
Chicken broth/beef broth
12-ounce bag of semi-sweet chocolate chips
Coffee and tea
Confectioners’ sugar (powdered sugar)
Cooking spray and baking spray (baking spray, such as Baker’s Joy, has flour in it)
Cottage cheese
Dozen extra-large eggs (always use extra-large eggs when cooking)
Extra chicken breasts and a whole chicken
Fat-free sour cream
Frozen vegetables (spinach and broccoli are always easy go-tos and simple to dress up)
Garlic
Knorr’s vegetable soup mix (a great base for a quick veggie dip)
Kosher salt
Mayonnaise
Onions (preferably Vidalia onions as they are sweet and mild)
Potatoes
Pound of margarine and/or butter—both come salted and unsalted (and keep for months in the freezer)
Pound of sweet unsalted butter (keeps for months in the freezer)
Red and white wines
Sugar
Vanilla extract
1 tablespoon = 3 teaspoons
1⁄16 cup = 1 tablespoon
⅛ cup = 2 tablespoons
1⁄6 cup = 2 tablespoons + 2 teaspoons
¼ cup = 4 tablespoons
⅓ cup = 5 tablespoons + 1 teaspoon
⅜ cup = 6 tablespoons
½ cup = 8 tablespoons
⅔ cup = 10 tablespoons + 2 teaspoons
¾ cup = 12 tablespoons
1 cup = 48 teaspoons
1 cup = 16 tablespoons
8 fluid ounces = 1 cup
1 pint = 2 cups
1 quart = 2 pints
4 cups = 1 quart
1 gallon = 4 quarts
16 ounces = 1 pound
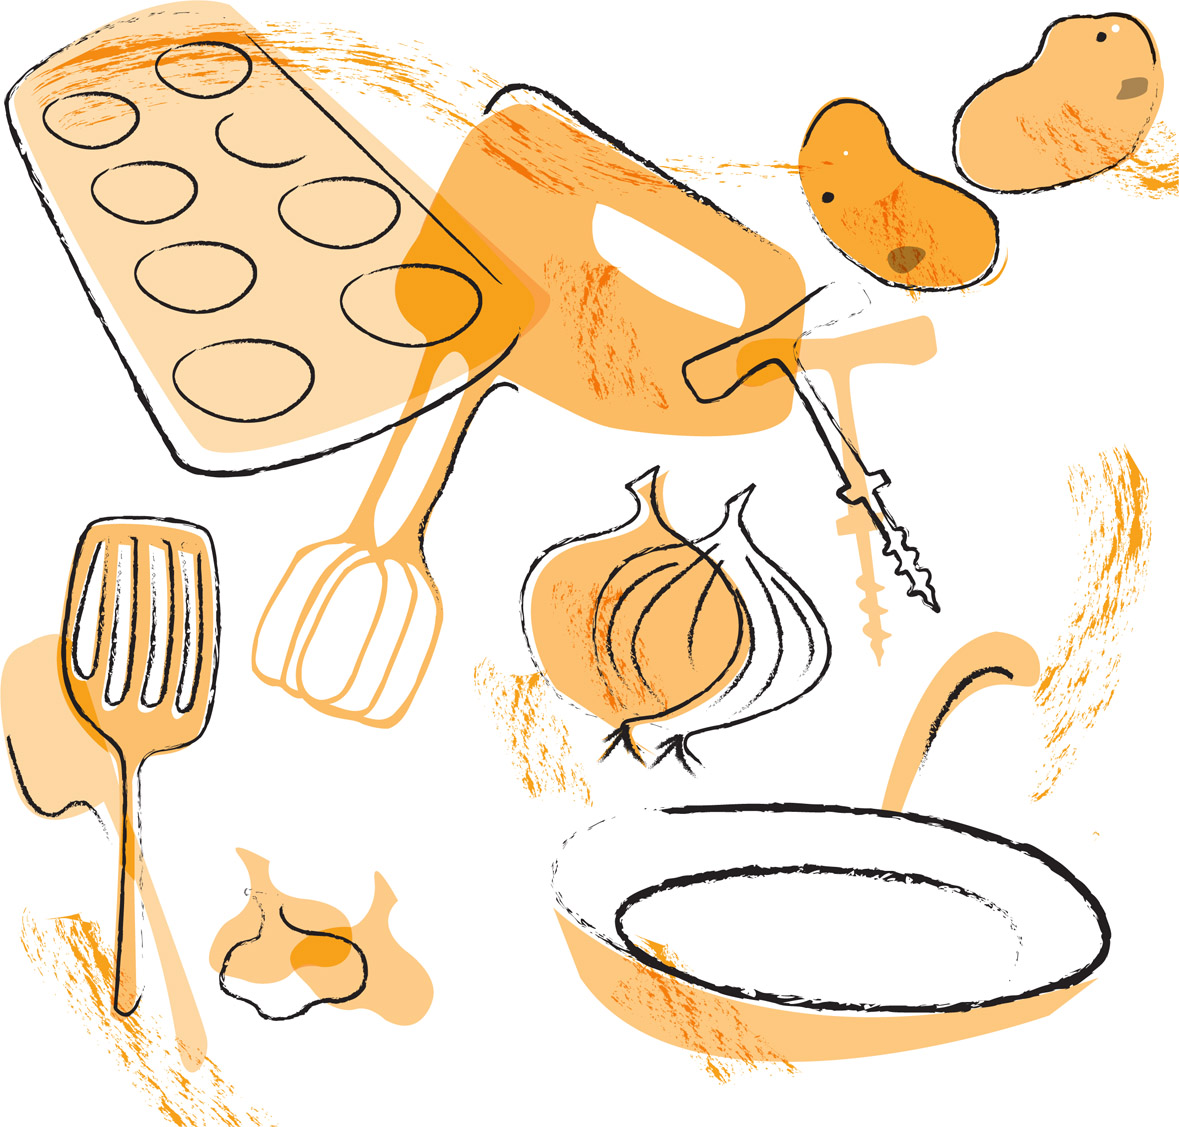
We know your kitchen may not look like the inside of a Williams-Sonoma catalog, but there are a few basics that every cook should own when embarking on holiday preparation. Many of the items below can be purchased in the grocery store. However, it is always money well spent to buy quality pots and pans, as well as a good food processor and stand mixer. Every kitchen should be stocked with the following:
1½- or 2-quart casserole dish
1 cupcake/muffin pan
1 garlic press
1 small silicone spatula for baking
1 stainless-steel spatula
10-inch Bundt pan
12-inch frying pan with lid
2 baking sheets (1 regular baking sheet and 1 jellyroll baking sheet, a baking sheet with sides)
2 9-inch cake pans
2 good wine openers (it never hurts to have a backup!)
2-quart pot (sauces, vegetables)
6- or 8-quart pot (soups, pastas)
8-inch pan
9–12-inch springform pan
9 × 13-inch glass baking dish
Food processor
Hand beater
Stand mixer (I love my Mixmaster and wouldn’t try any other kind!)
Having lived in tiny New York apartments for most of my post-college life, I didn’t really begin to experiment in the kitchen until I moved back to Miami and had the time (and space) to truly cook. In those past six years, I learned a lot of lessons the hard way. Here are a few of my best general tips for the kitchen:
Organize Your Ingredients
You can make life a lot easier by gathering everything you need and setting it on the counter before you start. You’ll quickly see if you’re missing something, and you won’t be distracted trying to find things. (There is nothing worse than getting halfway through a recipe and realizing that you are missing a key ingredient.) Then, as you use each ingredient, put it away. It will save you time and space.
Preparation Is Key
Read the recipe all the way through before starting; it will help you manage your time and keep you on track. If you have to use spices or extracts, take the tops or lids off early on—before your hands become covered in flour or oil. And don’t forget to preheat the oven if need be; it can take a while and can set you back if you forget.
Clean as You Go
Don’t wait until the end to clean up. If you spill a little flour, wipe it up. If you use a measuring cup, wash it or stick it in the dishwasher. Wash out pots or pans while things are heating up on the stove. In small kitchens there is nothing worse than a pile of dirty dishes waiting for you.
Know Your Kitchen
Every oven and burner is different. Some are hotter and need less time, and some are the opposite. Pay attention to how recipes come out and adjust accordingly. My oven gets incredibly hot, so I often have to shave a few minutes off cooking times, where my mom’s oven often needs more time to compensate for less heat. Even the little things can make a difference. In one house my burners weren’t quite level, and I would have to prop up the end of the pan to make sure my food cooked evenly. A small price to pay for a big difference in taste!
Be Safe
I am a total klutz in the kitchen. I have sliced and diced my fingers more times than I can count, burned fingers and arms reaching into ovens, and once almost burned down the kitchen as a result of a stray candle meeting some floaty curtains. As a result (and upon the insistence of my husband), I always keep my cabinet stocked with hydrogen peroxide, band-aids, baking soda, and a mini fire extinguisher.
Even if your main course falls short (it happens), you can never go wrong with a great starter and a great dessert. A vegetable basket curbs hunger and generally pleases even the pickiest of noshers, and a beautiful fruit salad to end the meal adds color and vibrancy to the table while complementing almost any sweet offering. Always include the vegetable basket as one of your appetizers and a fruit as one of your desserts

The Burning Question: Everything You Ever Wanted to Know about Kitchen Injuries
(Courtesy of Dr. Ronaldo Carneiro, M.D.—hand surgeon and mandelbrot fanatic)
A vegetable basket is the perfect appetizer for any dinner or holiday meal. It also makes a beautiful centerpiece. Follow these simple directions.
SERVES: 10–12 PREPARATION TIME: 45–55 MINUTES
Head of romaine lettuce
2–2½-pound head of cabbage with large green leaves
1 16-ounce package precut carrot sticks (or cut them up yourself)
1 10-ounce package precut cauliflower florets, ends snipped off
1 16-ounce package precut celery sticks (or cut them up yourself)
1 8-ounce package radishes, ends snipped off
1 10-ounce package precut broccoli florets, ends snipped off
2 yellow peppers, cut in strips
2 medium cucumbers, peeled and sliced
* You can make the basket in the morning and cover it with wet paper towels to keep the vegetables crisp all day. You will need to re-dampen the towels every couple of hours or so.
As far as dips go, this is our favorite. It’s easy, looks nice, works well for any occasion, and we have yet to meet someone who didn’t like it!
SERVES: 8 PREPARATION TIME: 15 MINUTES REFRIGERATE FOR AT LEAST 3 HOURS (BEST IF IT SITS OVERNIGHT)
1 package Knorr vegetable soup mix
16 ounces fat-free sour cream
1 cup mayonnaise
1 package frozen chopped spinach, thawed and squeezed dry
Combine all of the ingredients and mix well. When ready to serve, spoon the dip into the “cabbage bowl” you made for the Vegetable Basket or another pretty bowl.
* Make sure the spinach is well dried; if it’s still watery it will make the dip watery as well.
An alternative dip, for those who don’t like spinach, is this tangy sour cream–based vegetable dip, which is also quite easy.
SERVES: 10 PREPARATION TIME: 10 MINUTES REFRIGERATE FOR AT LEAST 2–3 HOURS
16 ounces fat-free sour cream
2 packages dry Italian dressing mix
2 tablespoons mayonnaise
2 teaspoons lemon juice
1 medium avocado, peeled and chopped fine
1 medium tomato, peeled and chopped
¼ teaspoon Tabasco sauce or to taste (optional)
* A ripe avocado is dark green and semisoft to the touch.

Roz’s son (and Andrea’s brother) David is the child who has truly mastered this dessert. Imagine our surprise when we arrived at his home for a birthday party to find a fully sculpted watermelon basket filled with a beautiful fruit salad (he used a melon baller). Even his wife was impressed . . .
SERVES: 8 PREPARATION TIME: 10 MINUTES
¼ seedless watermelon
2 cantaloupes
1 honeydew melon
1 pound red seedless grapes
1 pineapple
1 pint strawberries
Cut all the fruit into bite-sized pieces. Layer one fruit at a time in a clear bowl, or just mix it all together.
* It looks prettier when layered one fruit at a time. Place in this order: watermelon, cantaloupe, honeydew, red grapes, pineapple, and strawberries
* You can also serve just one fruit for dessert. For example, cut up one or two pineapples and serve pineapple slices on a platter, or serve a large bowl of seedless red and green grapes. A large bowl of fresh strawberries is another option.
Once and for All: Leftovers
Ahhhh . . . the day after. When the guests are gone and the chatting has quieted. When the dishes are clean and the oven is off. When the fridge is still . . . overflowing with food? It’s the age-old question: What to do with leftovers? We asked our good friend Chef Michael B. Jacobs, owner of MediterAsia Consulting, Inc., in Miami Beach, Florida, for the answer. Here are his suggestions:
Challah Stuffing
Cook down some celery, onion, and carrots along with garlic and a bouillon cube. Add some challah and white wine and mix together with whatever seasonings you like (garlic powder, onion powder, bay leaf, thyme). Add some chicken stock and place in an ovenproof pan. Cover and cook at 350°F for 15 to 20 minutes, removing the lid for the last 10 minutes.
Whitefish Dip
Take your leftover whitefish and mix with a little sour cream, mayo, and horseradish. Serve with bagel chips for a great snack or appetizer.
Brisket Paninis
Shred your leftover brisket with a little of the jus. Place on ciabatta bread with lettuce and tomato, or throw in some pickles (or leftover horseradish) to add a little kick.
Matzo Bread Crumbs
Throw your leftover matzo into a food processor with a little bit of seasoning, and voilà! Instant bread crumbs. Use them as a batter for chicken or add them to turkey burgers or meatballs.
Chicken Stew
Shred your leftover roasted chicken into a saucepan of carrots, onion, celery, and chicken broth. Reduce it down and add leftover roasted potatoes.
Fajitas
Heat your leftover flank steak (or chicken) and asparagus along with store-bought tortillas. Puree your leftover spinach with a little sour cream, lemon juice, and cilantro for a quick topping, or chop some onions, tomatoes, and asparagus for a light salsa.