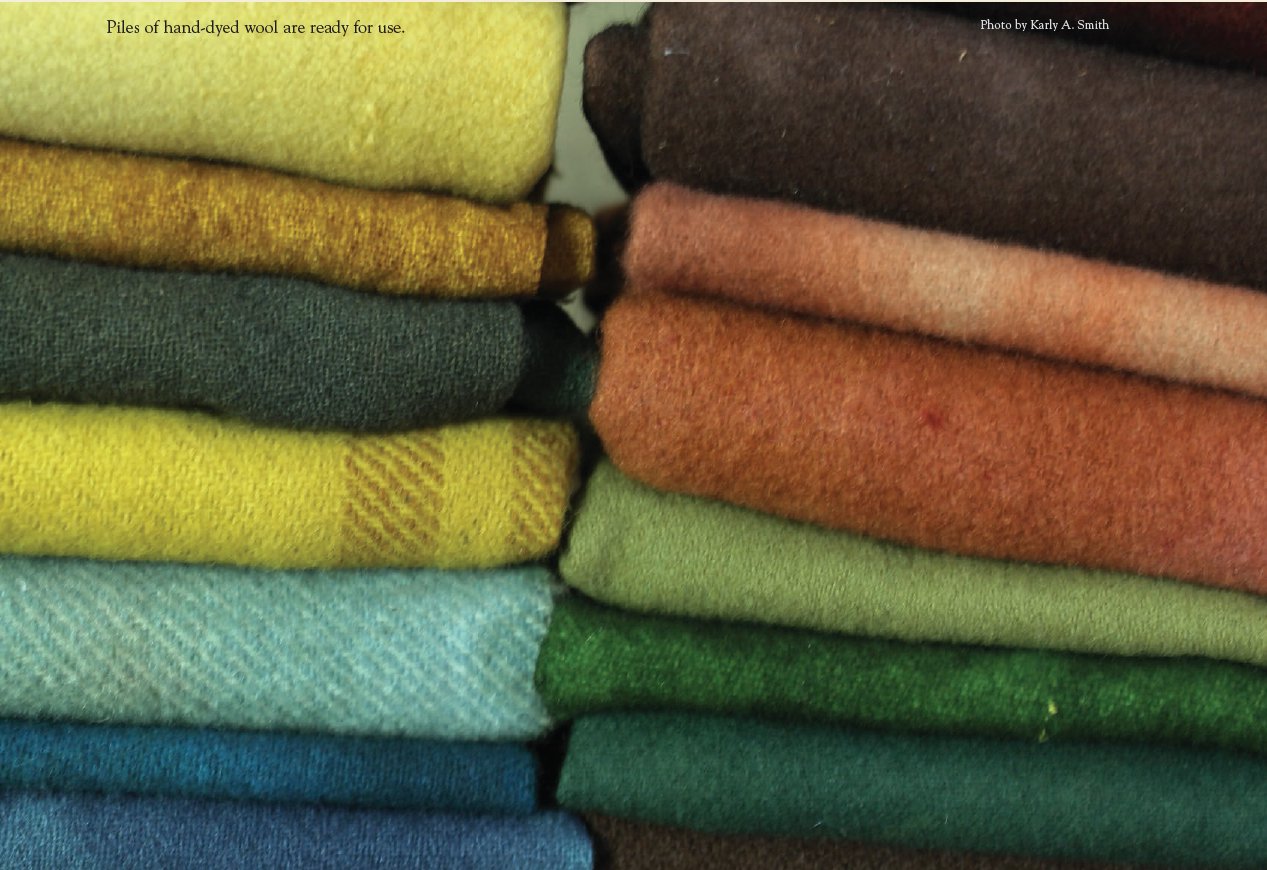
If you have never worked with wool before, you may be surprised at the versatility and beauty that can come from this amazing textile. If you have worked in wool before, I am sure you know what I am referring to. Wool appliqué is a wonderful textile medium that allows the artist to be creative in a different way from paint or pen. It is all about texture, depth, design, and color. It’s also a growing art form, and you can now find many sources for not only inspiration but also materials, which is very important.
Wool will take over your spaces if you are not careful, and it can show up in unexpected closets and cupboards—much to the surprise of your family. Here I will familiarize you with this textile and share my methods for processing wool to obtain a unique look and color. I also include some storage techniques that I have discovered over the years.
I hope this inspires you to think about wool and all of the possibilities for its use.

FINDING WOOL
In my wool work I use mostly repurposed wool. I obtain it by going to flea markets, thrift stores, auctions, and yard sales and searching for wool that is really no longer wanted in its current condition but can be processed into something useful. I look for wools that are medium weight, which can be dyed or felted to use in appliqué. These are usually in the form of blankets, skirts, jackets, or even old yardage. Keep an eye out for wools that are plain or only slightly patterned. They are the best to use in appliqué. The other thing to watch for is the color. The lighter the color, the better it is for dyeing or overdyeing.
When buying wool, avoid wool that is too heavy or too light in weight and wool that is loosely woven, because it will fray.
The other option is to buy wool that is already processed from a wool shop or an individual who sells hand-dyed wools. A growing number of sources are available for those of you who would like to start with wool that is ready to go (see Sources).
PROCESSING YOUR WOOL
When I use the term processing, I am referring to the necessary steps to go from woven wool to felted wool that is ready to use. This usually includes felting and dyeing. I would like to say that I start with a sheep and finish with beautiful woven wool, but that is not the case.
Felting
Felting is the process of getting the wool to be the right texture for an appliqué project. Some wools felt better than others. The wool fibers must bind together. This keeps the edges from fraying and makes the wool very soft and strong. To felt your wool, follow these three simple steps.
1 You need a large cooking pot that you will not use for cooking ever again. I recommend this because the commercial dyes are often acid-based. Put in the wool you want to felt and add water to the pot, covering the wool with at least an inch of water.
2 Bring the water to a boil and let the wool simmer for about 20 minutes. All wool is different, and you will have to see how the differing weaves react when boiled. Let the water cool before removing the wool.
3 Let the wool drip dry. I drape the wool over a clothesline outside in good weather or hang it over my large wash sink in the winter.
This is how I do it, but there are no hard-and-fast rules about felting. You can also throw the wool in the washer and dryer. Both the agitation and heat will felt the woven wool.
Dyeing
I am not a dyeing expert, but I enjoy the process. When I dye wool, I often use natural dyes. If you want to try your hand using commercial dyes, please read and carefully follow the manufacturer’s instructions (see Sources).
Natural dyeing techniques can be a lot of fun as well. My family appreciates that I do this type of dyeing outdoors because of the smell. I have a three-gallon brass kettle that I use for natural dyes as well as felting, and it works wonderfully. I just play around with whatever I can find in my yard or my friends’ yards and see what I come up with. I’ve used black walnuts, goldenrod, and onionskins.
It can be very satisfying to know that you have had more of a hand in your project. Dyeing is certainly not for everyone. I never dreamed that I would take it up, but, well, here we are.
STORING WOOL
Now that you have lots of wool ready to go, you need somewhere to keep it. Trust me, you may start out with just a small pile, but it will grow.
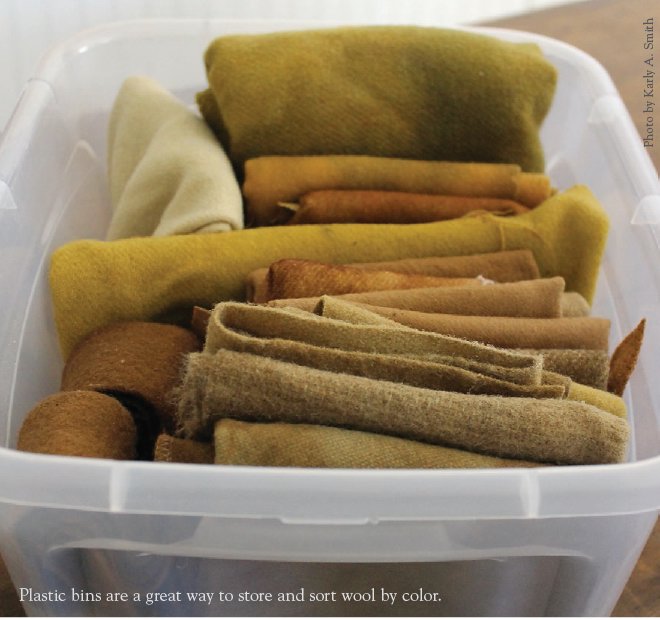
One of my favorite storage options is small plastic bins. The ones I use are clear and roughly 7˝ high, 15˝ long, and 11˝ wide. These are excellent for separating your colors as well as keeping moths out. You can then put the bins in a cupboard, arranged by color, where the wool will be handy and ready for use.
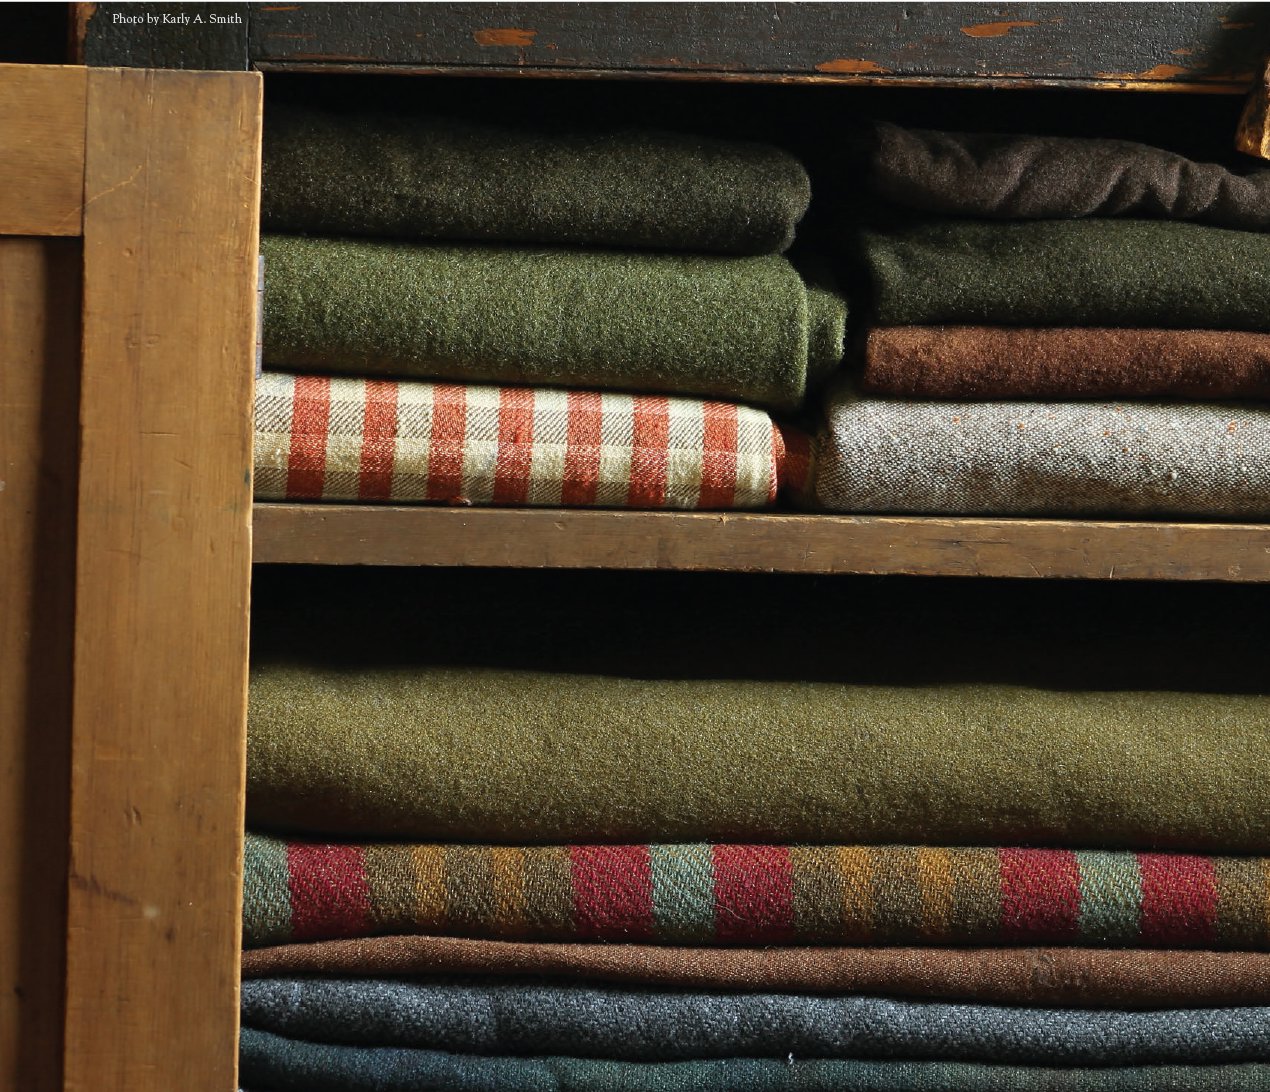
I store bigger wool pieces in a variety of large baskets that I keep in my studio. The baskets are efficient and look nice.
 hint
hint 
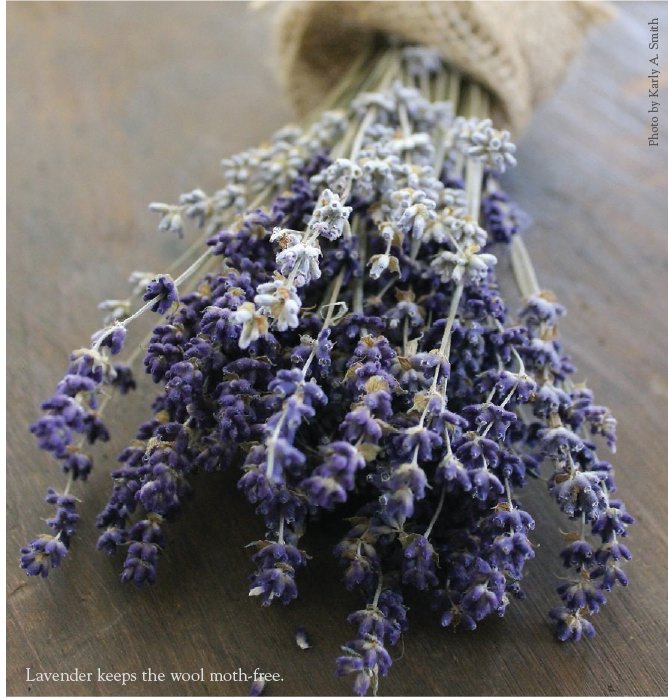
Keep lavender or strong-smelling herbs such as sage with your wool to repel moths.
My favorite way to store wool scraps is to keep them in clear glass storage jars. I use one- to three-gallon jars. With these also you can separate your colors to have just what you need within easy reach. These look great lined up across a shelf.
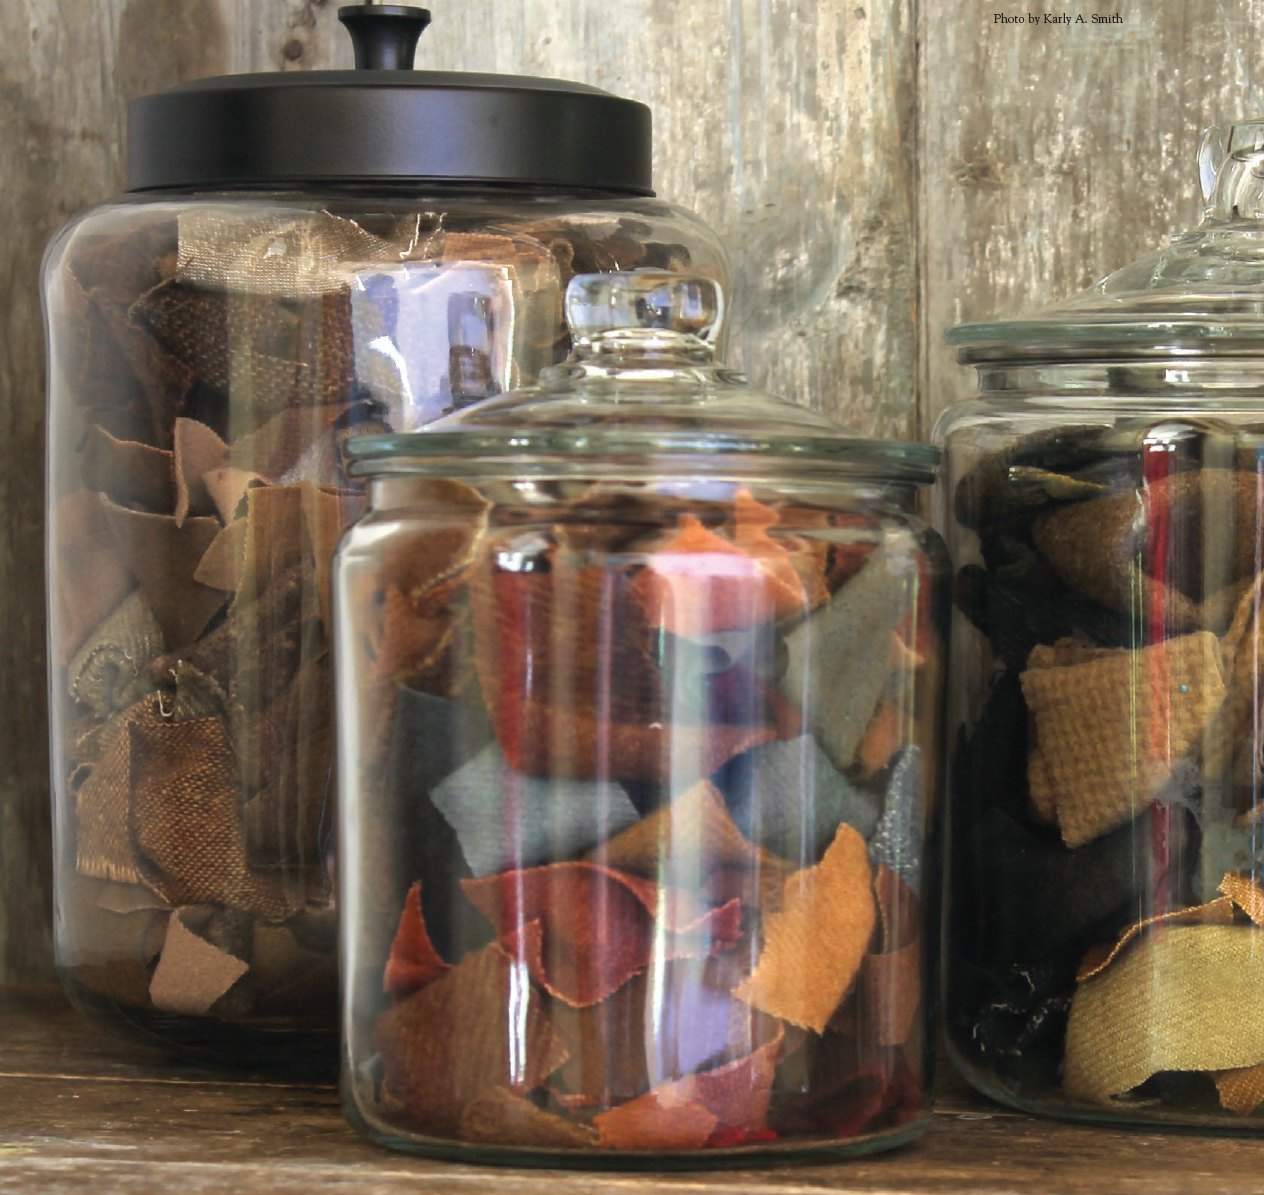
Glass jars are perfect for storing wool scraps.