For this demonstration, my goal was to convey the great speed of the carnotaurus. For a predator of its size it would have been impressively quick and nimble on the hunt. Where T-rex is speculated to have been a lone scavenger, I wanted the carnotaurus to seem more social, hunting in a pair. Here, one carnotaurus flushes out a herd of lambeosaurus, while the second races out from the grove of cycads to outflank the group.
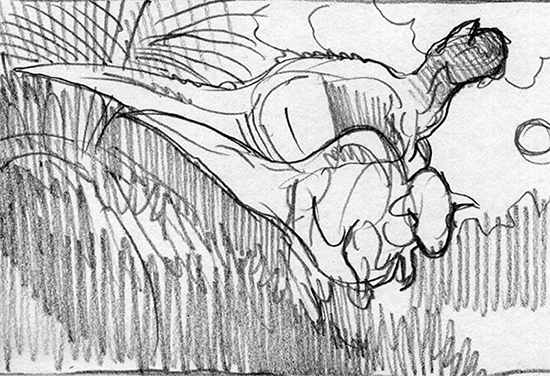
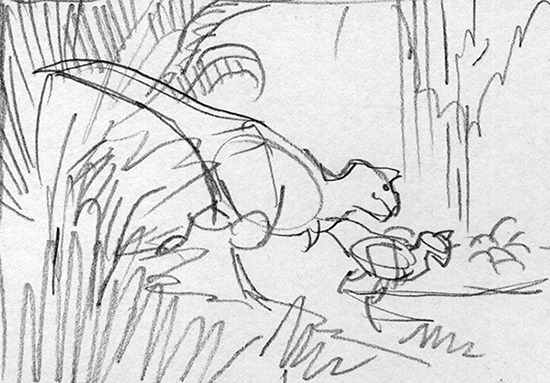
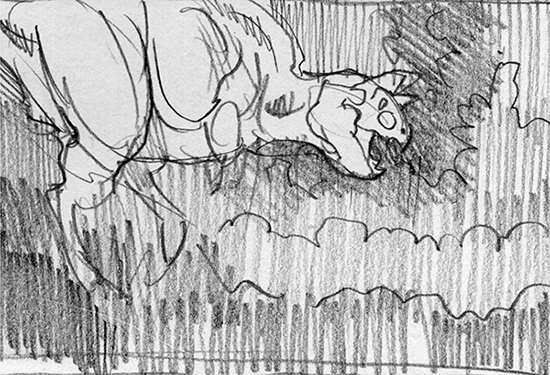
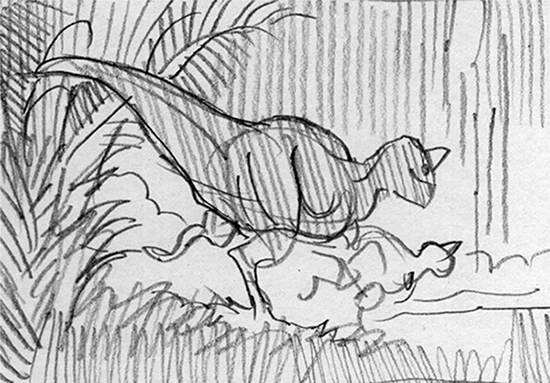
Small postage stamp-sized thumbnail sketches are quickly hashed out to try to come up with a composition for the carnotaurus design.
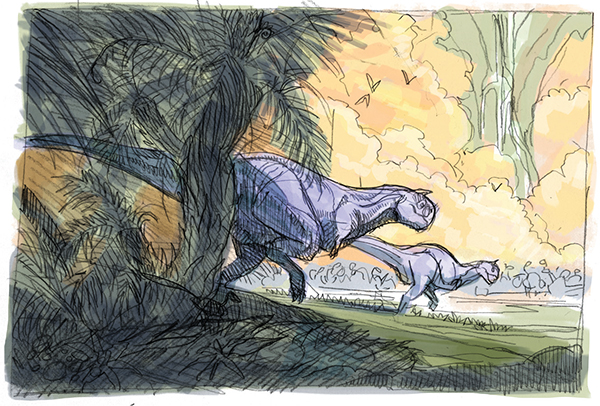
Producing a quick color composition of the sketch will help you decide how to approach the lighting. Here, my initial concept is to set the scene against a brilliant forest of ginkgo trees turned golden in the sun. This will contrast perfectly with the purple tones I’ve selected for the carnotaurus.

Using your thumbnail sketches and reference material, render the detailed sketch with pencil on paper.

Whether working digitally or traditionally, the process of blocking in the local color remains the same. I know that I want my painting to have an overall purple hue such as in the shadows, so I start by importing the scanned drawing into the computer and adjusting the color balance to purple.

Create a new layer over the sketch, and fill the layer with purple to tint the canvas. Work with a variety of stipple and splatter brushes to loosely block in the local colors from the planned color scheme.
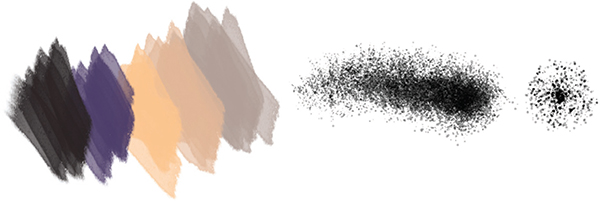
This is the basic color palette that I used for the painting. Purple against yellow creates a striking contrast.
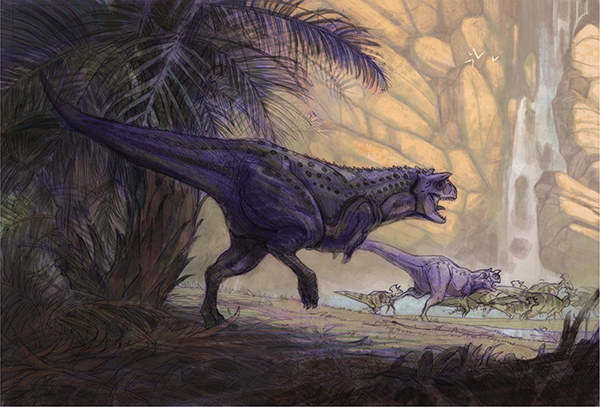
In the background, what I had originally conceived as a stand of trees is transformed into a wall of stone. This supports the narrative of the hadrosaurs being herded by the carnotaurus into a killing zone. To enhance the sense of scale, I added a second carnotaurus in the background to force perspective and create the illusion of space. This technique is a common artist’s tool. If you have two of the same elements at different sizes, place the smaller one farther away.
Begin the carnotaurus sketch with a simple skeletal frame. Once the basic anatomical features have been established, render the dino’s flesh, spikes and facial details.
1
2
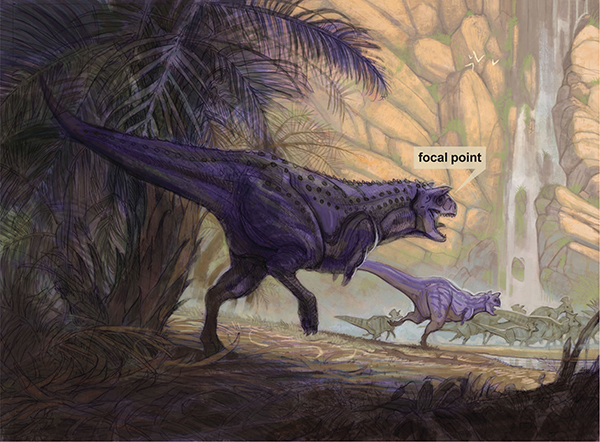
Render the details of the central carnotaurus to bring it into sharper relief as the focal point. Add teeth, facial markings and spikes to further draw the viewer’s attention into the composition.

Once the central subject has been rendered, finalize the foreground framing element. The palm fronds, mushrooms and fallen logs helps push the illusion of depth by creating a strong frame. Use textured brushes and more opaque paint with more saturated colors to flesh out the details.