18) Quick start to configure VPN Gateway using Azure portal
Azure VPN gateways provide cross-premises connectivity between customer premises and Azure. This tutorial covers basic Azure VPN gateway deployment items such as creating and managing a VPN gateway. You can also create a gateway using Azure CLI
or Azure PowerShell
.
In this tutorial, you learn how to:
- Create a virtual network
- Create a VPN gateway
- View the gateway public IP address
- Resize a VPN gateway (resize SKU)
- Reset a VPN gateway
The following diagram shows the virtual network and the VPN gateway created as part of this tutorial.
1. Create a virtual network
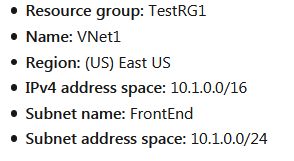
Create a VNet using the following values:
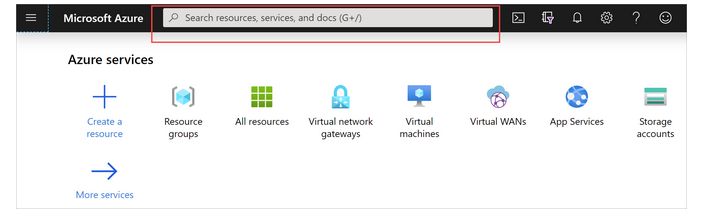
- Sign in to the Azure portal.
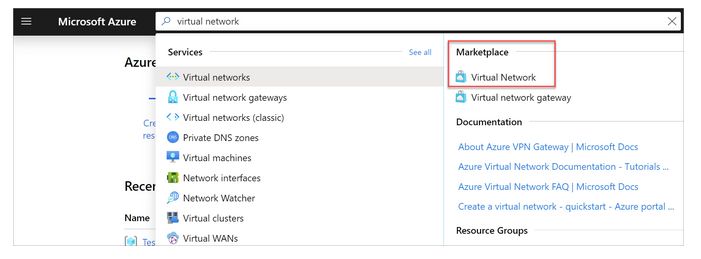
- In Search resources, service, and docs (G+/), type virtual network.
- Select Virtual Network from the Marketplace results.
- On the Virtual Network page, select Create.
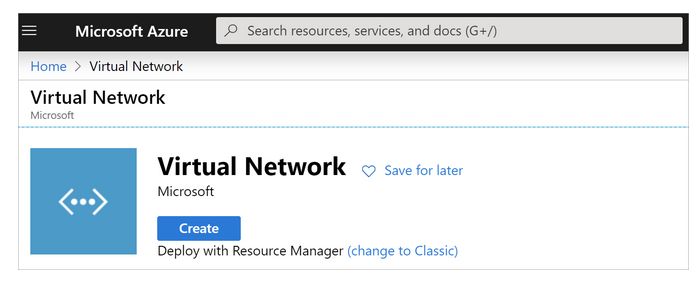
- Once you select Create, the Create virtual network page opens.
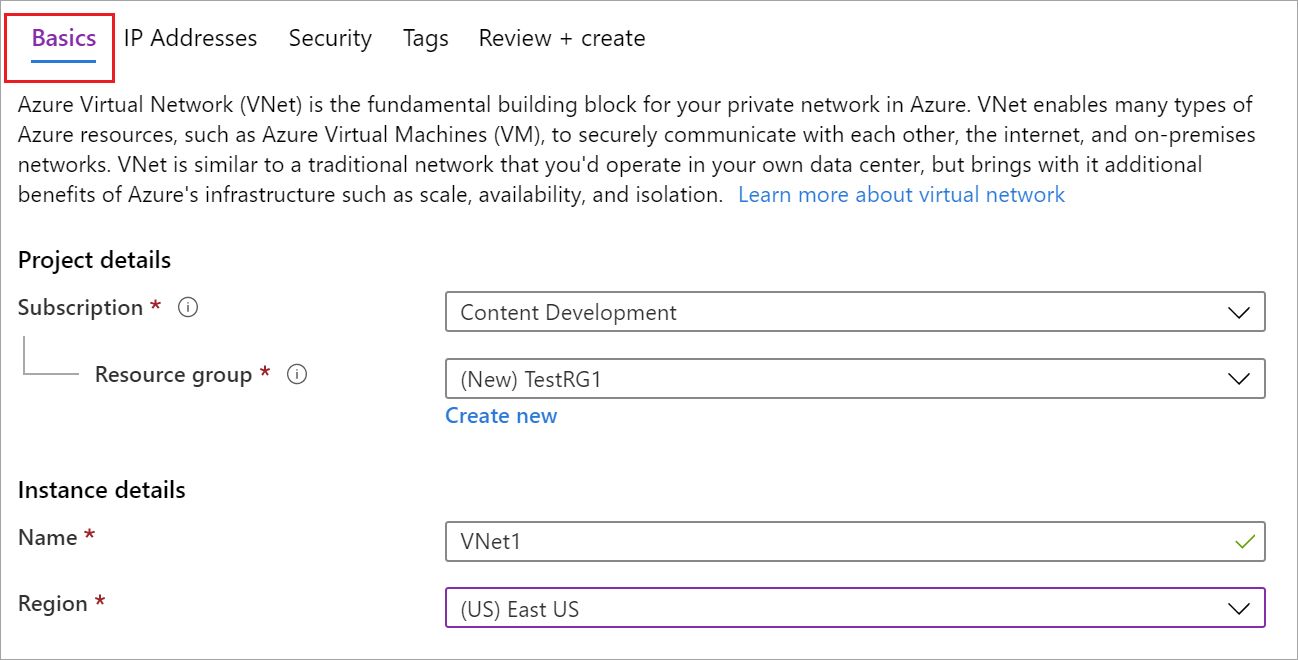
- On the Basics tab, configure Project details and Instance details VNet settings.
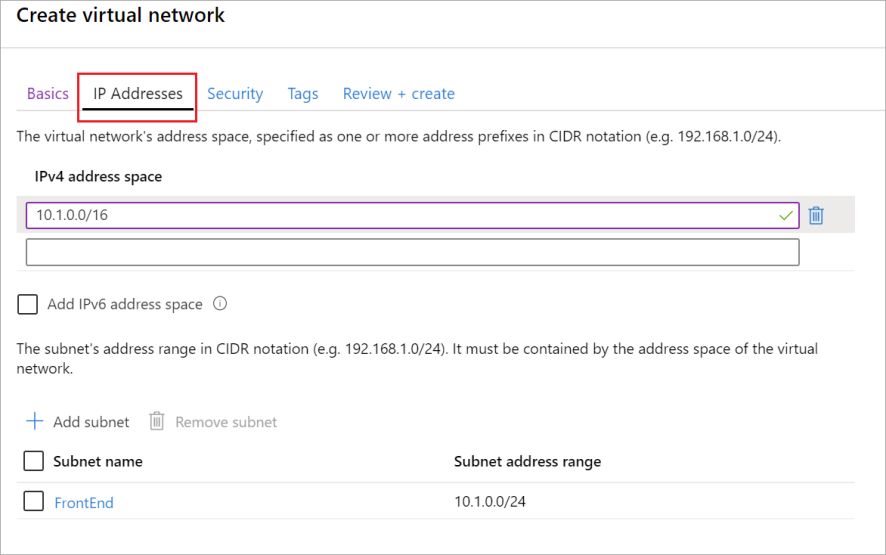
- On the IP Addresses tab, configure the values. The values shown in the examples below are for demonstration purposes. Adjust these values according to the settings that you require.
- On the Security tab, at this time, leave the default values:
DDos protection: Basic
Firewall: Disabled
- Select Review + create to validate the virtual network settings.
- After the settings have been validated, select Create.
2. Create a VPN gateway
In this step, you create the virtual network gateway for your VNet. Creating a gateway can often take 45 minutes or more, depending on the selected gateway SKU.Create a virtual network gateway using the following values:
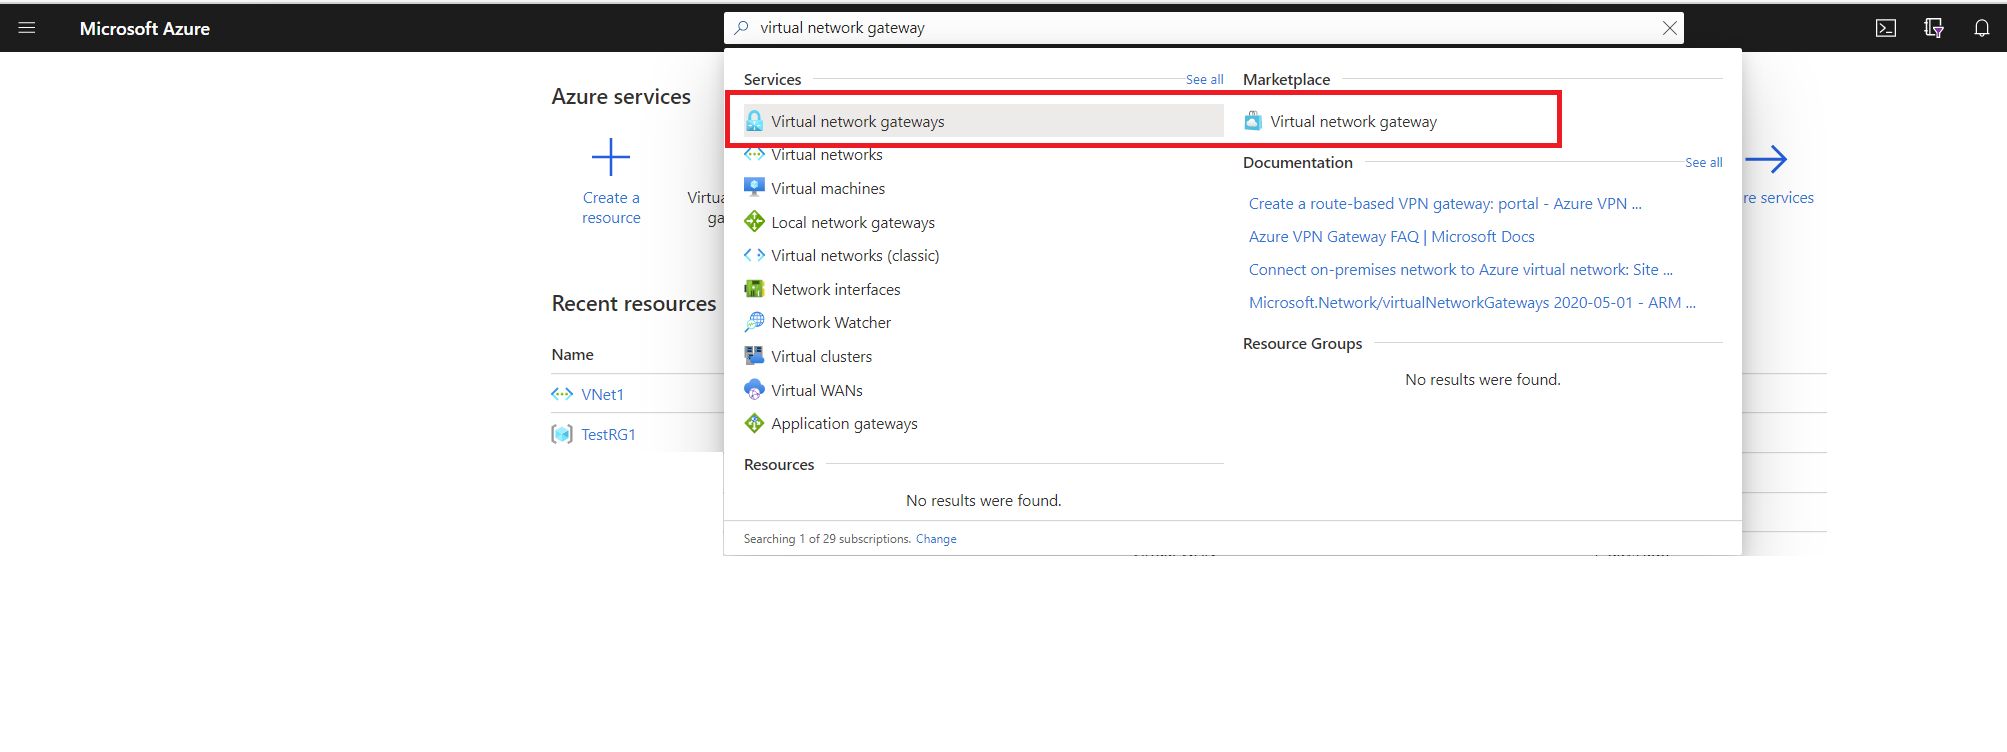
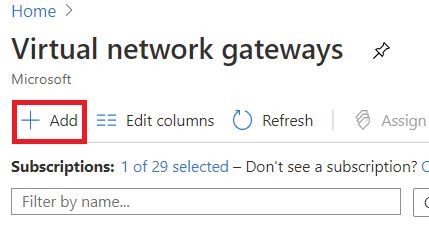
- From the Azure portal, in Search resources, services, and docs (G+/) type virtual network gateway. Locate Virtual network gateway in the search results and select it.
- On the Virtual network gateway page, select + Add. This opens the Create virtual network gateway page.
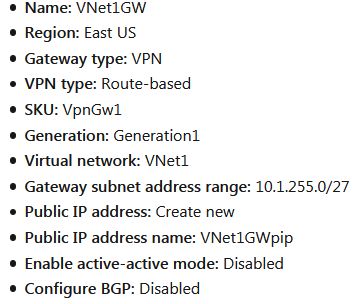
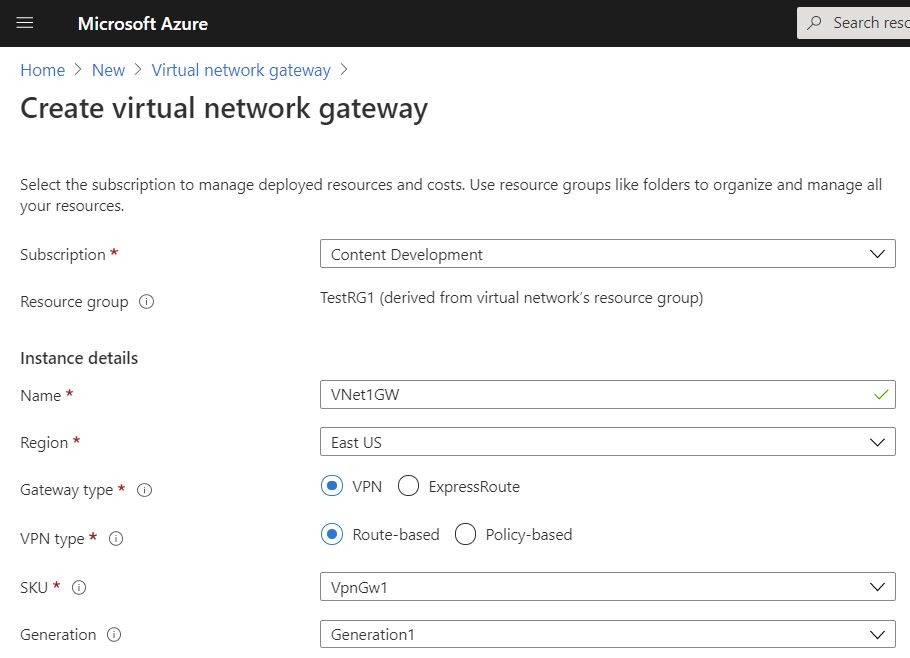
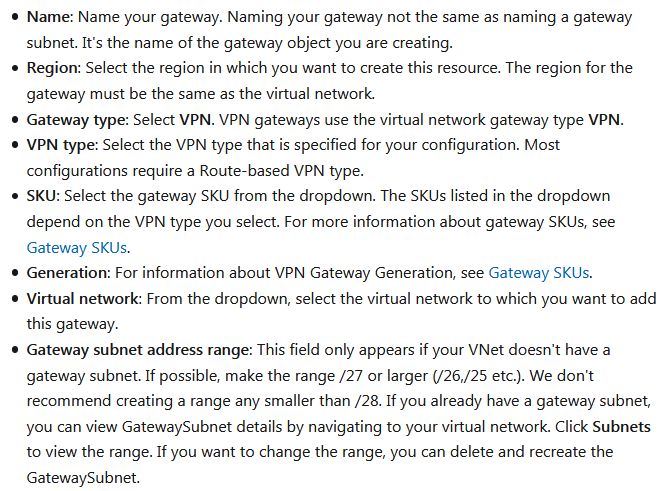
- On the Basics tab, fill in the values for your virtual network gateway.
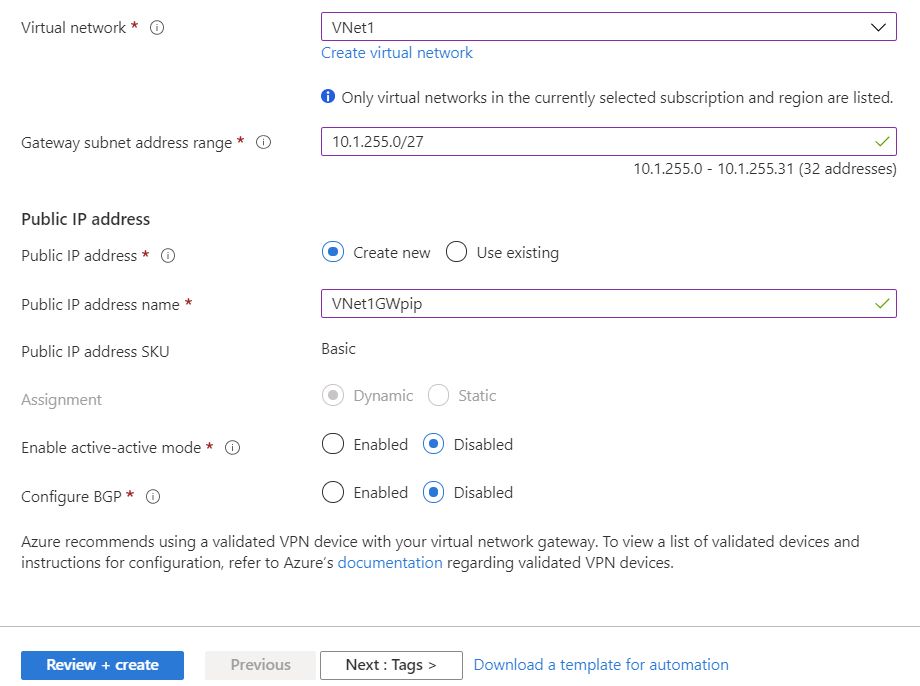
This setting specifies the public IP address object that gets associated to the VPN gateway. The public IP address is dynamically assigned to this object when the VPN gateway is created. The only time the Public IP address changes are when the gateway is deleted and re-created. It doesn't change across resizing, resetting, or other internal maintenance/upgrades of your VPN gateway.
- Public IP address: Leave Create new selected.
- Public IP address name: In the text box, type a name for your public IP address instance.
- Assignment: VPN gateway supports only Dynamic.
- Enable active-active mode: Only select Enable active-active mode if you are creating an active-active gateway configuration. Otherwise, leave this setting Disabled.
- Leave Configure BGP as Disabled, unless your configuration specifically requires this setting. If you do require this setting, the default ASN is 65515, although this can be changed.
- Select Review + create to run validation.
- Once validation passes, select Create
to deploy the VPN gateway.