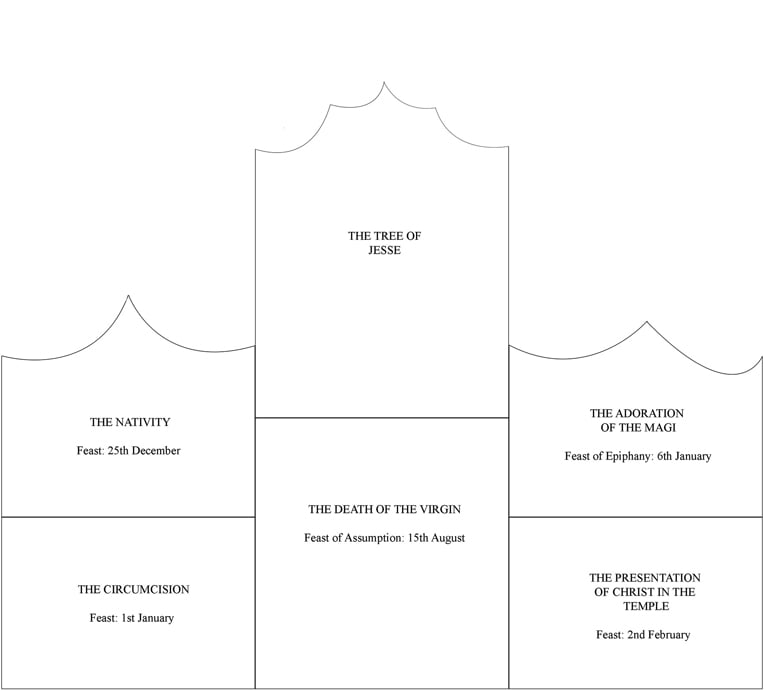
Appendix 2.3
Diagram of the Bocholt Altarpiece