First, let's take a look at the global Lightmass settings, found in World Settings:

The first five options affect indirect lighting the most. If your lighting times are very large, setting the static lighting level to greater than 1 can drastically reduce your lighting build times by scaling the sampling size. If lighting build times for various levels or a whole game are becoming a problem, and your game and team can live with the quality reduction in lighting accuracy, try this first. The number of bounces can similarly have a significant impact. The purpose of indirect lighting is to simulate the real world where a fraction of photons (the particles of light our eyes perceive) are deflected or refracted from objects, while some are absorbed. The number of bounces means as each point in space is calculated, an amount of bounced lighting must also be calculated. Naturally, the more bounces, the more work (but also more realistic accuracy). The next three are a bit more esoteric, but feel free to simply mouse over them to see what they entail. Light smoothing, for example, can be a big help in very specific types of maps, but as stated, the cost to indirect shadow detail needs to be weighed. Unfortunately, unlike a lot of the fog settings we previously discussed, all of these will need to be built to be fully appreciated for the changes they make, which can be quite time consuming. Theoretically, if a game has a set style, a few experiments can be done early on, preferred values chosen, and then those are simply locked in for the duration of the project.
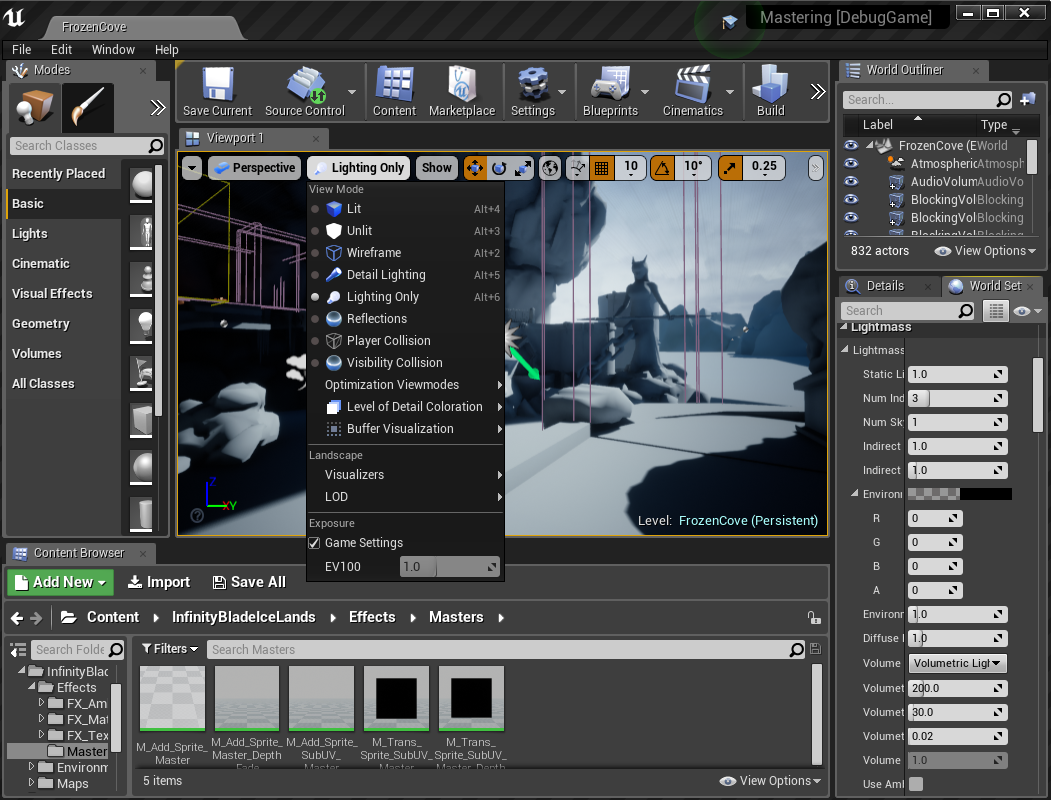
To visualize lighting effects, be sure to check out Detail Lighting, Lighting Only, and Reflections under the view options of your viewport:
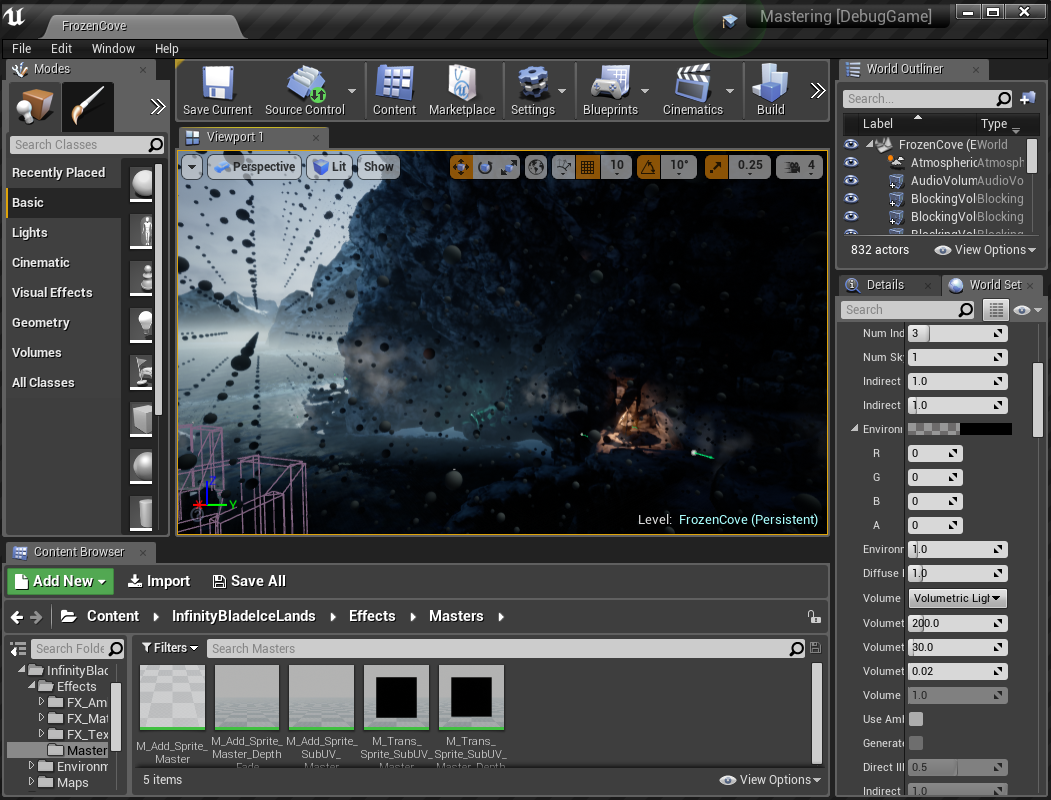
However, of most interest here probably is the volumetric Lightmass, which can be previewed via a viewport's Show | Visualize | Volumetric Lightmap, like so:
These directional lighting samples will be used to move objects at runtime and also for static meshes when moved around before building static lighting again. For experienced UE4 developers, don't forget, since 4.18 this is the default, and a generally better accepted model than the old lighting cache. A detailed description about the changes is in the Further reading section.
Quickly touching on Ambient Occlusion (which is actually turned off in FrozenCove), think of it as darkening areas. Concave surfaces block the light bounces in real life. While it adds realism, and adds essentially zero build time to lighting if you're already doing at least one indirect lighting bounce, keep in mind it is modeled on a top-down light to simplify the calculations. So in a sense it's similarly limited to Exponential Height Fog in that if your game is not a fundamentally flat game (for example, a player moving on a similar surface to the Earth, like most of us do), it can lose its realism and value. It is, however, easy enough to turn off in the Use Ambient Occlusion setting under your world's Lightmass settings. As with many Lightmass options, it's often best to simply try building lighting with it on, wandering the level, and maybe taking some specific screenshots, then turning it off and repeating this to see if it is of use. You can preview what work is done here in your viewport in its View Mode | Buffer Visualization | Ambient Occlusion.
If you find yourself having lighting build time problems, and have adjusted some of the parameters that can impact those build times, it's worth noting that lighting builds use the Swarm Agent system, which can farm the computations out to multiple computers on a network. More on this is also listed in the Further reading section. Note also that for many games, purely dynamic lighting is good enough, and much of Lightmass can be turned off for things such as mobile games that require a modest level of dynamic lighting detail but don't benefit from the memory cost and build time of baked/cooked lighting. As always, know your project and its needs, and be ready to do some early experiments and make those calls with your artists on the best options. If eliminating cooked lighting allows your artists to add more detailed textures to environments or characters, this may be a trade-off they're happy to make depending on your game's resolution and other settings, so don't be afraid to experiment and discuss!
And lastly, know your lighting quality levels. They can be selected from the drop-down of the Build button like so:

These are really just a high-to-low of build-time versus quality-level at a very high level. If you want to switch in a hurry between these, by all means, this should be your first choice for quality versus time.