Probably the easiest platform for UE4 to package on is the PC (or Mac): you're already running on one, and most likely the work you've done and tested in PIE will just "work" on PC when you package a build. That said, we'll explore what it takes to prepare to make a version for the most popular mobile platforms of Android (an installable .APK) and iOS (a similar .IPA. Note that for the latter (iOS), to actually build and properly test, unless making a blueprint only game, requires an Apple developer license, which as of this writing costs about $99 for a one-year subscription. If this is one of your target platforms, it's usually best to just get that license as early as possible; but for hobbyists and indie developers on a budget, please do note that deploying and testing on Android and HTML5 with the project presented here works just fine and is free.
Before diving into an Android build, here are some general notes for in this case, both mobile platforms discussed here. First, for those curious, the next section will specifically address some of the differences between using the Play button in the editor on a device/platform combination compared to the packaging discussed in the rest of this section, so if that seems missing at this stage, just be patient. Here are some general settings for our project for cooking and packaging all platforms should simply have set, let's look at here under Project/Packaging:
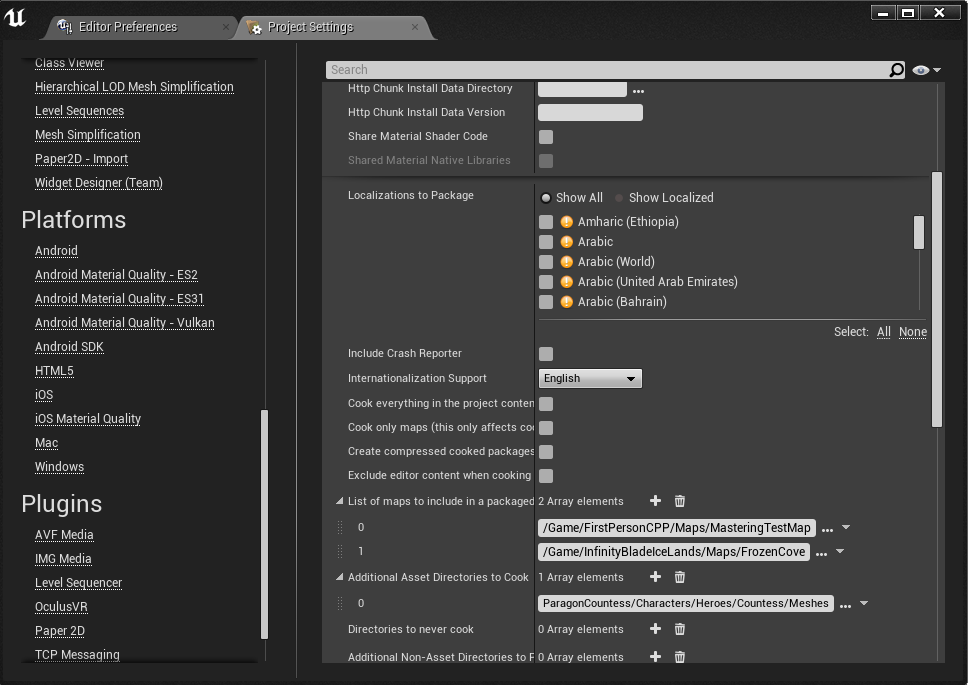
Since FrozenCove, for example, is only referenced "lightly" by name in the level-transition volume of our default map. We add it (and similarly MasteringTestMap) to the always-included list above:

Additionally, since she can be spawned potentially dynamically without a hard reference, we cook in the Countess's Meshes folder (really it's just as an example of what you may need to do when you have assets you may load and use that aren't hard-referenced in maps directly). If you browse around under each platform's options in the platform section of project settings, you'll notice they all have splash-screen textures you can set, and many have resolution or orientation options that your team can (and should) set as appropriate.