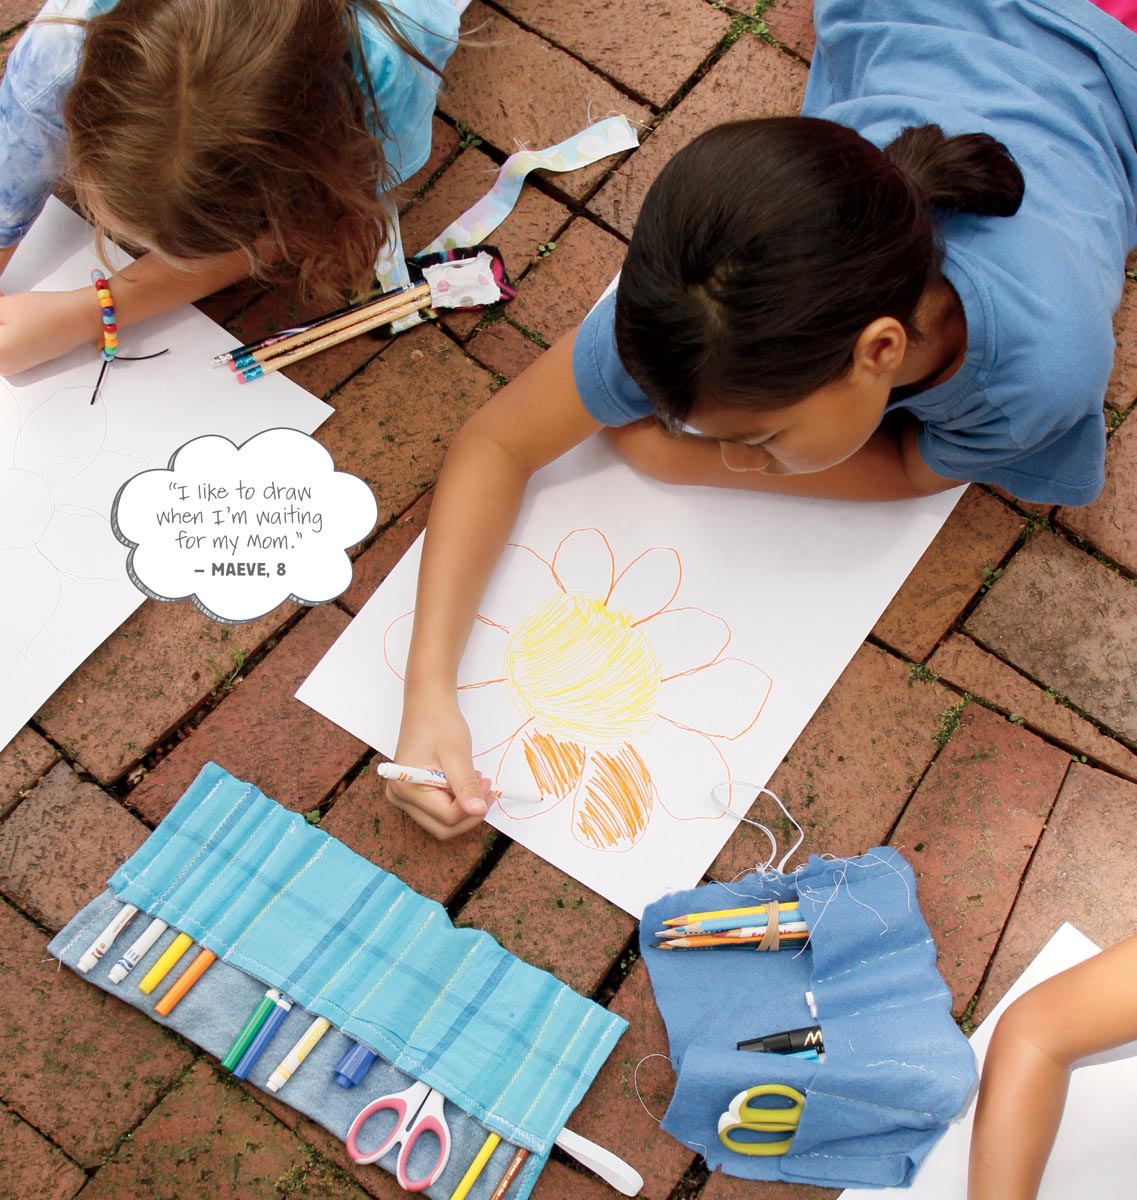
Art-to-Go-Go

Here’s something to do when you’re on the go-go.
What You Need
- Pattern for Art-to-Go-Go
- 1⁄2 yard felt
- 8-inch length of 3⁄4-inch-wide elastic
- Chalk
- Scissors
- Straight pins
- Ruler
- Sewing machine and thread
Let’s Review
A Note For Grown-Ups
This little art case is a fun beginner project. Sewers can customize it to hold all of their favorite supplies. Help might be needed when adding the elastic and marking and sewing the pockets.
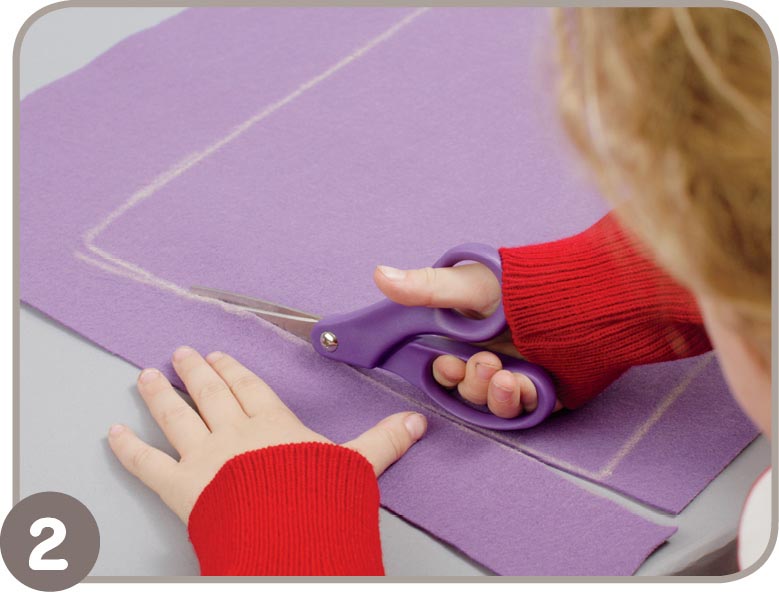
- 1. Find the Art-to-Go-Go pattern in the back of the book and use chalk to trace it onto the felt one time.
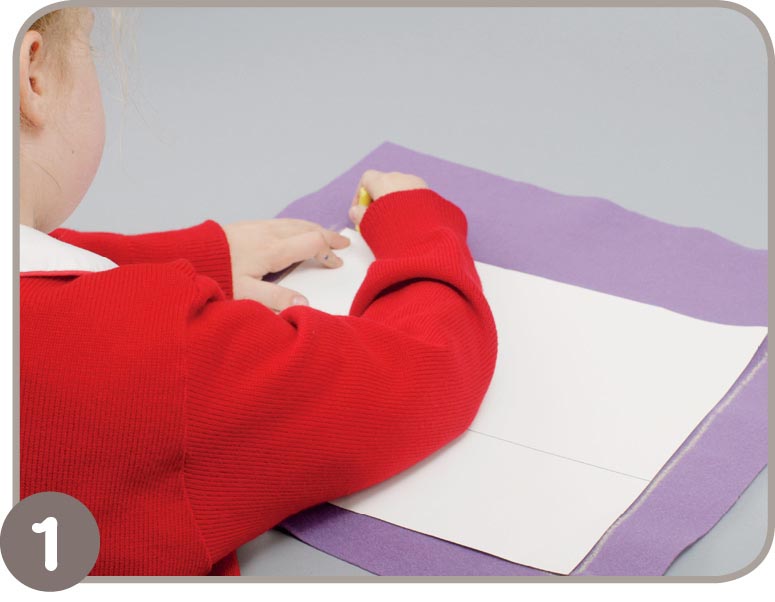
- 2. Cut out the felt piece.
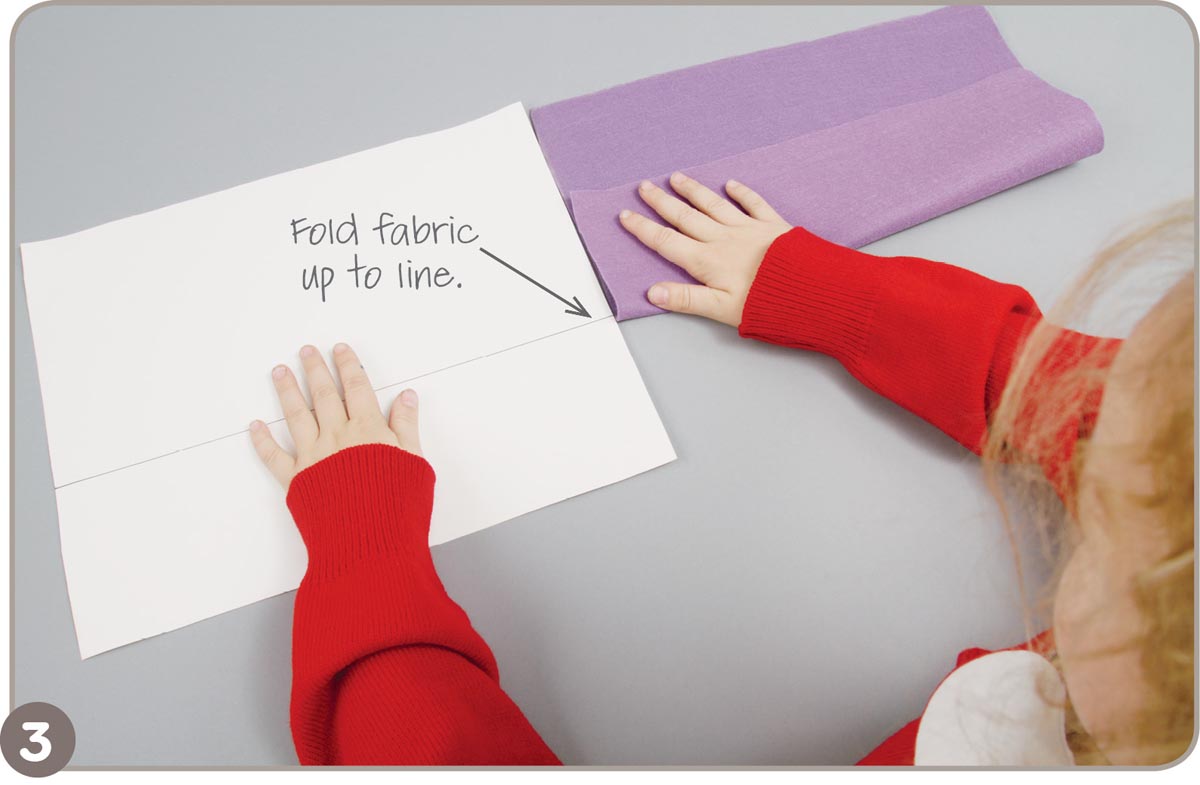
- 3. Line up the felt piece with the pattern. Fold the bottom edge of the felt up, so the bottom of the folded felt is at the fold line.
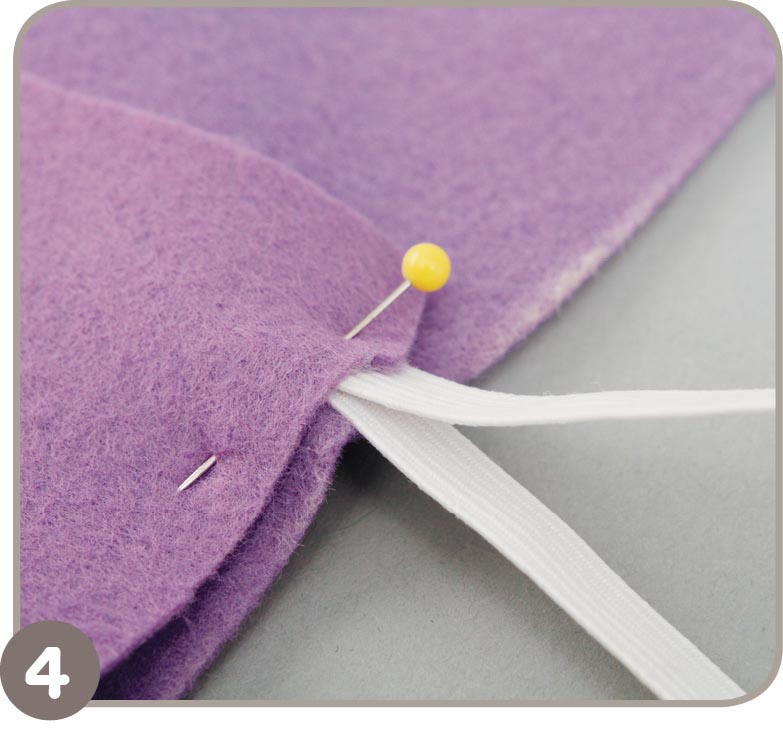
- 4. Fold the piece of elastic in half. Tuck the ends of the elastic between the folds of the felt on the right side. Pin them in place.
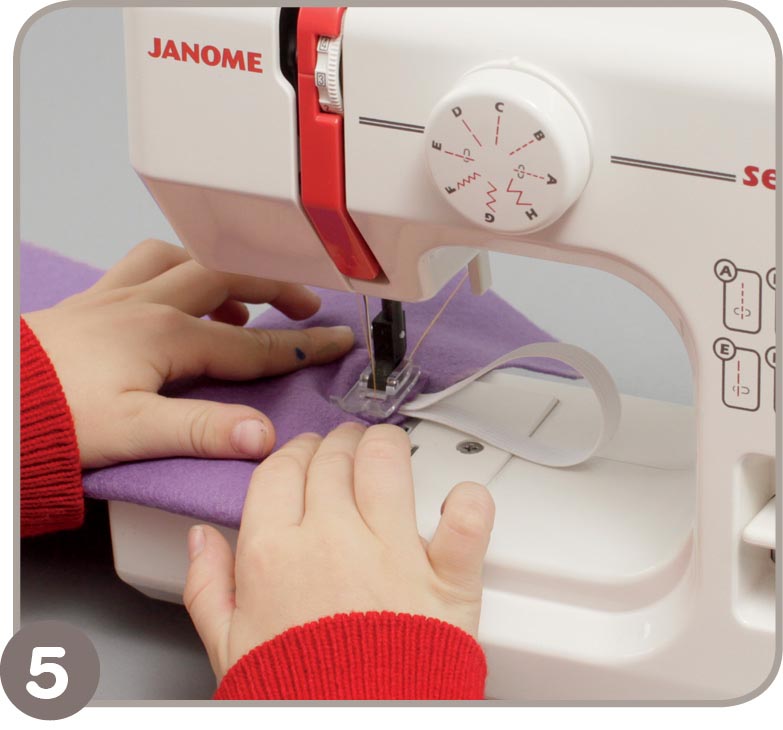
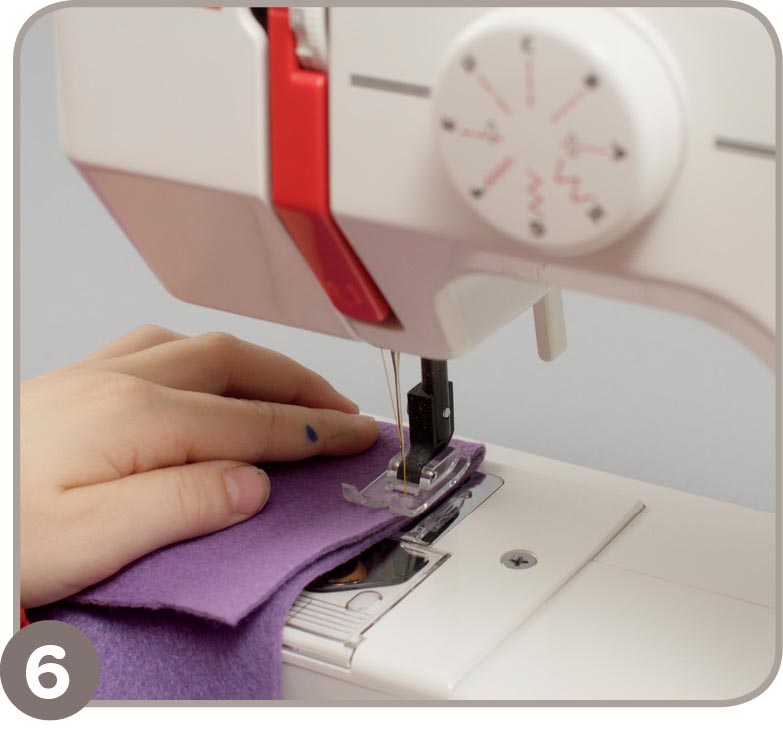
- 5. Time to sew! Sew the right side closed, starting at the top near the elastic. When you get to the elastic, be sure to reinforce the stitches by going back and forth over the ends.
- 6. Sew up the other side of the fold. This time begin sewing at the bottom of the fold.
- 7. You are ready to make the pockets on the folded part. Think about what you will put in your pockets. Draw lines using chalk and a ruler where you want the pockets to be. Make your pockets a little bigger than the markers or other items that will go in them. This way, the supplies will slide easily in and out of the pockets.
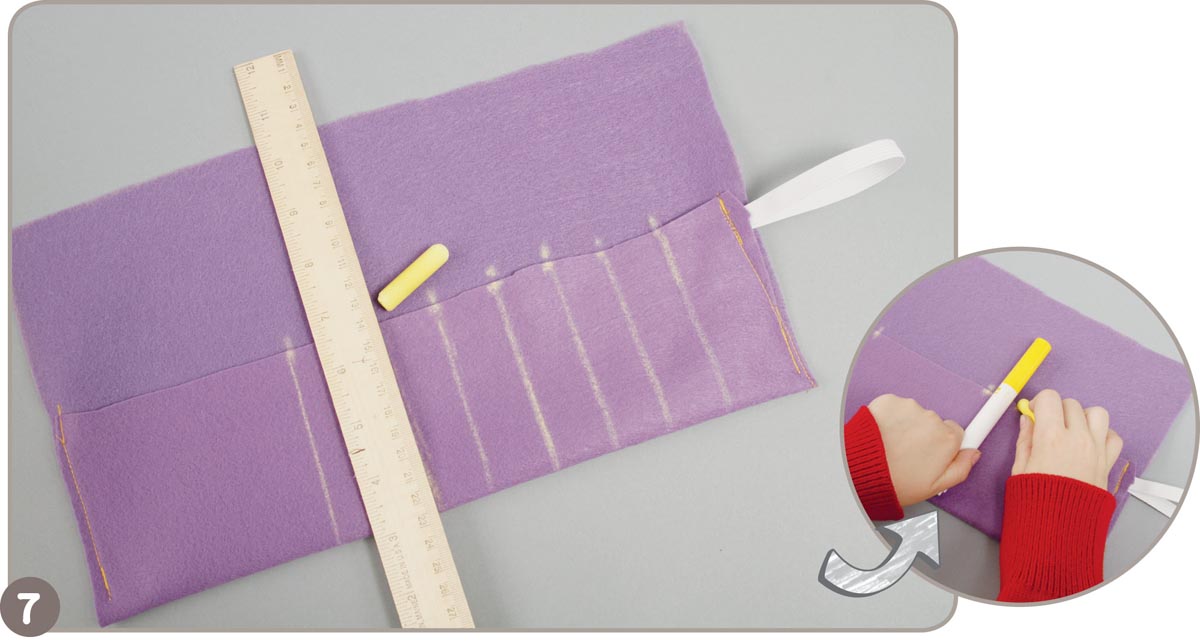
TIP: You can even lay down your supplies on the fabric before making the lines so you get a perfect fit.
- 8. Machine-stitch along the chalk lines.
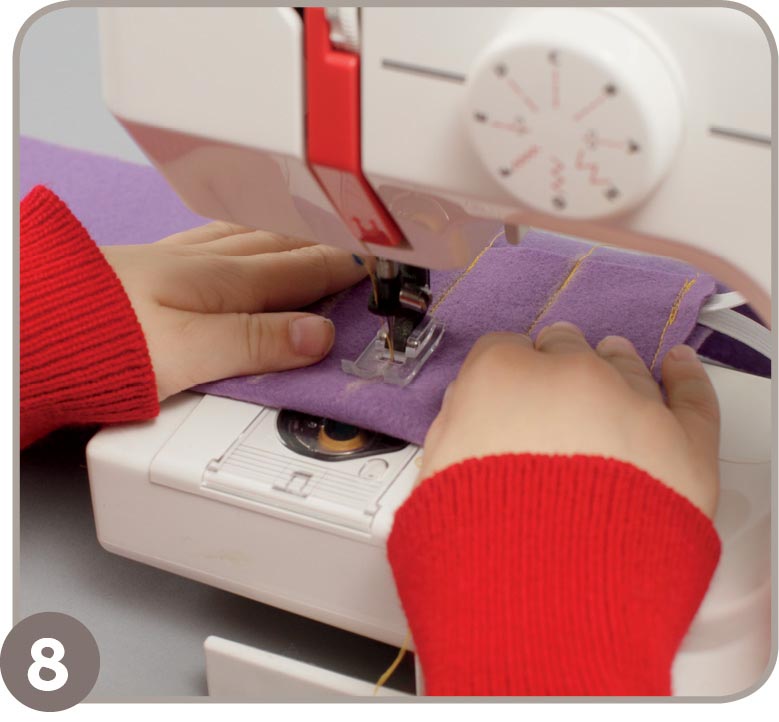
- 9. Trim the threads.

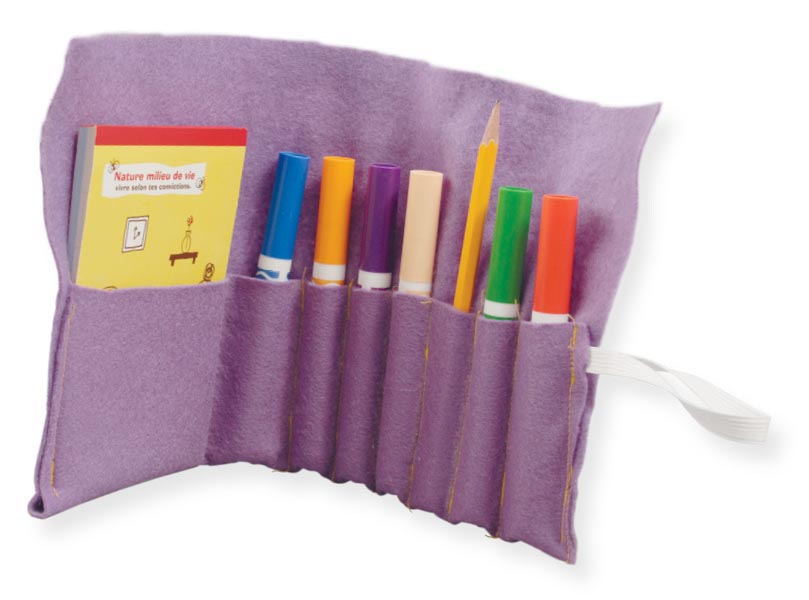
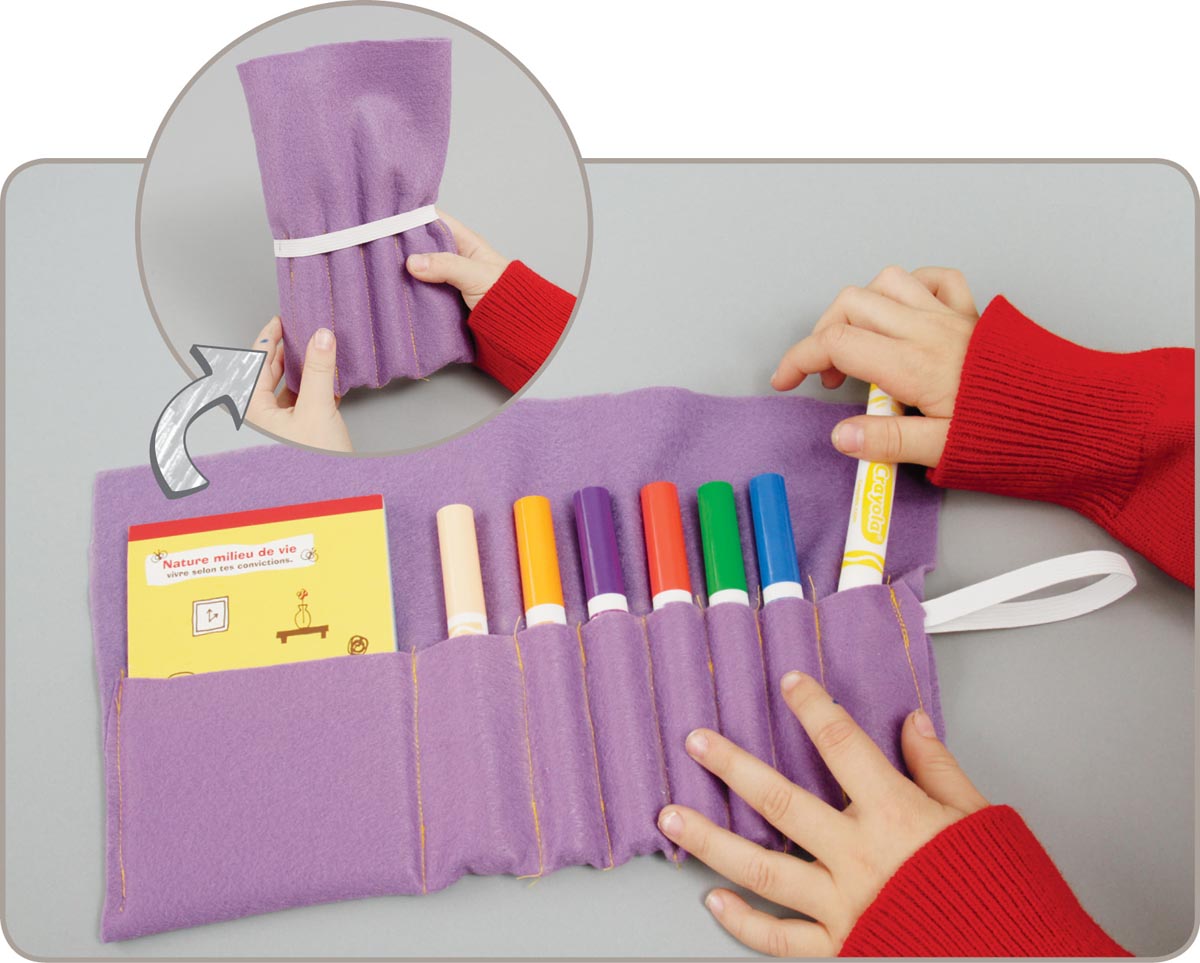
- Your Art-to-Go-Go is all sewn. Fill it with your favorite art supplies, roll up, and go-go!
Make It Yours
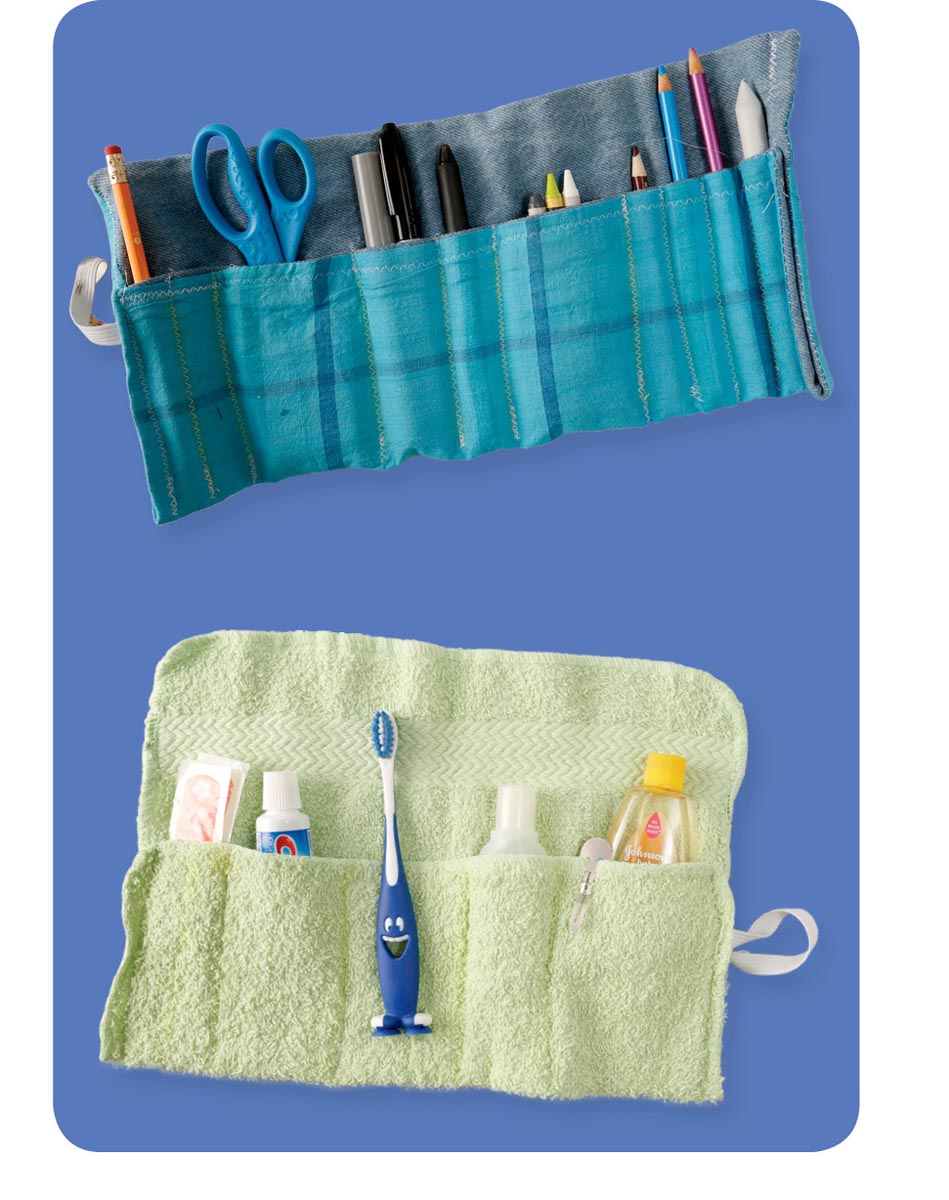
- Change the size of the case and pockets to fit your needs. A skinnier case is perfect for holding crayons.
- Make it out of two pieces of cotton fabric using the steps in Turn the Good Side Out (page 36) to get you started.
- Decorate the outside so everyone will know that it’s yours.
- Sew by hand.
- A washcloth is perfect for holding your toothbrush.