Skill Builder 1
Hand Sewing Skills
There are two hand sewing stitches that you will use to finish most of the projects in this book. Don’t forget to knot your needle once you’ve threaded it, and to make another knot when you’re done hand sewing.
How to Measure the Thread
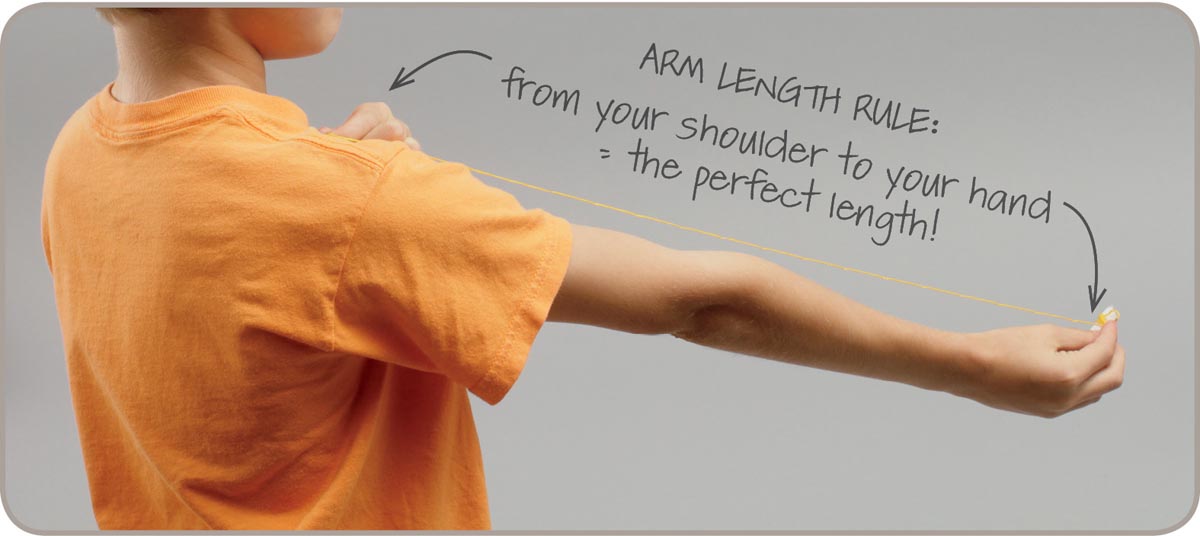
We like to use the “Arm Length Rule” when cutting thread for hand sewing. To do this, cut a length of thread equal to the distance from your shoulder to your hand. No matter how young or old you are, if you follow this rule, you will always end up with the perfect length of thread.
How to Thread Your Needle
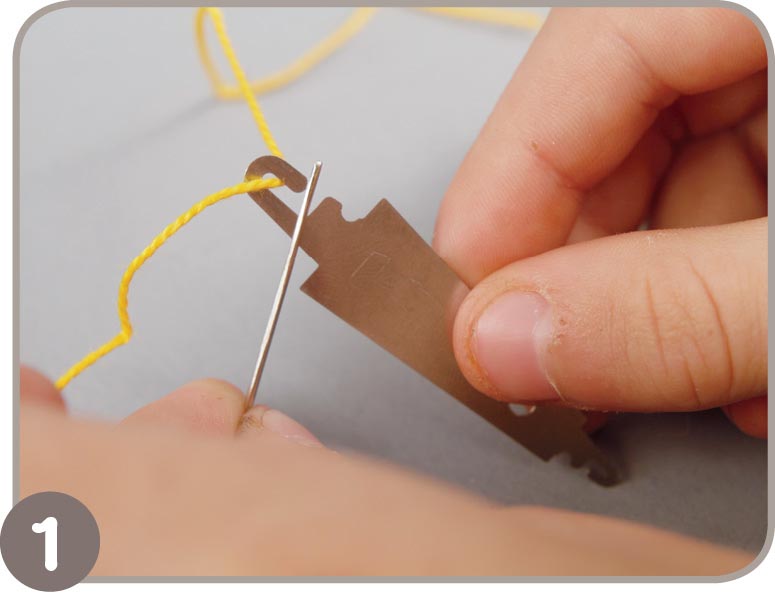
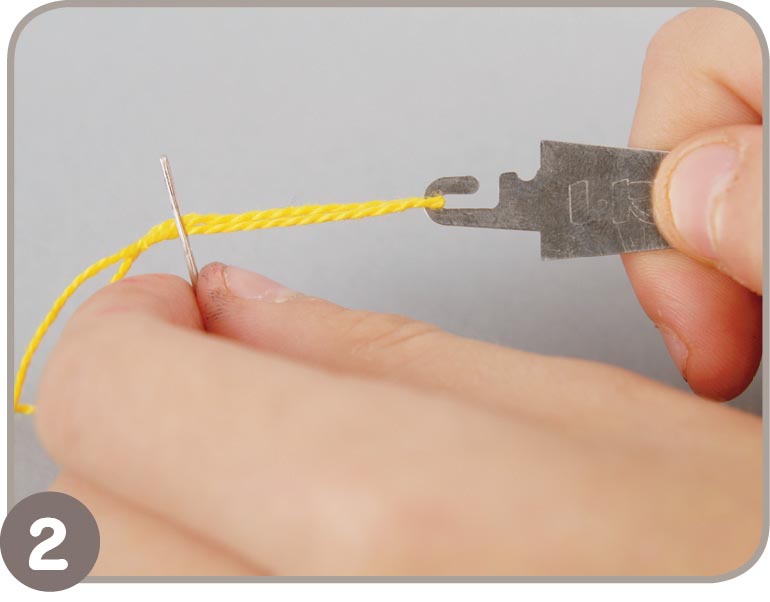
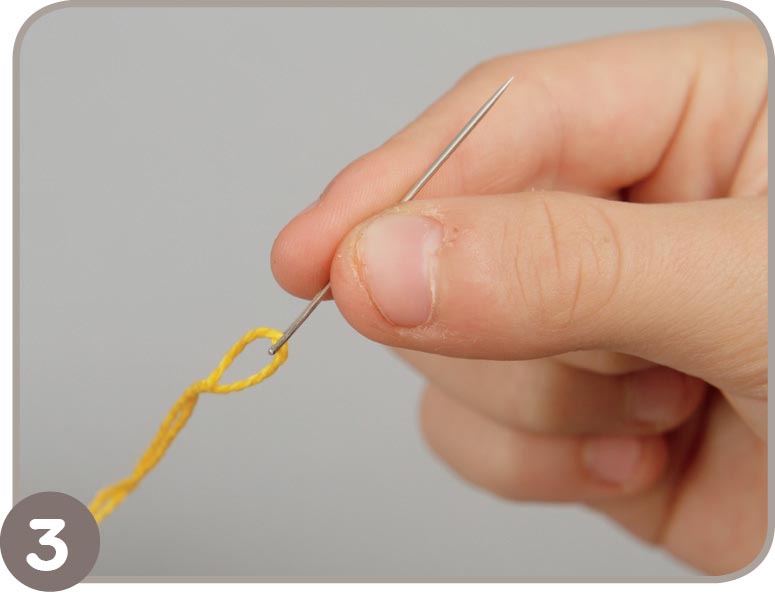
If you’re sewing with craft thread: Use a large-eye needle (we like the Chenille Size 22 Sharp Point Needle) and a LoRan Needle Threader.
- 1. Push the hook or loop of the threader through the eye of the needle. Next, hook the thread.
- 2. Pull the needle off the threader.
- 3. Keep pulling along the thread until the needle slides along one strand of thread. The needle is threaded!
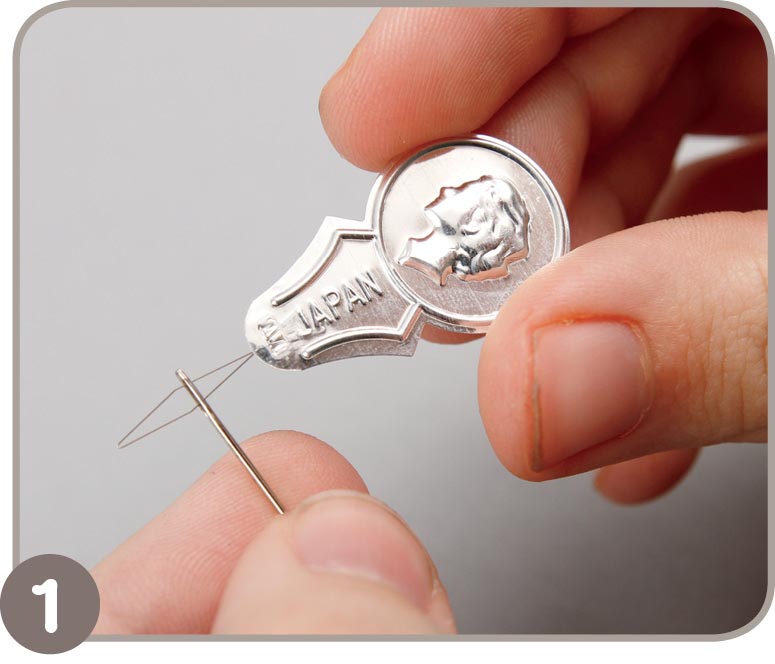
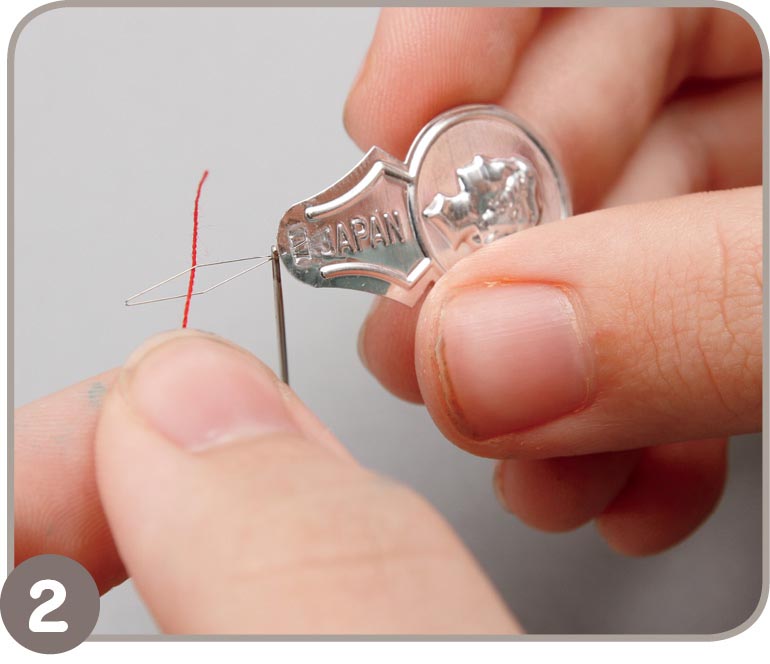
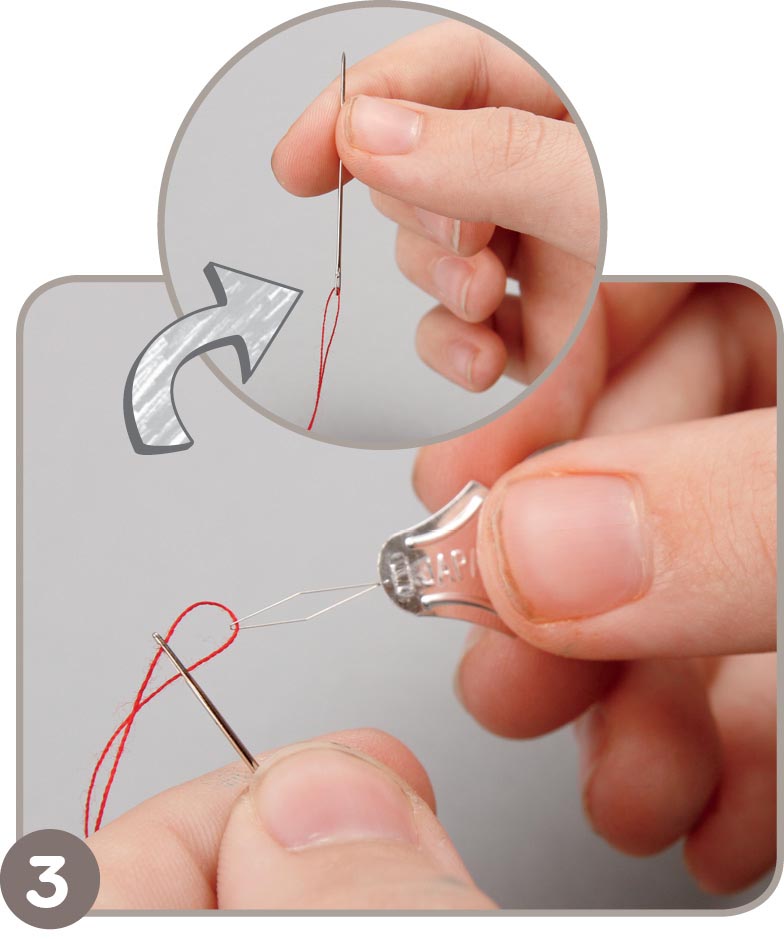
If you’re sewing with regular sewing thread: Use a smaller needle and a wire needle threader.
- 1. Put the loop of the threader through the eye of the needle.
- 2. Stick your thread through the thin wire loop.
- 3. Pull the needle off the threader. Work gently, as the wire needle threader breaks easily. Keep pulling along the thread. The needle is threaded.
How to Tie a Knot
Once your needle is threaded, you need to knot the end of the thread to keep it from pulling through the fabric when you sew.
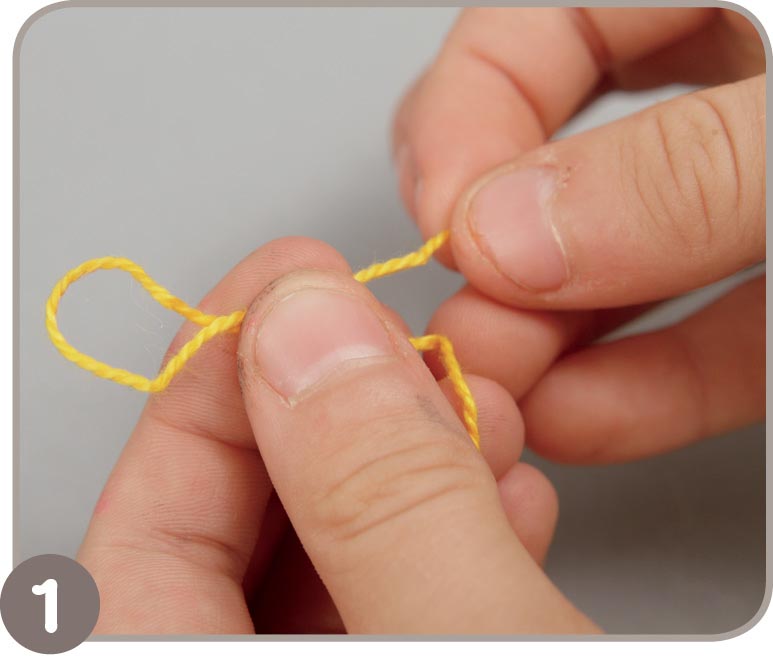
- 1. Make a loop at the end of the thread. If you’re new to hand sewing, try winding the end of the thread around your finger. Slip the thread off your finger, and you’ve made a loop.
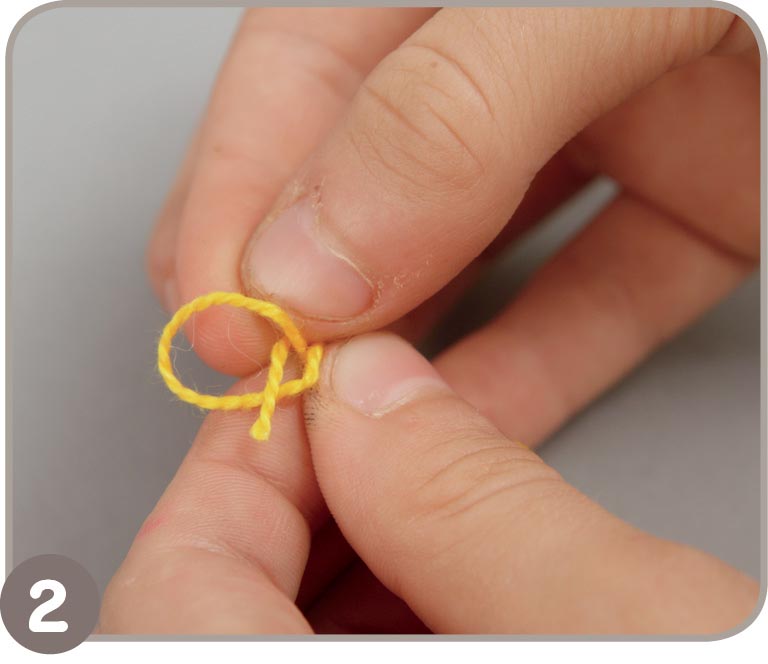
- 2. Bring the short end of the thread up through the loop.
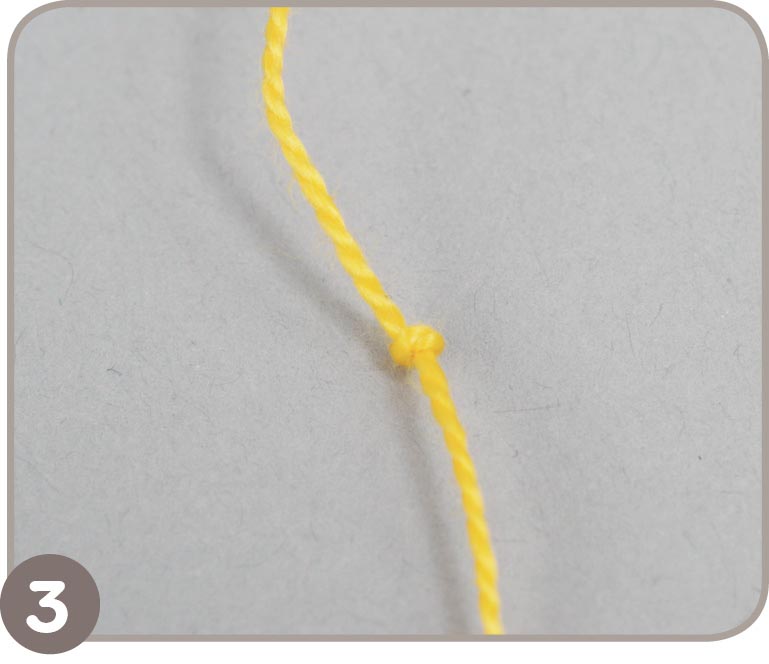
- 3. Pull tight. You made a knot! Use these same steps to make another knot when you are finished sewing.
How to Sew a Running Stitch
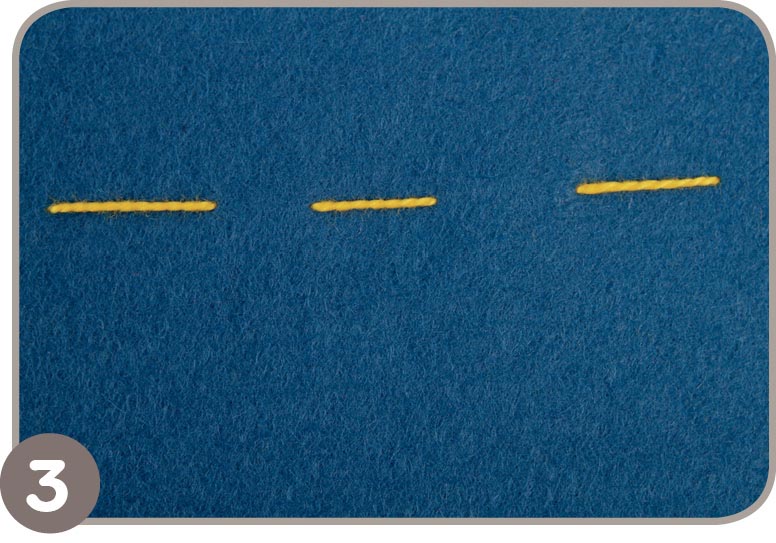
The running stitch is like the straight stitch that you already know how to make on the sewing machine. When it’s done right, the running stitch looks just like a dotted line.
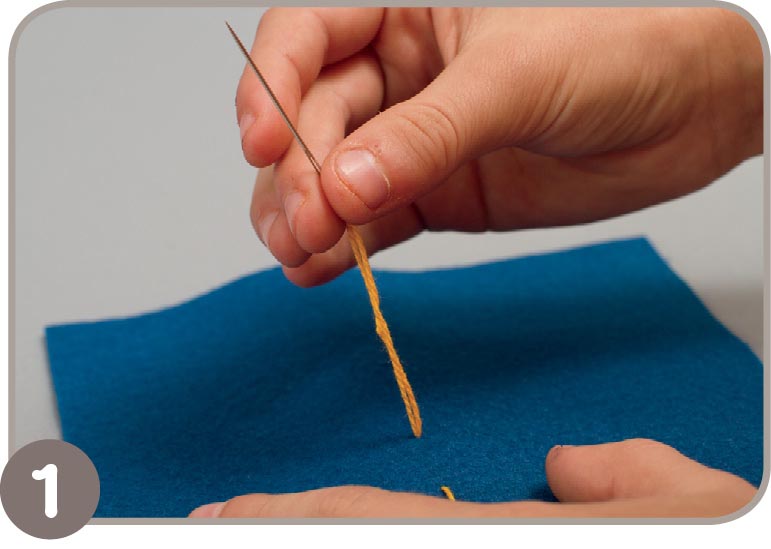
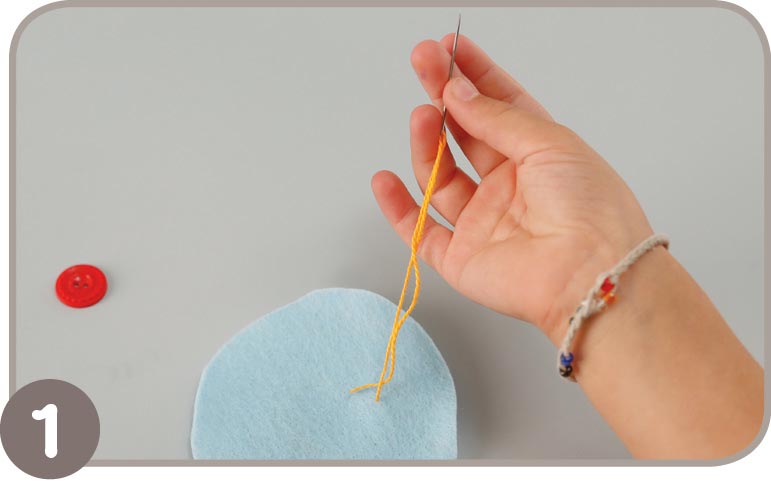
- 1. Push the needle up through the back of the fabric. Pull the needle and thread until the knot hits the back of the fabric.
- 2. Push the needle down through the front of the fabric. Keep the stitches straight and close enough together so you don’t have a big gap.
- 3. Bring the needle back up. Leave a little space between the needle and the last stitch. Repeat until you are finished!
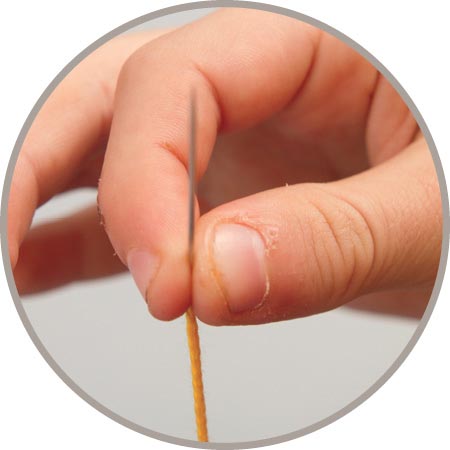
TIP: Pinch the needle at the eye when you pull each stitch through. This way, the thread will not come out of the needle.
How to Sew a Whipstitch
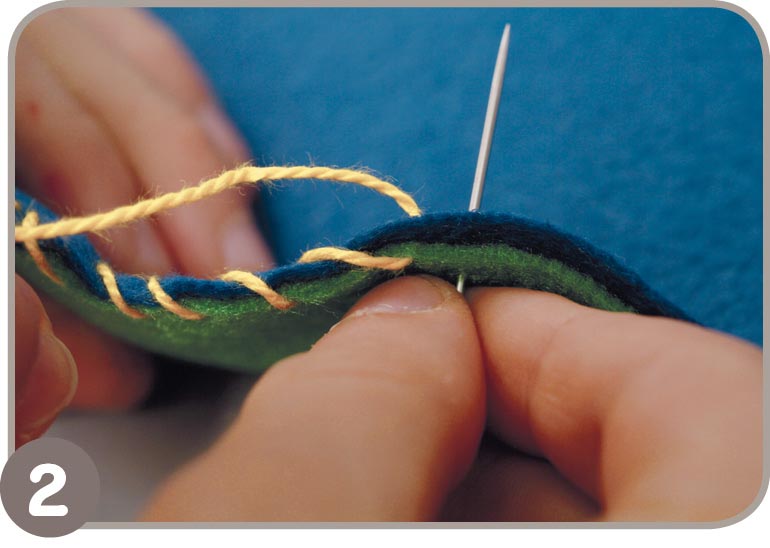
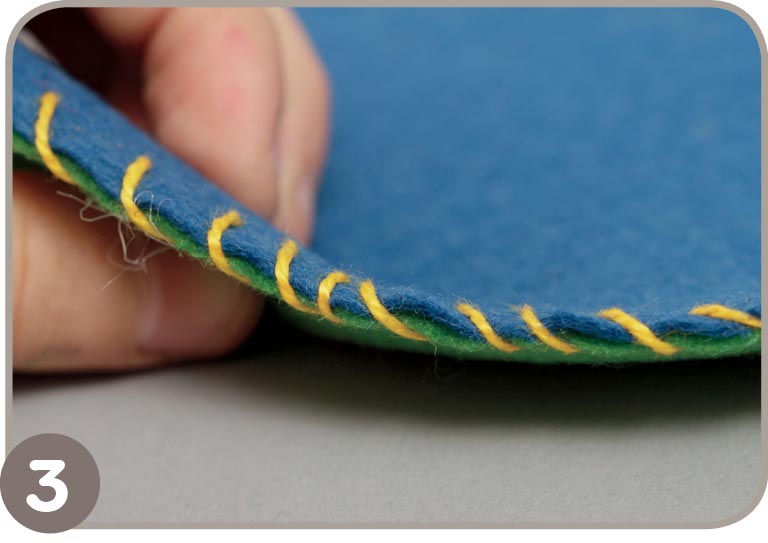
Use the whipstitch when you need to close the opening left between start and stop sewing marks. Or whipstitch a single fabric edge to decorate it and help keep the material from fraying.
- 1. Push the needle up through the back of the fabric. Pull the needle and thread until the knot hits the back of the fabric.
- 2. “Whip” your needle around the edge of the fabric. Push the needle up through the back of the fabric.
- 3. Make even stitches, only sewing up through the back of the fabric. Repeat until you are finished!
How to Sew on a Button
Are you sewing on a flat button or a shank button? Flat buttons have two or four holes for you to stitch through. Shank buttons have a little metal or plastic loop on the back. Either way, sewing on buttons is easy when you know the basic steps.
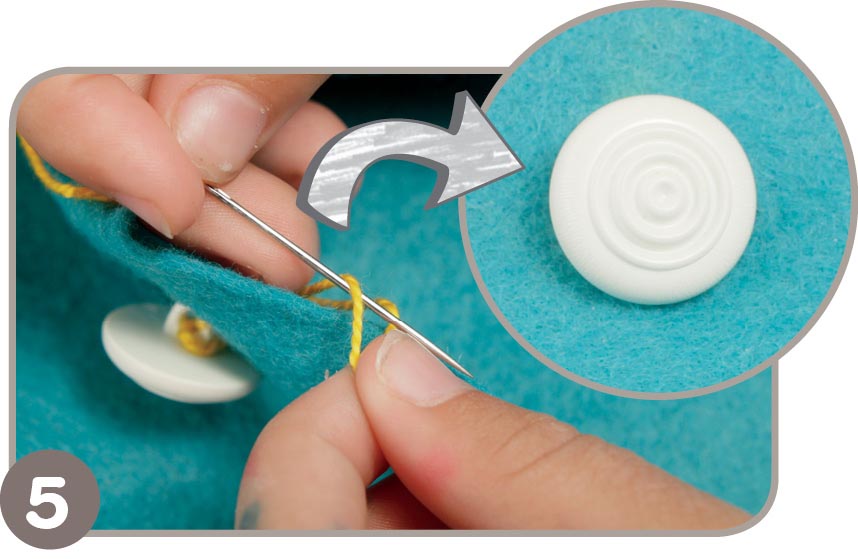
To Sew a Shank Button
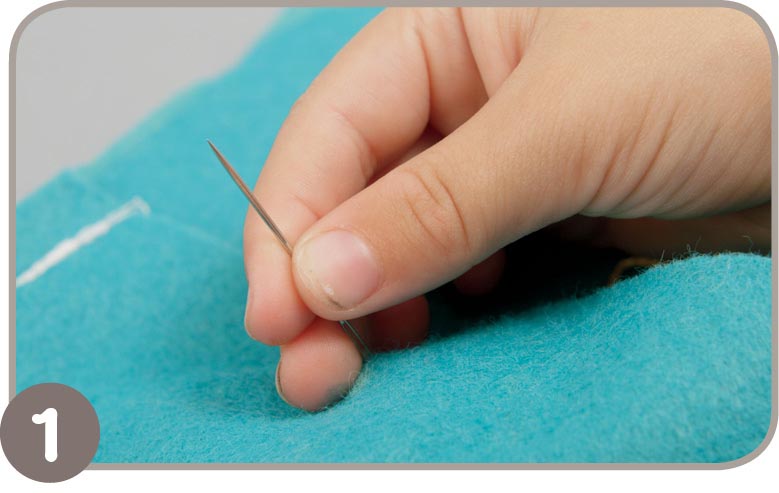
- 1. Bring the needle up through the back of the fabric.
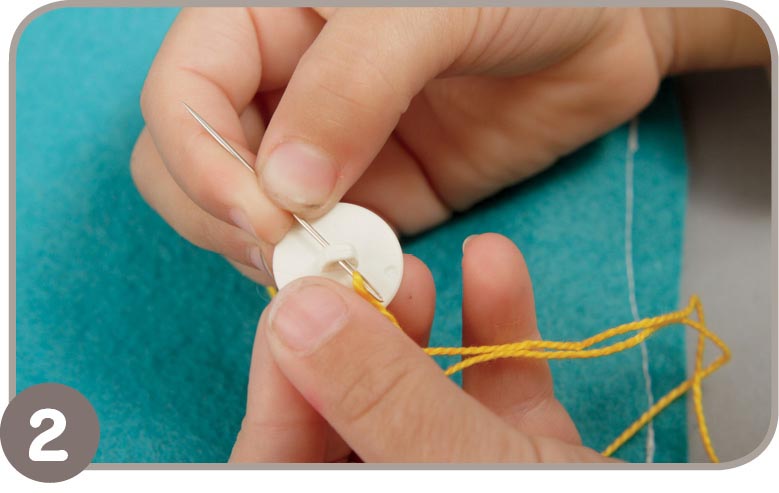
- 2. Slide the needle through the loop on the back of the button and push the button down to the fabric.
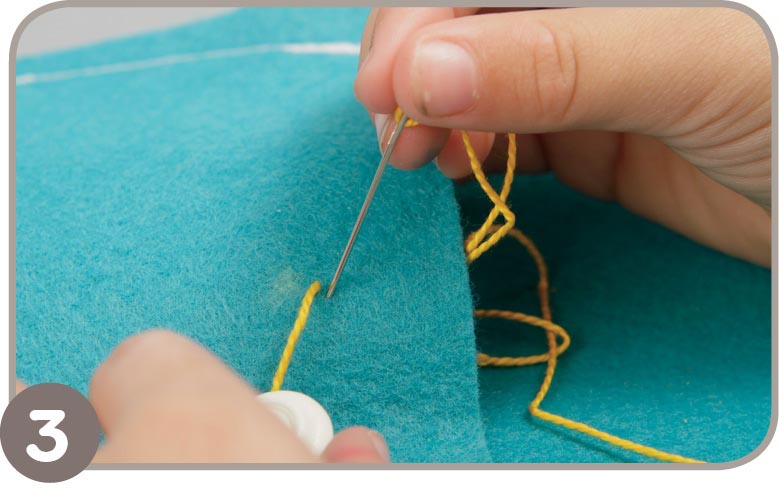
- 3. Sew back down through the fabric. Put the needle right back down into the fabric close to where you came up.
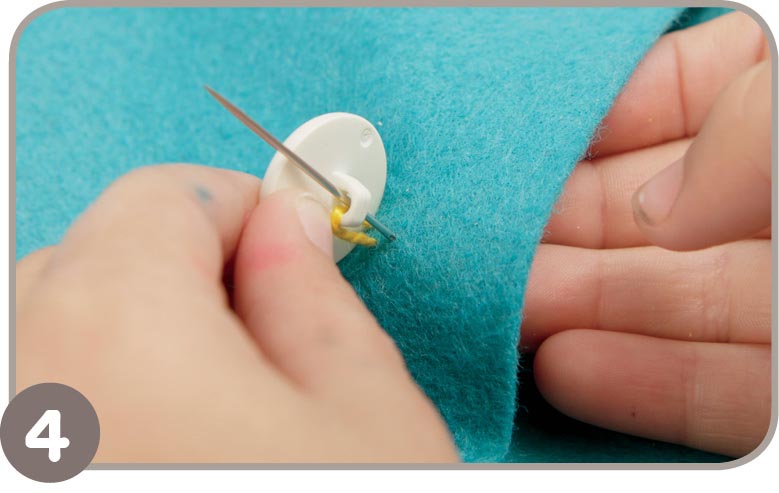
- 4. Now, sew back through the button loop and the fabric two or three more times so the button will stay put.
- 5. To finish, bring your needle to the back of the fabric and tie a knot.
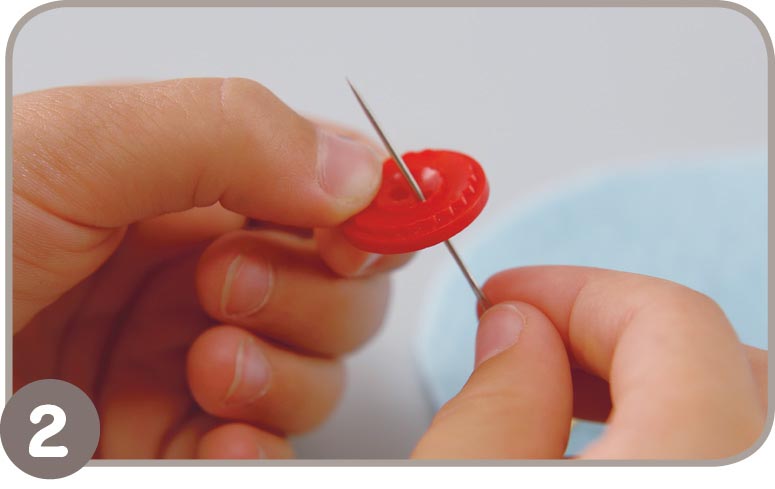
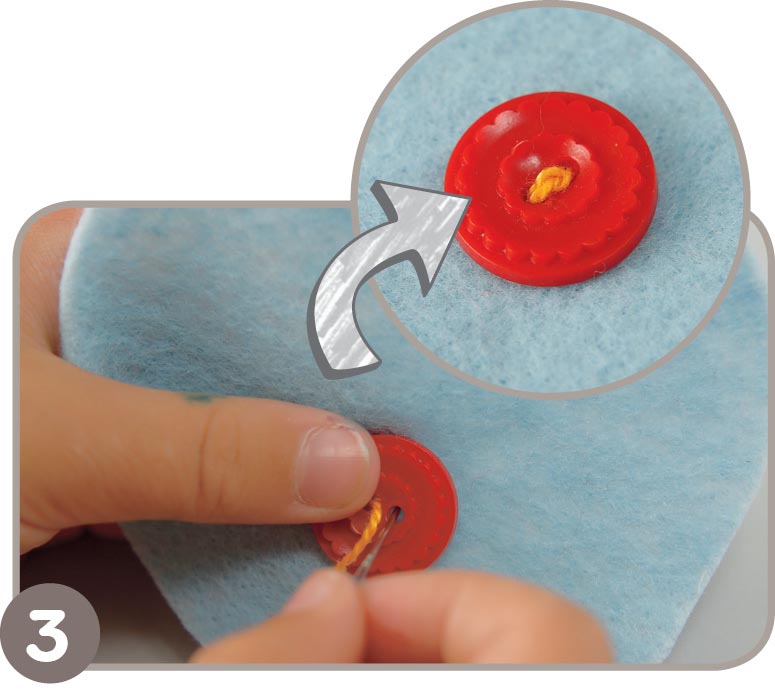
To Sew a Flat Button
- 1. Bring the needle up through the back of the fabric.
- 2. Slide the needle through one of the holes in the button and push the button down to the fabric.
TIP: You can sew your stitches straight or make an X.
- 3. Sew back down through the fabric through another buttonhole. Keep sewing through all of the buttonholes at least two times. To finish, bring your needle to the back of the fabric and tie a knot.
