Selecting Tools and Materials
Graphite pencil is a versatile, practical medium that makes learning to draw convenient for any beginning artist. All you really need are a few basic tools, which are relatively inexpensive and easily can be taken with you almost anywhere. Even when you’re just starting out, it’s best to purchase the highest quality materials you can afford—better-quality materials last longer and will produce the most pleasing results. Here you’ll find a quick overview of the items that I find most helpful. As you become comfortable with the basic tools and gain more drawing experience, you’ll develop your own personal preferences.
SETTING UP YOUR WORKSPACE When choosing a place to work, comfort is key—you want to find a space that offers comfortable seating and good lighting so that you don’t strain your back or your eyes! My work station, pictured here, features an adjustable drawing table—allowing me to tilt my drawing surface—and a lamp that I can raise or lower as needed. All my tools are also within easy reach.
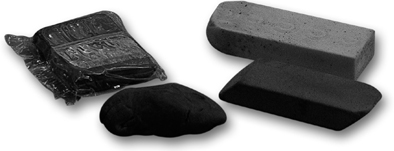
REMOVING TONE You can use an eraser to make adjustments, correct mistakes, or pull out highlights in your portrait. Vinyl erasers are good to use for larger areas, whereas you can form the edge of a kneaded eraser into very small shapes to blend strokes for smooth transitions or to remove pencil from small areas. Just be sure you’re gentle when erasing; scrubbing too hard can damage your paper or smudge your drawing.
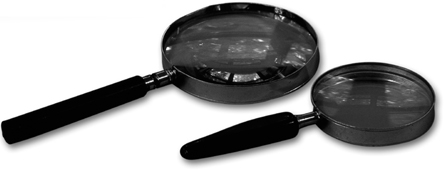
SEEING THE WHOLE PICTURE A magnifying glass is a helpful tool for artists, especially when using a photograph as a reference. Use a magnifying glass to enlarge any area of the photograph so you can see exactly what to reproduce. A reducing glass will make the image appear smaller so that you can better see any elements you may have missed. When using a photograph as a reference, hold the reducing glass above your drawing until it appears the same size of the photo. Then compare what you see through the reducing glass to the photo itself and make any necessary changes.
SMOOTHING OUT TRANSITIONS Blending stumps (also called “tortillons”) are used to blend and soften pencil strokes. When you can’t use your finger or a cloth to smooth out the transitions between dark and light values in your drawings, use the tip of a blending stump; for large areas, use the side of the stump. Rub the blending stumps on a cloth to remove the excess graphite when they become dirty. Try to employ your blending stumps sparingly, as they can smear or smudge your drawing if overused.
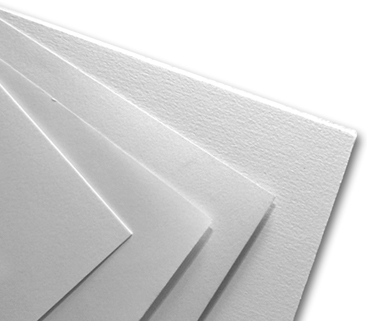
FINDING A GOOD SURFACE Drawing paper comes in a range of different surfaces, from smooth to rough; it can also be purchased in single sheets or in conveniently bound books. Most artists choose to use single sheets of high-quality drawing paper, but a sketch pad is often helpful for drawing on the go—especially when you’re drawing faces and need to sit outside and people-watch for inspiration. You may want to begin drawing on paper that has a smooth- to medium-grain texture, as this kind of paper provides the most versatile drawing surface.
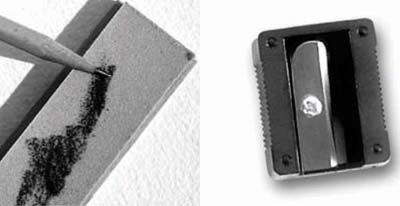
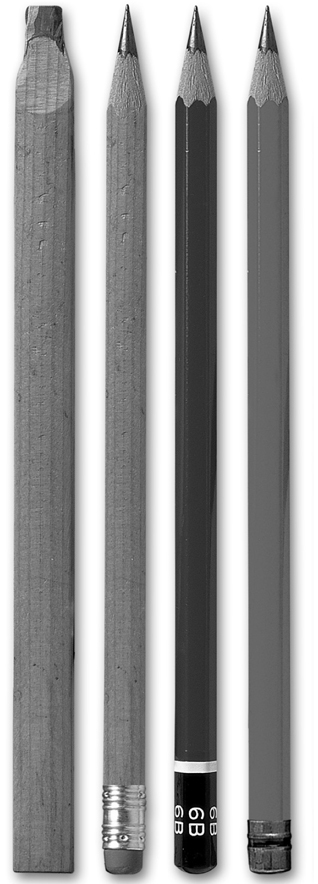
SHARPENING YOUR TOOLS Electric sharpeners can quickly create a very sharp point on your pencil, but they aren’t very portable. Smaller, handheld pencil sharpeners fit easily into a pocket or bag, and they allow greater control. A sandpaper block can also be used to form a variety of good pencil points.

