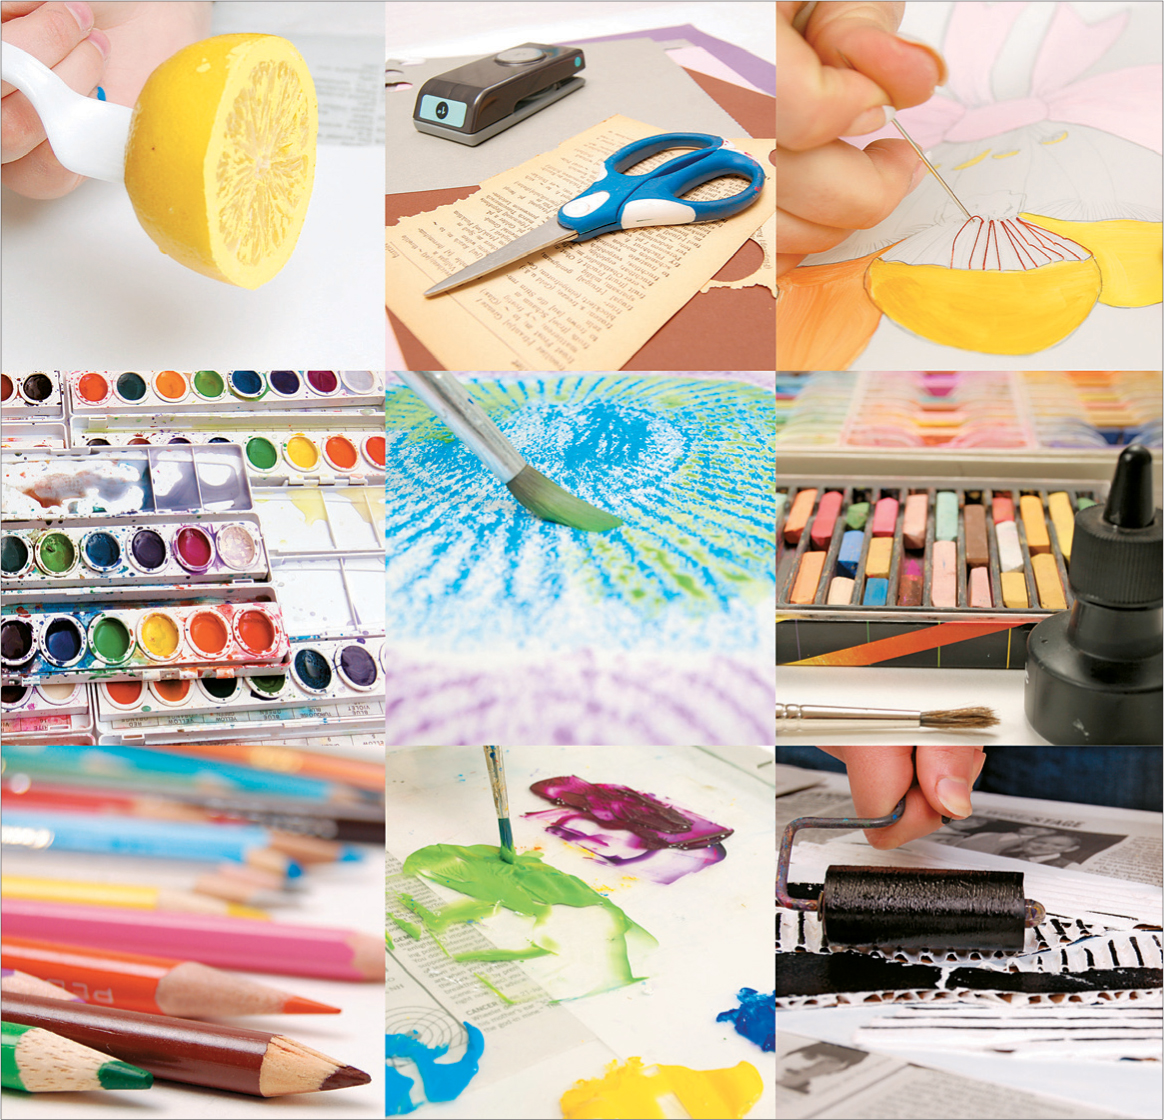
THIS BOOK IS FOR ANYONE interested in making art with others—or alone. Each Lab is a separate lesson; some are traditionally based; others are not. The units are grouped by medium, and there is some crossover in materials from one Unit to another. The Labs are set up loosely to build skills upon the previous ones; however, you may begin anywhere. Each Lab is a stand-alone project.
In this Unit, I outline what you will need to set up a studio. The list is comprehensive, but you do not need much to get started. I also provide basic steps for using the materials that appear in many of the Labs.
• Each person’s work should be wholly his or her own. Don’t work on someone else’s art. Use thoughtful language when working with others. For example, “Tell me about your painting” works better than “What is that?”
• Always use the best materials that you can lay your hands on for each artmaking session. Paper weight makes a big difference in the outcome of a watercolor painting, but you can use recycled flat cardboard with gesso as a primer for acrylic painting.
• Don’t worry about wrecking a new paper or canvas. These items can be reused—torn up for collage, primed over with gesso, or printed over.
• Promote fearlessness.
• Embrace individual style. Respect each other’s differences.
These Labs are jumping-off points. Explore them with the Go Further suggestions. Try out your own ideas. Have fun! The most important lessons in art are the ones that you discover about yourself in the process. Be brave, experiment, and fear no art!
This Unit will prepare you for making art with children and keeping things comfortable and under control in your space, no matter the size of the room. Some of you will work on a student’s desktop; others, at your kitchen table. These preparations will help make artmaking comfortable for everyone. Setting up a workspace for creating art can be daunting. These lists and tips can make it easier, whether you are working at home or in the classroom.
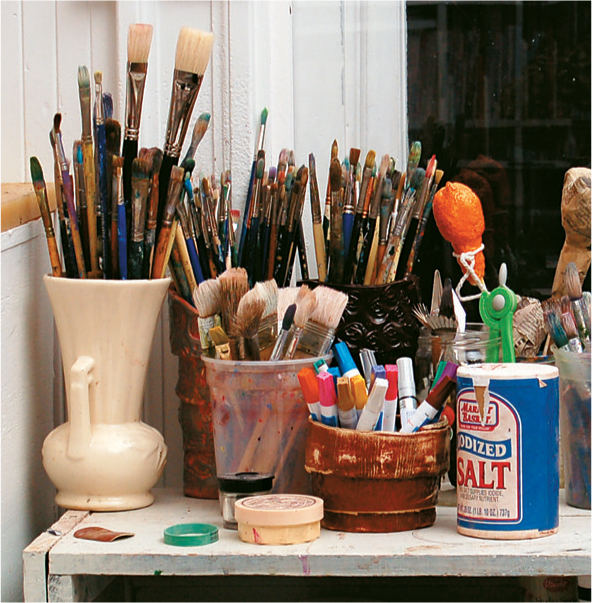
A creative place for making art is best fashioned in a comfortable environment, a place free from worry about making a mess. Making art can be stressful for some people—many think it means making a mess or creating havoc. Worry no more! As with so many things in life, preparation is the key to success, and a deeper understanding of a situation is a powerful tool.
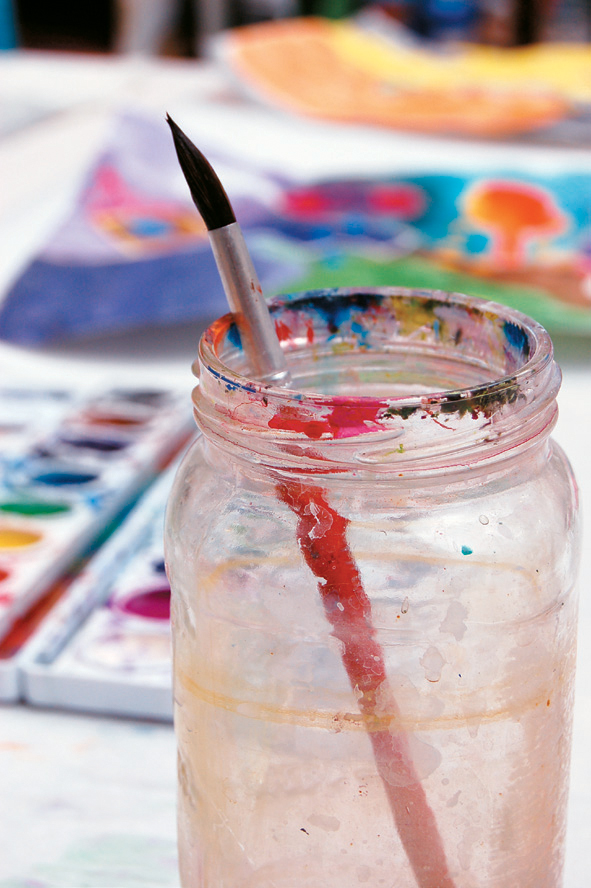
The following is a list of items, from simple furnishings to basic materials, to help you build your artmaking space. Collecting these supplies over time is the easiest and most cost-effective way to gather them; however, you might already have many of these items. Keep them in labeled boxes on shelves for easy storage.
1. Natural light or good overhead lighting. Task lighting, such as a clip-on lamp on a desk or table, is useful in smaller group situations.
2. A sturdy table with chairs set at the appropriate height for the student. The height of the table should be approximately at the student’s waist, and, when seated, the student’s feet should be on the floor.
3. A plastic table covering to protect the surface. Secure it with strong tape to keep it from slipping around.
4. A nearby water source. The best situation is a sink in the room, but buckets of water can work well, with some empty buckets available for dumping dirty water. A plastic tarp or tablecloth under the buckets helps protect the floor.
5. Small plastic containers—round and rectangular, small and large—for holding water.
6. Newspapers, good for just about everything in the mess-control business.
7. Boxes, totes, or shelves for holding supplies. Label them to make finding things easier.
8. Plexiglas or Perspex sheets, about 8" x 10" (20 x 25 cm) in size, one for each student, to use as a palette for painting, printmaking, and drawing. They last forever and are easy to clean.
9. Wax paper and aluminum foil.
10. Fiberboard or Masonite for holding paper securely for drawing or painting.
11. Rolls of clear tape, masking tape, and duct tape.
12. Smocks for protecting the artist. Large men’s shirts work well for this, as do old T-shirts.
13. Paper of all sorts: 24-lb. copy paper, 80-lb. sketching paper, 90- or 140-lb. watercolor paper, heavy cardstock, and a collection of fancy colored papers of your choice.
14. Markers of all colors and thicknesses, as well as black permanent markers, crayons, oil pastels, soft pastels, pencils in a variety of hardness, vine charcoal, colored pencils, kneaded erasers, white plastic erasers, and pencil sharpeners.
15. Watercolor pan paints, acrylic paints (both liquid and heavy bodied), tempera paint, gouache, and India ink.
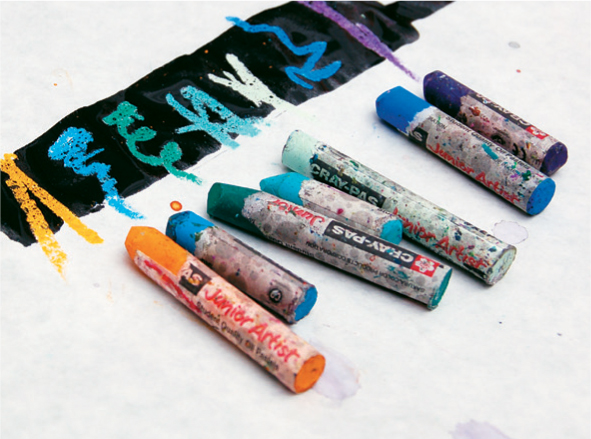
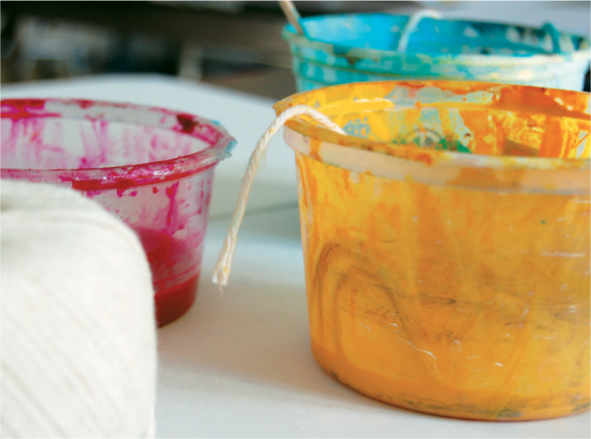
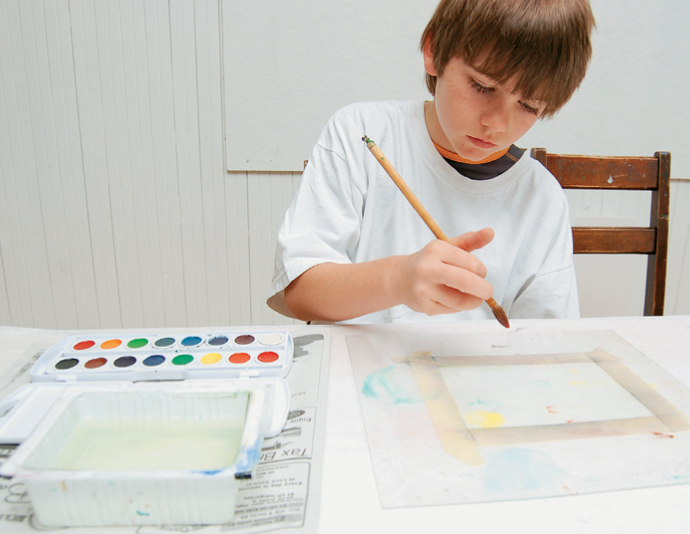
16. Water-based printmaking ink in black and colors.
17. Brayers for printmaking and mixed-media work.
18. Soft-haired brushes for watercolor and ink and nylon or bristle brushes for acrylic, in a variety of sizes and shapes.
19. Recycled items, including magazines, greeting cards, candy wrappers, old letters, graph paper, colored wrapping paper, maps, old photographs, discarded artwork, discarded books, stickers, stamp pads, balls of string and yarn, embroidery floss, embroidery hoops, small fabric scraps, buttons, textile trims, carded wool, old mats and frames, and poly-foam filling.
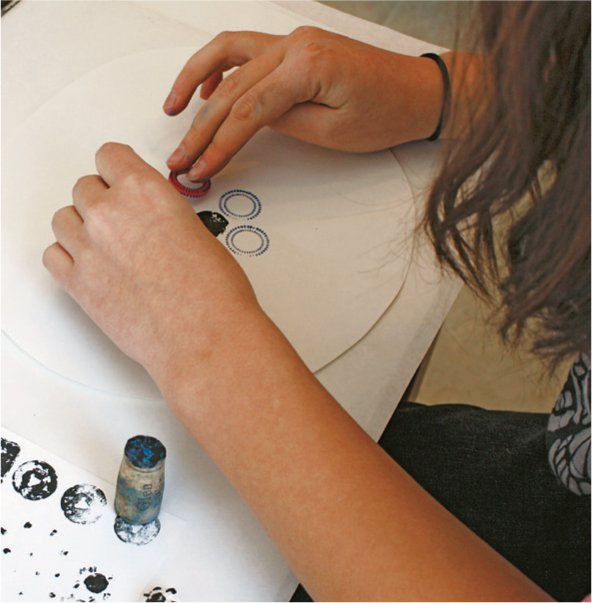
20. Found objects for printing or texturing paper; these can include corks, wooden blocks, small sponges, metal washers, corrugated cardboard, lace, craft sticks, pencils with erasers, cookie cutters, straws, plastic toys, tiny cars, cardboard tubes, assorted hardware items, Styrofoam, buttons, and any other items with an interesting shape. Plastic texture plates are available from art suppliers both online and in stores.
21. Adhesives, such as white glue, clear glue, tacky glue, glue sticks, E6000 extra-strong glue, and wood glue, as well as a hot glue gun with glue melt sticks.
22. Canvas boards, canvas paper, stretched canvas, found wood, smooth birch plywood, and fiberboard or Masonite. All should be primed for painting with an acrylic gesso.
23. Kitchen supplies, such as liquid soap, plastic bowls, wooden spoons, sponges, scrub brushes, drinking straws, old cookie sheets, paper towels, rags, clean recycled foam trays from the grocery store, butcher paper, and plastic cutlery.
24. Office supplies, including rulers, stapler, paper clips, bulldog clips, push pins, rubber stamps, and rubber bands.
25. Hardware supplies: hammer, screwdriver, nails, screws, tape measure, metal washers, sandpaper of varying grit, paint-can openers, and foam brushes.
26. A cardboard portfolio to keep work together, or an old magazine rack, a deep drawer or shelf.
27. A display area for finished work; this can be a cork board, a string with clips, or wall space.
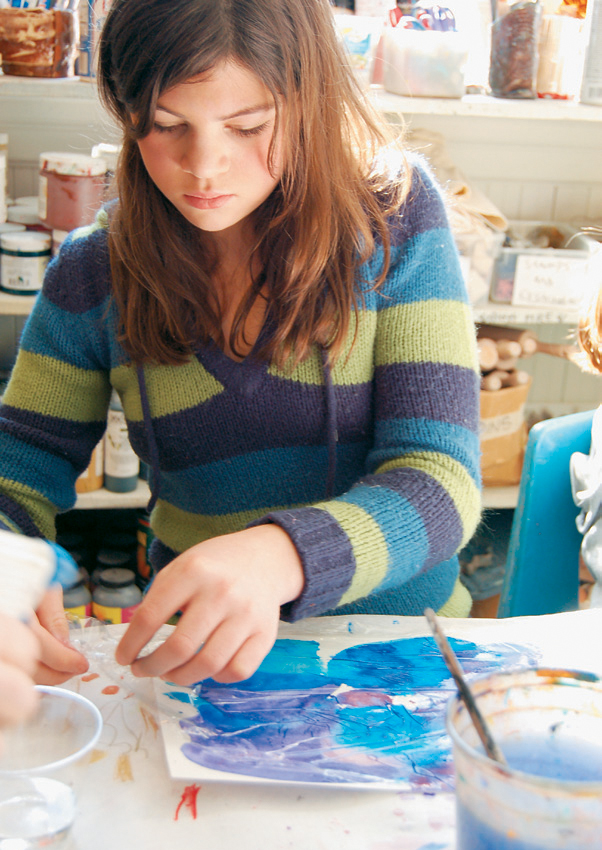
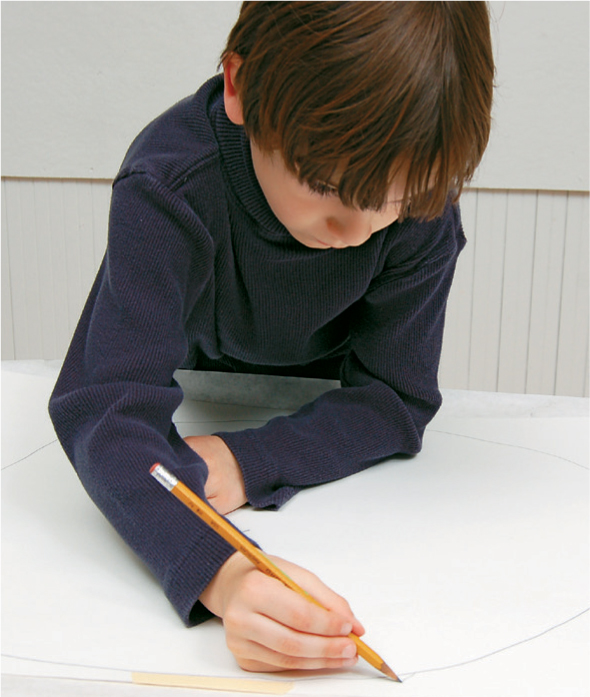
Most drawing lessons require little setup and cleanup, and, with the exception of India ink, there is little to spill. Keep India ink in small refillable bottles or shallow containers, and always work on newspaper to protect surfaces from the ink.
When using soft pastels or charcoal, have a damp paper towel nearby to keep your fingers clean.
Make drawing boards to use as a drawing surface (if you are drawing outside or without a table) from pieces of Masonite or thick foamcore. Masking tape or bulldog clips keep paper securely affixed.
Spray fixatives for charcoal and soft pastel should be used only by an adult and applied only outside. To prevent spatters, hold the can at arm’s length, and spray with a sweeping motion across the paper.
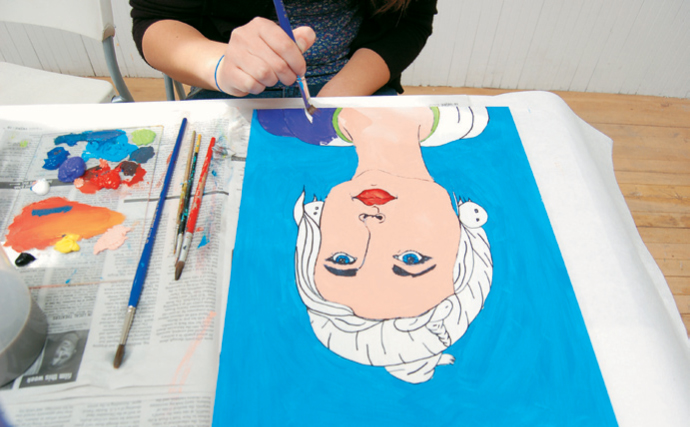
Setting up your workspace makes creating much simpler; when everything is in order, it’s easier to focus on painting.
Protect the table with butcher paper, a plastic tablecloth, or newspaper and the floor (if necessary) with a reusable tarp or tablecloth.
Place a folded sheet of newspaper on the right side of your paper if you are right-handed and on the left if you are left-handed. This is where you put your water container, brushes, and Plexiglas paint palette. An extra piece of paper folded in half again is good for wiping off water or excess paint. Set it up this way and you will avoid most accidents.
For acrylic paints, dispense coin-size amounts, add retarder to slow down the drying time, and mix paints with palette knives for easy cleanup. For gouache, a shallow-welled palette for holding small amounts of water and paint works well. Slip a piece of white scrap paper under the edge of your palette for testing colors. When finished with an acrylic painting, you can protect the work by brushing an acrylic varnish over it evenly, or you can spray the work outdoors with a clear-coat finish under adult supervision.
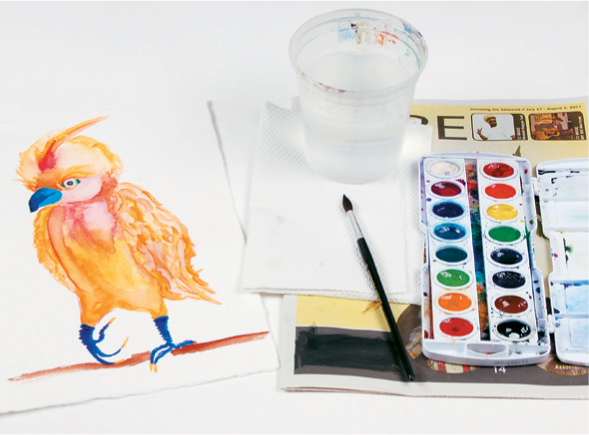
MAKE A SIMPLE COLOR WHEEL FOR YOUR STUDIO
A color wheel is a helpful tool for choosing colors. You can create a variety of effects by combining colors in different ways. Colors that sit next to each other on the color wheel are called analogous colors. When combined, their effect is harmonious. Complementary colors sit opposite one another on the color wheel and have a strong contrast—for example, orange and blue, purple and yellow, and red and green. Combining complementary colors makes your artwork pop! Throughout this book, you will explore the effects created by using these colors in different combinations.
Use watercolor or acrylic on paper or board to make your color wheel. Think of the wheel as a clock. Paint a spot of red at 12:00, a spot of yellow at 4:00, and a spot of blue at 8:00. Then add a spot of orange at 2:00, a spot of green at 6:00, and a spot of purple at 10:00. This will show you the basic color wheel with the complementary colors.
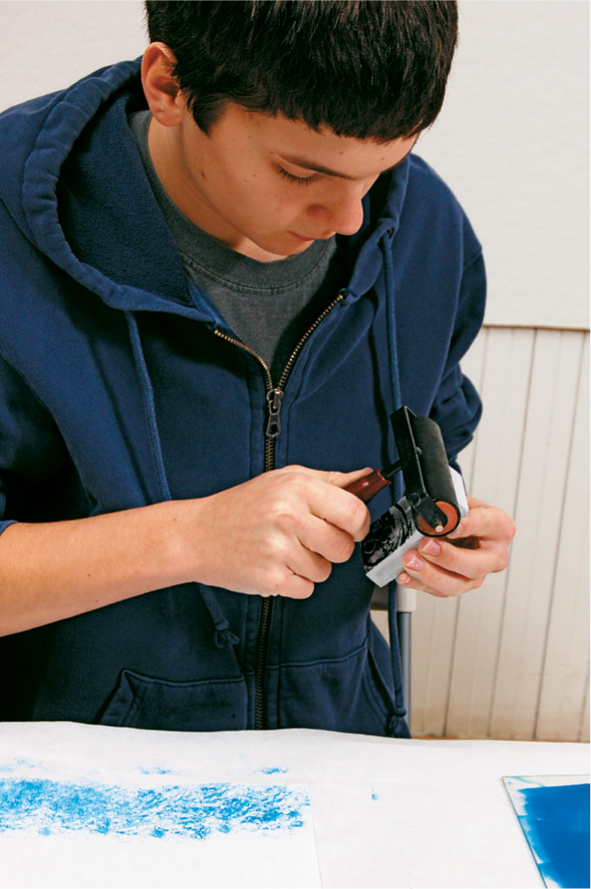
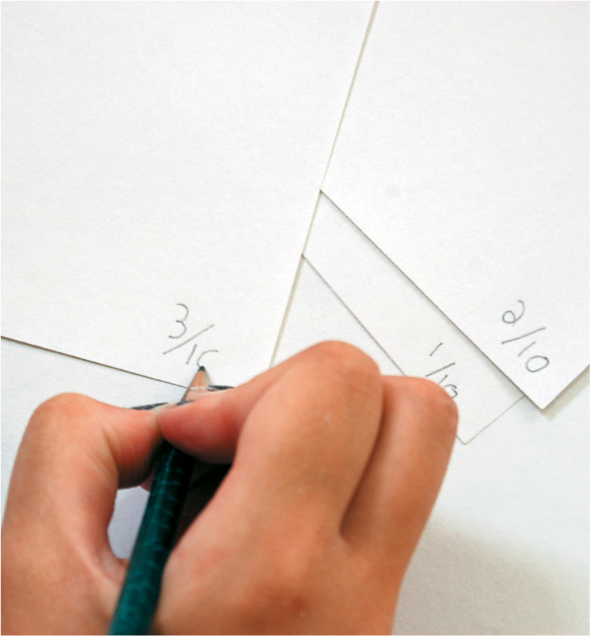
Start your printmaking experience by grabbing a stack of newspaper. Open up five sheets to cover your work area. Layering it is best, up to ten sheets, so you can pull away the inky ones and always have a fresh one underneath as you go. Have a shallow rectangular container of water handy to wash the brayers off when changing colors during the process. Have your clean printing paper in a stack nearby but not on your work surface. Number them in pencil in edition form, as instructed below, and sign them. Have a square of damp paper towel near your water container to wipe off your fingers if they get too inky.
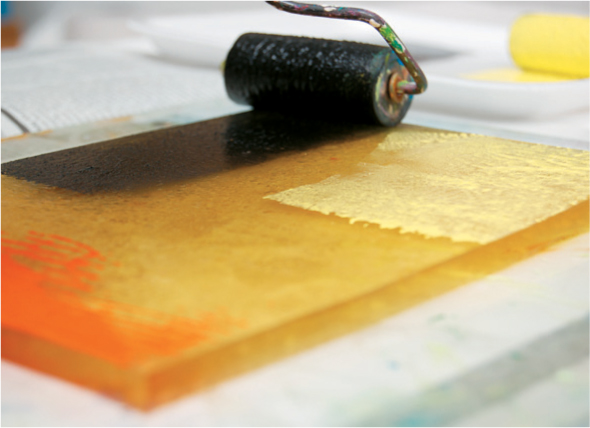
Use the Plexiglas palette (or polystyrene plate or tray) for your ink station and a second piece for monotypes. When inking, roll the ink away from you slowly, in line with the width of your brayer and the length of your Plexiglas, or less. Pull the brayer back toward you and continue to roll until the ink is smooth. You can also use foam trays for the ink. Now you are ready to print!

PREPARING PRINTING PAPERS IN AN EDITION
Printmakers sign their prints by edition. Monotypes are generally one final print, or one plus a second, fainter “ghost print,” from one printing plate. Our foam-plate printing plates can make multiple prints, as does the silk-screen process. To prepare the printing paper ahead of time, you can sign the print at the bottom right, put the title in the middle of the page, to the left of your signature; place number of the individual print over the total number of prints in the edition (as if it were a fraction) at the far left.
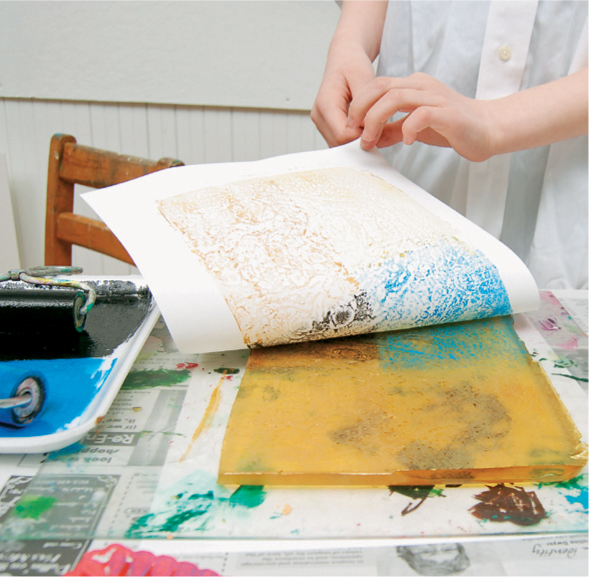
GELATIN PRINTING
To make a gelatin plate, start the day before, to allow the gelatin to set up overnight.
Use an unflavored gelatin. Small baking tins are a good choice for molds. The mold can be any size you want, but choose one that will fit the size of your finished artwork: if you’re not sure, start with a pan approximately 8" x 10" (20 x 25 cm) in size.
Your gelatin plate should end up being about half an inch (1.3 cm) thick. To determine the amount of gelatin needed, measure the amount of cold water required to fill the mold to half an inch (1.3 cm). You’ll need two tablespoons (14 g) of gelatin for every cup of water. Line the tin with plastic wrap, being sure to wrap it over the edges; you’ll use the wrap to remove the gelatin when it’s set.
To make the gelatin:
• Measure the appropriate amount of cold water in a saucepan. Add the gelatin and stir well to dissolve it completely, and then bring to a boil, stirring all the while.
• Allow it to cool, and then pour the mixture into the prepared mold. Place the mold in a level spot of your refrigerator overnight.
• To remove, gently pull the gelatin out of the mold and place it on the Plexiglas. You can store the gelatin, covered, in the refrigerator for up to a week.
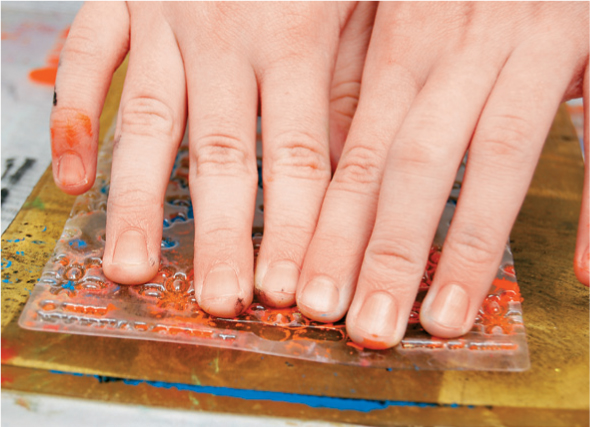
Objects you can print from include corks, wooden blocks, small sponges, metal washers, corrugated cardboard, lace, craft sticks, pencils with erasers, cookie cutters, straws, plastic toys, tiny cars, cardboard tubes, assorted hardware items, Styrofoam, shells, seed pods, old toothbrushes, buttons, and any other items with an interesting shape.
Fruits and vegetables can also be used. Try lemons, onions, lettuce leaves, radishes, mushrooms, celery, broccoli florets (cut in half from the top down), carrots, peppers, and apples or pears (cut in half lengthwise and crosswise for different looks). To cut, use a sharp knife, and cut straight. Blot produce on paper towels to absorb excess juice. A fork stuck into large fruits or vegetables as a handle is helpful for little hands or slippery produce. The produce can be washed off and wrapped and stored in the refrigerator for a week for reuse.
Texture plates are flat plates with a raised pattern and are used to make rubbings. To create a rubbing, place the plate under a piece of paper and rub over the top with a crayon or oil pastel. Texture plates can be purchased from most art suppliers. They sometimes lurk in the preschool or clay sections of catalogs. I have had the same six plates for twenty years and use them almost weekly for one thing or another. They can be replaced with found objects, such as sneaker or flip flop soles, coins, combs, leaves, ferns, lace, corrugated cardboard, or anything else that will create an imprint.
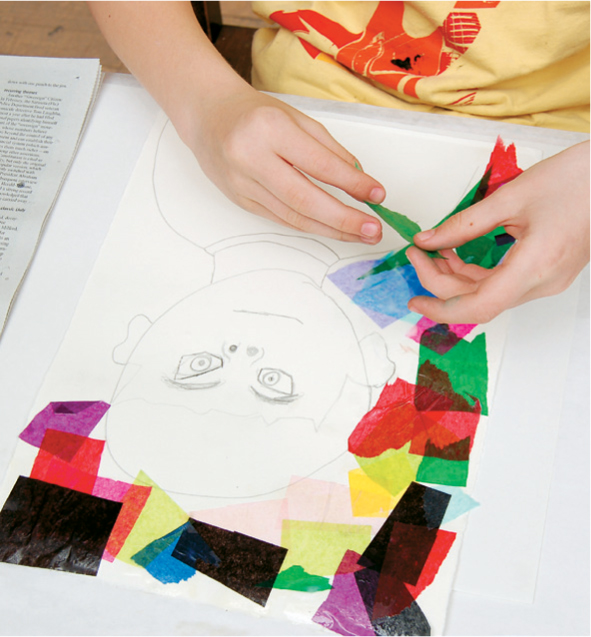
Paper, from junk mail to beautiful handmade papers, can be collected from many sources. For mixed media, consider using old letters, stamps, wrappers, greeting cards, ticket stubs, old books, dictionaries, wallpaper sample books, graph paper, ledger paper, gift wrapping, and cardboard from cereal boxes. Keep a box for your papers and a small envelope for tiny pieces too beautiful to throw away.
GLUING, TEARING, AND CUTTING PAPER
To keep your artwork from getting sticky, place a piece of scrap paper under your project when gluing paper pieces onto your artwork.
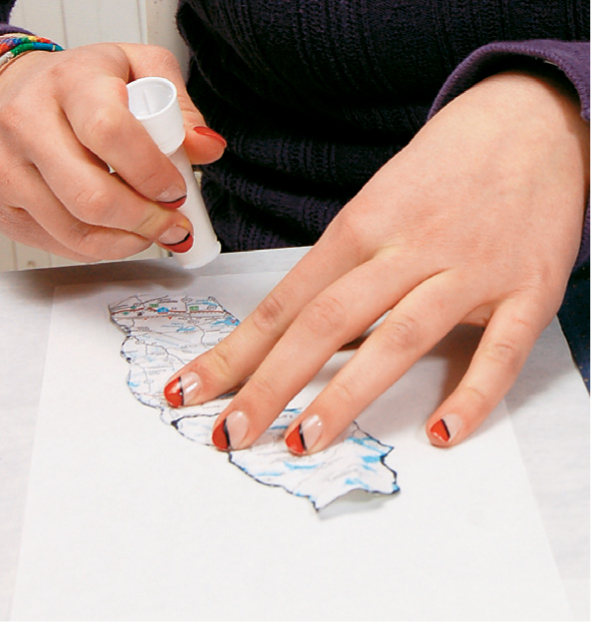
Tearing paper produces a different look from cutting paper. Torn paper gives an organic look, with soft edges; cut paper is sharp and hard-edged.
Paper has a grain just like the wood it’s made from. Tearing with the grain is easiest to control. Try this with newspaper to experiment! Tearing across the grain is more difficult. With a colored or printed paper, pulling the paper from the top to the bottom with your right hand leaves the left side of the paper with a white border. Sometimes that white edge or border is perfect for a special outlined look. Keep your fingers pinched close together for the most controlled tearing.
When tearing thick, handmade paper, first draw a line with a wet brush along the tear line, then pull the paper apart.
Cutting paper always gives a crisp edge. If your paper is large, you might want to cut it down before making your detail cuts. Trying to cut a small piece out of the middle of a large piece of paper is challenging. Cut in, to get to it, and then remove the excess around it.