LEAD WORK AND CHASING
When used as a cover flashing, lead work is a vital aspect of sealing a flat roof. When assessing rainfall onto a roof, consideration must be given to driving rain onto the adjoining walls. In heavy driving rain, a large amount of water can enter the building if the flat roof is not correctly sealed to the main building.
As a general rule, torch on felt should not be directly applied to lead; the reason for this is that metal such as lead has much more of a tendency to move and flex with differing temperatures. If roofing felt, which is far less elastic, is attached to lead the movement between the two will be a detriment to the flat roof. The exception to this rule is for a lead flashing on the sides of a dormer roof, whereby a flat roof passes through a pitched roof, and in designs such as mansard roofs, where a flat roof leads directly onto a pitched roof and the lead should be fixed independently to the flat roof covering. The flat roof should, in this situation, drain from the surface by means of a welted drip edge.
LEAD FLASHINGS FOR DORMER ROOFS
Whenever a flat roof is being installed to the top of a dormer or bay window roof, a piece of lead must be installed by tacking in place and then dressing around profiles of tiles and drip battens. The lead acts as a path for the water to flow off the side of the roof and is either deflected to continue to run down the tiles, or onto the flat roof itself. The lead is always placed under the felt cap sheet and it is good practice to place the lead on top of the underlay. This prevents any water, if it manages to enter the seal of the cap sheet, from entering the building below.

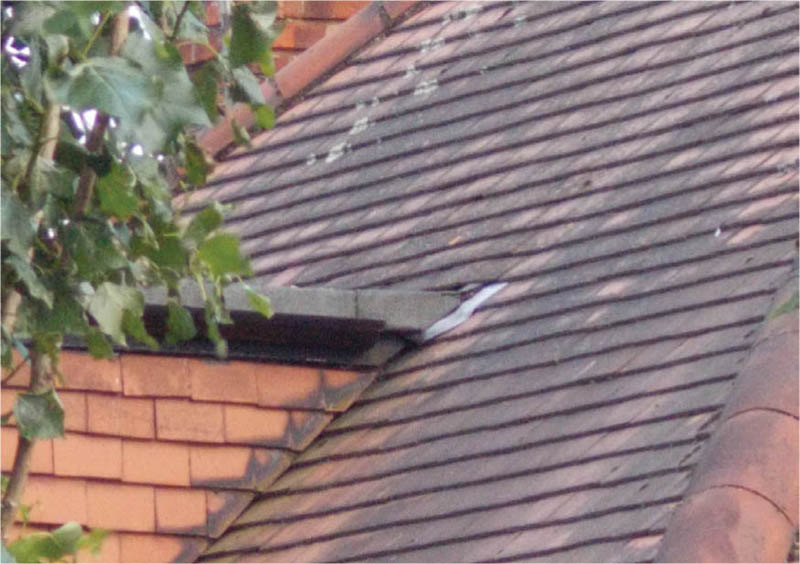
Lead is installed where a flat roof passes through a pitched roof.
There are lead alternatives which prevent the occurrence of metal theft which is becoming ever more popular. Another option to installing lead, or any other metal cover flashing, is to create a flashing from the cap sheet of the chosen felt. This option, although cheaper will, unsurprisingly, not last as long as a metal cover flashing. Installing a felt cover flashing can be quite tricky to do at first, but practice will increase the speed and ease of work. The nature of lead or its equivalents as a flashing means that it is designed to be robust and last for many years so it is a much better choice, but if the budget is tight or these products are not easily obtainable, felt flashings are an additional option.
To install a felt cover flashing, the chase must be as clean and dust-free as possible. A thin, soft paintbrush is ideal to remove all of the dust and debris and the air forced out by a hot air gun can help to remove the remaining dust. Strips of felt are cut at a width determined by the desired aesthetics of the roof. The hot air gun is then used to tack weld the flashings into the chase at three points, at both ends and at the middle.
A penny roller can then be used to complete the seal into the chase, with the hot air gun placed under the flashing behind the roller.
The felt may become scratched during this process, but the section that is scratched will not be seen, as the chase will be filled once completed.
Once the whole section that enters the chase is welded and allowed to cool, heat can be applied to the underside of the flashing that is to be welded to the up-stand. The choice of welding with a hot air gun or the propane burner will depend on the height of the up-stand. If there is a small up-stand present, the use of the propane burner would be beneficial as the hot air gun may not be appropriate due to access issues for welding. If the propane burner is used, however, an off-cut of cap sheet should be placed strategically to avoid damaging the cap sheet on the up-stand.
Once the underside of the flashing has been heated sufficiently, the roller can be used to gently roll the flashing into position onto the up-stand. Remember to leave the very bottom section of the flashing unsealed if possible. This will allow a nice straight cut and a 100 per cent weld with the hot air gun will be achieved on completion.
In certain circumstances, the finishing used for the building facade may restrict the options available for lead work. This may be because of a pebble dashed render, or a ‘no fines’ building construction. In these situations, a timber batten can be used, fixed at the desired point and dressed with either lead or felt cap sheet. Materials can then be used to match the existing building; for example, render can be applied to the wall and onto the top of the batten.
There are always new products emerging that can ease installation. Other products are transferring from the industrial to the domestic flat roofing market and are equally efficient. Termination bars, for example, can be used instead of lead and remove the need for creating a chase in existing brickwork. This is an ideal product to use if mortar or integrity of the brickwork is in any way compromised, as termination bars entail mechanical fixing into the brickwork and do not require too much of a disturbance to existing building elements.
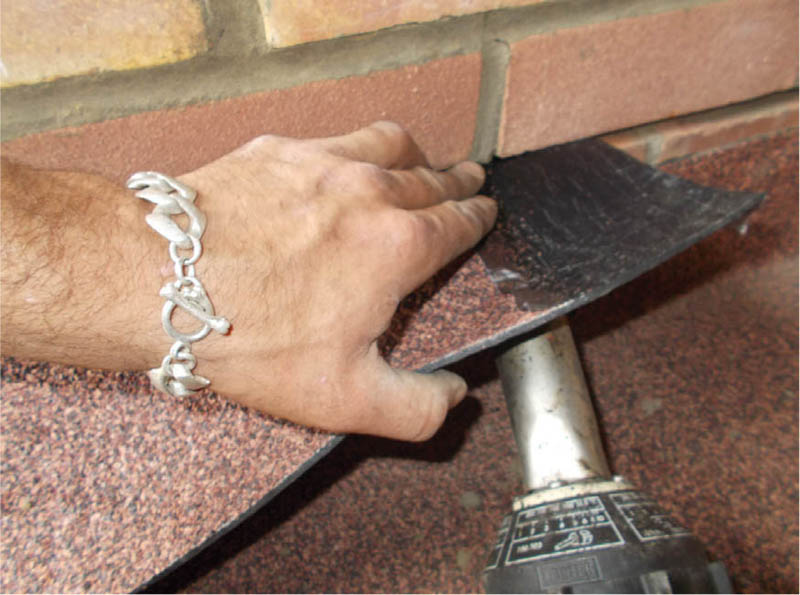
Tack weld at three points to hold the cover flashing in place.
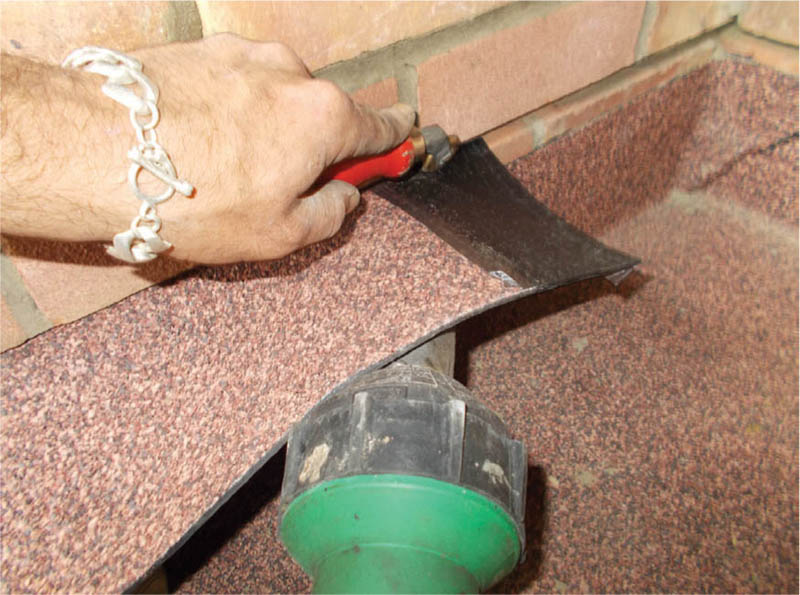
A penny roller and hot air gun sealing flashing.
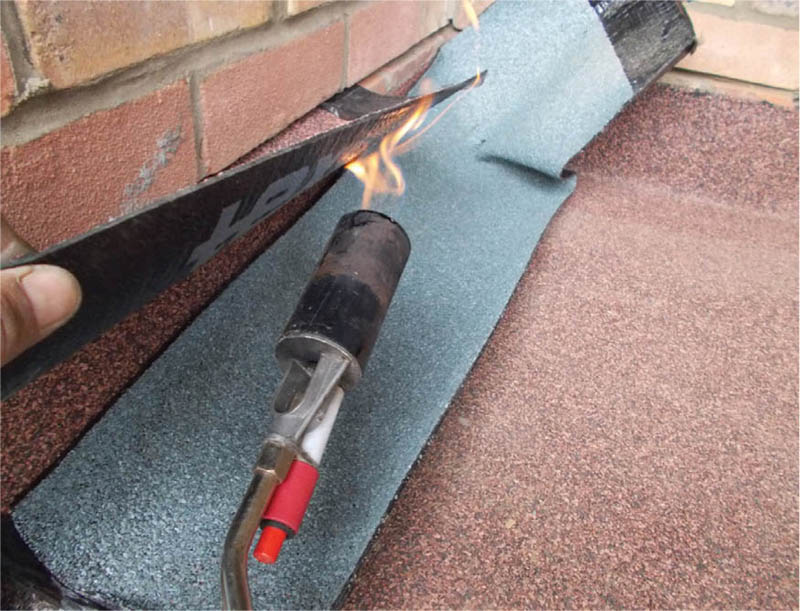
Torching the cover flashing down whilst protecting the roof deck.
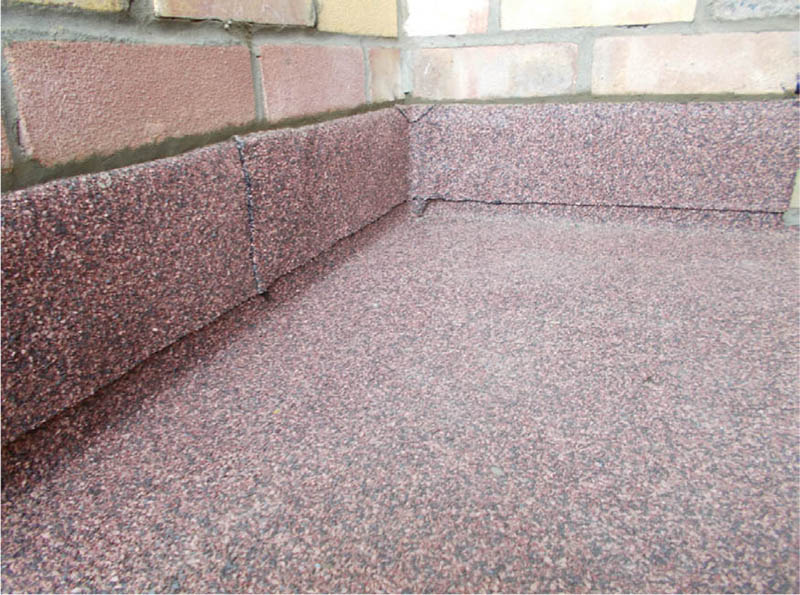
Straight cuts should be kept along finished edges.
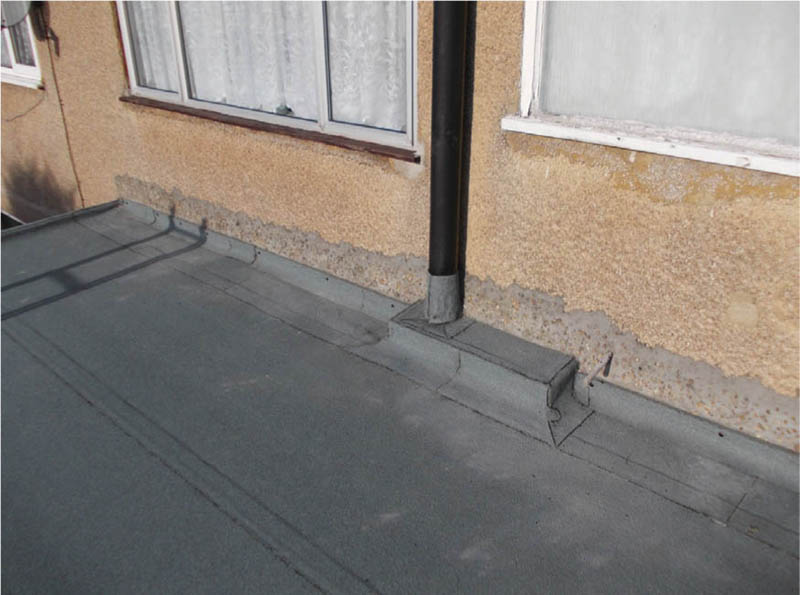
A timber batten can be felted and render and pebbledash applied to the top.
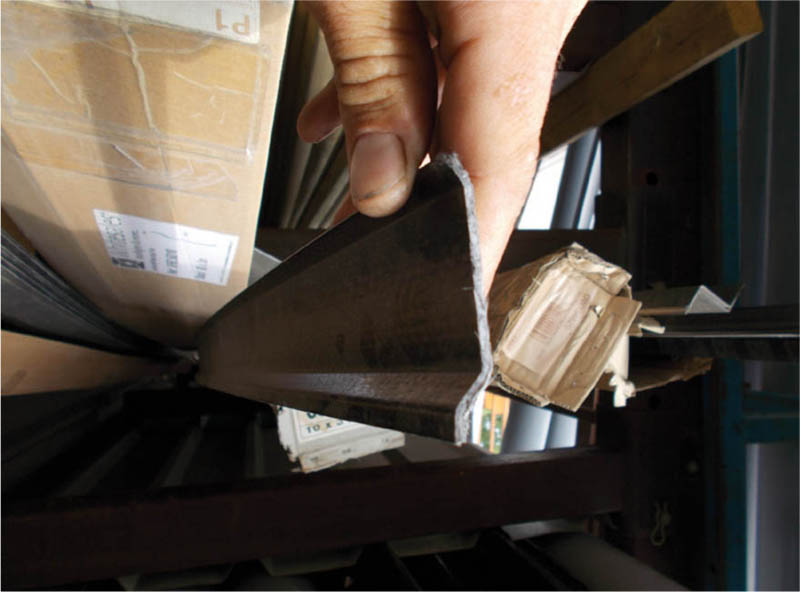
A termination bar with a lip at the top edge, designed to take a silicone seal.
The waterproofing layer is installed flush with the brickwork and a bead of waterproof sealant is placed directly above that. The termination bar is then mechanically fixed to the brickwork, squeezing the bead of waterproof sealant to the back of the termination bar. Termination bars have an angled lip at the uppermost edge, once fixed a second bead of waterproof sealant is applied to this lip and smoothed to create a fall and a smooth surface for rainwater run-off.
CHASING OUT BRICKWORK
chases in brickwork should be cut using a grinder, at a height of around 10mm, or at the same size as the pointing on the brickwork, and at a depth that will fully accommodate the return that you form on the lead flashing, but at a minimum of 25mm. Care must be taken not to damage the course of brickwork immediately above the chase, as this will be seen on the finished roof.
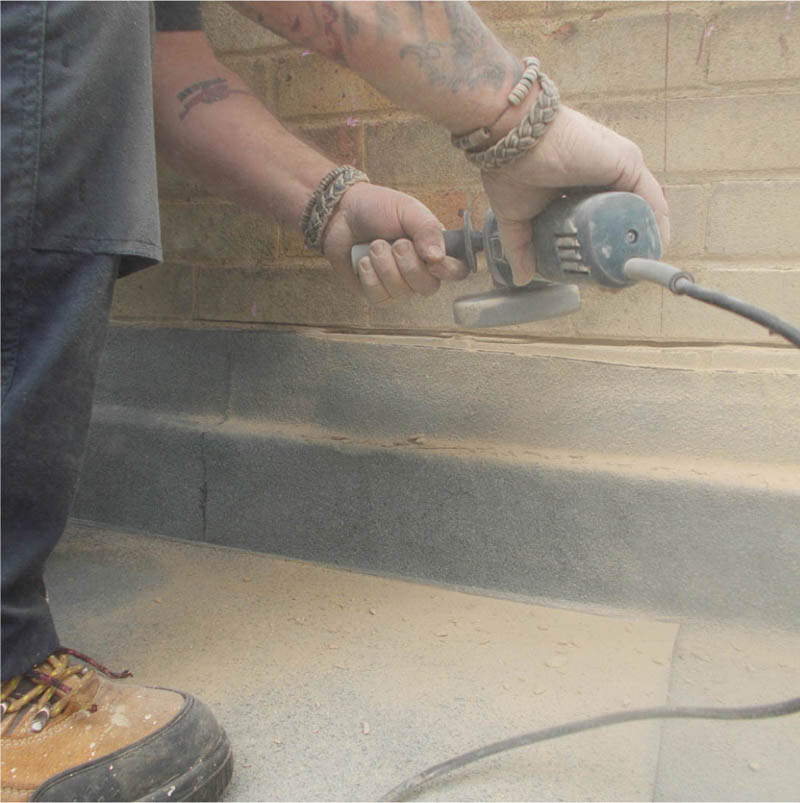
Chasing out brickwork with a grinder.
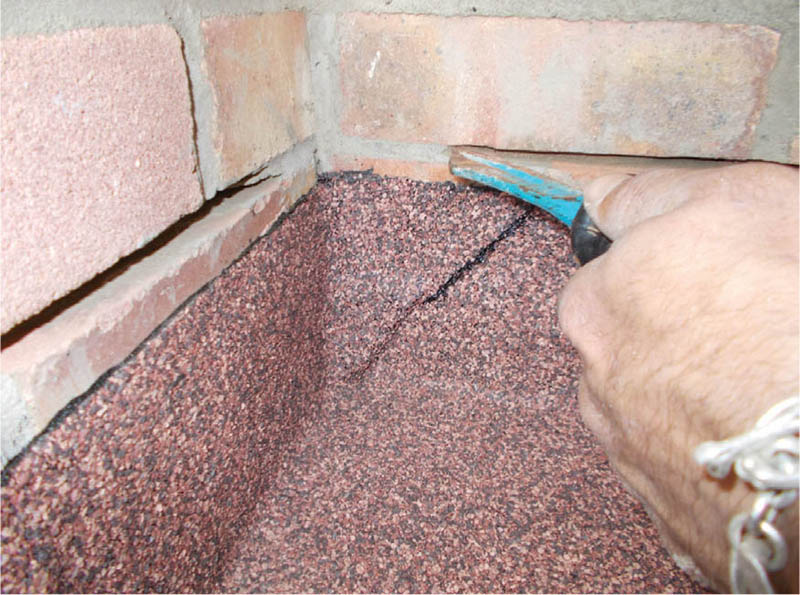
Plugging a chisel into an internal corner of a lead chase.
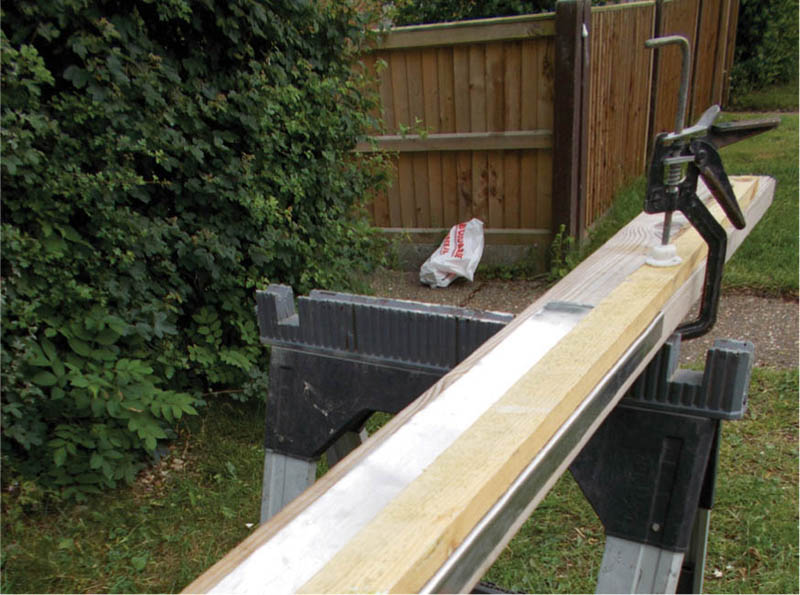
Lead on the bench with timber on top, clamped and measured 30mm over the edge for the fold while beating.
The positioning of the lead cover flashing should be below any DPC in any existing walls surrounding the roof, whilst not compromising the minimum up-stand height of the roof. In a warm roof where the insulation installed against the up-stand creates a ledge, the lead cover flashing should be inserted at a course higher than the insulation, so as not to provide an area where rainwater may collect.
Internal corners are impossible to cut safely with a grinder, as the protective guard will prevent deep enough access. Such corners will need a hammer and bolster or plugging chisel to chase out.
When a replacement roof is being installed, the chase should ideally be cut just after installing the new substrate, and certainly before the final layer of the new roof is installed. This will ensure the debris from the chase doesn’t scratch or mark the newly installed cap sheet.
Always extend the chase by approximately 50mm past either side of the flat roof to ensure the vulnerable edges are not exposed to the elements.
Lead for flat roofs can be purchased at different sizes:150mm rolls are mainly used for flat roof standard flashings. Code 4 lead should always be used and also patination oil should be used on completion to seal the lead.
To form the lead, a clean flat bench should be used. Roll the lead out and ensure the full length is flat without any indentation or damage. Cut the lead to lengths not exceeding 1.5m, any longer than this and the lead will be prone to splitting and tearing in future, due to the stresses applied with building movement and temperature change. Extend one side of the lead over the bench to the desired size to be inserted into the wall, which should be approximately 25mm. A piece of timber should then be clamped in place on top of the lead, flush with the edge of the bench. Dress the lead down to the edge of the bench, creating a ninety-degree fold in the lead: this is the section that will be inserted into the wall.
When measuring the length of lead required for the roof, try to allow about a 100mm overlap for each section.
Once the lead flashings are cut and formed, bring them up to the roof and offer them into place, remembering to allow for the 100mm overlap. Doing so will give you a starting point and will also point out any sections of the chase that need to be addressed.
SECURING LEAD FLASHINGS
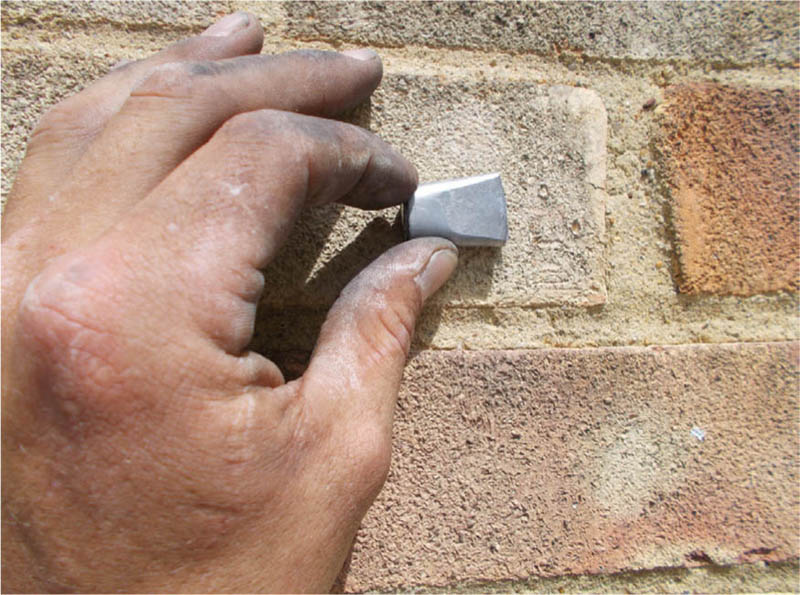
There are products designed to hold the lead flashing in place that come in the form of a clip. The clip is balanced on the edge of a bolster, or pin-shaped tool and then forced into the chase to secure the lead. The only drawback to these clips is that the size of the chase must be at a certain width to accommodate them. In repair situations this is not always the case.
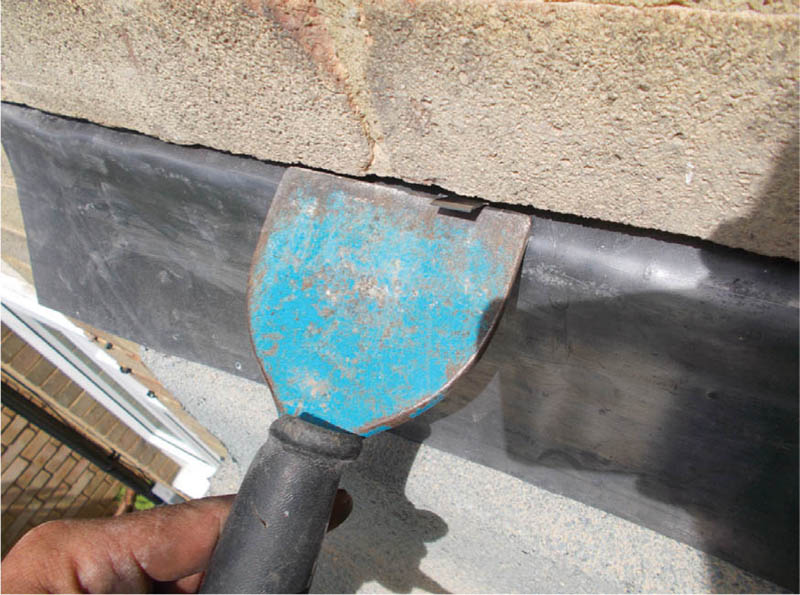
A lead securing clip being installed.
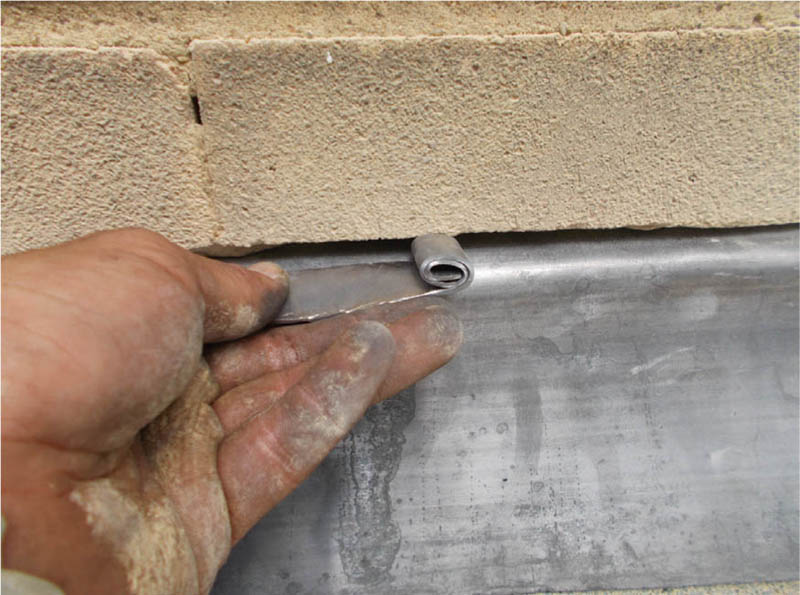
Cut a wedge from lead, fold it and hold it up to the chase until it is slightly thicker.
If the situation arises where the chase is too wide or too deep to accept these clips and a secure fixing of the lead is not achieved, a few off-cuts of lead can be cut to do so by creating lead wedges. To do this cut a few strips of lead, about 25mm wide across the width of the roll. Fold the lead over and over again, holding it up to the gap between the lead flashing and the brickwork after each fold and repeat until the piece of folded lead is slightly thicker than the chase.
Using a hammer, carefully squash the lead wedge on the layered side and gently tap into the chase.
Repeat these steps across the length of the flashing, leaving the final wedge out until the next flashing is inserted. A 1.5m flashing will usually have four to five wedges.
Squash one end of the lead wedge with a hammer to allow it to be placed into the chase.
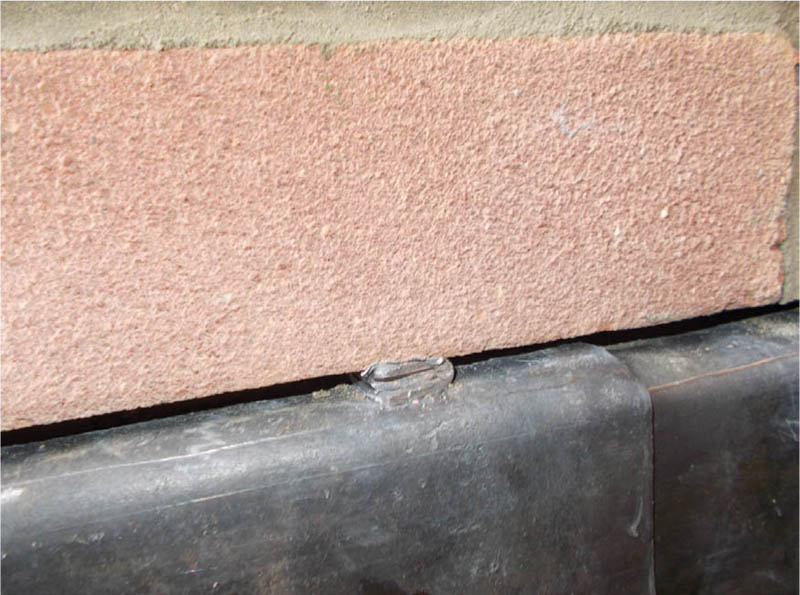
Lead wedged into the chase before being buried past the face of the brick.
Lead Flashings in High Winds
If the location and topography of any roof suggests that high winds will present problems with wind uplift during a roof’s life, a slit at the bottom of each lead flashing should be created which will hold the bottom of the adjacent lead flashing in place.
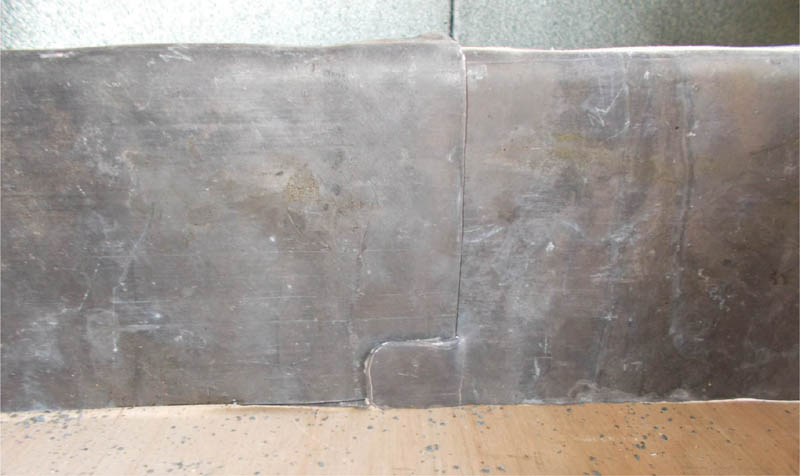
Lead flashings can be cut with small tabs to secure the adjacent flashing.
These wedges will hold the lead in place in all weathers, so the wedges must be secured tight into the chase. Using a hammer and bolster, force the wedge into the chase until it is no longer visible. This should take quite a few strikes, as the wedge should be tight inside the wall to hold the flashing in place and protect against wind uplift.
INTERNAL CORNERS OF LEAD FLASHINGS
An internal corner of a lead flashing is made weather tight by using an additional piece of lead to that of the main flashing. Measurements should be taken and a small slit made at the 25mm top fold section that will enter the chase and the lead can then be folded into the internal corner. The lead flashing can then be offered into place and the wedges inserted as usual.
The additional piece of lead, which will be square in shape, with one rounded corner and a lot smaller in size, is then wedged into the corner using the normal technique. The small piece of lead is placed into the corner so that two sides of the lead enter the chase and touch the walls, and the rounded corner protrudes above the centre of the internal angle. The lead is then dressed down to cover the cut, which had to be made for the lead to bend into the corner. In many situations where this is not done, a threat of water ingress can occur at the internal angle of the lead and enter the underlying system.
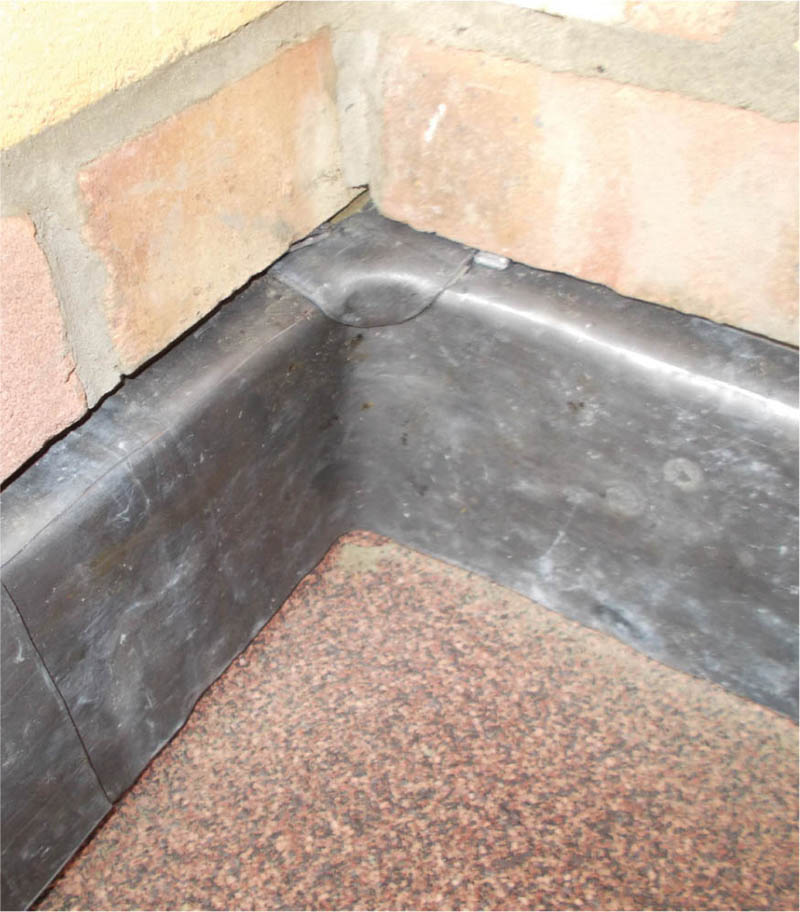
An additional piece of lead wedged into the internal corner and dressed down.
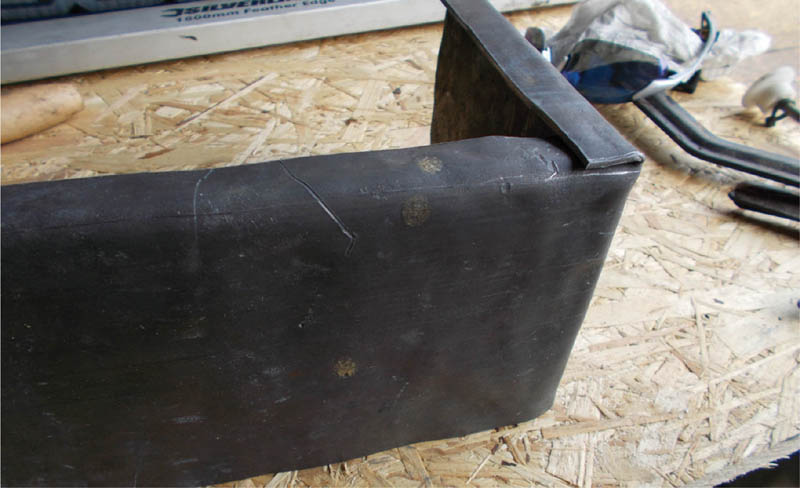
An external lead corner is cut and sealed using the top fold.
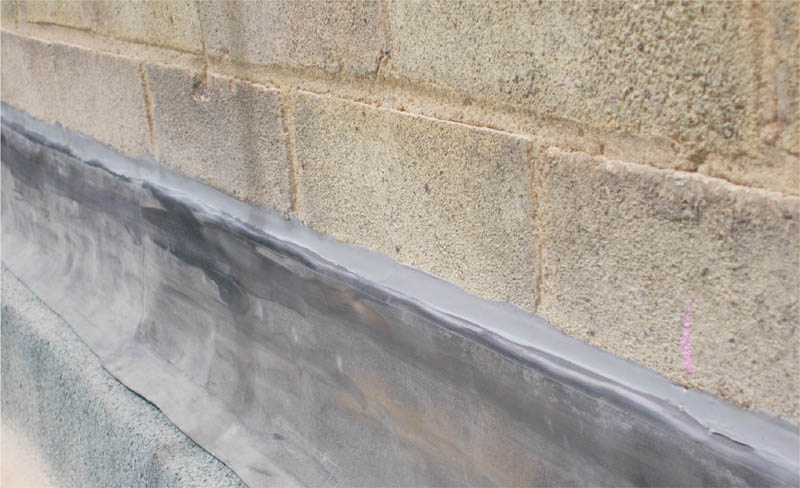
A mastic seal is applied to make the lead flashing watertight.
EXTERNAL CORNERS OF LEAD FLASHINGS
The external corners of lead flashing are created using the fold on the top of the flashing that enters the chase. The measurements are taken of the point at which the lead has to be folded. This will again be through the 25mm top fold entering the chase. When the cut is made and the external fold is created, the two angles of the top fold will cover one another, creating a good seal. When sealing this section with the chosen material to fill the chase, pay careful attention to this point to ensure a watertight seal.
There are different ways of filling and sealing the chase for flat roofs: traditional sand and cement, lead sealing mastic and a new type of rubber gasket. The choice is entirely down to personal preference, as all are acceptable. Bear in mind the aesthetics of a building when making your choice, the traditional look of sand and cement may want to be upheld to blend into an old building.
Follow Manufacturer’s Recommendations
If the lead is to be omitted from the design of the roof and an alternative material is used, ensure manufacturer’s recommendations are adhered to. Some material can degrade over time if a chemical reaction occurs with the wrong products.