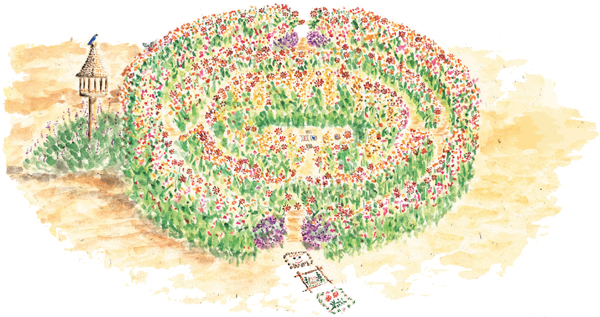
Curving, turning, narrow halls, birds fly through the leafy walls. My friends and I spend long, hot days, playing hide-and-seek within the maze.
Check to make sure that nobody is watching . . . then slip through a small opening in a hedge of flowers and disappear into the secret world of your maze. Crawl through its narrow, curving pathways, trying not to make any false turns, until you reach the inner circle. It’s your haven where you can retreat from the rest of the world.
No one can see you, but you can hear everything going on outside your hideaway. Inside, you can be alone with your thoughts, read, write in a journal, or share time with friends.
Towering orange-petaled Tithonia blooms and golden sunflowers, paint-box-colored zinnia, lacy-leaved sweet Annie, and feathery cosmos form the leafy walls of your maze. When the flowers begin blooming, you’ll be surprised constant comings and goings of wild critters in your maze. Sit quietly, and you may become a part of some real-life garden drama.
Invite family and friends to help you make a stepping-stone art gallery with a collection of flower pictures created right in the ground. Lead guests on a tour of the creations, which takes them into the heart of the maze.
All summer long and into fall, you’ll be able to cut dazzling bouquets from your garden—some to keep and some to share.

Select a flat 18-by-18-foot area that gets at least six hours of sun daily. To form your maze, you will make three circles, each with a different radius: 3, 6 and 9 feet. Poke a stake into the center of the plot and loosely tie the end of a 9-foot rope to it.
Have your child grab the end of the rope, stretch it to full length, and walk in a circle. You can follow behind with a hoe and use it to outline the circular bed. Repeat this procedure holding the rope at the 6- and then 3-foot points to form two additional circles.
Each of these rings is the outer edge of a 1-foot-wide planting bed. The remaining areas are path-ways. Leave at least one opening in each planting ring so you can move from one section of the maze to another. Prepare the beds for planting (see Preparing the Soil). Work a 2-inch layer of well-aged manure into each bed.
Begin planting when temperatures remain above 70°F. Flank the two openings of the outer ring with scabiosa seedlings; place them in holes twice the width and depth of the root balls. Pretreat the holes with vitamin B1 (see Planting Seedlings). Then alternate the seeds of sunflowers, zinnias, Tithonias, and cosmos throughout the rest of the rings. When you get to the center ring, add golden-leaved sweet Annie to the lineup. Sweet Annie will infuse your hideaway with a lively herbal fragrance.
Plant seeds ¼ inch deep every 12 inches, taking care not to plant over the openings in the rings. Pat soil firmly over the seeds, and water thoroughly. (See Planting Seeds.)
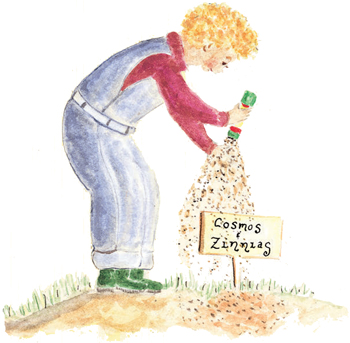
Newly sown seeds need to be kept moist to germinate. Each day, poke your finger into the soil in different areas of the maze, and water if it feels dry. Watch for insect or cutworm damage on sunflower seedlings: You may see a few plants that look as if they were chopped off at ground level. Protect them with paper cup collars if necessary (see sidebar.)
For the first month, feed your young plants every two weeks with a half-strength dose of liquid kelp and fish emulsion; after that, give them a full-strength feeding every four weeks. Always moisten the ground with water before feeding. To prevent mildew, direct streams of liquid at the base of the plants rather than at the delicate leaves and blossoms.
Be sure to keep those greedy weeds from gaining ground. If you pull them out when they’re tiny, your beds will stay weed free.
If your tall sunflowers need support, drive a wooden stake at least 12 inches into the soil, and loosely tie the stems to the stake. Use strips of cloth or old stockings as they do not cut into the plants stems. Scabiosas in bloom sometimes get a bit floppy and need the support of small stakes.
Don’t be afraid to cut colorful bouquets from your Flowery Maze Tithonias, scabiosa, zinnias, and cosmos are exuberant bloomers—the more you cut, the more they will bloom. Just remember to leave enough flowers for the birds and bugs and for your gallery of whimsical, pressed floral stepping-stones.

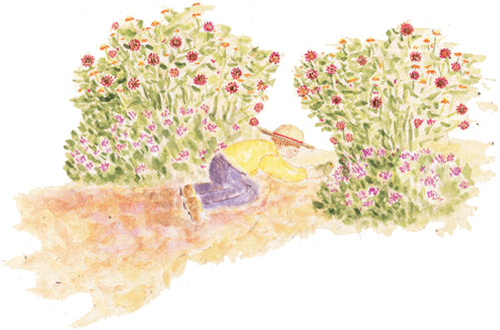
Hunker down for a toad’s-eye view of your maze. Creep slowly through the winding pathways. Stop, close your eyes, and listen to the rustling of the plants and the conversations of the birds and bees.
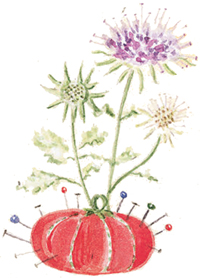
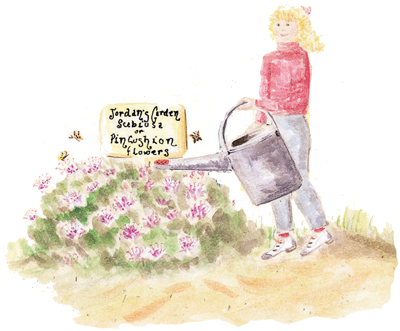
1. Gently run your hands over the scabiosa. Can you see why its common name is pincushion flower?
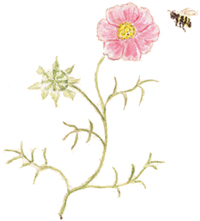
2. Find an unopened cosmos and observe it daily. The bud splits open, the petals spread, and the center “disk” flowers open from outside in. Each tiny disk flower then makes a single seed that turns into another flower.
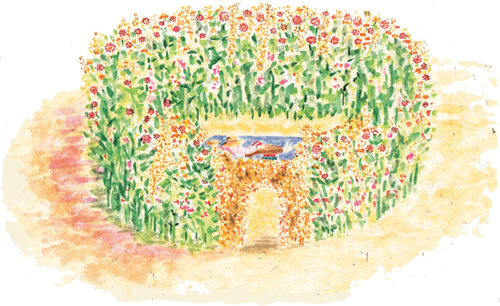
3. Take time to enjoy the peace and privacy of your maze: no rules, no work, and nobody knows where you are.
4. Rub sweet Annie leaves between your fingers, and sniff their aroma.
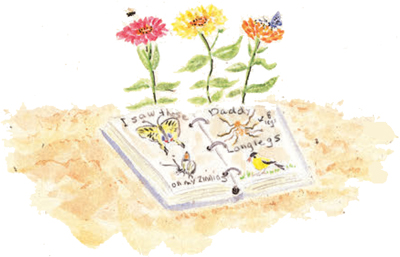
5. Zinnias are called “Youth-and-Old-Age” because the flowers last so long. How many different visitors to the zinnias can you record in your journal?
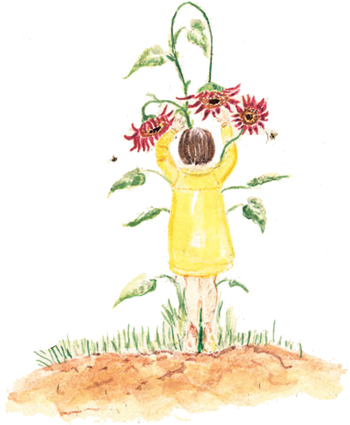
6. Some people believe that touching and talking to plants makes them grow faster and stronger. Norwegians call this opelske, or “loving up.” Love up a few plants, and see what happens.
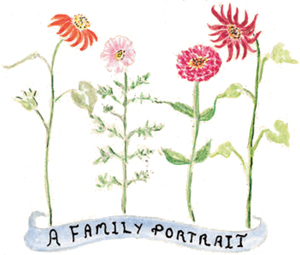
7. Tithonias, zinnias, cosmos, and sunflowers are kissing Cousins—all members of one flower family called COMPOSITAE.
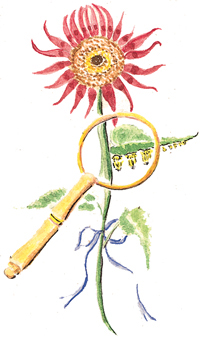
8. With a magnifying glass, search under sunflower leaves for tiny butterfly eggs. Tie a ribbon near the clusters, and visit them every day until the caterpillars hatch.
Your Flowery Maze will bloom until the first heavy freeze in autumn. After that the maze will look raggle-taggle, but resist the temptation to tidy it.
Many helpful garden workers—including beneficial bees and peaceful wasps, as well as the larvae of moths and butterflies—spend the winter in the scraggly stalks and leaves. The garden may not look like much, but it’s a cozy home to them!
Let everything remain until spring. Then uproot the plants or trim them at ground level, add a 2-inch layer of compost, and plant another Flowery Maze. You’ll likely find that many of last year’s flowers have done some of the work for you. They dropped their seeds into the rich earth and will magically reappear in the spring.
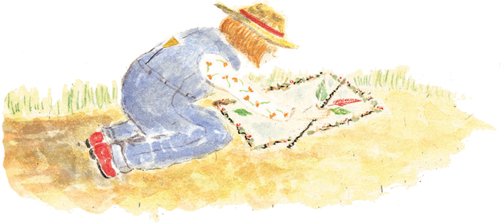

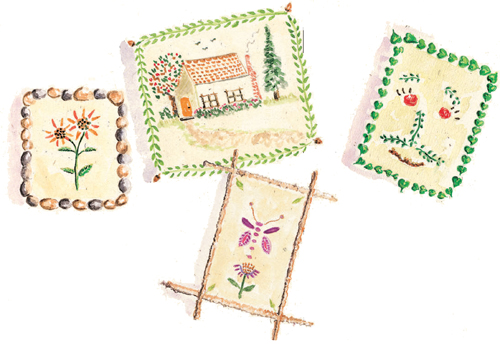
During the late nineteenth century, making exquisitely detailed pictures with pressed flowers was a popular Victorian hobby. Flowers, ferns, and leaves were collected, pressed, and arranged under sheets of glass. In most cases, these designs were then framed and hung on a parlor wall. Many survive to this day.
Victorian children devised their own version of flower art outdoors. They picked fresh flowers and pressed them right into the soil of their gardens, then carefully covered the blossoms with glass. The ephemeral arrangements became popular and soon appeared in gardens everywhere.
You can create flower pictures in your garden as children did more than one hundred years ago, but for safety reasons, use Plexiglas instead of real glass. Often, craft stores or framing shops have scraps of Plexiglas that they will give you or sell for a low price. Even tiny pieces make wonderful pictures.
Invite your friends over to create stepping-stone flower pictures leading to the center of your maze, which you can turn into a gallery.
Choose the spots for the pictures. If they are in the shade, they’ll last longer. To make a picture, place the Plexiglas on the ground in a pathway, and use a stick to outline the shape. Remove the Plexiglas, and, scrape out the outlined area to a depth of 1 inch. Smooth the soil.
Collect a variety of natural materials—mosses, lichens, blossoms, rocks, pieces of bark, pods, ferns, twigs, and leaves—from your maze and yard. Arrange the objects directly on the soil. If you want to change your design, just lift the pieces and start over.
When your arrangement is complete, set the glass on top of the flowers and brush soil over the edges to seal them. Outline the edge of the picture with small stones, shells, or bark. The picture should last about a week. (Don’t worry if the pieces of Plexiglas become scratched from wear.)
Galleries label pieces of art with a title and the name of the artist. You can do this, too. Collect flat rocks or pieces of bark, use acrylic paint to write picture titles for each work, sign your name, and place the labels next to your designs.
I Leave This Notice on My Door
For Each Accustomed Visitor:
‘I am Gone Into The Fields To Take What This Sweet Hour Yields’
—Percy Bysshe Shelley