My giant golden pumpkin gets bigger by the hour—will anyone believe it came from one small flower?
Your friends may think you’re telling them a whopper when you describe a pumpkin as big as a bathtub, green beans longer than your arms, and cabbages that turn into walking sticks. Wait until they visit your Garden of Giants and see for themselves. No other garden will ever measure up to this one.
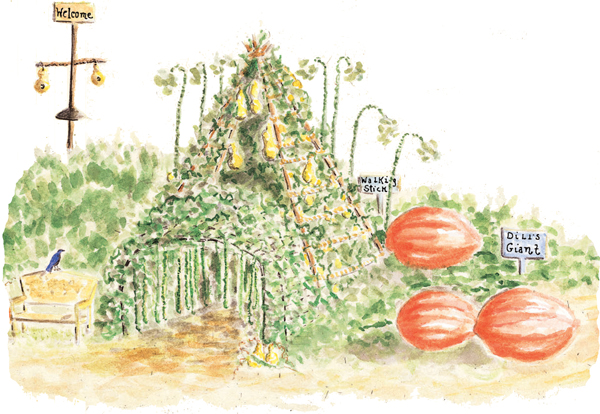
An arched tunnel, festooned with vines and dangling yard-long runner beans, leads to a tepee hidden under a blanket of leaves. Inside the tent, plump birdhouse gourds hang like pendulums from lacy green walls.
Beside the tunnel and tepee, prickly vines spread a sea of leaves across your yard. Nestled among them are ‘Dill’s Giant’ pumpkins, the king of garden dwellers. Towering walking-stick cabbages stand guard over everything like a troop of slender sentinels.
Throughout the long days of summer, you’ll play in a wonderland of colossal vegetables. It may feel like you’ve escaped to a faraway place inhabited by giants. By autumn, you’ll have a bountiful harvest to share with your neighbors. You’ll harvest pumpkins big enough to ride in, fashion gourds into birdhouses and bird feeders, and turn cabbages into walking sticks.

Select a flat 15-by-15-foot area that gets six to eight hours of sun daily. Poke a stake into the center of the plot and loosely tie a 2½-foot String to it. Have your child grab the end of the string, stretch it to full length, and walk in a circle. You or another child can follow behind, outlining the circle with a few handfuls of flour as you go. Stand in the center of your plot at noon on a sunny day; the shadow you cast will point north. Place your tepee here.
To make a tepee, you need at least two people. First, lay the 8-foot-poles on the ground. Tie a rope around them about 1 foot from the ends. Hold the poles together, tied-end up, and raise them into an upright position. Spread the poles apart at the bottom so that they touch the edge of the circle. The two legs that face south are the doorway.
To support the climbing gourd vines, tie the rope to the bottom of one doorway pole and weave it back and forth around the tepee. As you pass each pole, wrap the rope once around it.
Spiral from bottom to top, keeping the rows about 8 inches apart. (See the illustration here.) Turn back and continue wrapping in the opposite direction when you come to the doorway.
Use the 5-by-10-foot grid of concrete-reinforcing wire to construct a bean tunnel leading to the tepee. Bend the wire along its 10-foot length to form a 3-foot-wide arch. Attach the bottom edges of the tunnel to the ground by hammering the tent stakes over the bottom edge of the wire.
Dig a 12-inch-wide bed along each side of the tunnel. Prepare the bed for planting (see Preparing the Soil). Make a 4-foot-wide bed around the tepee; top with 2 inches of aged manure and work it into the soil.
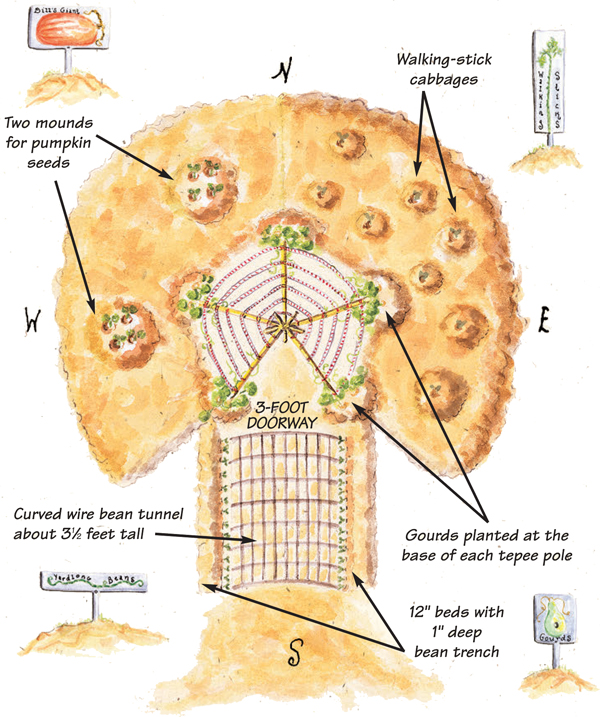
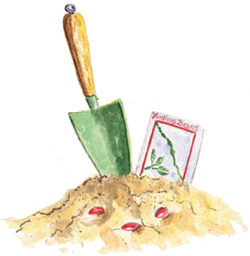
Begin planting when temperatures remain above 70°F. Soak the gourd seeds for 24 hours (but no longer, or they’ll rot) before sowing them. Work your way around the outside of the tepee, making a 6-inch high, 12-inch-wide mound at the base of each pole. Into each mound, poke two 1-inch holes about 6 inches apart. Drop a gourd seed into each hole, cover with soil, and water thoroughly.
Make a 1-inch-deep trench along the base of the bean tunnel. Drop a bean seed every 4 inches, cover with soil, and water the ground thoroughly.
Divide the bed around the tepee into two plots. In the bed facing east, plant walking-stick cabbage seeds about 1 inch deep and 1 foot apart. In the other bed, make two mounds that are about 6 inches high and a foot wide. Poke four 1-inch holes into the sides of each mound, and drop a ‘Dill’s Giant’ pumpkin seed into each hole. Cover the seeds with soil, and water thoroughly.
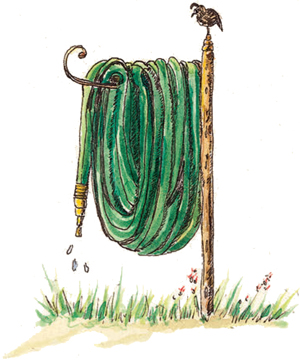
Your giants are thirsty and hungry guys. They need lots of water to reach their maximum size. Every day, poke your finger into the soil near each plant. If the earth feels dry, water thoroughly. If the leaves look wilted at the end of the day, water deeply at the roots of the plants. (Soaker hoses make this job easy and keep moisture off leaves, which can mildew.) Feed your plants every week with a full-strength blend of liquid kelp and fish emulsion.
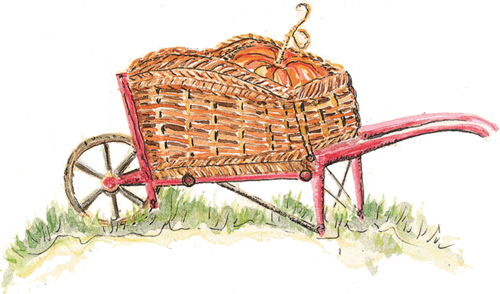
Remember to moisten the soil with water before you fertilize. When pumpkin vines are about 10 inches long, pull out the smallest ones, leaving only the largest and healthiest looking plants. To produce true giants, leave the two biggest fruits on each plant and pick the others. Remove any new fruits as they appear.
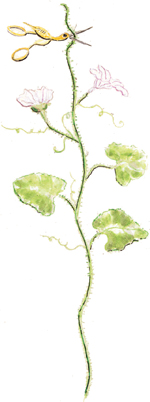
When the gourd vines reach the top of the tepee, snip the growing tip to force growth into the side branches that produce the female flowers, which bear the gourds. Take care when working around the vines since they have shallow roots. Reduce watering in the fall to harden off the gourds.
Stake the walking-stick cabbages if necessary, but allow the odd twists and kinks to remain—they’re the plant’s personality. When the stalks are 2 inches thick, start stripping the lower leaves (toss them onto your compost heap).

Sneak up on your giants and listen to their conversations with the earth. Lay the head of your stethoscope against the side of a fat pumpkin or on the stalk of a walking-stick cabbage to hear each plant’s distinctive sound.
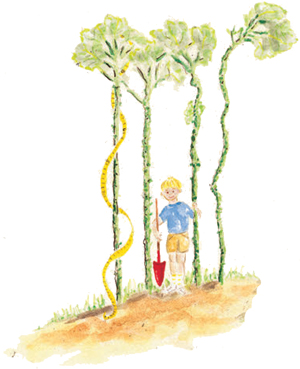
1. With a tape measure, chart the growth of the walking-stick cabbages. Compare their heights to your own. How many inches did you grow this summer?
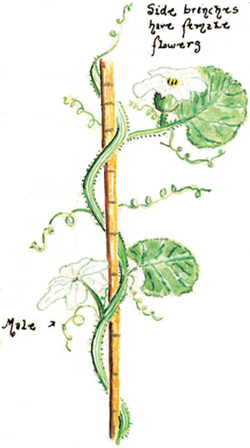
2. Male gourd blossoms form on the main, vine, and grow upright on long stalks. The females, which produce the gourd, appear on the side shoots on short stalks.
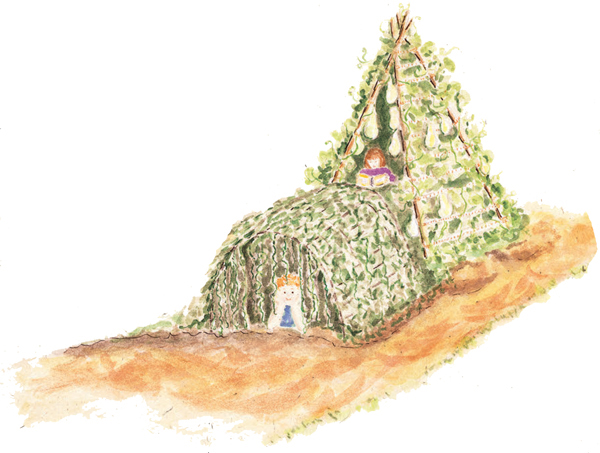
3. Stretch out inside your tunnel and nibble some of the crunchy beans. Tie a few of the long beans in knots. What happens as they continue growing?
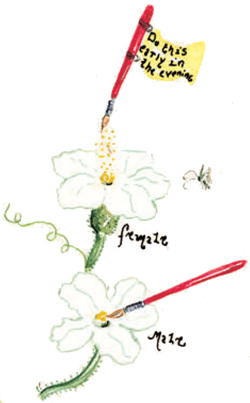
4. Use a soft-bristled paintbrush to move pollen from the stamens of the gourd’s male blossoms onto the stigmas of female blossoms. You’ll soon be the parent of a bountiful crop of plump gourds.
5. Use a nail or a ballpoint pen tip to scratch your name onto the surface of a small gourd. As it grows, so does your name.
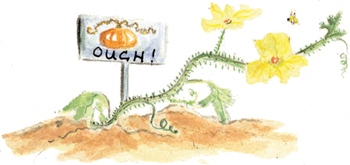
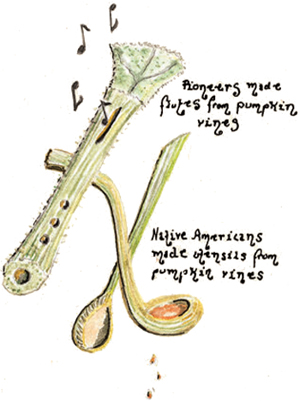
6. Run your fingers over the pumpkin vines. Farmers use them to protect the plots of other vegetables.
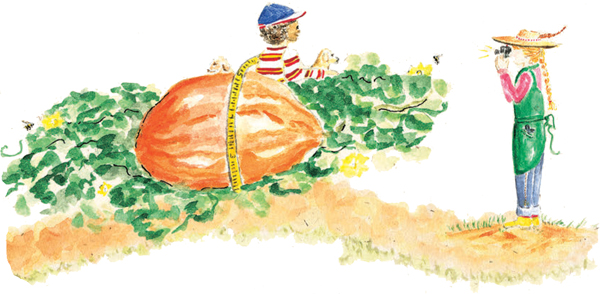
7. Pose next to your giants at least once a month and have your photo taken.
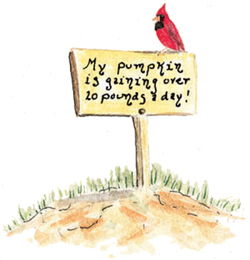
8. Pumpkins can gain as many as 25 pounds a day! Use a tape measure to see how much they grow each week and record their growth in your journal.
By late September, your garden is filled with colossal pumpkins, lanky walking-stick cabbages, and long, skinny beans. Everywhere you look, jumbo vegetables are ready to harvest.
Get family or friends together to help you roll pumpkins onto a tarp. Move them to a place of honor—perhaps a porch or patio. In a dry, protected area, they’ll last for months.
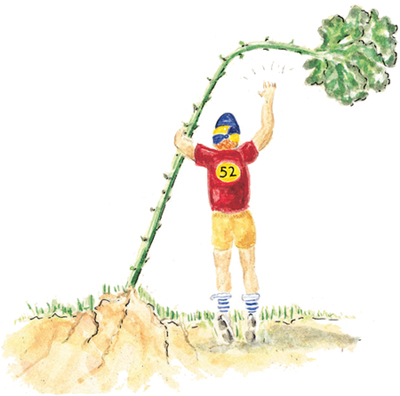

Pull the cabbage sticks from the ground—roots, stem, head, and all—and hang them in a warm, dark area until they are dry and feel light-weight.
Strip off any remaining leaves, and remove the roots. Poke a hole through the top of the stick, and string it with a leather or rawhide handle. Smooth the stalk with fine steel wool, then apply a light coat of varnish and hang up to dry. Walking-stick cabbages make a perfect gift for a friend or relative who enjoys hiking or walking.

When their stalks change from green to yellow or brown, gourds are ready for picking. Use clippers to cut them from the vine, leaving some of the vine attached. Clean them with a damp cloth dipped in a weak solution of detergent and bleach. Spread gourds on screens or newspaper in a dry, well-ventilated area. Turn them every few days to prevent rotting.
It is impossible to predict how long it will take each gourd to dry. Small gourds dry faster than large gourds, and gourds with long necks, or “handles,” dry first in those areas.
Look for your green gourds to change to soft, pale ivories, browns, rusts, and beiges, sometimes mottled gray. This is a natural part of the drying process and makes each gourd unique. Check the gourds to make sure that they are still firm to the touch. Discard any that feel soft.
Your gourds are dry when they feel lightweight (remember how heavy they were when you picked them). Some dried gourds rattle when shaken.
Before making a gourd birdhouse, decide which species of birds you’d like to attract. Consult the Appendix (see here) for the gourd size and the entry hole dimension for that particular species.
Choose a gourd and cut entrances with a hole saw. Scoop out insides. Fill with water and a handful of gravel, then shake to loosen any remaining pulp. Discard contents.
Drill two small holes at the top of each gourd. Insert a wire through the holes and twist it into a loop to form a hanger. Then drill four ¼-inch drainage holes in the bottom.
Finish the exterior with a water sealant. Mount your house in a sheltered area at least 5 feet above the ground.
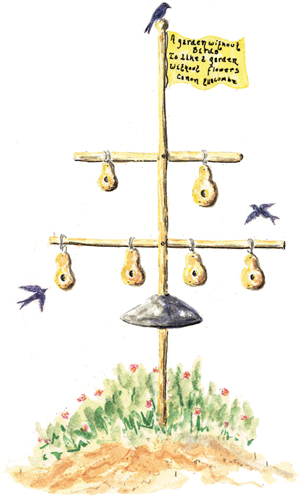

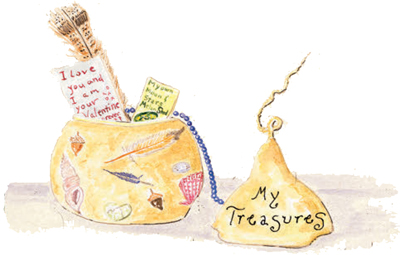
Saw off the top third of the gourd and remove the dried pulp and seeds. With a sanding sponge, smooth the exterior; wipe it clean and let dry.
Use acrylic paints to decorate your gourd container, or finish with paste wax or varnish, to create beautiful, natural pieces.

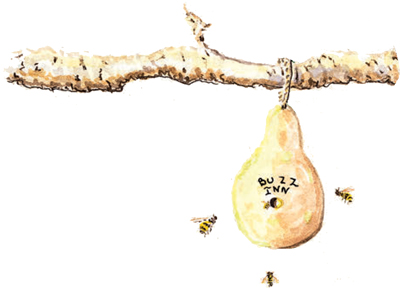
Drill two holes in the top of the gourd, and insert a wire hanger. Drill four ¼-inch drainage holes in the bottom, and a ⅝-inch entry hole at a midway point. Using a wire, stuff with a handful of nesting materials, such as grass or shredded paper. (Keep contents dry.) Water-proof the exterior of the gourd, then hang in an area that’s protected from rain, wind, and direct sunlight.
Once there was a bumblebee
Who slept till spring had come.
When winter broke, she then awoke
And her wings began to hum.
—Edith Patch, 1926